Robolectricを使ってテスト書いてみようと思ってググりながらやったらjavaだったり古いのがあったりで全然うまくいかなかったのでうまくいった手順を記します。
ただ使って見るだけで難しいことはしません。
間違えなければめちゃくちゃ簡単。
環境
PC:MacBookPro
OS:MacOSSierra
AndroidStudio:3.1.1
kotlin_version:1.2.30
gradle:3.1.1
buildToolsVersion:27.0.3
Robolectric:3.8
先にまとめ
公式が一番正しいので最初にみよう。
http://robolectric.org/getting-started/
手順
"Hello World!"が表示されているかどうかをチェックするテストを書きます。
1.プロジェクトを作る
今回は動くサンプルも用意するのでプロジェクト作りから。
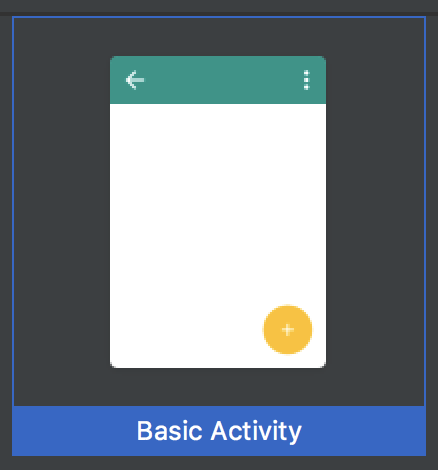
include kotlin supportにチェックを入れてBacicActivityを作りましょう。
Robolectricの準備
app/build.gradleを編集します
app/build.gradle
android{
   //ここら辺に色々最初から書いてある
   //以下追記
   testOptions {
        unitTests {
            includeAndroidResources = true
        }
    }
}


dependencies {
      //ここら辺にも色々最初から書いてある
   //以下追記
   testImplementation "org.robolectric:robolectric:3.8"
}
Robolectricの最新バージョンは公式のリリースノートから確認
これだけで使えます。簡単ですね。
下準備
内容を確認したいViewはidが振られていないと指定できないので"Hello World!"を表示しているテキストにidを振ります。
今回のプロジェクトではcontent_xmlにいます。
content_xml
<?xml version="1.0" encoding="utf-8"?>
<android.support.constraint.ConstraintLayout xmlns:android="http://schemas.android.com/apk/res/android"
    xmlns:app="http://schemas.android.com/apk/res-auto"
    xmlns:tools="http://schemas.android.com/tools"
    android:layout_width="match_parent"
    android:layout_height="match_parent"
    app:layout_behavior="@string/appbar_scrolling_view_behavior"
    tools:context=".MainActivity"
    tools:showIn="@layout/activity_main">

    <TextView
        android:id="@+id/main_text" //ここを追加しましたよ〜
        android:layout_width="wrap_content"
        android:layout_height="wrap_content"
        android:text="Hello World!"
        app:layout_constraintBottom_toBottomOf="parent"
        app:layout_constraintLeft_toLeftOf="parent"
        app:layout_constraintRight_toRightOf="parent"
        app:layout_constraintTop_toTopOf="parent" />

</android.support.constraint.ConstraintLayout>
テストを書く
ExampleUnitTestファイルを編集してテストを作りましょう。
ExampleUnitTest
package net.rensyuu.robolectricsample

import android.os.Build
import kotlinx.android.synthetic.main.activity_main.*
import kotlinx.android.synthetic.main.content_main.*
import org.junit.Test

import org.junit.Assert.*
import org.junit.runner.RunWith
import org.robolectric.Robolectric
import org.robolectric.RobolectricTestRunner
import org.robolectric.annotation.Config

@RunWith(RobolectricTestRunner::class)//RobolectricGradleTestRunner使えみたいな記事がありますが最新はこれで大丈夫っぽいです。
@Config(constants = BuildConfig::class,sdk = [(Build.VERSION_CODES.LOLLIPOP)])//constantsは設定用のクラスを指定するようですがとりあえずはBuildConfigで問題ありません。sdkでビルドのターゲットsdkを指定できます。指定しといたほうがいいです。配列を渡せるので複数指定がおそらくできます。
class ExampleUnitTest {
    @Test
    fun hello_world_isCorrect() {
        val activity = Robolectric.setupActivity(MainActivity::class.java)
        val textView = activity.main_text
        activity.fab.performClick()//ボタンを押すのはこうだよっていうためだけに書きました。意味はないので消してよし。fabはボタンに設定されているidです。
        assertEquals(textView.text,"Hello World!")//assertThatを使うとおしゃれらしいけどkotlinだとisが`is`になってキモいのでとりあえずEquals。
    }
}
以上
これで実行すれば通ると思います。
初回だけ色々ダウンロードするようで心配になるくらい遅いですが2回目以降からは早くなると思います。
(初回だけ
Downloading: org/robolectric/android-all/5.0.2_r3-robolectric-r0/android-all-5.0.2_r3-robolectric-r0.jar from repository sonatype at https://oss.sonatype.org/content/groups/public/
Transferring 55446K from sonatype
が出て20分くらいかかったんですがみなさんそんな感じ何でしょうか…?)
今回のプロジェクトはこちら
https://github.com/sasasaiki/RobolectricSample/tree/master
ではまた。