こんにちは、私は旧 Skyway の時から Skyway を使っており、実務経験もがあります。たしか 今は亡き Mashup Awards で使ったのがきっかけです。ちなみに #12 では総合優勝しました。そんな私ですが今年初めて SkyWay を "使わずに" 仕事をしました。そのときに初めて SkyWay が隠蔽してくれていた WebRTC のあれこれを知ったのですが、その結果 Skyway への愛がより一層深まりました。なので今日はこれから SkyWay を始めるビギナーに向けて、これまでの恩返しも込めて "SkyWay を一度離れた身からの SkyWay の解説" をしようと思います。
SkyWay の Quick Start にはチュートリアルがあります。
今日はこれを React で書き換えながら、SkyWay を取り外すとどれだけ大変なことになるのかを見ていきます。
どうしてわざわざ React で書くのか
SkyWay と素のWebRTCの比較記事で「どうしてReactを出すんだ」と思ったかもしれません。しかしこれは素のWebRTC化をするにあたって、状態遷移をUIに反映させる仕組みが欲しくなったのと、SkyWay を取り外すことによって増えるコードの管理がReact無しだと辛くなったからです。特に状態遷移については致命的で、おそらくWebRTCを使った通話実装アプリケーションを作るにあたってはそういった仕組みは必須です。なぜならどんなアプリケーションを作るにしても WebRTC を使う以上は
- ルーム作成(通信相手の決定)
- 疎通確認
- 通話開始
- 通話終了
- 再接続
などとさまざまな状態を持ち、どうせローディングのようなそれぞれに対応するUIを作ることになるからです。
私は何かしらの状態管理は求められるのであれば宣言的UIのパラダイムで開発できるツールは使うべきだと思っています。宣言的UIのパラダイムを採用しているツールはたくさんありますが、その epoch-making をしているのはReactだと思いますので、この記事でもReactを採用します。
SkyWay チュートリアルは何をしているのか
以下のコードは公式チュートリアルのコードの、重要な部分を切り出したものです。
全体は https://github.com/skyway/js-sdk/tree/main/examples/tutorial にあります。
const token = new SkyWayAuthToken({...}).encode(secret);

(async () => {
  const localVideo = document.getElementById('local-video') as HTMLVideoElement;
  const buttonArea = document.getElementById('button-area');
  const remoteMediaArea = document.getElementById('remote-media-area');
  const roomNameInput = document.getElementById(
    'room-name'
  ) as HTMLInputElement;
  const myId = document.getElementById('my-id');
  const joinButton = document.getElementById('join');

  const { audio, video } =
    await SkyWayStreamFactory.createMicrophoneAudioAndCameraStream();
  video.attach(localVideo);
  await localVideo.play();

  joinButton.onclick = async () => {
    if (roomNameInput.value === '') return;

    const context = await SkyWayContext.Create(token);
    const room = await SkyWayRoom.FindOrCreate(context, {
      type: 'p2p',
      name: roomNameInput.value,
    });
    const me = await room.join();

    myId.textContent = me.id;

    await me.publish(audio);
    await me.publish(video);

    const subscribeAndAttach = (publication) => {
      if (publication.publisher.id === me.id) return;

      const subscribeButton = document.createElement('button');
      subscribeButton.textContent = `${publication.publisher.id}: ${publication.contentType}`;
      buttonArea.appendChild(subscribeButton);

      subscribeButton.onclick = async () => {
        const { stream } = await me.subscribe<RemoteVideoStream>(
          publication.id
        );

        let newMedia;
        switch (stream.track.kind) {
          case 'video':
            newMedia = document.createElement('video');
            newMedia.playsInline = true;
            newMedia.autoplay = true;
            break;
          case 'audio':
            newMedia = document.createElement('audio');
            newMedia.controls = true;
            newMedia.autoplay = true;
            break;
          default:
            return;
        }
        stream.attach(newMedia);
        remoteMediaArea.appendChild(newMedia);
      };
    };

    room.publications.forEach(subscribeAndAttach);
    room.onStreamPublished.add((e) => subscribeAndAttach(e.publication));
  };
})();
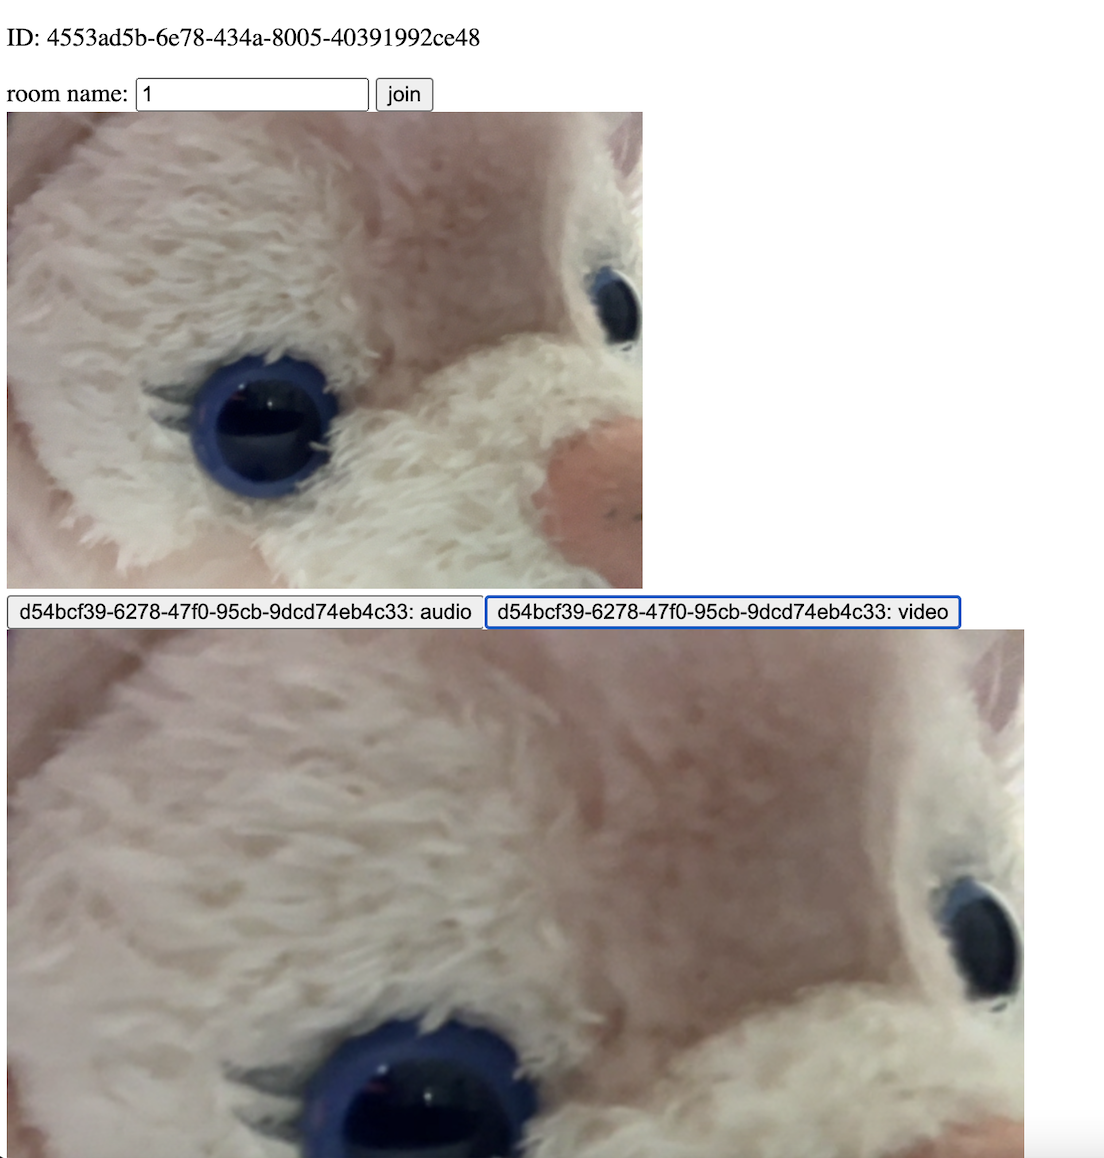
その結果、このような画面が見えます。
これが何をしているのか見ていきましょう。
const localVideo = document.getElementById('local-video') as HTMLVideoElement;
  const buttonArea = document.getElementById('button-area');
  const remoteMediaArea = document.getElementById('remote-media-area');
  const roomNameInput = document.getElementById(
    'room-name'
  ) as HTMLInputElement;
  const myId = document.getElementById('my-id');
  const joinButton = document.getElementById('join');
は HTML から DOM を取得しています。
const { audio, video } = await SkyWayStreamFactory.createMicrophoneAudioAndCameraStream();
video.attach(localVideo);
await localVideo.play();
はメディアストリームを取得しています。
onst context = await SkyWayContext.Create(token);
    const room = await SkyWayRoom.FindOrCreate(context, {
      type: 'p2p',
      name: roomNameInput.value,
    });
    const me = await room.join();
でルームを作成し、ここに入ります。
await me.publish(audio);
await me.publish(video);
で自分のメディアストリームを外部に公開しています。
そして
 const subscribeAndAttach = (publication) => {
      if (publication.publisher.id === me.id) return;

      const subscribeButton = document.createElement('button');
      subscribeButton.textContent = `${publication.publisher.id}: ${publication.contentType}`;
      buttonArea.appendChild(subscribeButton);

      subscribeButton.onclick = async () => {
        const { stream } = await me.subscribe<RemoteVideoStream>(
          publication.id
        );

        let newMedia;
        switch (stream.track.kind) {
          case 'video':
            newMedia = document.createElement('video');
            newMedia.playsInline = true;
            newMedia.autoplay = true;
            break;
          case 'audio':
            newMedia = document.createElement('audio');
            newMedia.controls = true;
            newMedia.autoplay = true;
            break;
          default:
            return;
        }
        stream.attach(newMedia);
        remoteMediaArea.appendChild(newMedia);
      };
    };

    room.publications.forEach(subscribeAndAttach);
    room.onStreamPublished.add((e) => subscribeAndAttach(e.publication));
で peer からの音声と動画を受け取っています。あとはそれを DOM へと反映して映像・音声の送受信がしていました。
チュートリアルの機能を自分で実装する
ではそのチュートリアルを SkyWay なしで使うとどう大変になるのか見ていきます。
このチュートリアルでは、
- ルームを選択
- 映像を送る
- 音声を送る
- 映像を受け取る
- 音声を受け取る
ということをしています。
これをもっと簡素化して、選択したルームで 1:1 に映像だけをやり取りする仕組みを実装してみましょう。
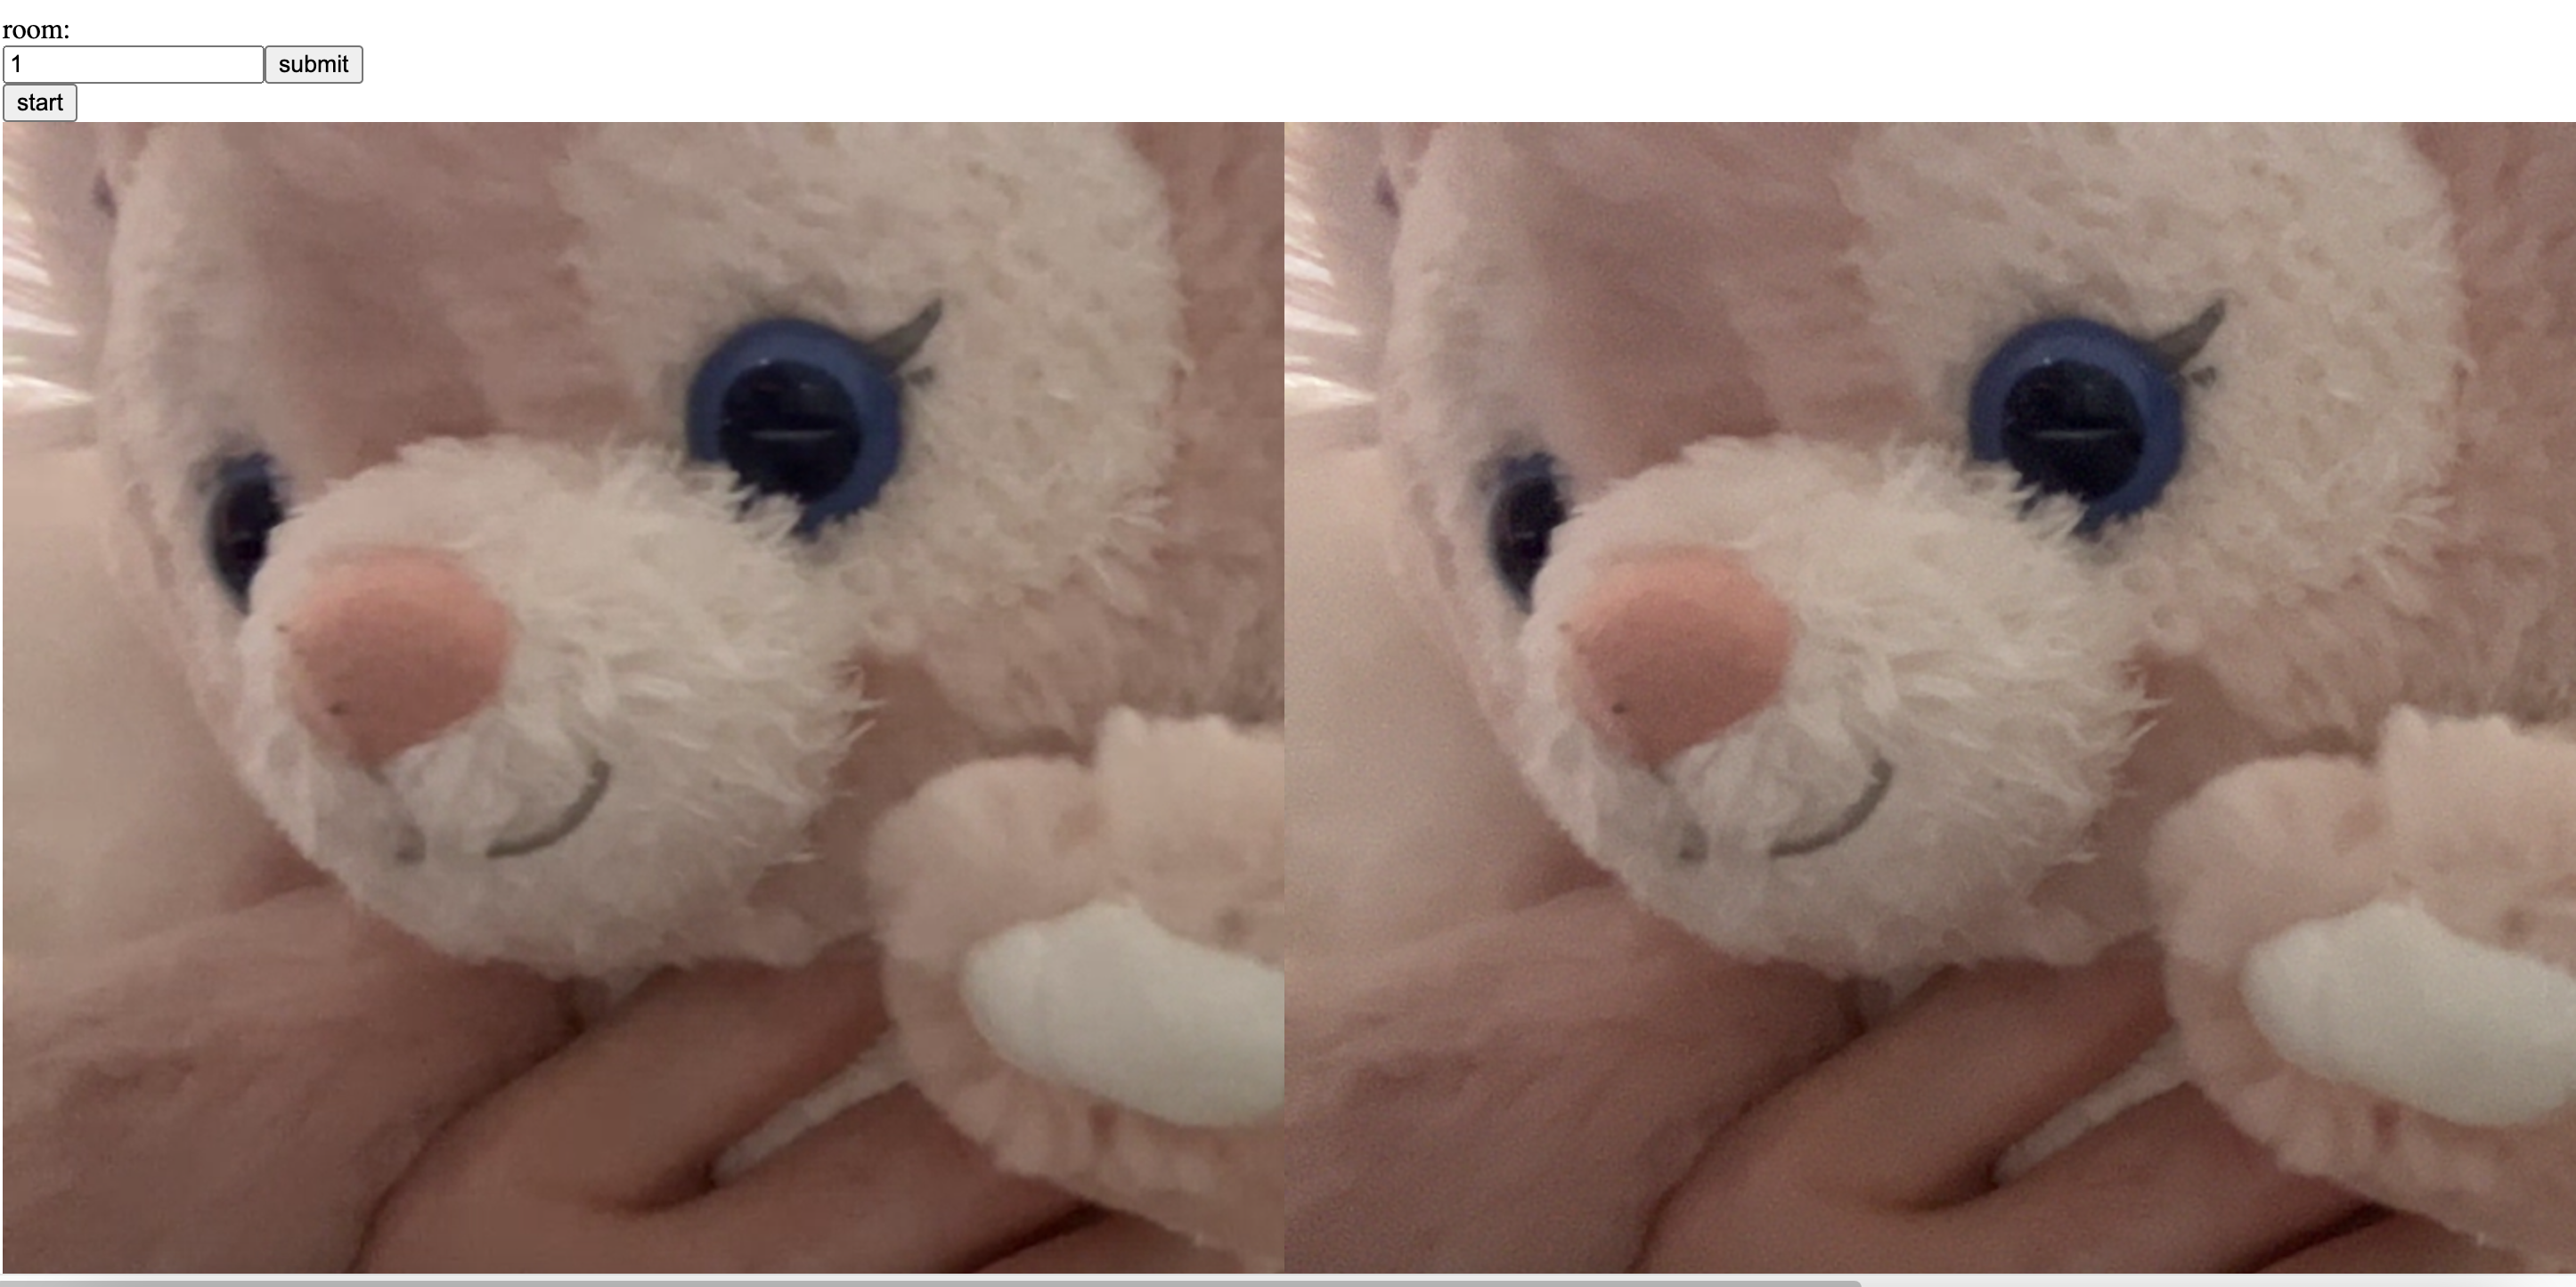
こちらが成果物です: https://github.com/sadnessOjisan/simple-p2p
モノレポのセットアップ
WebRTC アプリケーションを作る際にはシグナリングサーバーが必要です。これは多くの場合 WebScoket を使います。そのときイベント名をサーバーとクライアントで統一する必要があります。DRYに基づくとこれは一つのファイルで管理し、別モジュールで共有させたいです。ところで、シグナリングサーバーは node プロセスで動き、クライアントアプリはブラウザプロセスで動くので設計やレポジトリは分離されることになると思います。もちろんテンプレートエンジンを使って express などのプロセスからクライアントを返すこともできますが、最近は分離させることの方が主流だと思います。そこでアプリケーションは分離するも、一つのレポジトリで管理するモノレポ構成にしたいと思います。
モノレポには
- yarn workspaces
- npm workspaces
- turbopack
- Nx
- lerna
などの選択肢がありますが、ここでは npm workspaces を選択します。
これらは yarn v3 や pnpm などの PnP や zero install ができるパッケージマネージャを組み合わせると組み合わせが大きくなり、なんらかの組み合わせで例えば VSCode の補完が効かないなどのトラブルが起きやすいので、一番シンプルな npm + npm workspace を使います。腕に自信のある方は好きな構成を使えば良いと思います。
npm workspace は root の package.json に
private: true
を書けば、
npm init -w packages/ws-events
でワークスペースを作ることができます。
シグナリングサーバーを実装
まずはシグナリングサーバーから作ります。
WebRTCでは peer と peer が RTCSessionDescriptionInit と RTCIceCandidate という情報を交換することで始まります。p2p ですが、そもそも誰が peer になるかは中央集権なサーバーを使って同期させる必要があります。
とはいえ一応 シグナリングサーバーを使わない方法もあって、過去に紹介したので気になる方は見てみてください。
room の作成
peer と peer を引き合わせます。ここでは socket.io の機能を使っています。
socket.on(
  "JOIN_ROOM",
  (
    /** @type string */
    roomId
  ) => {
    socket.join(roomId);
    socket.emit("SET_UP_CAMERA");
  }
);
あとは peering で飛んでくるイベントに対する定義をします。これらについては後で解説します。
  socket.on(
    OFFER,
    (
      /** @type string */
      roomId,
      /** @type  RTCSessionDescriptionInit*/
      sdp
    ) => {
      io.to(roomId).except(socket.id).emit(OFFER, sdp);
    }
  );

  socket.on(
    ANSWER,
    (
      /** @type string */
      roomId,
      /** @type  RTCSessionDescriptionInit*/
      sdp
    ) => {
      io.to(roomId).except(socket.id).emit(ANSWER, sdp);
    }
  );

  socket.on(
    "SEND_ICE",
    (
      /** @type string */
      roomId,
      /** @type  RTCIceCandidate*/
      ice
    ) => {
      io.to(roomId).except(socket.id).emit(SEND_ICE, ice);
    }
  );

  socket.on(
    CALL,
    (
      /** @type string */
      roomId
    ) => {
      io.to(roomId).except(socket.id).emit(CALL);
    }
  );
注目すべきは except(socket.id) です。こうしないとルームに入っている自分にもイベントが飛んでくるので省いています。もっと細かく送信先を管理したいときは自分で Map を定義するのを私はよくしています。
type RoomId = string & {
  ___roomId: never;
};

type SocketId = string & {
  ___socketId: never;
};

const socketMap = new Map<SocketId, RoomId>();

type RoomState =
  | CreatingState
  | SuccessConnectPeersState
  | DisconnectedState;

const roomsStateMap = new Map<RoomId, RoomState>();
そうなると room の出入管理が必要になるのでめんどくさいですが、SkyWay ならその辺も丸っとしてくれます。
WebRTCのコネクション
ではブラウザでのWebRTC関連のコードを見ていきます。
RTCConfig
まずコネクションのマネージャーとなる RTCPeerConnection を作ります。
const pc = new RTCPeerConnection({
  iceServers: [
    {
      urls: ["stun:stun.l.google.com:19302"],
    },
  ],
});
stun というのは STUN サーバーで P2P を実現するための重要なものです。P2P とはいえインターネットを使った通信をするわけなので、peer と peer の IP アドレスを知る必要があります。p2p のためのシグナリングでは自分の public IP を peer に伝えることが必要になるので、自分自身の IP アドレスを知る必要があり、それを実現するのが STUN サーバーです。STUN サーバーは自身のIPアドレスを教えてくれるものです。そのため WebRTC の設定ではこのサーバーの設定が必要です。これは Google をはじめとする様々な企業が無償で提供しているので利用できます。
SDP によるメディア情報の交換
SDP は Session Description Protocol の略で、平たく言うと WebRTC で送るものに関する情報を伝えるためのプロトコルです。具体的には RTCSessionDescriptionInit を送る必要があります。RTCSessionDescriptionInit の中身は
{
  "type": "offer",
  "sdp": "v=0\r\no=- 5343459361861847940 2 IN IP4 127.0.0.1\r\ns=-\r\nt=0 0\r\na=group:BUNDLE 0\r\na=extmap-allow-mixed\r\na=msid-semantic: WMS dc1e8ea1-2293-4f6a-9169-0ef159f5ccef\r\nm=video 9 UDP/TLS/RTP/SAVPF...
}
のようなものです。
type offer とあるように交換は offer というフェーズから始まります。これは映像を送りたい側から実行します。そしてこれをシグナリングサーバーへと伝えます。
const offer = await pc.createOffer({
  offerToReceiveAudio: false,
  offerToReceiveVideo: true,
});
 await pc.setLocalDescription(offer);
socket.emit(OFFER, room, offer);
そしてこれを シグナリングサーバーが peer に伝えます。
socket.on(
  OFFER,
  (
  /** @type string */
  roomId,
  /** @type  RTCSessionDescriptionInit*/
  sdp
  ) => {
  io.to(roomId).except(socket.id).emit(OFFER, sdp);
});
peer が受け取ったらそれを登録し、受信側の SDP を送り返します。createAnswer とあるように answer なので先ほど type が offer でしたがこれは中を覗くと answer になっています。たまに signaling server で OFFER と ANSWER でイベント名を分離しないときはこの中身をみてどのフェーズの Description かを見ることがあるので覚えておくと得します。
socket.on(OFFER, async (sdp: RTCSessionDescriptionInit) => {
  await pc.setRemoteDescription(sdp);
  const answer = await pc.createAnswer();
  await pc.setLocalDescription(answer);
  socket.emit(ANSWER, room, answer);
});
そしてこれをシグナリングサーバーを経由させて受信側(つまり元々の映像の送信側)が登録します。
 socket.on(ANSWER, async (answer: RTCSessionDescriptionInit) => {
  await pc.setRemoteDescription(answer);
 });
こうすることで Description の交換が実現されます。
もし映像を双方向に送るビデオ会議のようなものを実装する場合は、上記の手続きを両者が行う必要があります。
また SDP で交換するものは media 情報も含まれるのでカメラなどに接続した状態でするのがふさわしいです。そこでメディアストリームが RTCPeerConnection に追加されたときに発火する onnegotiationneeded のイベントハンドラを使うか、
socket.on(CALL, async () => {
  const offer = await pc.createOffer({
    offerToReceiveAudio: false,
    offerToReceiveVideo: true,
  });
  await pc.setLocalDescription(offer);
  socket.emit(OFFER, room, offer);
});
のようにユーザーが架電してからでないと繋がらないようにするのが良いです。Skyway の例もそうなっています。
ICE による経路情報交換
メディア情報の交換と並行して経路情報の交換を行います。それをするのが ICE(Interactive Connectivity Establishment)です。経路が交換可能になると onicecandidate が発火するので
pc.onicecandidate = (e) => {
  const ice = e.candidate;
  if (ice === null) {
    return;
  }
  socket.emit(SEND_ICE, room, ice);
};
としてシグナリングサーバーに送ります。ice === null は経路情報が見つからなければ null になるためです。onicecandidate は remoteSdp をセットしたタイミングで発火することが多いです。
受け取った経路情報は
socket.on(SEND_ICE, async (ice: RTCIceCandidate) => {
  await pc.addIceCandidate(ice);
});
として追加します。これは P2P の双方で必要です。
media stream の受け取り
ここまでくると通信が確立して media stream を受け取れます。onTrack でもらってください。
pc.ontrack = (event) => {
  const stream = event.streams[0];
  if (!stream) {
    throw new Error("stream is not found.");
  }
  setPeerStream(stream);
};
media stream を受け取ったらこれを UI に出します。video タグに流すので ref をとって srcObject にそのまま流し込んでしまいましょう。
useEffect(() => {
  if (peerStream && peerVideoRef.current) {
    peerVideoRef.current.srcObject = peerStream;
  }
}, [peerStream]);

...

<div style={{ width: "50%" }}>
   {peerStream && <video ref={peerVideoRef} autoPlay playsInline />}
</div>
SkyWay がないと何が辛いのか
さて、超特急で実装しましたがこれだけ機能を削っていても実装はめんどくさいし、普段使わない知識を使うことになったと思います。もしも商用レベルのクオリティを求めるならどういうところが大変になって SkyWay が嬉しいか見ていきましょう。
FSM の構築が疲れる
一つは状態管理を手でやることに対してです。今回私は useState を使った実装をしましたが、もっと複雑になるとこれはしない方が良いです。useState を多用することが良くないということについては https://qiita.com/uhyo/items/d74af1d8c109af43849e にまとまっているので、一言で書くと TypeScriptにおいては判別共用体を駆使した方が良く、Reactの都合から見てもそうです。今回の例だと、pc と socket が両方あるとき・両方ないときのパターンしか有り得なかったり、部屋に入った後には必ず pc も socket もあるはずという制約は要件からして明らかで、それを型などで表現したいです。そのためにはいわゆる有限状態機械(FSM)を作るとよく、Reactの場合は useReducer を使います。つまり Flux 設計にします。
例えば
export type State =
  | StartPeeringState
  | WaitForPeerPeeringActionState
  | CompletePeerConfigureState;
のような状態を定義し、
export type Action =
  | InitializeAction
  | DetectSdpOfferAction
  | DetectPeeringIsCompletedAction
  | IceCandidatesAction
  | DetectPeeringIsCompletedAction
  | DetectAcceptMediaStreamAction
  | FinishSettingSdpAction
  | FinishSettingIceAction
  | CompletePeeringAction;
のようなアクションを定義し、
const reducer = (state: State, action: Action): State => {
  switch (action.type) {
    case "initialize": {
      return {
        ...state,
        step: "wait_for_peer_peering_action",
        socket: action.payload.socket,
        pc: action.payload.pc,
      };
    }
    case "detect_sender_sdp_offer": {
      if (state.step !== "wait_for_peer_peering_action") {
        // SDP待受は wait_for_peer_peering_action以外のステップで呼ばれるわけがないという制約
        throw new Error("invalid step");
      }
      return {
        ...state,
        step: "wait_for_peer_peering_action",
        peerSdp: action.payload.peerSdp,
        shouldConfigureSdp: true,
      };
    }
    case "detect_sender_send_ice_candidates": {
      if (state.step !== "wait_for_peer_peering_action") {
        if (state.step === "complete_peer_configure") {
          return { ...state };
        }
        throw new Error("invalid step");
      }

      return {
        ...state,
        step: "wait_for_peer_peering_action",
        ice: action.payload.iceCandidate,
        shouldConfigureIce: true,
      };
    }
    case "detect_accept_media_stream": {
      if (state.step !== "wait_for_peer_peering_action") {
        throw new Error("invalid step");
      }
      return {
        ...state,
        step: "wait_for_peer_peering_action",
        mediaStream: action.payload.stream,
      };
    }
    case "finish_setting_sdp": {
      if (state.step !== "wait_for_peer_peering_action") {
        throw new Error("invalid step");
      }
      return { ...state, peerSdp: null, shouldConfigureSdp: false };
    }
    case "finish_setting_ice": {
      if (state.step !== "wait_for_peer_peering_action") {
        throw new Error("invalid step");
      }
      return { ...state, ice: null, shouldConfigureIce: false };
    }
    case "complete_peering": {
      if (state.step !== "wait_for_peer_peering_action") {
        throw new Error("invalid step");
      }
      const mediaStream = state.mediaStream;
      if (mediaStream === null)
        throw new Error("media is none. invalid dispatch");
      return {
        ...state,
        step: "complete_peer_configure",
        mediaStream,
      };
    }
    default: {
      assertNever(action);
      throw new Error("unreachable");
    }
  }
};
のような reducer を定義します。
if (state.step !== "wait_for_peer_peering_action") {
  throw new Error("invalid step");
}
のような分岐でありえない状態遷移を弾けます。これは Flux 設計に寄せる大きな利点です。
一方で自分の手でこのように実装をするのはめんどくさいです。そこで SkyWay です。こういっためんどくさい実装が全て SkyWay 側に隠蔽されています。
もちろん SkyWay を React に組み込んでもどうせこういった Flux 設計を取り入れることになるとは思いますが、それでもシグナリングに伴う接続管理部分はほとんど SkyWay に押しつけることができてしまいます。すくなくとも RTCPeerConnection と Socket を自前で管理しなくて良くなり、とても便利です。
シグナリングサーバーの運用
WebRTCは P2P 通信ですが、どうしても最初はお互いの Peer と Peer を引き合わせるために中央的なサーバーを介す必要があります。そしてそれはどうしても WebSocket のようなサーバーから通知できるような仕組みが必要となり、そういったサーバーを運用する必要があります。つまりただのWebサーバーではなく、なんらかのサーバープロセスを管理する必要があります。
このとき負荷について考える必要があります。現代的なサーバーは負荷分散をするとなると水平スケーリングをさせることが一般的だと思いますが、WebSocketを使っているとその接続情報のルーム管理をメモリでしていると水平スケーリングした時に次のアクセスでそのルームを見つけられません。これを解決するにはインスタンス数上限を1にしたり、CloudRunであればセッションアフィニティを有効にするなどで緩和できますが、確実ではないです。確実にするには外部ストレージを使う必要があり、なかでも Redis の Pub/Sub が人気な気がします。しかしこれはまたストレージ管理だったり、Redis 周りの実装が必要となり負荷としてのっかかってきます。
そんなときシグナリングサーバーに加えてルーム機能まで提供する Skyway はとても助かります。
STUN で見れないピアとの通信
何気に「つながりました〜」という例を見せましたが、実はモバイル回線や企業内のネットワークからでは繋がらない可能性があります。それはNATが対称型NATである場合やファイアウォールやプロキシがある場合です。そういう場合はIPアドレスを知れなくなってしまうので STUN を介した WebRTC は実現できません。そこでもはや P2P ではなくなるのですが、リレーサーバーを経由させて WebRTC を実現します。そのためのサーバーが TURN サーバーです。ただこれはマネージドなサービスがあまりなかったり、それも課金が必須だったり、自前で用意するにも STUN に比べると複雑で管理もめんどくさいです。一応 coturn というものがあって Docker ファイルも提供されていますが、永続化の観点で CloudRun のようなお手軽基盤に載せることは難しく、管理や運用のコストがあります。
あと TURN はタダ乗りされないように username と password を使うのですが、これはクライアントに埋め込めないのでサーバーから認証越しにワンタイムのものを生成させます。そうなると Promise で username と password が来て、静的に設定ファイルに書き込めないので
export const createConfig = (
  username: string,
  password: string
): RTCConfiguration => {
  return {
    iceServers: [
      {
        username: username,
        credential: password,
        urls: "turn:example.turn.com:3478?transport=tcp",
      },
      {
        username: username,
        credential: password,
        urls: "turn:example.turn.com:443?transport=tcp",
      },
    ],
  };
};
のようにする必要があり、その結果呼び出し元では
const pc = new RTCPeerConnection(createConfig(username, password));
する前に username, password の Promise を解決する必要があります。つまり
if (state.step === "initial") {
  fetch(`${ENDPOINT}create-token`)
  .then((res) => res.json())
  .then((data) => {
    dispatch(actions.initializePeering(data.username, data.password));
  })
}
のようなコードから初期化が始まって少し汚くなって好みではないです。あまり自分の手で TURN を使いたくないです。
そういっためんどくささもシグナリングサーバーと一緒にまるっと SkyWay なら解消してくれます。特に TURN 絡みのトラブルシューティングはログやエラーから辿りにくかったりするので TURN 目的で使ったとしても十分にお釣りはあると思います。(STUN で繋がらないときにログに出なくてただ onconnectionstatechange で failed を拾うだけでその理由がわからなくて 2週間くらい何も進捗出せなかった思い出、もう二度と経験したくない)
ちなみに自分はまだ経験していないのですが企業ネットワークのプロキシにあるあるとして UPGRADE が通らないというのがあり(GET、POSTくらいしか許可されていない)、そういうのはそもそも WebSocket が使えなくてシグナリングすらできないというのもあるらしいです。
UPGRADE については WebSocket そのものを実装する方法を解説したので気になる方は読んでみて下さい。
こういうのも SkyWayはケアされています。このように WebRTC は繋がらないケースがたくさんあって、それを人力で保守していくの本当に大変なので SkyWay 使いましょう!
まとめ
SkyWay 最高! WebRTC で開発するなら SkyWay!!

