Playdateの簡単な説明
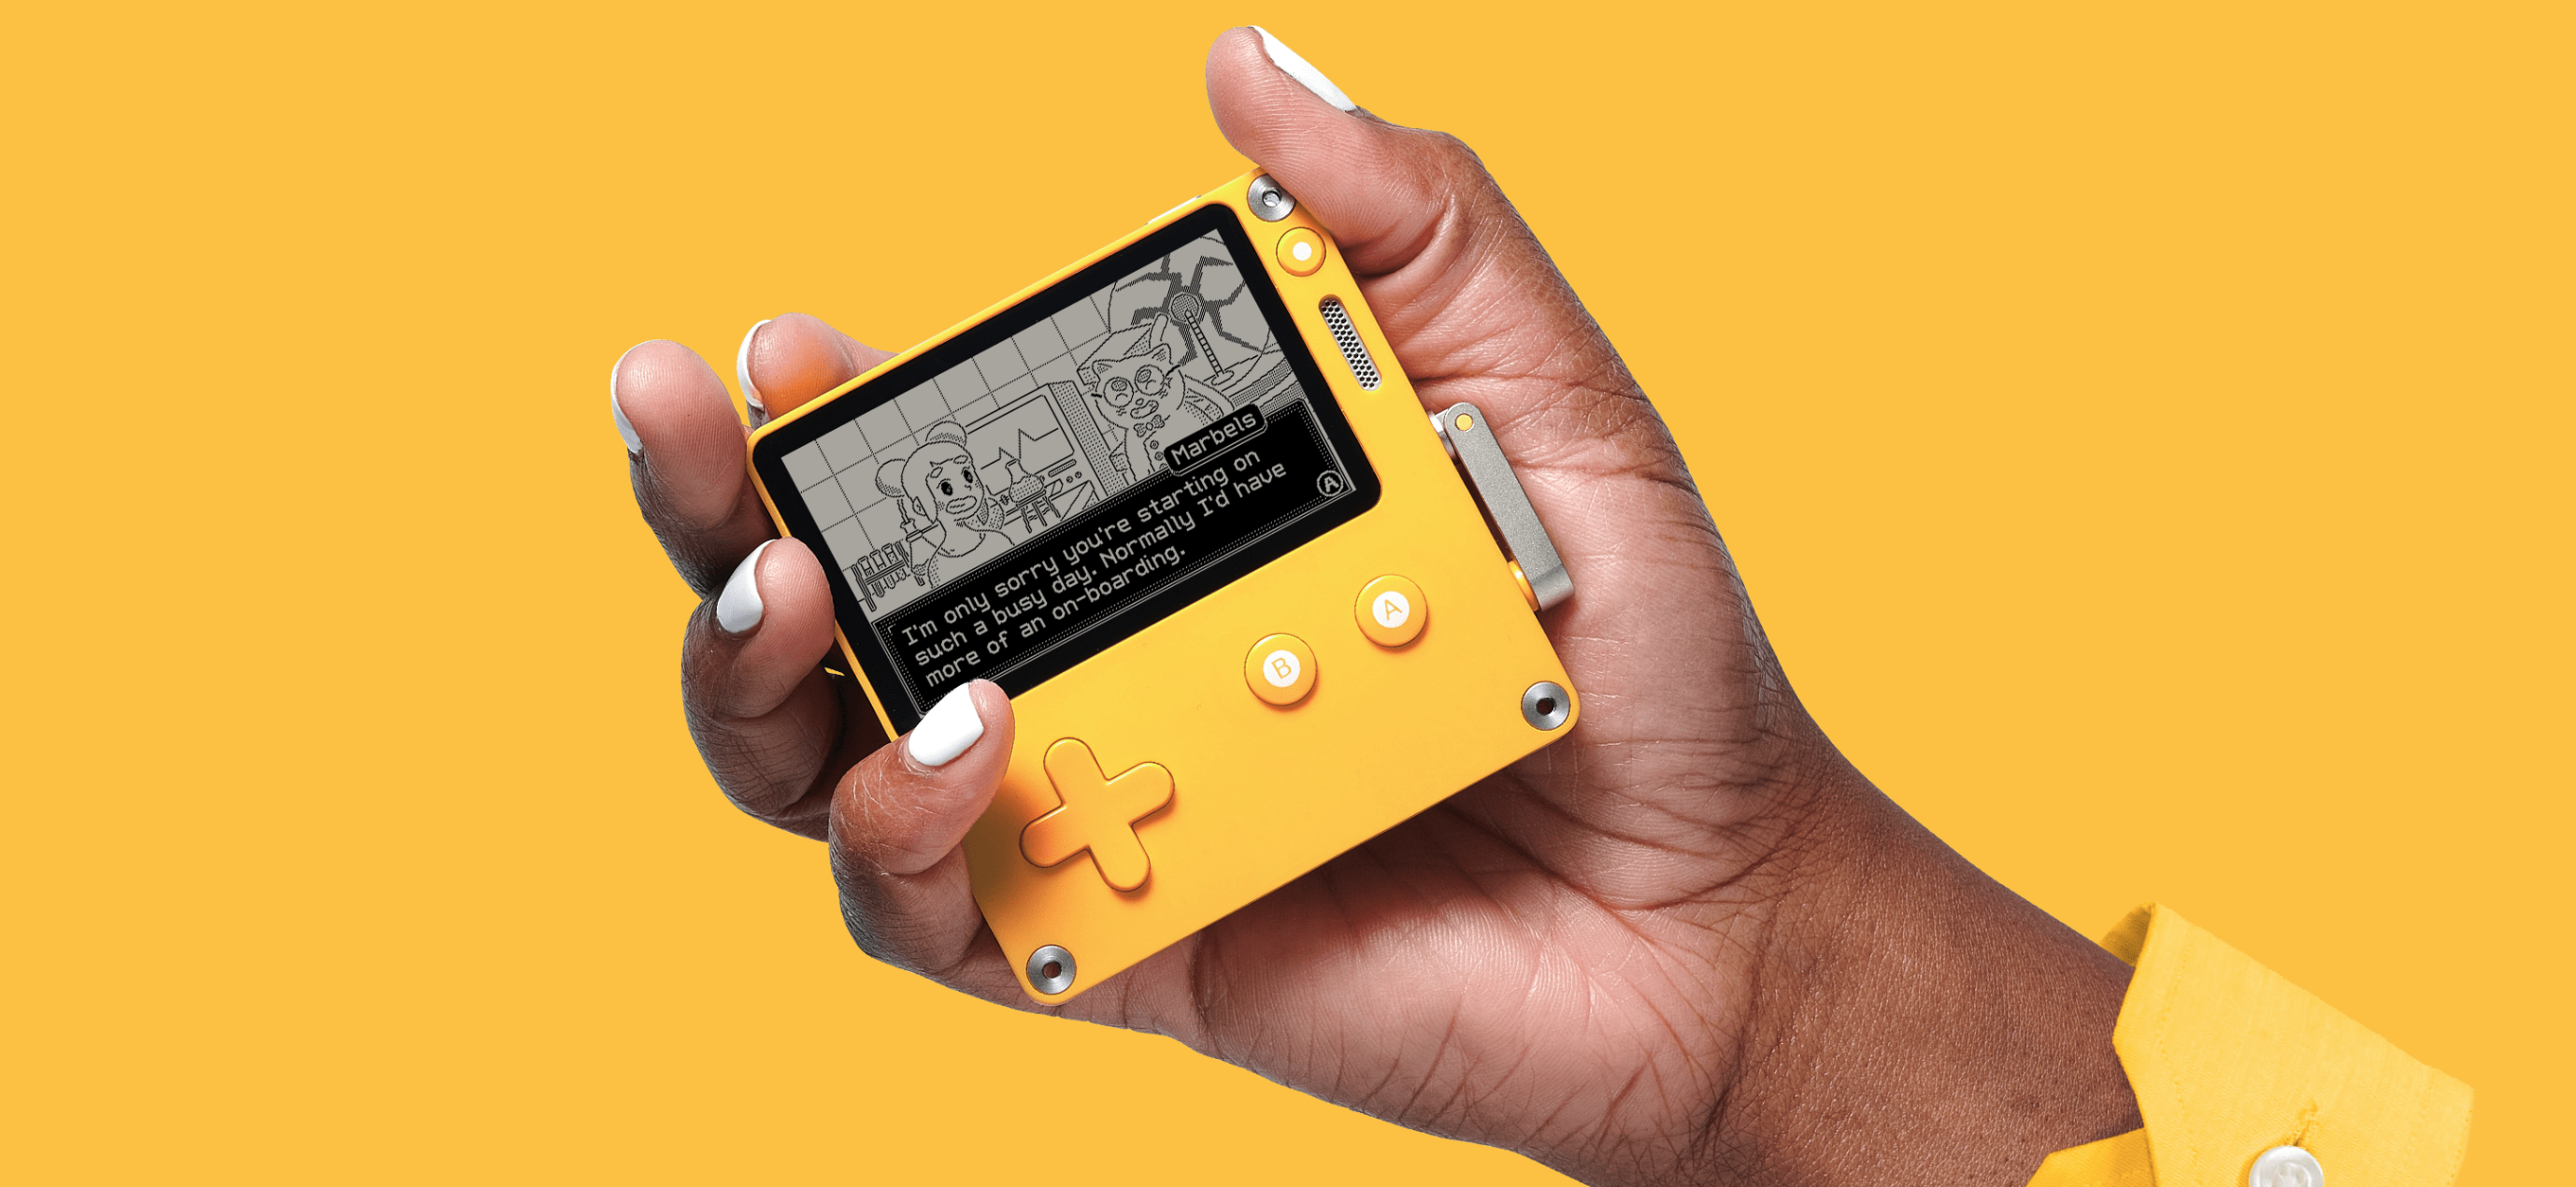
Playdateは十字キーとABボタンに加えて、くるくる回せるクランクのついたゲーム端末です。
画面は400x240pxのモノクロの1bitなのですが、フレームレートはデフォルト30fpsとサクサク動きます。
ゲームは毎週2本配信されるのですが、Playdate SDKという開発キットがあるので自作することもできます。
今回一番ミニマムな形でゲームをPlaydate Simulatorで起動してみようと思います。
開発に必要なもの
-
Playdate SDK(v1.12.3)
- Playdateの開発キット
-
Nova(v10.3)
- IDE。Playdate Similatorを直接起動してデバッグできる。
上記のインストールを済ませておきます。
Playdateゲームをミニマムに作る
myProjectNameという作業用のディレクトリを作り以下のようなディレクトリ構成にします。
myProjectName/
    source/
        main.lua
        Images/
            playerImage.png
            background.png
main.luaは以下のように記述します。
import "CoreLibs/object"
import "CoreLibs/graphics"
import "CoreLibs/sprites"
import "CoreLibs/timer"

local gfx <const> = playdate.graphics

local playerSprite = nil

function myGameSetUp()

    local playerImage = gfx.image.new("Images/playerImage")
    assert( playerImage )

    playerSprite = gfx.sprite.new( playerImage )
    playerSprite:moveTo( 200, 120 )
    playerSprite:add()

    local backgroundImage = gfx.image.new( "Images/background" )
    assert( backgroundImage )

    gfx.sprite.setBackgroundDrawingCallback(
        function( x, y, width, height )
            backgroundImage:draw( 0, 0 )
        end
    )

end

myGameSetUp()

function playdate.update()

    if playdate.buttonIsPressed( playdate.kButtonUp ) then
        playerSprite:moveBy( 0, -2 )
    end
    if playdate.buttonIsPressed( playdate.kButtonRight ) then
        playerSprite:moveBy( 2, 0 )
    end
    if playdate.buttonIsPressed( playdate.kButtonDown ) then
        playerSprite:moveBy( 0, 2 )
    end
    if playdate.buttonIsPressed( playdate.kButtonLeft ) then
        playerSprite:moveBy( -2, 0 )
    end

    gfx.sprite.update()
    playdate.timer.updateTimers()

end
次にNovaを起動してファイル > 開く… より、 myProjectNameを選択します。
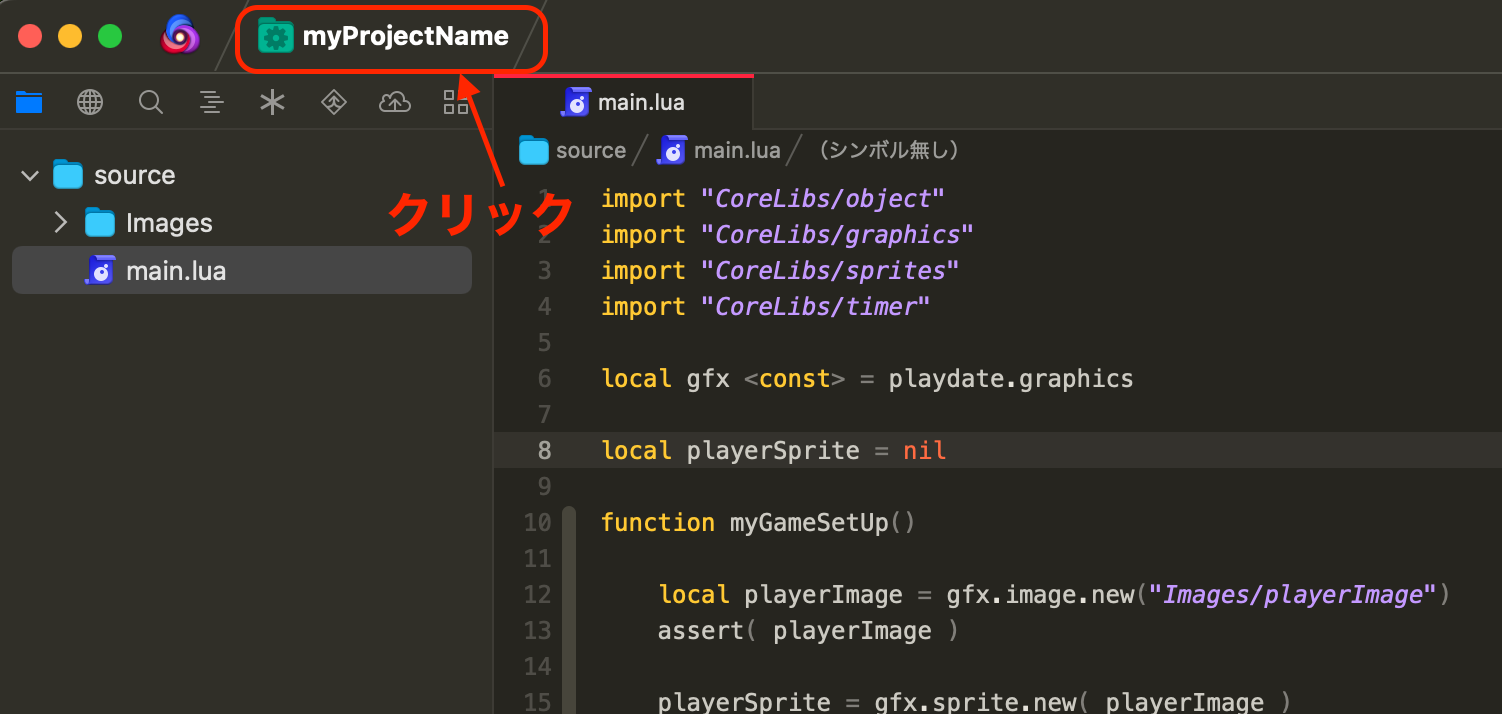
myProjectNameを開いた後、タイトルバーに表示されているmyProjectNameをクリックし、設定ウィンドウを開きます。
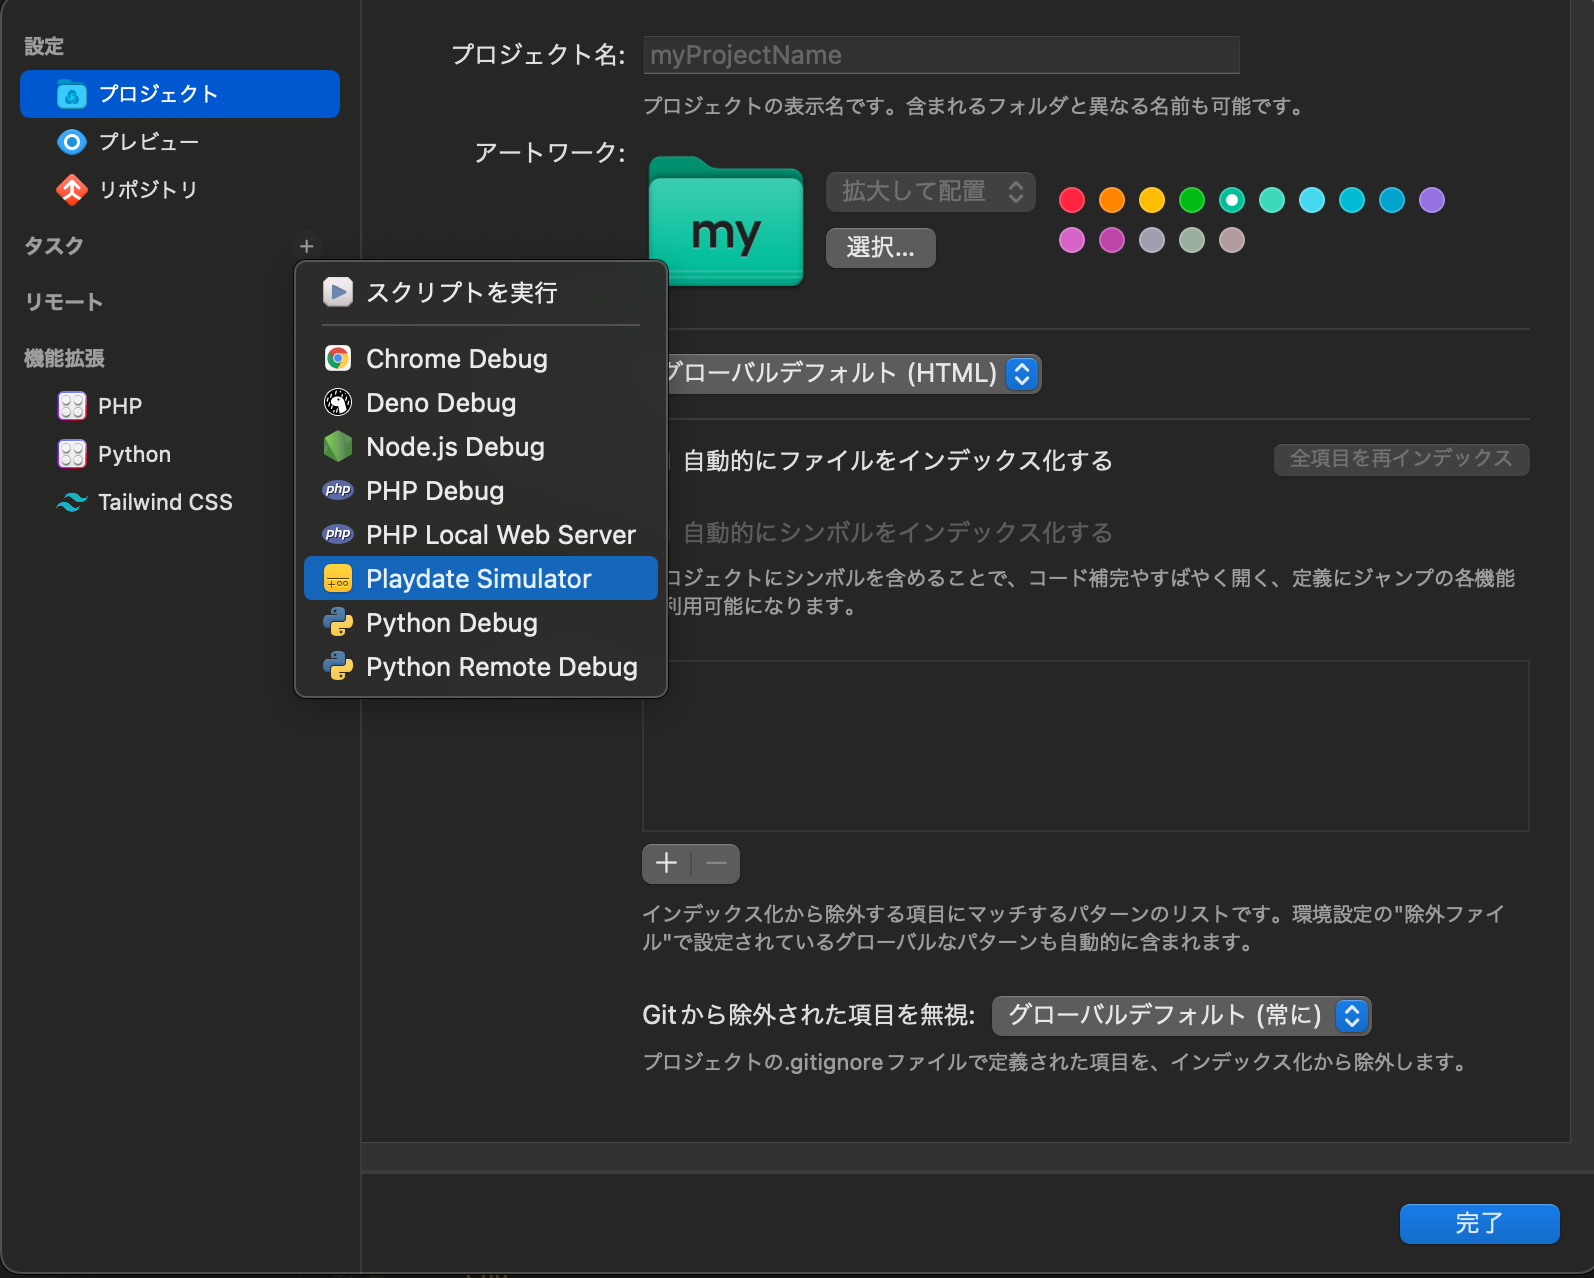
設定ウィンドウを開いた後、タスクから新しいタスクPlaydate Similatorを追加します。
追加後、完了ボタンを押し、設定ウィンドウを閉じます。
先程のタイトルバーのmyProjectName表記の右側にPlaydate Similatorが表示されていることを確認したら、緑色の再生アイコンボタンを押下するとシミュレーターでデバッグすることができます。

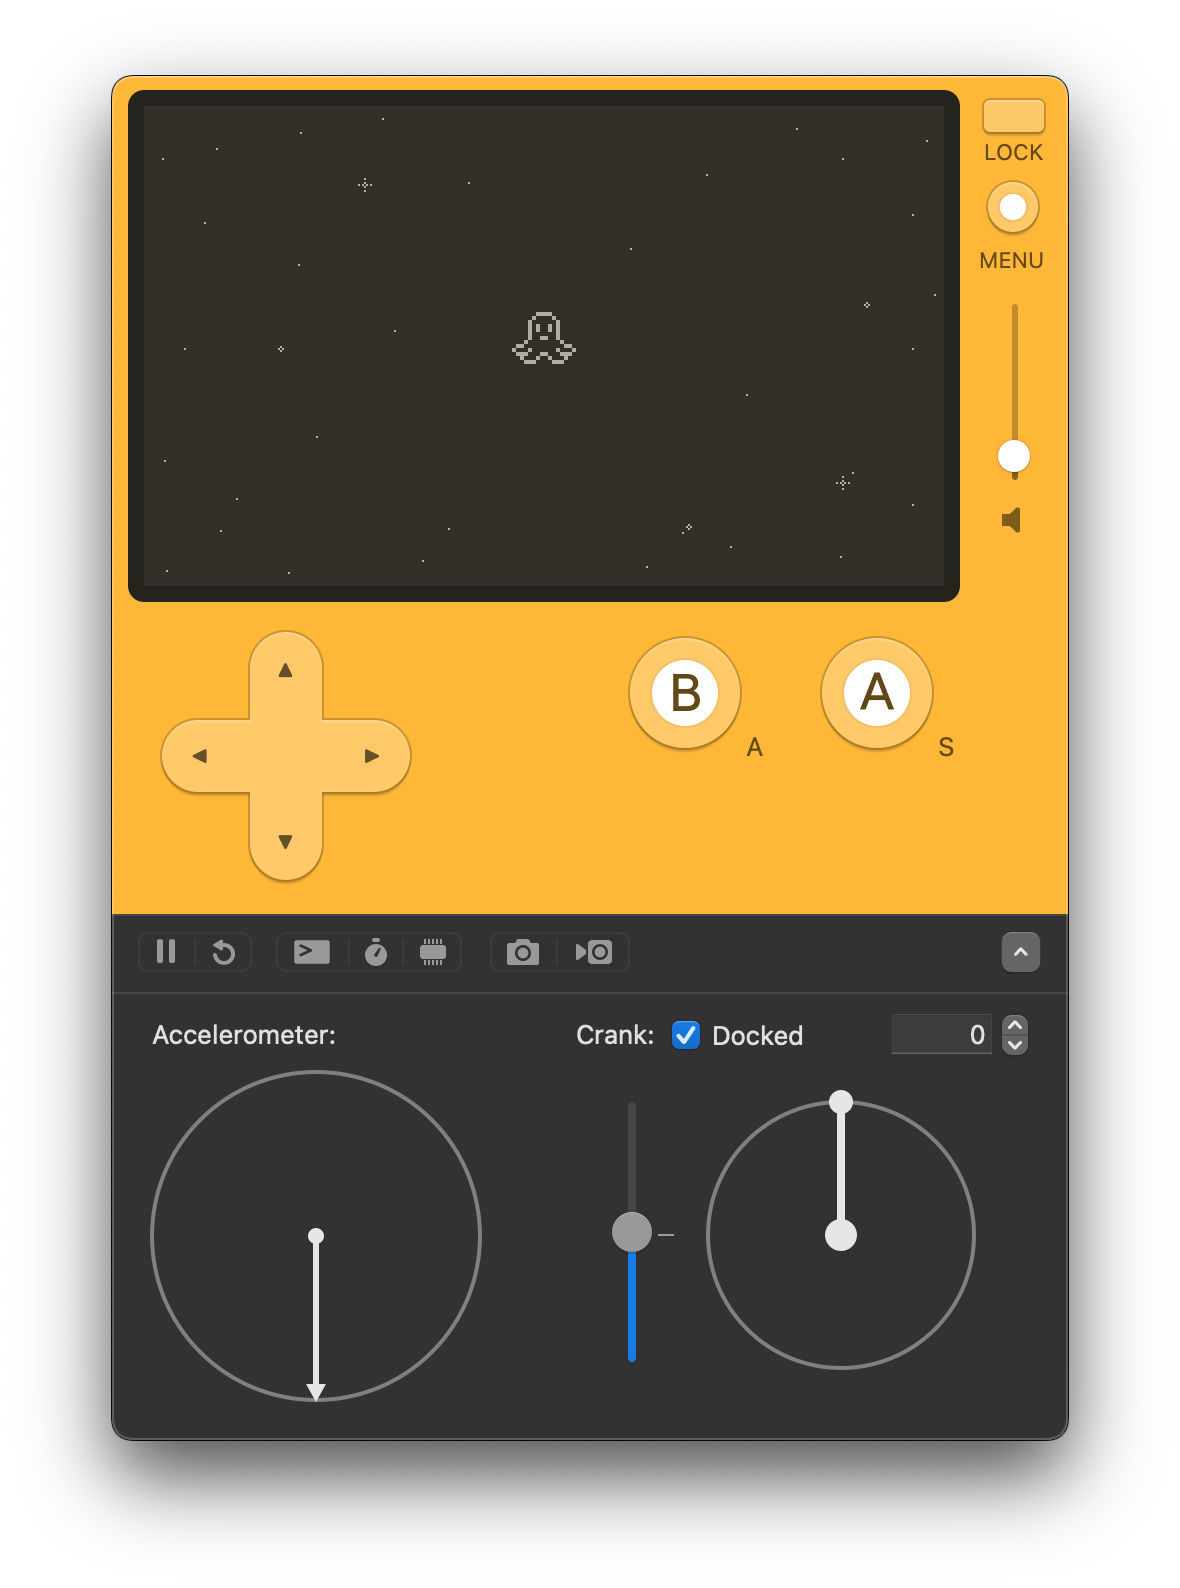
次回はこれを実機に転送できるようにしたいと思います。
