更新:11/12
コマンドラインで
jupyter --data-dir
と打ったら、一発で
/Users/user_name/Library/Jupyter
と出てきました!何で思いつかなかったんだ...![]()
![]()
![]()
はじめに
jupyter_contrib_nbextensionsとは?
Jupyter notebookに拡張機能を追加できるパッケージです。(Jupyter Labは未対応)
できることは全てこの記事にまとまっています。
少し拡張機能を紹介すると、目次の自動生成やコード補完、スニペットの登録などをできるようになります。
インストール手順
公式のサイトのReadmeにまとまっていますが引用すると、
pip install jupyter_contrib_nbextensions
jupyter contrib nbextension install --user
このコマンドを実行後にJupyter notebookを起動すると、nbextensionsというタブが増えていて、そこから拡張機能のON/OFFを切り替えられるようになります。
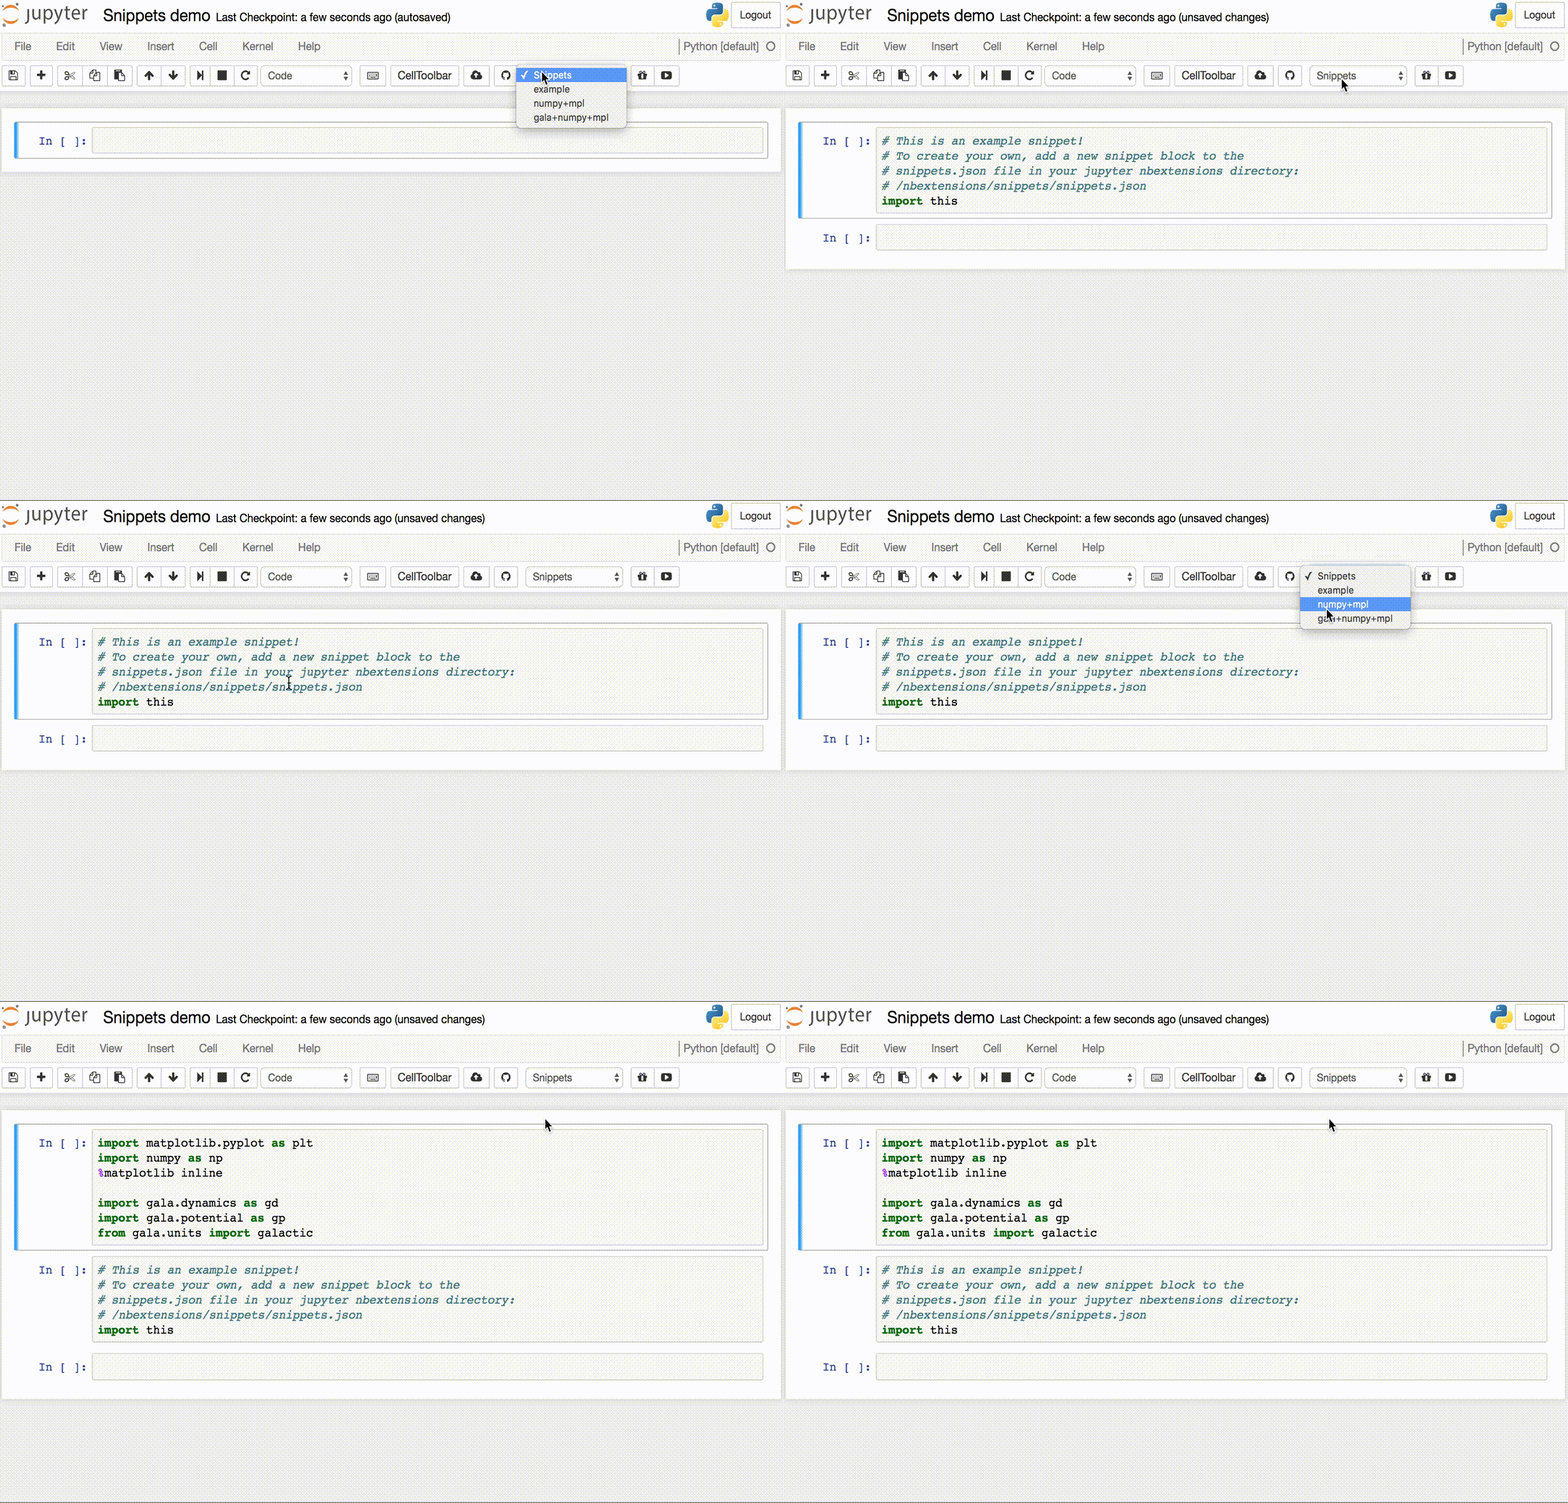
中でもスニペット登録機能は、分析の度に書くお決まりのパッケージインポート文や、チーム内で決めているフォーマット(分析の目的、分析者、データ抽出元など)を登録しておくと毎度の手間が減り、とても便利です。
公式のReadmeも参考にしながら設定していたのですが、知識不足でわからない部分があり、土曜日うんうん唸りながら試行錯誤してやっと解決できたのでここでやり方をまとめます。
ハマったポイント
公式ページの引用をすると、
こんな感じで登録したスニペットをドロップダウンで選択して入力できるというもので、
$(jupyter --data-dir)/nbextensions/snippets/のディレクトリにあるsnippets.json内にjsonを追加することでスニペットを登録できるというものです。
{
    "snippets" : [
        {
            "name" : "example",
            "code" : [
                "# This is an example snippet!",
                "# To create your own, add a new snippet block to the",
                "# snippets.json file in your jupyter data directory under nbextensions:",
                "# $(jupyter --data-dir)/nbextensions/snippets/snippets.json",
                "import this"
            ]
        },
        {
            "name" : "some imports",
            "code" : [
                "import numpy as np",
                "import matplotlib as mpl",
                "print('spam')"
            ]
        }
    ]
}
待て、(jupyter --data-dir)って何? ( ゚ ω ゚ )
ここでハマった。
あちこちlsしまくって探して、それっぽいのを見つけて変更しても変更が反映されず、途方に暮れました。
解決!
jupyter --path
で、jupyterのデータの読み先を確認。
config:
    /Users/user_name/.jupyter
    /usr/local/etc/jupyter
    /etc/jupyter
data:
    /Users/user_name/Library/Jupyter
    /Users/user_name/python/normal_env/share/jupyter
    /usr/local/share/jupyter
    /usr/share/jupyter
runtime:
    /Users/user_name/Library/Jupyter/runtime
のように出力されるので、data:のところの一番上にあった/Users/user_name/Library/Jupyter配下の./jupyter/nbextensions/snippets/snippets.jsonを変更したら無事スニペットが登録されました!
{
    "snippets" : [
        {
            "name" : "example",
            "code" : [
                "# This is an example snippet!",
                "# To create your own, add a new snippet block to the",
                "# snippets.json file in your jupyter nbextensions directory:",
                "# /nbextensions/snippets/snippets.json",
                "import this"
            ]
        },
		{
			"name" : "always",
			"code" : [
				"# I got the true directry"
			]
		}
    ]
}
長い道のりでした。。。
補足
自分は環境分離にvirtual_envを使っているので、Anacondaの方は違う解決方法になるかもしれません。


