モチベーション
localhostのままで複数のコンテナを立てていると、ポートで分けて管理する必要があり煩わしいので色々試してみた。
環境
- ホストOS:macOS 12.6.6(Apple siliconでもとりあえず動きました
 )
) - Next.js:13.4.2
mac側でリバースプロキシ用ネットワークを設定
zsh
$ docker network create reverse-proxy-network
mac側のHostsファイルに開発用ドメインを追加
zsh
$ sudo vim /etc/hosts
/etc/hosts
# ドメインは適当です
127.0.0.1    next.dev.local
各種ファイルの中身
Next.jsの場合
docker-compose.yml
services:
  develop:
    container_name: next-js
    build: ./docker/develop
    ports:
      - 3000:3000
    privileged: true
    volumes:
      - ./app:/app
      - ./app/node_modules:/app/node_modules
    tty: true
    stdin_open: true
    command: /bin/bash -c "npm install -g npm@latest && npm update && npm run dev"
    networks:
      default:
      reverse-proxy-network:
        aliases:
          - nextjs-container

  reverse-proxy:
    image: nginx:alpine
    ports:
      - "80:80"
    volumes:
      - ./reverse-proxy/conf.d:/etc/nginx/conf.d
    networks:
      - reverse-proxy-network
    depends_on:
      - develop

networks:
  reverse-proxy-network:
    external: true
conf.d/default.conf
server {
    listen 80;       # IPv4
    listen [::]:80;  # IPv6
    server_name next.dev.local;
    location / {
        #  composeのaliasesを指定する。
        proxy_pass http://nextjs-container:3000/;
    }
    # HMR
    location /_next/webpack-hmr {
        proxy_pass http://nextjs-container:3000/_next/webpack-hmr;
        proxy_http_version 1.1;
        proxy_set_header Upgrade $http_upgrade;
        proxy_set_header Connection "upgrade";
    }
}
docker/develop/Dockerfile
FROM node:18-slim
ENV TZ Asia/Tokyo

WORKDIR /app

RUN apt-get update && \
    apt-get install -y python3 make g++ curl
package.json
{
  "name": "my-app",
  "version": "0.1.0",
  "private": true,
  "scripts": {
    "dev": "next dev",
    "build": "next build",
    "start": "next start",
    "lint": "next lint"
  },
  "dependencies": {
    "@types/node": "20.1.3",
    "@types/react": "18.2.6",
    "@types/react-dom": "18.2.4",
    "autoprefixer": "10.4.14",
    "eslint": "8.40.0",
    "eslint-config-next": "13.4.2",
    "next": "13.4.2",
    "postcss": "8.4.23",
    "react": "18.2.0",
    "react-dom": "18.2.0",
    "tailwindcss": "3.3.2",
    "typescript": "5.0.4"
  }
}
ディレクトリ構成
├── app
│   ├── node_modules
│   ├── public
│   ├── src
│   ├── README.md
│   ├── next-env.d.ts
│   ├── next.config.js
│   ├── package-lock.json
│   ├── package.json
│   ├── postcss.config.js
│   ├── tailwind.config.js
│   └── tsconfig.json
├── reverse-proxy
│   └── conf.d
│       └── default.conf
├── docker
│   ├── develop
│   │   └── Dockerfile
│   └── reverse-proxy
│       └── (Dockerfile)
└── docker-compose.yml
SSL化
オレオレ証明書で開発環境をSSL化していきます。
証明書作成
zsh
$ openssl req -x509 -nodes -new -keyout server.key -out server.crt -days 365
色々聞かれるので適当に必須項目を埋めます。
Country Name (2 letter code) [AU]:JP
State or Province Name (full name) []:Tokyo
Locality Name (eg, city) []:Chuo-Ku
Organization Name (eg, company) []:Sample K.K.
Organizational Unit Name (eg, section) []:Web Sales Dept.
Common Name (eg, YOUR name) []:next.dev.local
各種ファイル
docker-compose.yml
services:
  develop:
    container_name: next-js
    build: ./docker/develop
    ports:
      - 3000:3000
    privileged: true
    volumes:
      - ./app:/app
      - ./app/node_modules:/app/node_modules
    tty: true
    stdin_open: true
    command: /bin/bash -c "npm install -g npm@latest && npm update && npm run dev"
    networks:
      default:
      reverse-proxy-network:
        aliases:
          - nextjs-container

  reverse-proxy:
    image: nginx:alpine
    ports:
      - "443:443"
    volumes:
      - ./reverse-proxy/conf.d:/etc/nginx/conf.d
      - ./reverse-proxy/cert:/etc/nginx/cert
      - ./reverse-proxy/log:/var/log
    networks:
      - reverse-proxy-network
    depends_on:
      - develop

networks:
  reverse-proxy-network:
    external: true
conf.d/default.conf
server {
    listen 443 ssl;
    server_name next.dev.local;
    ssl_certificate /etc/nginx/cert/server.crt;
    ssl_certificate_key /etc/nginx/cert/server.key;
    error_log  /var/log/nginx/error.log;
    access_log /var/log/nginx/access.log;
    location / {
        #  composeのaliasesを指定する。
        proxy_pass http://nextjs-container:3000/;
    }
    location /_next/webpack-hmr {
        proxy_pass http://nextjs-container:3000/_next/webpack-hmr;
        proxy_http_version 1.1;
        proxy_set_header Upgrade $http_upgrade;
        proxy_set_header Connection "upgrade";
    }
}
ディレクトリ構成
├── app
│   ├── node_modules
│   ├── public
│   ├── src
│   ├── README.md
│   ├── next-env.d.ts
│   ├── next.config.js
│   ├── package-lock.json
│   ├── package.json
│   ├── postcss.config.js
│   ├── tailwind.config.js
│   └── tsconfig.json
├── reverse-proxy
│   ├── conf.d
│   │   └── default.conf
│   ├── cert # 追加
│   │   ├── server.crt
│   │   └── server.key
│   └── log # 追加
│       └── nginx
│           ├── access.log
│           └── error.log
├── docker
│   ├── develop
│   │   └── Dockerfile
│   └── reverse-proxy
│       └── (Dockerfile)
└── docker-compose.yml
動作確認
https://next.dev.localにアクセスしてみる。
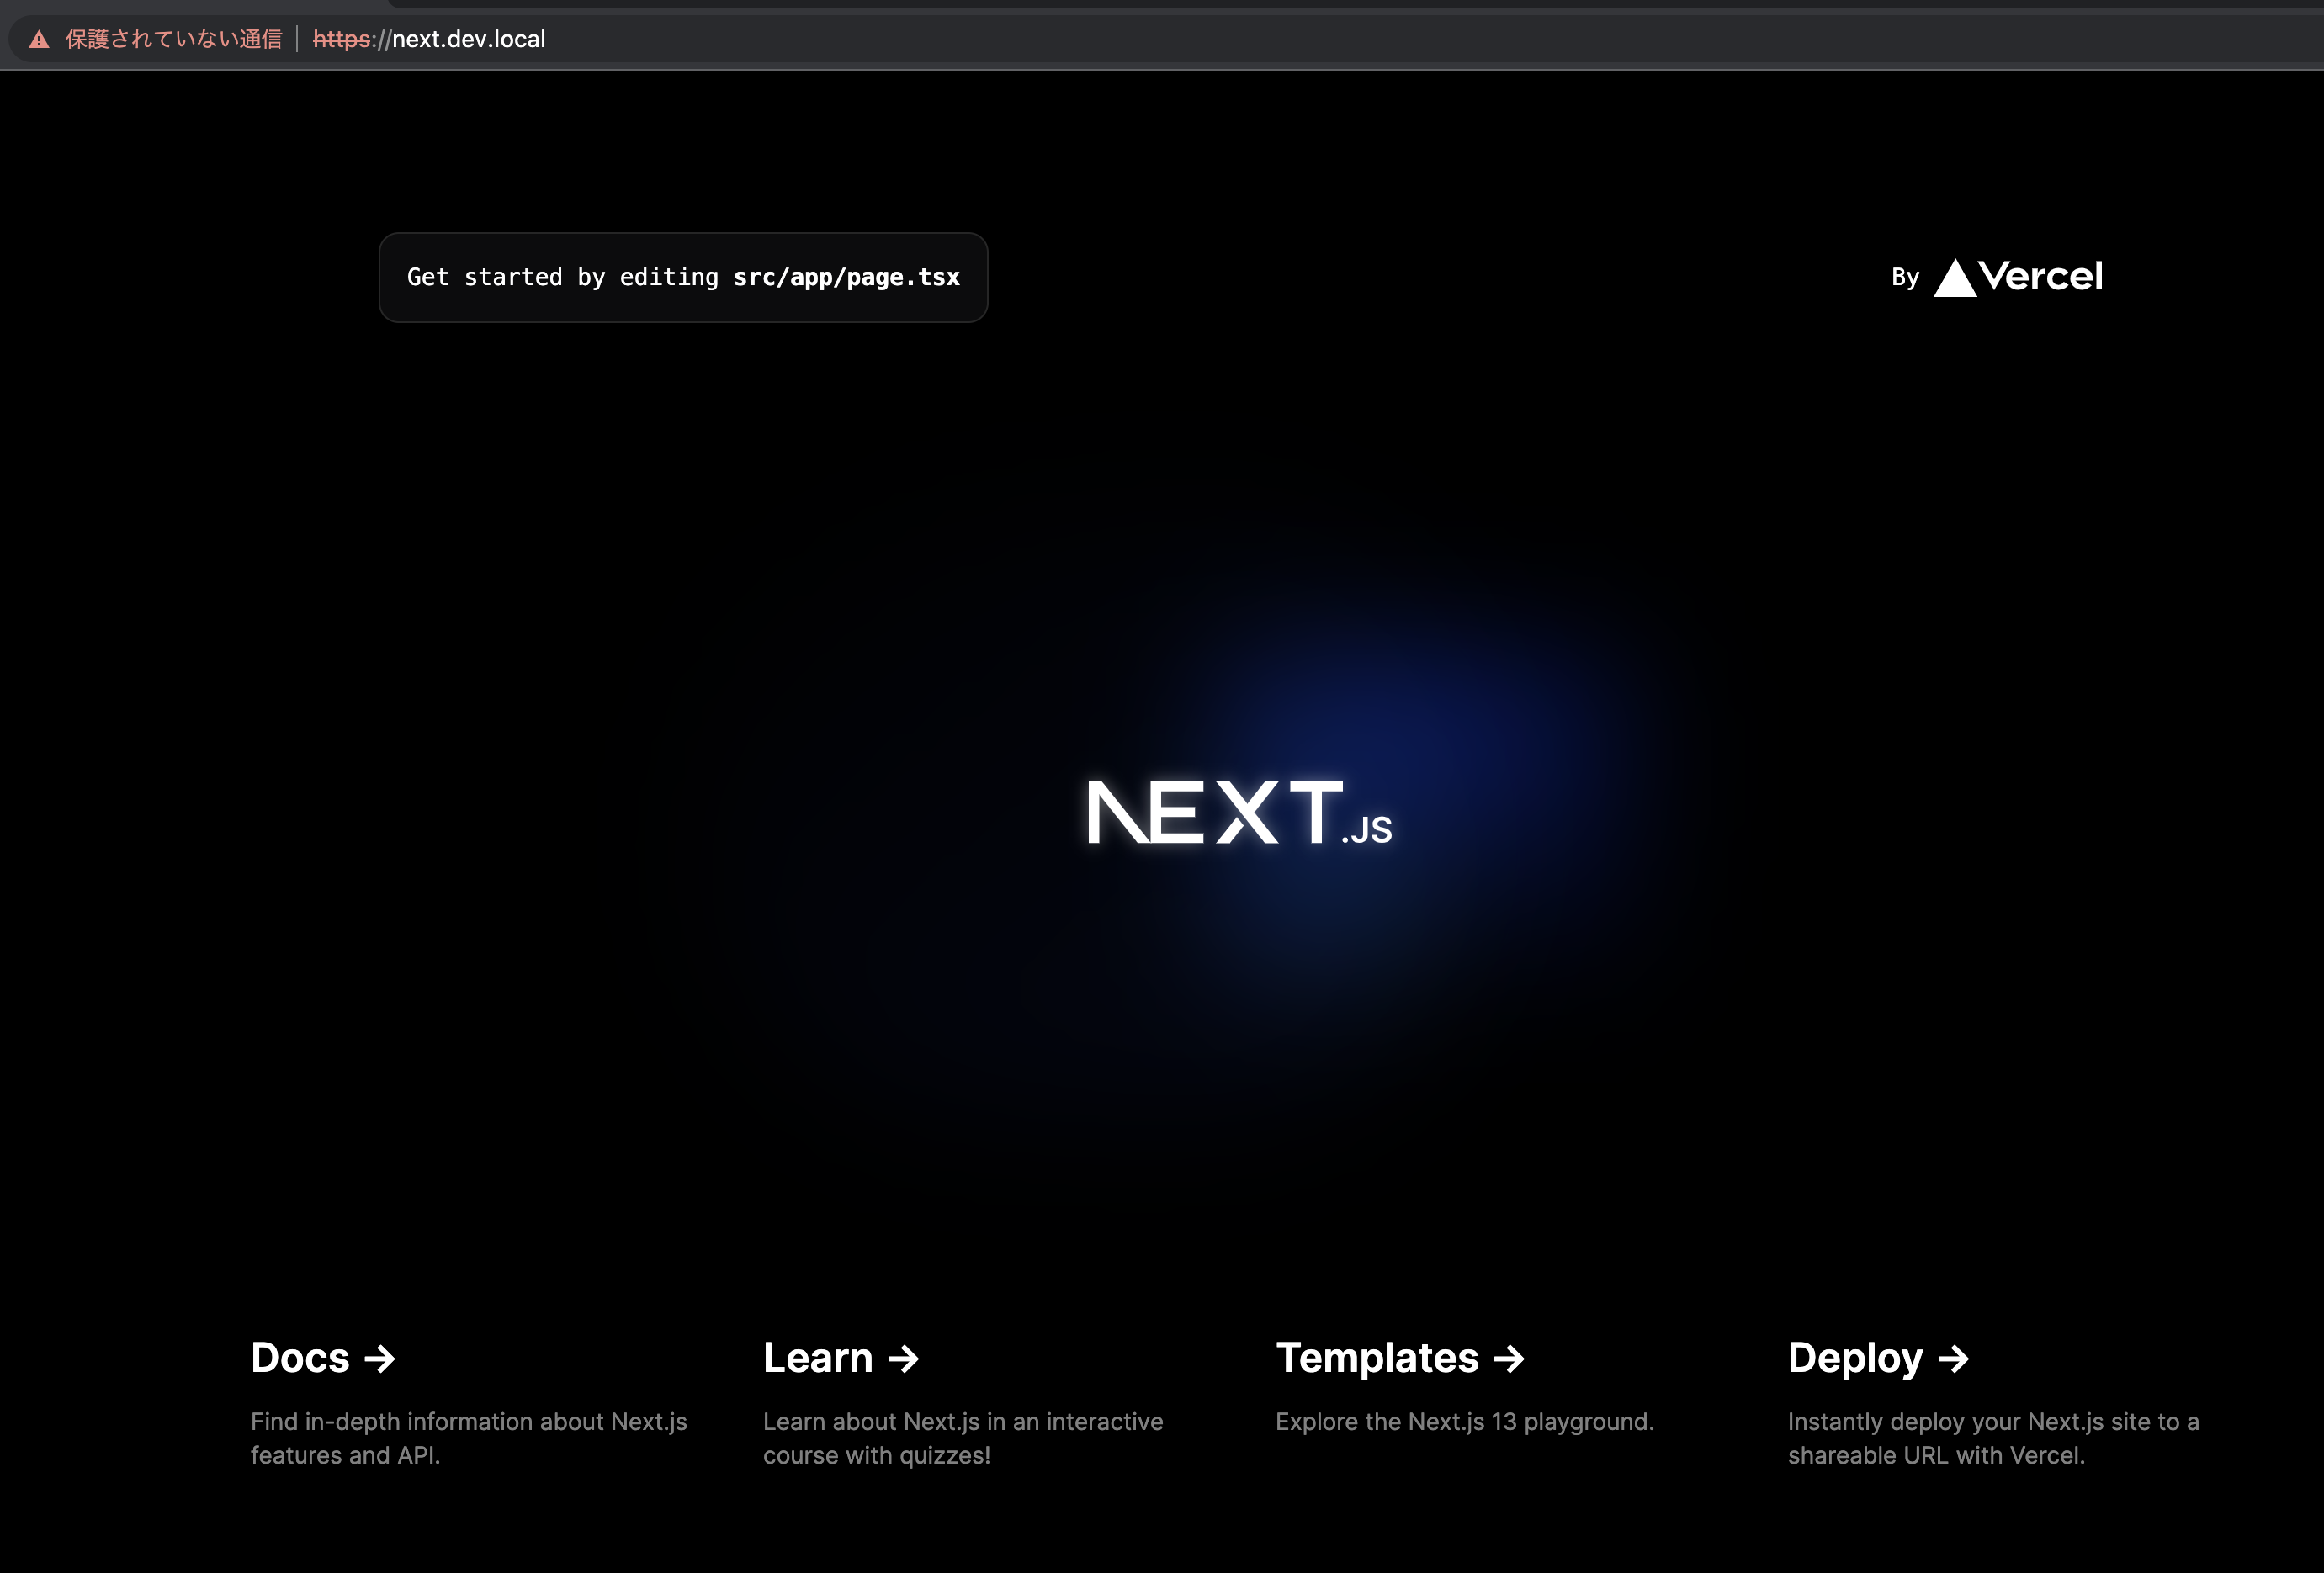
保護されていない通信と出てしまってますが、ページ自体は表示できました。
補足
本記事ではあくまで開発環境用にSSL化しただけなので、そのまま本番環境で使うことは想定していません。
このままだとアドレスバーに 保護されていない通信などと出てきてしまうので、下記を参考にブラウザの設定を変更する必要がありそうです。
参考記事