はじめに
いきなりですが、認証・認可におけるAAAフレームワークってご存知ですか?
AAAフレームワークとは、Authentication(認証)、Authorization(認可)、Accounting(アカウンティング)の3つのAのことです。
Accountingは精算、請求みたいなイメージですが、認証/認可に関する監査/記録といったような意味です。
Cognitoも監査/記録に対応する機能はいくつかあるみたいですが、今回はユーザが最後にログインした日時を記録し、管理画面などで表示する仕組みを考えてみたいと思います。
Lambdaトリガーをつかった認証フローカスタマイズ
調べてみた感じ、Congnitoのユーザプールには最終ログイン日時を直接取得する機能はないみたいですが、Lambdaトリガーを使うことで実現できそうでした。
Lambdaトリガーは認証方法そのものをカスタマイズしたり、認証フローの特定のタイミングでLambdaの処理をはさむことができる模様です。
今回は認証が成功したタイミングでLambdaの処理をはさむことで、最終ログイン日時を記録するようにしてみます。
早速やってみた!
早速実装してみます!
最終ログイン日時をDB等の外部に永続化すると管理画面等で表示する際に取得する処理が必要になってきますので、今回はIDトークンのカスタムクレームに最終ログイン日時を設定するようにしてみます。
Lambdaの作成
まずは認証後トリガーに設定するLambdaを作成します。
Cognito Admin APIを使い、custom:last_loginにJSTの日付を設定します。
import pkg from "@aws-sdk/client-cognito-identity-provider";
const { CognitoIdentityProviderClient, AdminUpdateUserAttributesCommand } = pkg;

// Cognitoクライアントの初期化
const cognito = new CognitoIdentityProviderClient({
  region: process.env.AWS_REGION || "ap-northeast-1",
});

/**
 * Cognito Post Authentication Lambda Trigger
 * ユーザーがログインに成功した後に実行され、最終ログイン日時をカスタム属性に保存する
 */
export const handler = async (event, context) => {
  try {
    const userPoolId = event.userPoolId;
    const username = event.userName;

    await updateUserAttributes(userPoolId, username);

    console.log("Post Authentication trigger completed successfully");
    return event;
  } catch (error) {
    console.error("Error in Post Authentication trigger:", error);
    console.log("Continuing authentication flow despite error");
    return event;
  }
};

/**
 * Admin APIを使用してユーザー属性を更新
 */
const updateUserAttributes = async (userPoolId, username) => {
  const now = new Date();
  const jstTime = new Date(now.getTime() + 9 * 60 * 60 * 1000); // UTC+9時間
  const jstString = jstTime.toISOString().replace("Z", "+09:00");

  const command = new AdminUpdateUserAttributesCommand({
    UserPoolId: userPoolId,
    Username: username,
    UserAttributes: [
      {
        Name: "custom:last_login",
        Value: jstString,
      },
    ],
  });

  console.log(
    `Updating user attributes for user: ${username} in pool: ${userPoolId}`
  );
  console.log(`JST Login time: ${jstString}`);
  await cognito.send(command);
  console.log("User attributes updated successfully");
};
作ったLambdaを設定
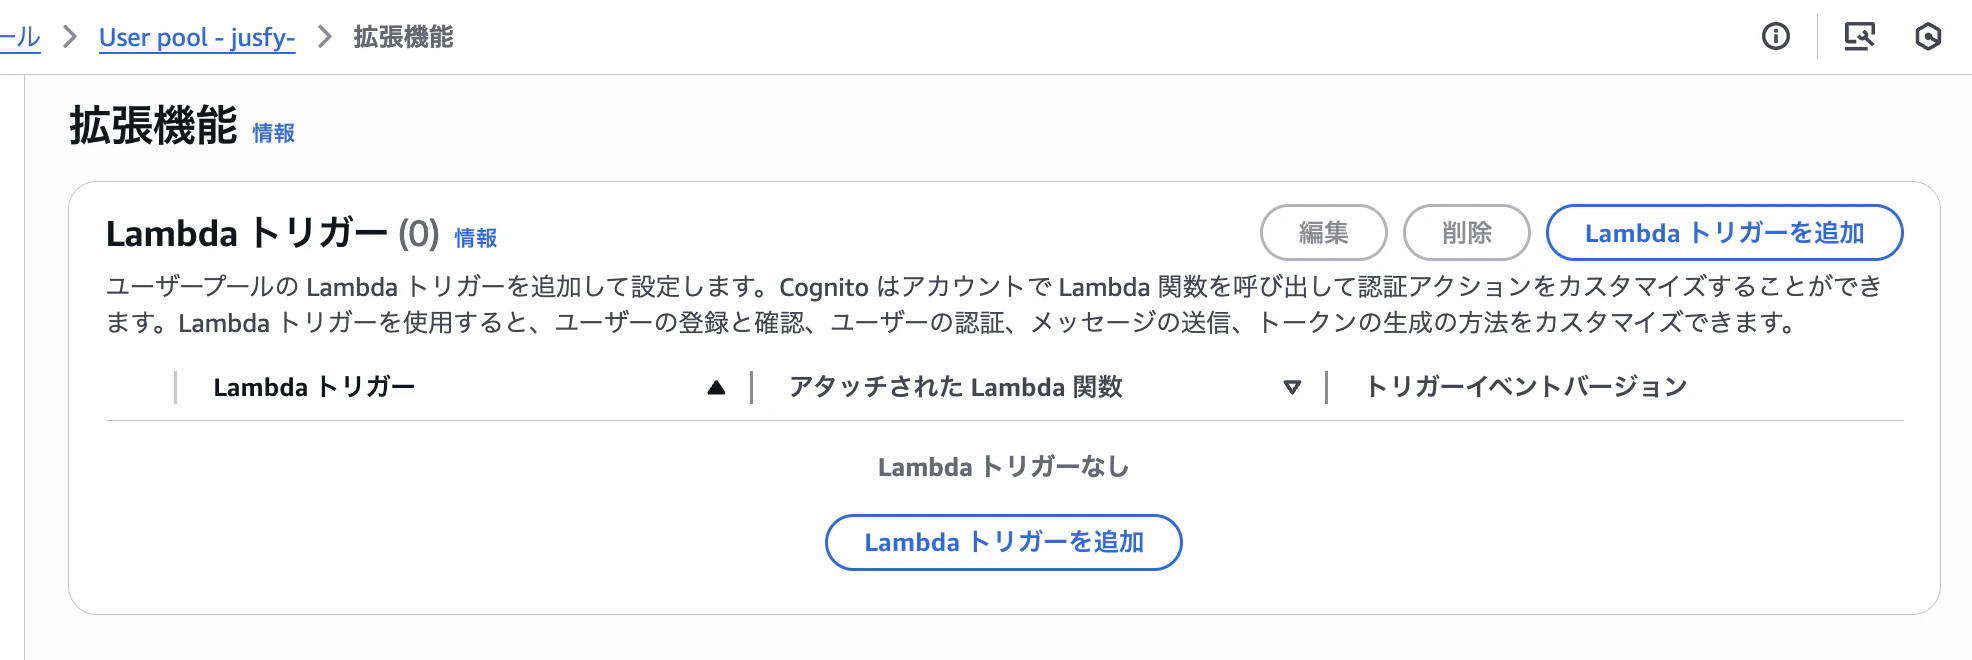
作成したLambdaをCognitoユーザプールに登録します。
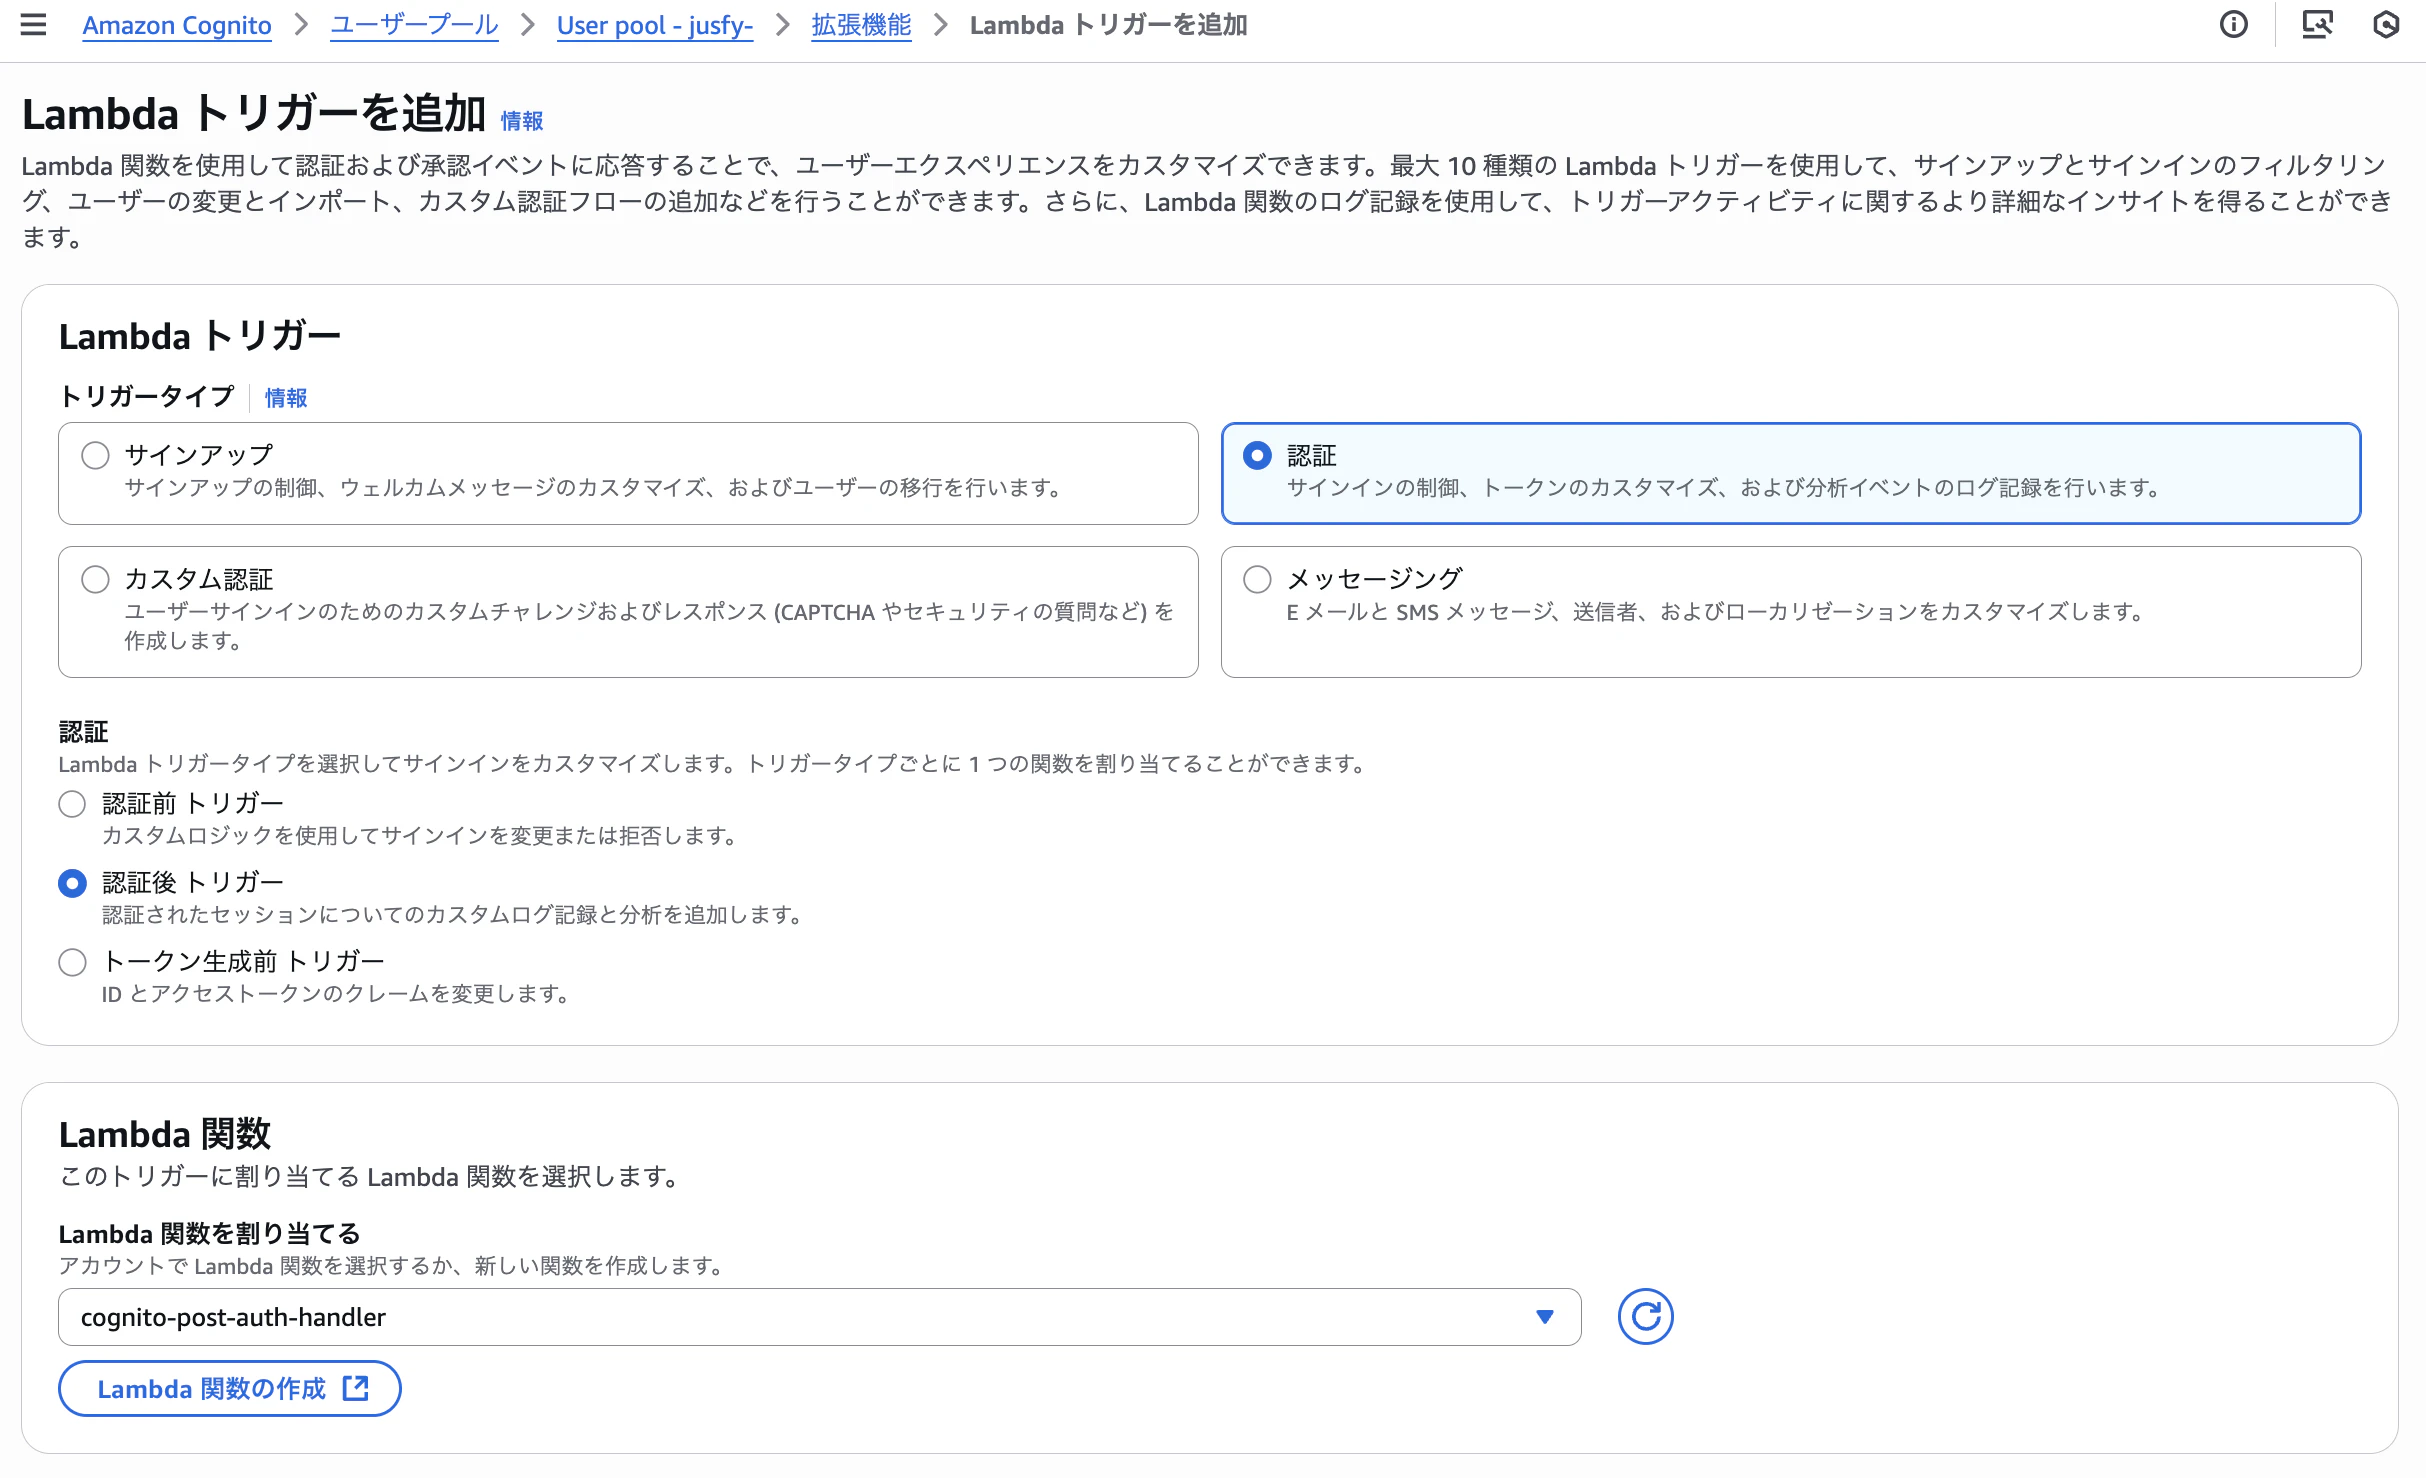
拡張機能からLambdaトリガーを追加します。
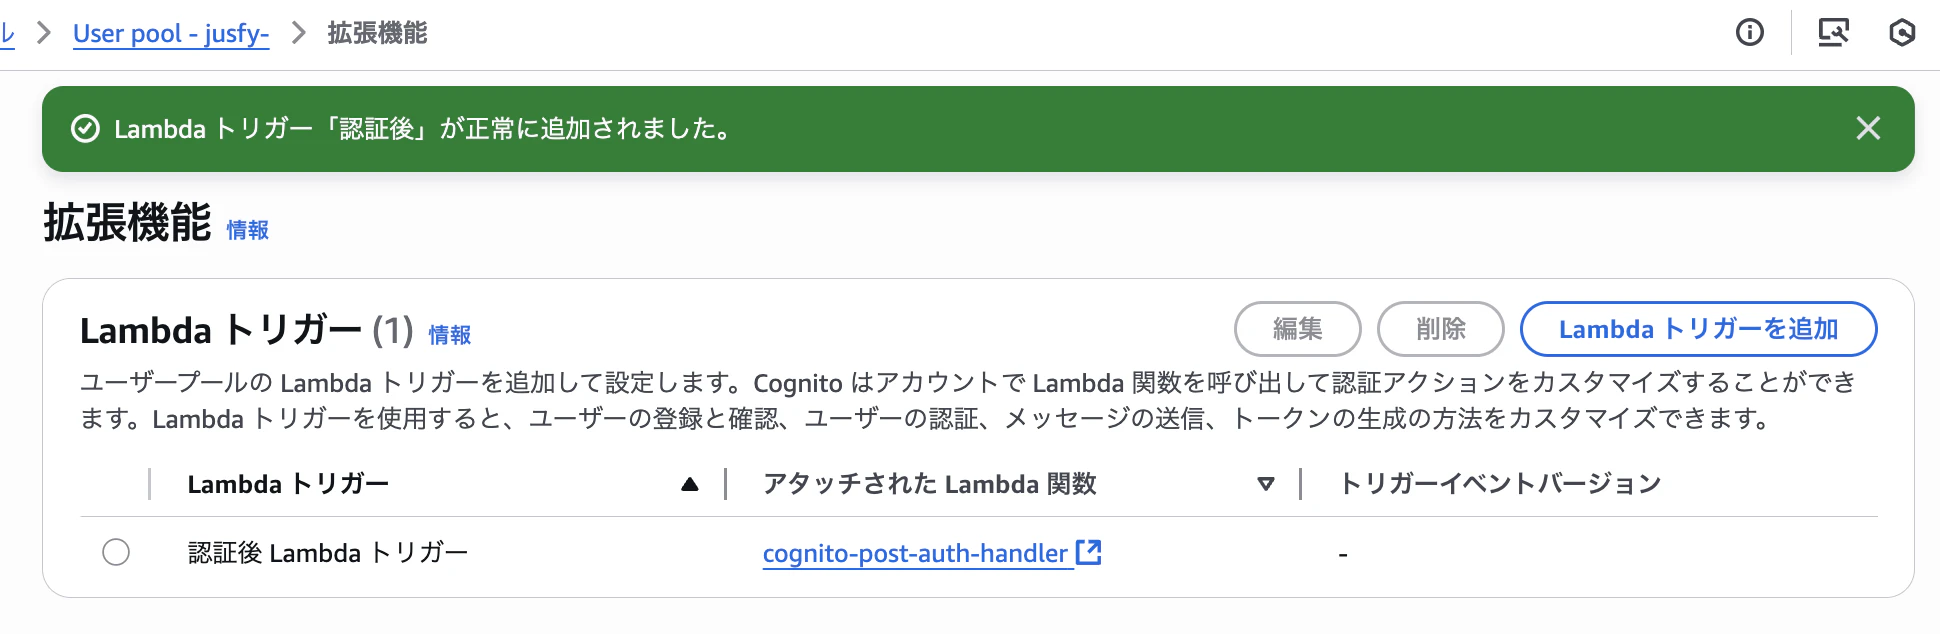
認証から、認証後トリガーを選択し、先ほど作ったLambdaを設定します。
完成です!
試してみる
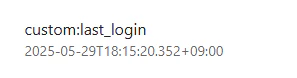
以前作った適当なWEBサイトでログインし、ユーザの属性の一覧を表示してみると、custom:last_loginが表示されていることを確認しました。
IDトークンを見ても、custom:last_loginが入ってることを確認しました!
{
  "at_hash": "bB4LZfLMc66JWz_QfOj-DA",
  "sub": "47e47ac8-30a1-70cd-64eb-c85956a2be16",
  "email_verified": true,
  "iss": "https://cognito-idp.ap-northeast-1.amazonaws.com/ap-northeast-1_XXXXXX",
  "cognito:username": "47e47ac8-30a1-70cd-64eb-c85956a2be16",
  "custom:tenant_id": "111",
  "origin_jti": "1b094411-dec2-4725-b945-98f5da093697",
  "aud": "ar4sjg7u1g1t16cah2rjfkih3",
  "event_id": "7e10b06b-42a7-4968-96b0-2e5697ab117e",
  "token_use": "id",
  "auth_time": 1748510122,
  "name": "もり",
  "custom:last_login": "2025-05-29T18:15:20.352+09:00",
  "exp": 1748513722,
  "iat": 1748510122,
  "jti": "66722d73-237b-4356-acc2-c610a08d5593",
  "email": "xxxxxxx@gmail.com",
  "custom:isAdmin": "true"
}
なお、このLambdaトリガーは同期的に行われるので、Lambdaがエラーになるとログインそのものも失敗してしまいます。
最後に
ちょっと時間取れず、手抜き記事になっちゃいましたが、lambdaトリガー使えば割と簡単にこういった機能を追加できますので紹介でした!