概要
Raspberry Piにモニタとかキーボードを繋げていると場所を取るので、PCからVNCで接続してRaspberry PiのGUIを操作したい。
前提
VNCのビュアー側はWindows機とする。
(たぶんMacでもVNC Viewerを使えば繋げ方は同じだと思う)
必要なハードウェア
- PC (Windows)
- Raspberry Pi
- LANケーブル (ストレートケーブルでよい)
必要なソフトウェア
- [VNC Viewer (Windowsにインストールする)] (https://www.realvnc.com/en/connect/download/viewer/)
VNC Viewerのインストールと接続までの手順
VNC Viewerのインストール
ダウンロードしたexeファイルをウィザードに従ってインストールすればよい。
(特別設定すべきところは無い)
Raspberry Piへの接続手順
Raspberry Pi側の設定
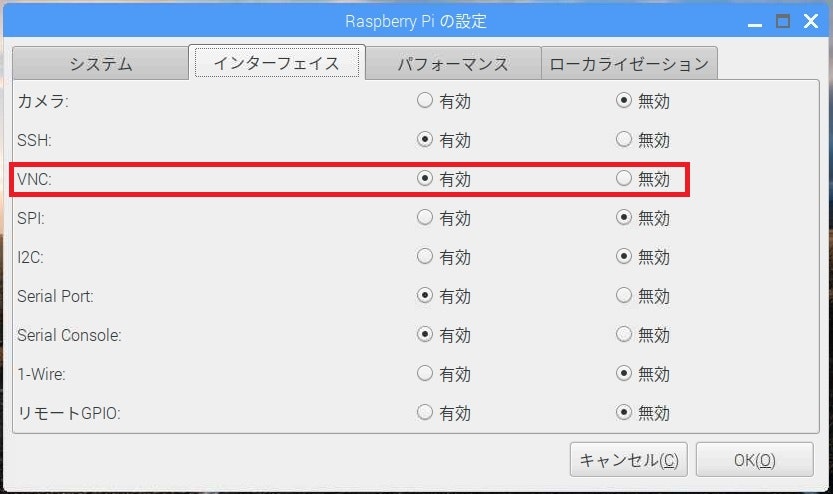
Raspberry PiのOS(Raspbian)にはあらかじめVNCサーバの機能が組み込まれているので、VNCの機能を有効化することでVNCサーバの機能を利用できる。
設定 > Raspberry Piの設定 > インターフェイス > VNCを[有効]にする。
クライアント(Windows)側の設定
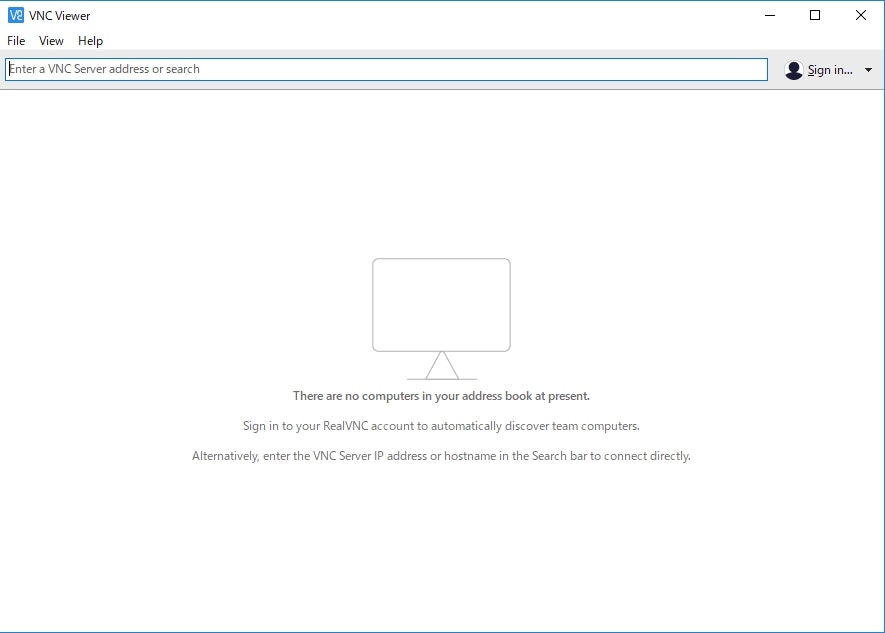
RealVNCのVNC Viewerを起動し、"Enter a VNC Server address or serach"の欄にRaspberry PiのIPアドレス(有線LANのIPアドレス)を入力してEnter。
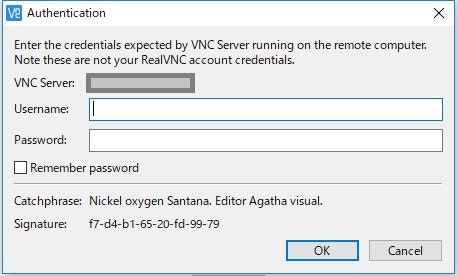
Raspberry Piのユーザ名とパスワードを求められるので入力。
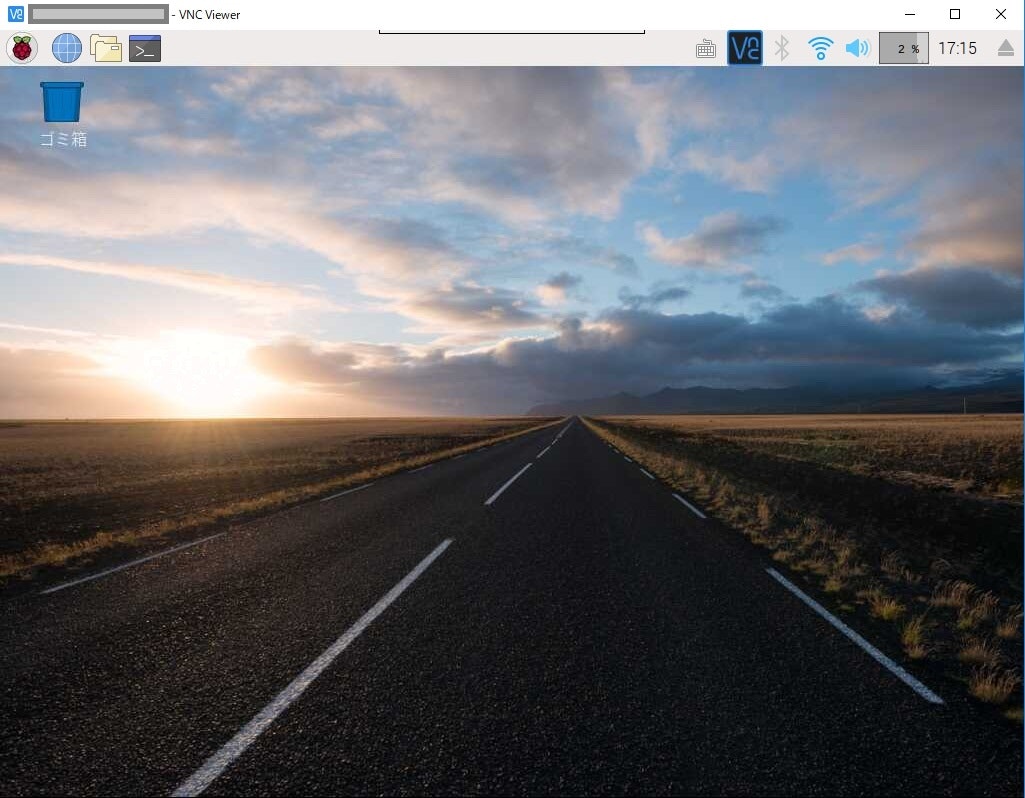
VNCによる接続が成功すればRaspbianのデスクトップが表示される。
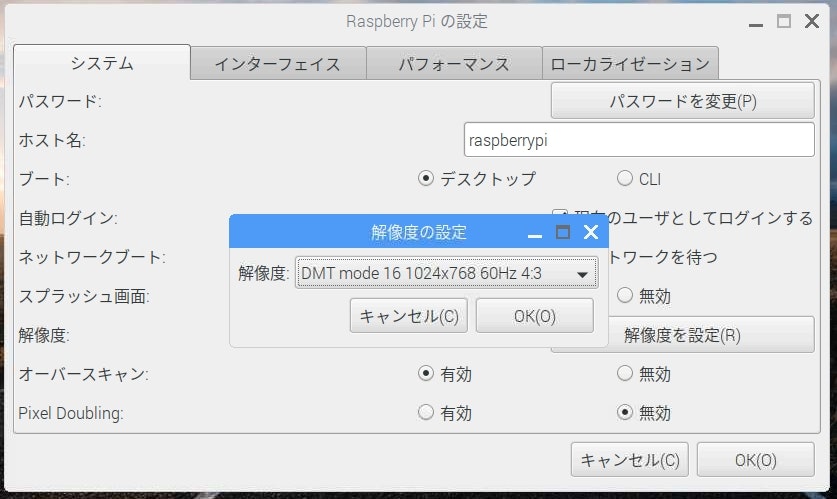
VNC接続時の画面解像度変更
VNCでRaspberry Piに接続すると随分画面解像度が低い状態になっていると思うので、「Raspberry Piの設定」画面で解像度を変更することでVNC接続時も高解像度で作業ができる。
