実現したいこと
FlutterにGoogleのサーバレス・モバイルプラットフォームである「Firebase」のデータベースサービス「Firestore」を組み合わせて、スマホアプリからFirestoreを利用できるようにする。
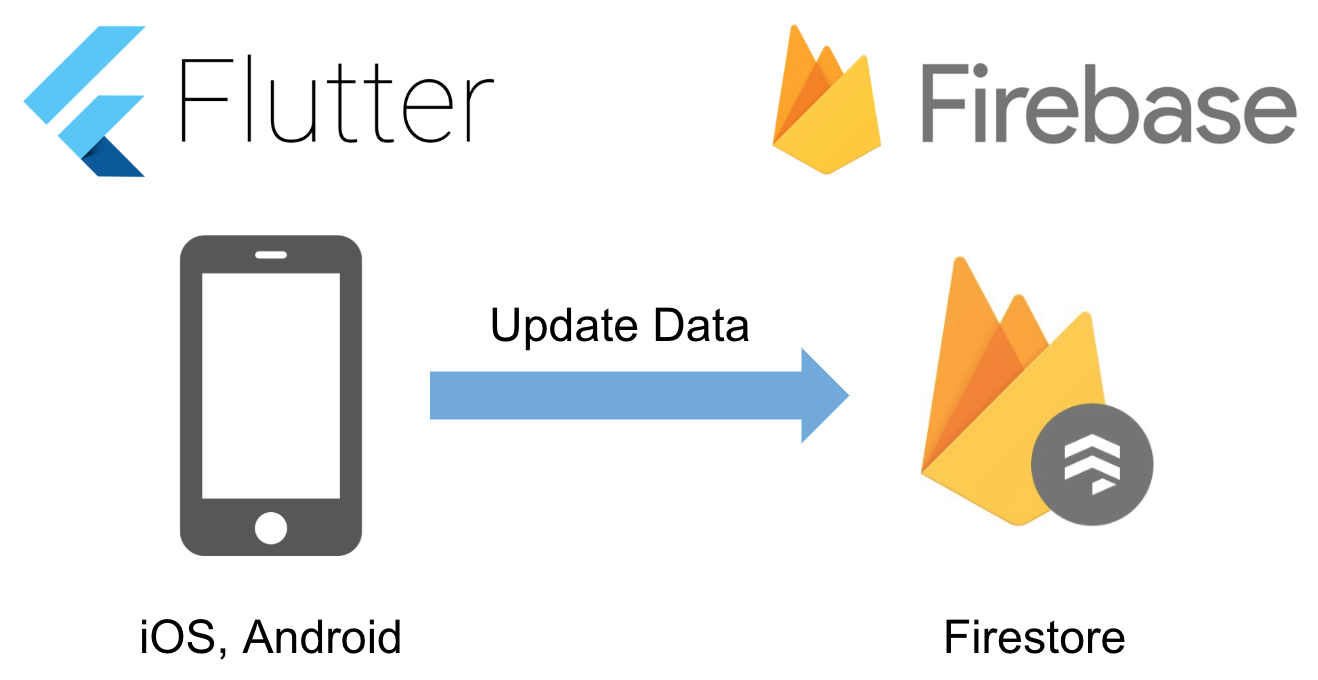
FlutterからFirestoreを利用する手順を紹介するブログ記事はWeb上にいくつかあるが、当記事でははFlutterのプロジェクトを作成したときに自動的に作成されるDemoアプリ(Flutter Demo Home Page)にFirestoreを追加する手順を紹介するので、初めてFlutterにFirestoreを組み込もうと考えている人にも試しやすい内容になっていると思う。
環境
開発環境
macOS Mojave 10.14.6
Android Studio 3.4.2
Xcode 10.3
Flutter 1.7.8+hotfix.4
cloud_firestore 0.8.2
動作確認端末(エミュレータ)
iPhone7 iOS 12.4
※Androidでは試していないが、公式の手順で同様に動作するはず
Demoアプリ構築手順
Flutterプロジェクトを作成
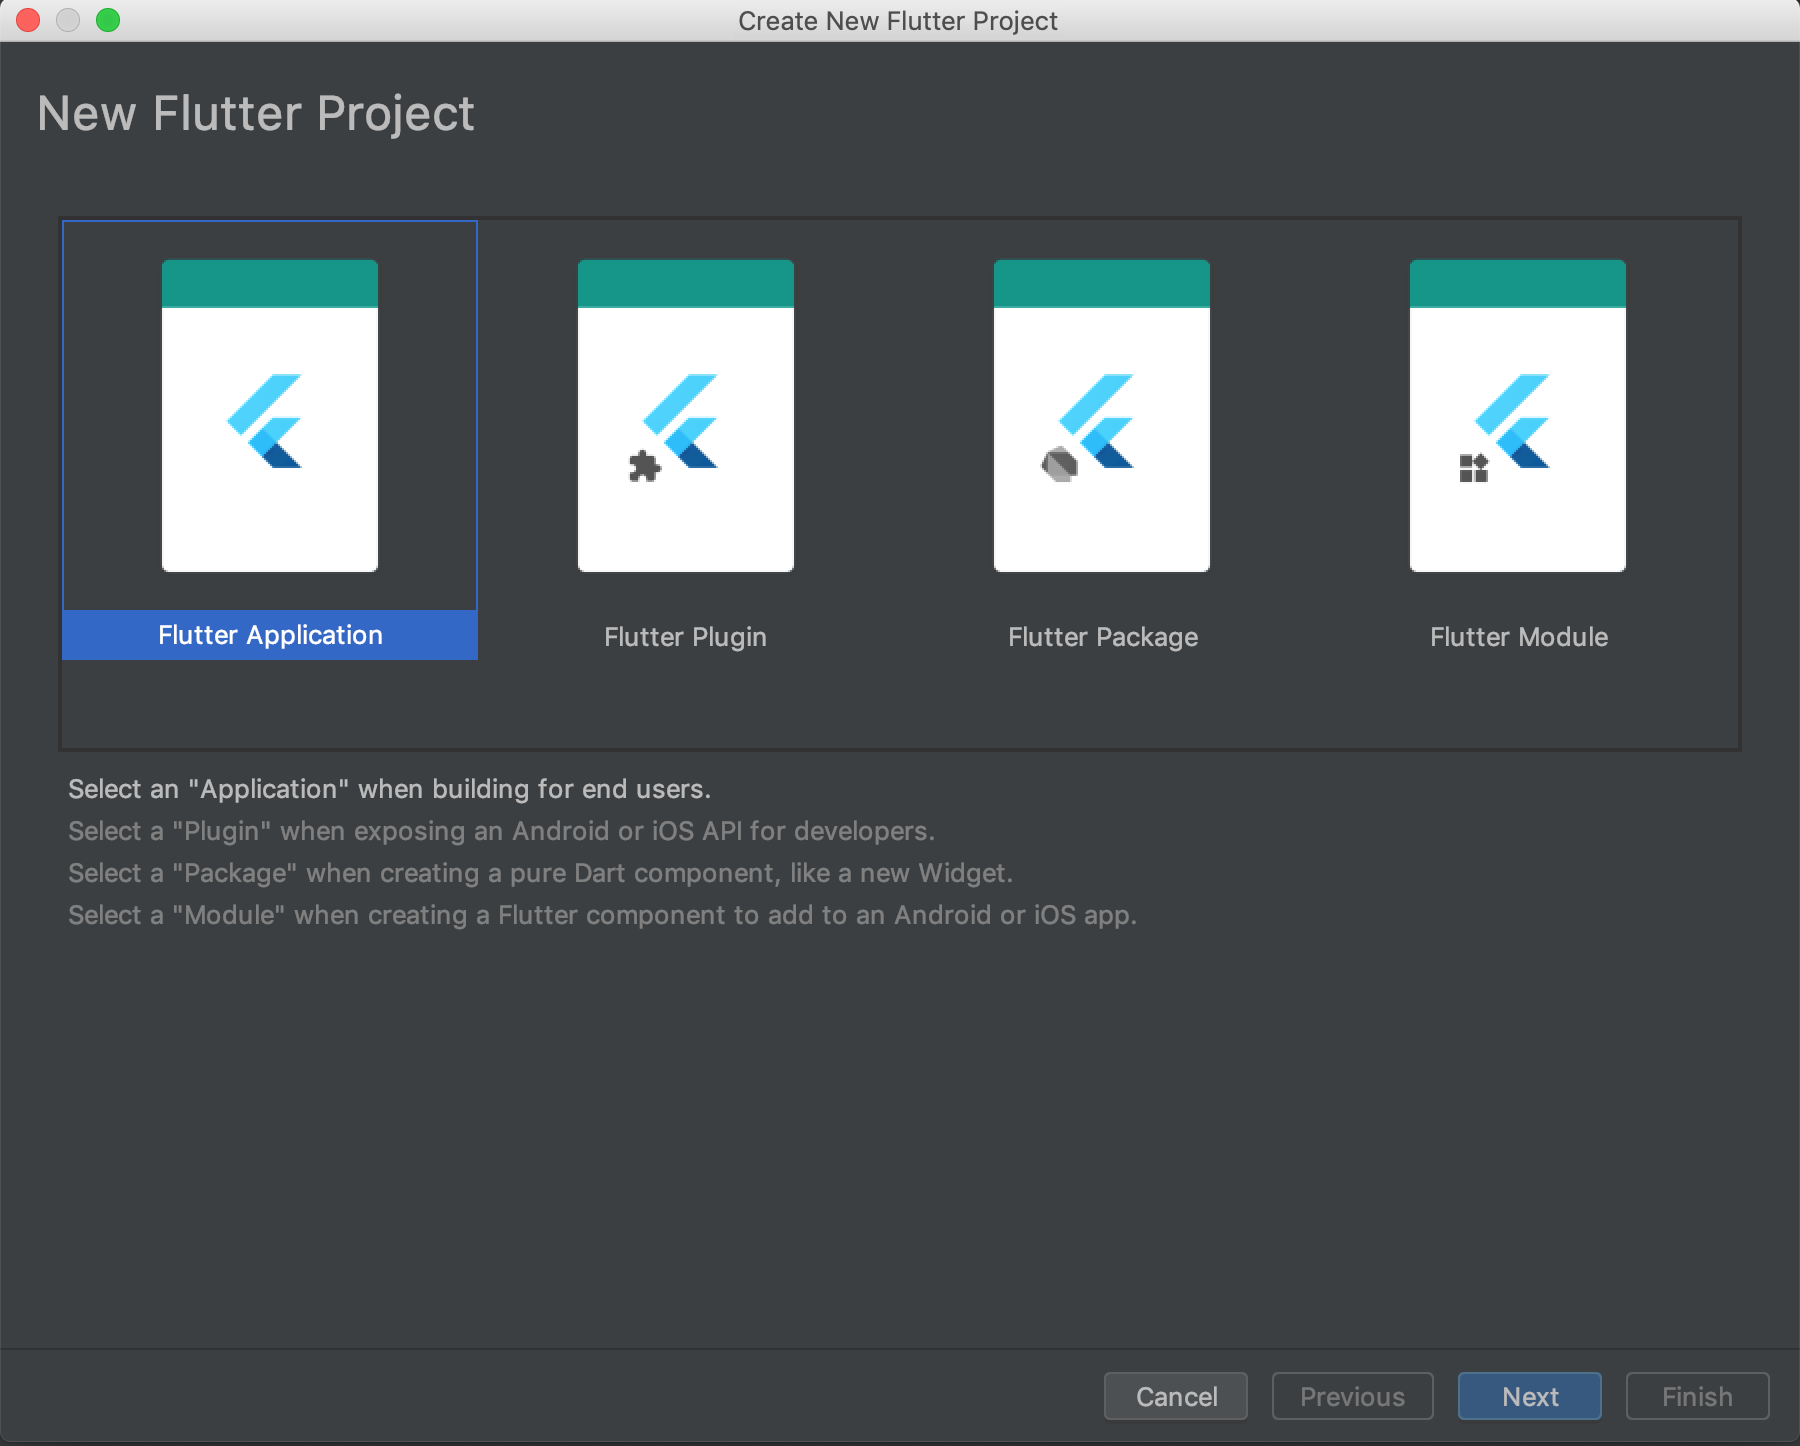
New Flutter ProjectでFlutterプロジェクトを作成する。


デフォルトで作成されるFlutterのDemoアプリがエミュレータで動作することを確認しておく。

Firebaseプロジェクトを作成
Firebase コンソールでプロジェクトを追加する。

プロジェクトの名前を設定する。今回はお試しなので「flutter-test」というプロジェクト名にしてみた。

Googleアナリティクスの設定はとりあえず「今は設定しない」を選択。「プロジェクトを作成」ボタンを押す。

プロジェクトの準備ができたと表示されたら「続行」ボタンを押す。

Firebaseを使用するようにFlutterプロジェクトを構成する
iOSアプリの構成
作成したFirebaseにおいて、flutter-testのProject overviewを表示し、「アプリにFirebaseを追加して利用を開始しましょう」の下に表示されている「iOS」ボタンを押す。

iOSバンドルIDを入力する必要がある。
Xcodeを起動し、作成したFlutterプロジェクトのiosフォルダを開く。
RunnerのBuild Identifierに設定されている値がiOSバンドルID。


アプリのニックネームとApp Store IDは任意なので、入力しなくてもよい。
「アプリを登録」ボタンを押す。

設定ファイルのダウンロード画面が表示されるので、「Download GoogleService-Info.plist」をダウンロードして「次へ」ボタンを押す。

XcodeでFlutterプロジェクト直下のiOSフォルダを開き、Runner/Runner配下にダウンロードした「Download GoogleService-Info.plist」を配置する。

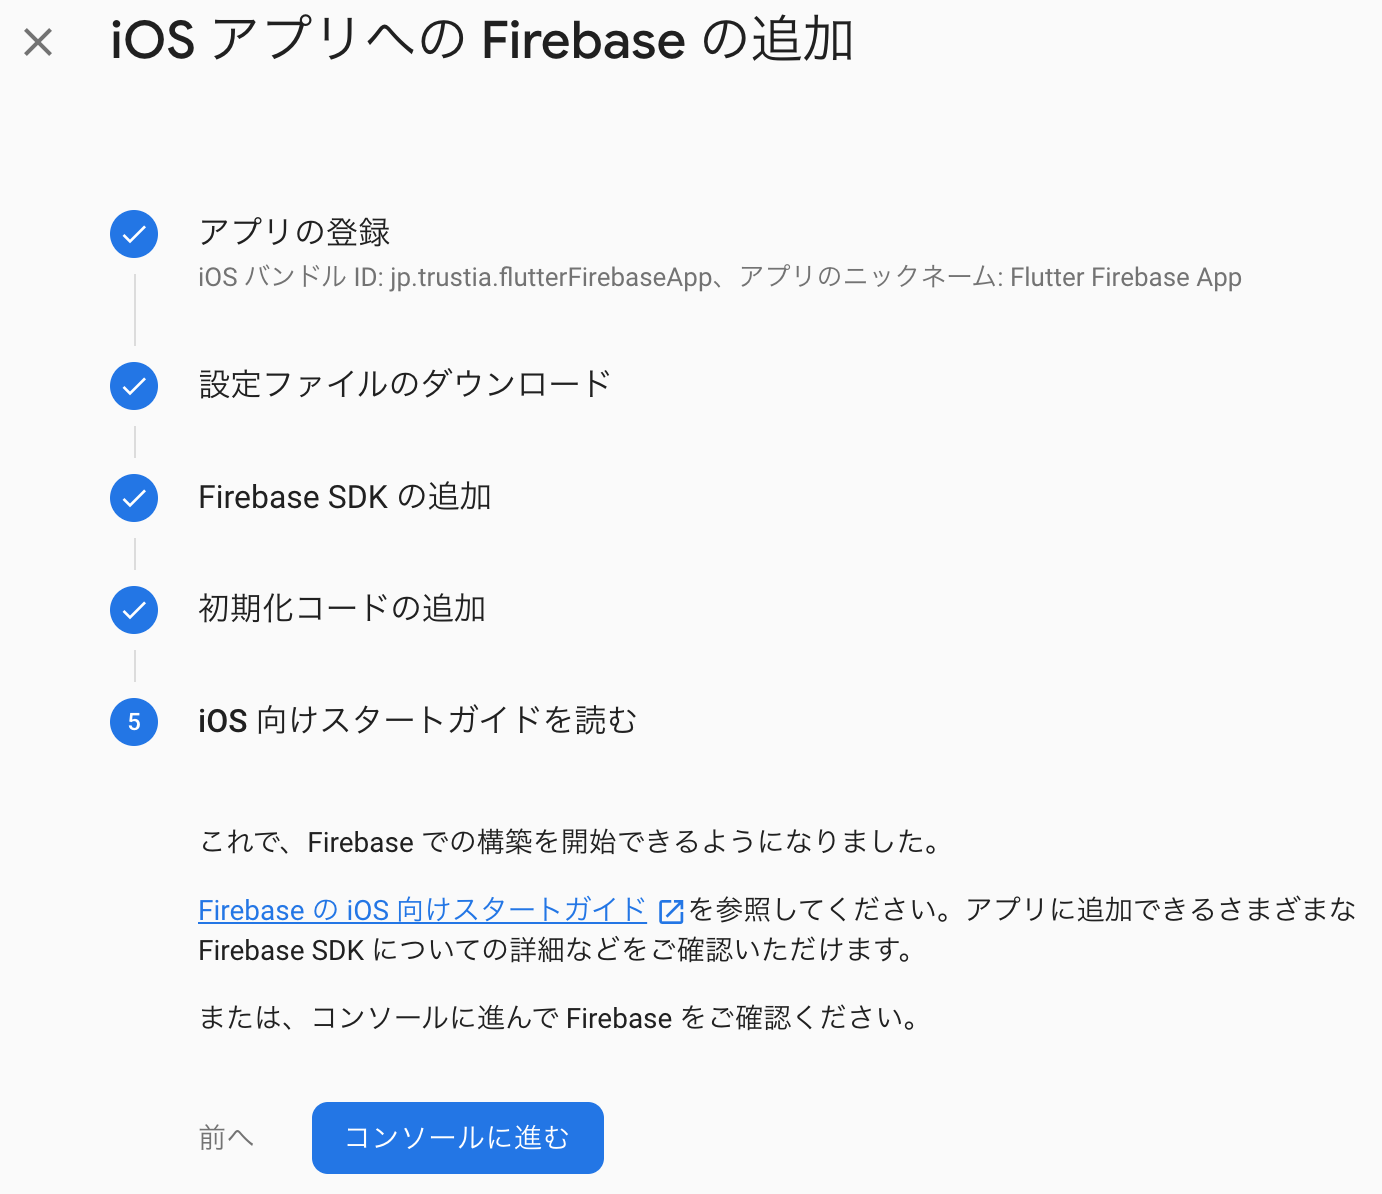
Firebaseのコンソール画面に戻り、残りのステップをすべて「次へ」ボタンで進める。


この画面まで来たら設定は終了。「コンソールに進む」ボタンを押す。
Androidアプリの構成
iOSアプリの構成とは手順が異なるので、Androidアプリもビルドする場合は以下の手順に沿って構成を行う。
https://firebase.google.com/docs/flutter/setup?hl=ja#configure_an_android_app
Firestoreの作成
Firebaseのコンソール画面でメニューから「Database」を選択し、「データベースの作成」ボタンを押す。

セキュリティ保護ルールの選択はテストなので「テストモードで開始」を選択。

ロケーションはどれでもよいが、アジア圏を選択しておいたほうが通信速度は良いかもしれない。

Database(Firestore)が作成されたら、「コレクションを開始」を押す。

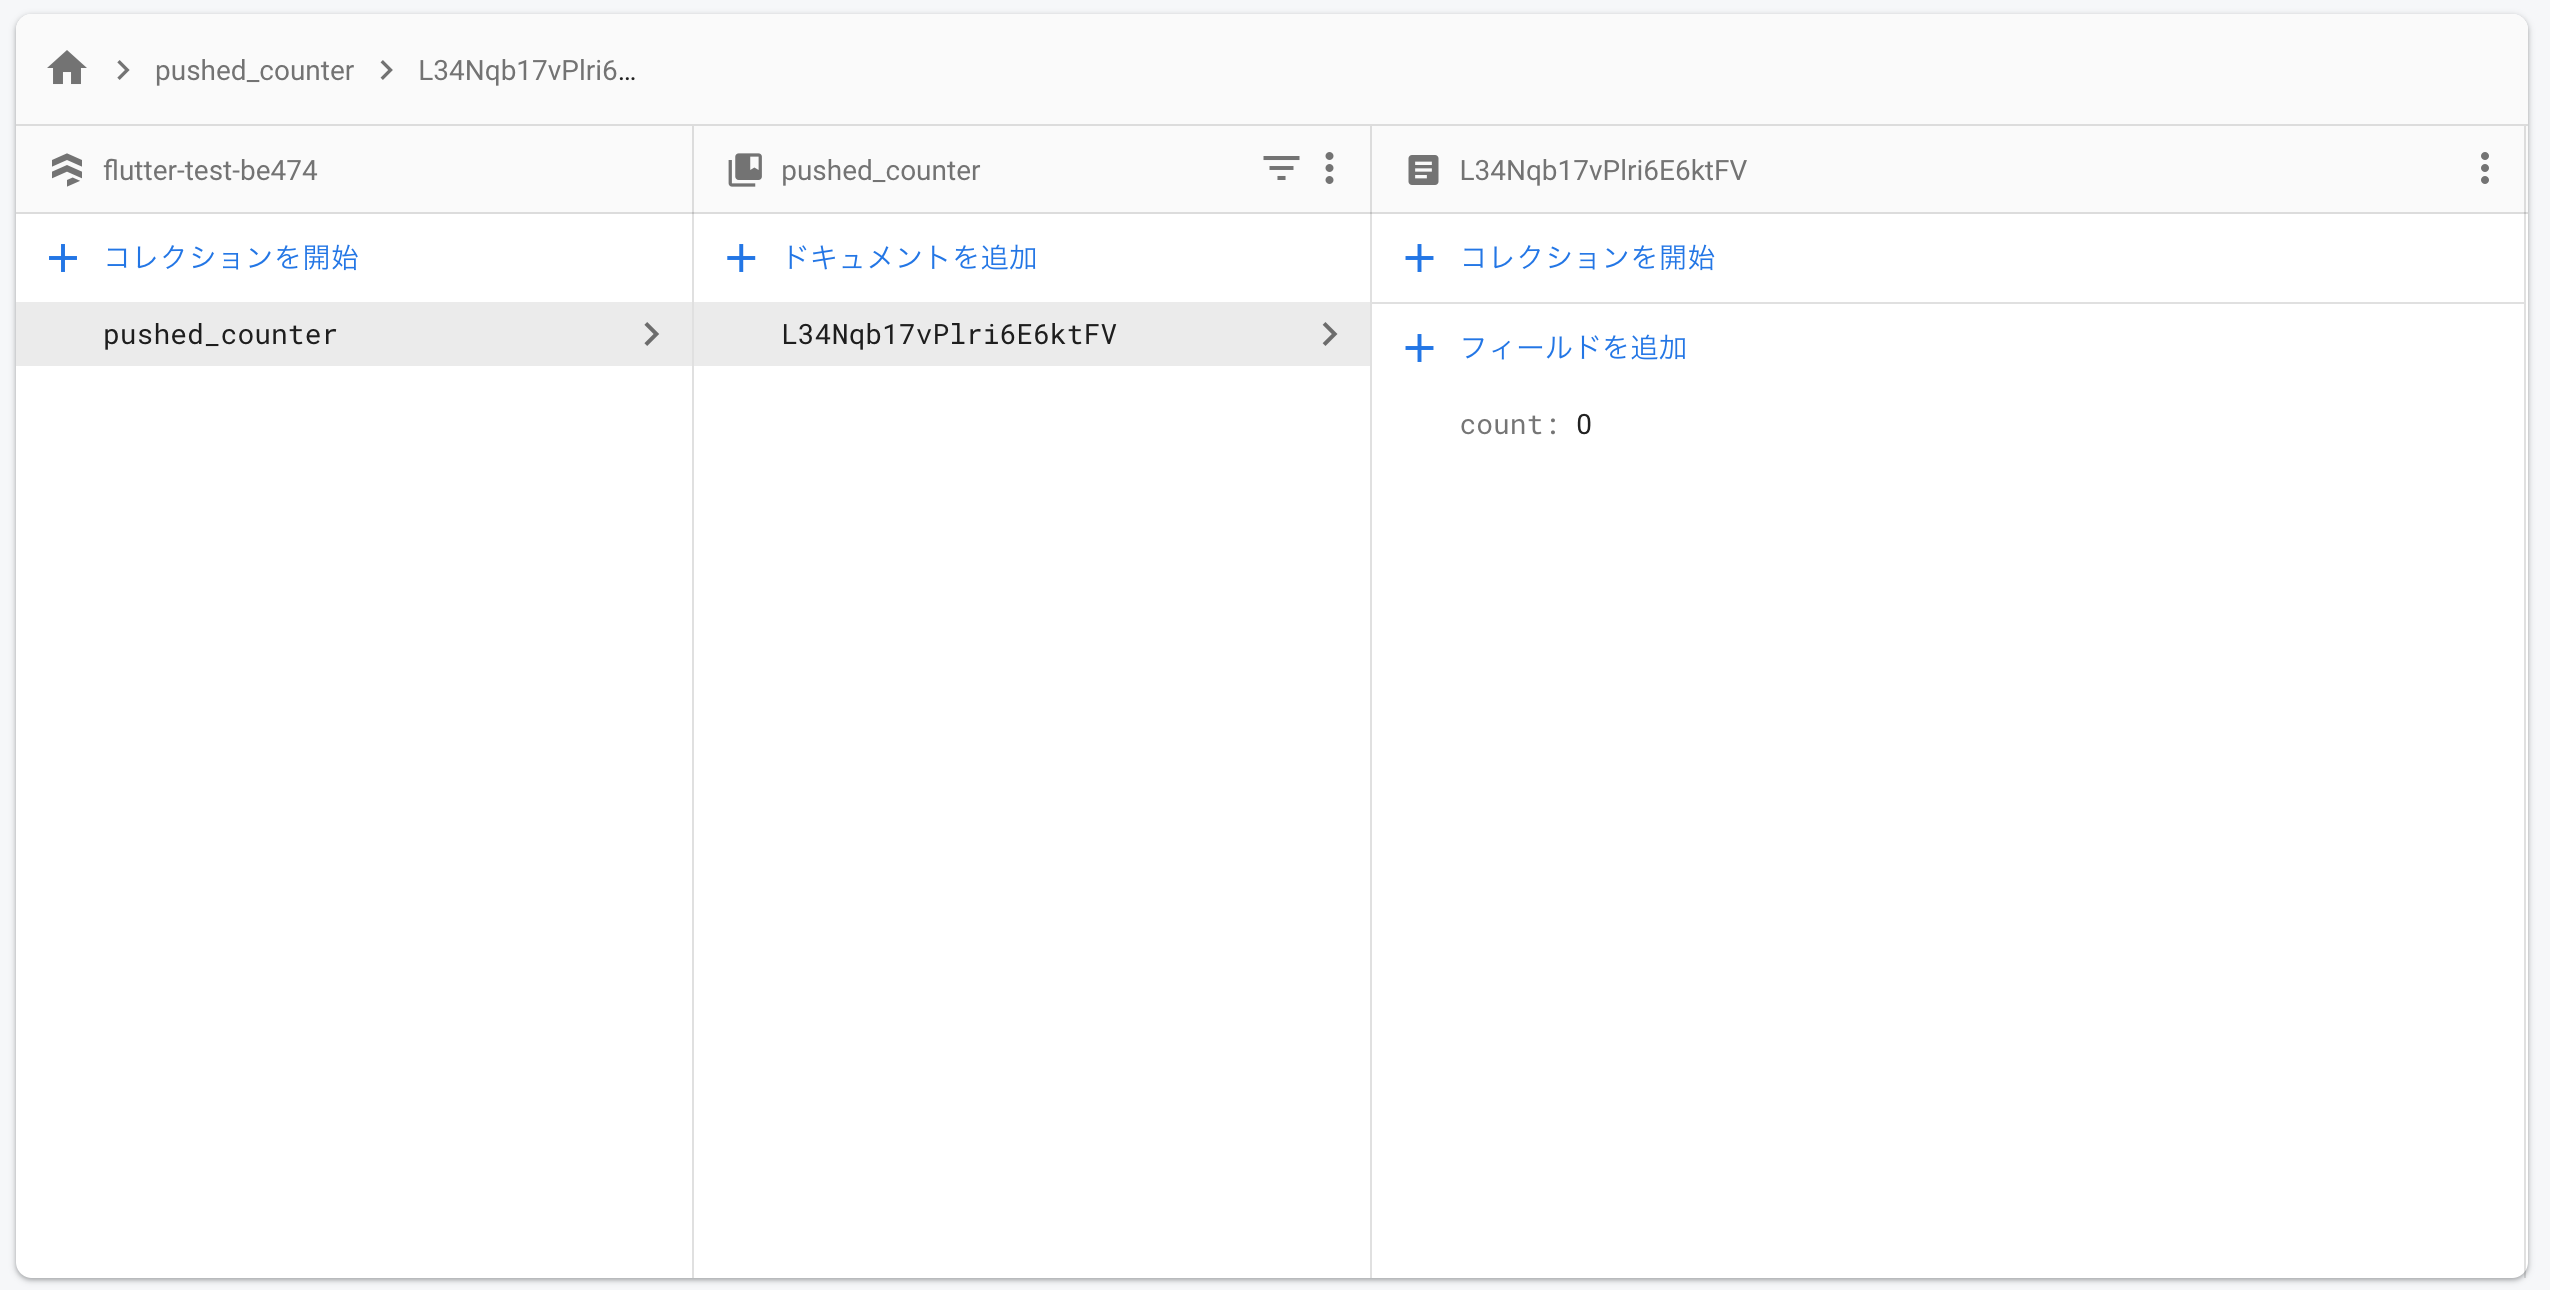
コレクションID(データベース名のようなもの)を入力する。今回はDemoアプリでボタンを押した回数をFirestoreに保持させたいので、「pushed_counter」としておいた。

コレクションに追加するドキュメント(テーブルのようなもの)の設定を行う。Demoアプリでボタンを押した回数を保持したいので、「count」というnumber型のフィールドを用意し、初期値は「0」にしておいた。

Firestoreはこのような設定になった。ドキュメントIDは自動採番となっている。
FlutterプロジェクトにFlutterFireプラグインを追加
FlutterのDemoアプリ「flutter-test」のpubspec.yamlを開き、「dependencies:」に「cloud_firestore: ^0.8.2」を追加する。

main.dartを開くと、「Pubspec has been edited」と表示されているので、「Get Dependenceis」を押すとcloud_firestoreパッケージがインストールされる。

Android Studioのコンソールにインストール結果が表示されるので、コード0(成功)を確認しておく。
/Users/UserName/flutter/bin/flutter --no-color packages get
Running "flutter pub get" in flutter_firebase_app...               17.9s
Process finished with exit code 0
Flutterプロジェクトのmain.dartをFirestoeを利用するように書き換える
main.dartの全文
import 'package:flutter/material.dart';
import 'package:cloud_firestore/cloud_firestore.dart';

void main() => runApp(MyApp());

class MyApp extends StatelessWidget {
  // This widget is the root of your application.
  @override
  Widget build(BuildContext context) {
    return MaterialApp(
      title: 'Flutter Demo',
      theme: ThemeData(
        // This is the theme of your application.
        //
        // Try running your application with "flutter run". You'll see the
        // application has a blue toolbar. Then, without quitting the app, try
        // changing the primarySwatch below to Colors.green and then invoke
        // "hot reload" (press "r" in the console where you ran "flutter run",
        // or simply save your changes to "hot reload" in a Flutter IDE).
        // Notice that the counter didn't reset back to zero; the application
        // is not restarted.
        primarySwatch: Colors.blue,
      ),
      home: MyHomePage(title: 'Flutter Demo Home Page'),
    );
  }
}

class MyHomePage extends StatefulWidget {
  MyHomePage({Key key, this.title}) : super(key: key);

  // This widget is the home page of your application. It is stateful, meaning
  // that it has a State object (defined below) that contains fields that affect
  // how it looks.

  // This class is the configuration for the state. It holds the values (in this
  // case the title) provided by the parent (in this case the App widget) and
  // used by the build method of the State. Fields in a Widget subclass are
  // always marked "final".

  final String title;

  @override
  _MyHomePageState createState() => _MyHomePageState();
}

class _MyHomePageState extends State<MyHomePage> {
  int _counter = 0;

  void _incrementCounter() {
    setState(() {
      // This call to setState tells the Flutter framework that something has
      // changed in this State, which causes it to rerun the build method below
      // so that the display can reflect the updated values. If we changed
      // _counter without calling setState(), then the build method would not be
      // called again, and so nothing would appear to happen.
      _counter++;
    });
  }

  @override
  Widget build(BuildContext context) {
    // This method is rerun every time setState is called, for instance as done
    // by the _incrementCounter method above.
    //
    // The Flutter framework has been optimized to make rerunning build methods
    // fast, so that you can just rebuild anything that needs updating rather
    // than having to individually change instances of widgets.


    return Scaffold(
      appBar: AppBar(
        // Here we take the value from the MyHomePage object that was created by
        // the App.build method, and use it to set our appbar title.
        title: Text(widget.title),
      ),
      body: Center(
        // Center is a layout widget. It takes a single child and positions it
        // in the middle of the parent.
        child: Column(
          // Column is also layout widget. It takes a list of children and
          // arranges them vertically. By default, it sizes itself to fit its
          // children horizontally, and tries to be as tall as its parent.
          //
          // Invoke "debug painting" (press "p" in the console, choose the
          // "Toggle Debug Paint" action from the Flutter Inspector in Android
          // Studio, or the "Toggle Debug Paint" command in Visual Studio Code)
          // to see the wireframe for each widget.
          //
          // Column has various properties to control how it sizes itself and
          // how it positions its children. Here we use mainAxisAlignment to
          // center the children vertically; the main axis here is the vertical
          // axis because Columns are vertical (the cross axis would be
          // horizontal).
          mainAxisAlignment: MainAxisAlignment.center,
          children: <Widget>[
            Text(
              'You have pushed the button this many times:',
            ),
            Text(
              '$_counter',
              style: Theme.of(context).textTheme.display1,
            ),
          ],
        ),
      ),
      floatingActionButton: FloatingActionButton(
//        onPressed: _incrementCounter()
        // FloatingActionButtonを押されたときにFirestoreを書き換える
        onPressed: (() {
          Firestore.instance.collection("pushed_counter").document("L34Nqb17vPlri6E6ktFV").updateData({
            "count": _counter + 1
          }).then((db) {
            _incrementCounter();
          });
        }),
        tooltip: 'Increment',
        child: Icon(Icons.add),
      ), // This trailing comma makes auto-formatting nicer for build methods.
    );
  }
}
修正した箇所の解説
cloud_firestore.dartのimportを追加
importにcloud_firestore.dartを追加しておくことで、アプリでFirestoreが利用できるようになる。
import 'package:cloud_firestore/cloud_firestore.dart';
_MyHomePageStateクラスのbuildメソッドを変更
FloatingActionButtonを押したときに、Firestoreのcountもカウントアップしてほしいので、以下のように書き換える。
class _MyHomePageState extends State<MyHomePage> {
  // 省略
  @override
  Widget build(BuildContext context) {
    // 省略
    return Scaffold(
      // 省略
      floatingActionButton: FloatingActionButton(
//        onPressed: _incrementCounter()
        // FloatingActionButtonを押されたときにFirestoreを書き換える
        onPressed: (() {
          Firestore.instance.collection("pushed_counter").document("L34Nqb17vPlri6E6ktFV").updateData({
            "count": _counter + 1
          }).then((db) {
            _incrementCounter();
          });
        }),
        tooltip: 'Increment',
        child: Icon(Icons.add),
      ), // This trailing comma makes auto-formatting nicer for build methods.
    );
  }
}
Firestoreのフィールド値書き換えは以下のような書き方になっている。
今回のDemoアプリでは、FloatingActionButtonが押されたらFirestoreのcountを書き換え、書き換えが完了したら非同期のコールバック処理で_incrementCounterメソッドを呼び出してアプリのカウンターをカウントアップしている。
Firestore.instance.collection("[Firestoreのコレクション名]").document("[FirestoreのドキュメントID]").updateData({"[Firestoreのフィールド名]": [上書きしたい値]}).then([コールバック処理]);
Demoアプリの実行確認
初回起動時
Firestoreへの値設定
DemoアプリのFloatingActionButtonを押してみる。
Demoアプリ上ではCounterは「1」になった。
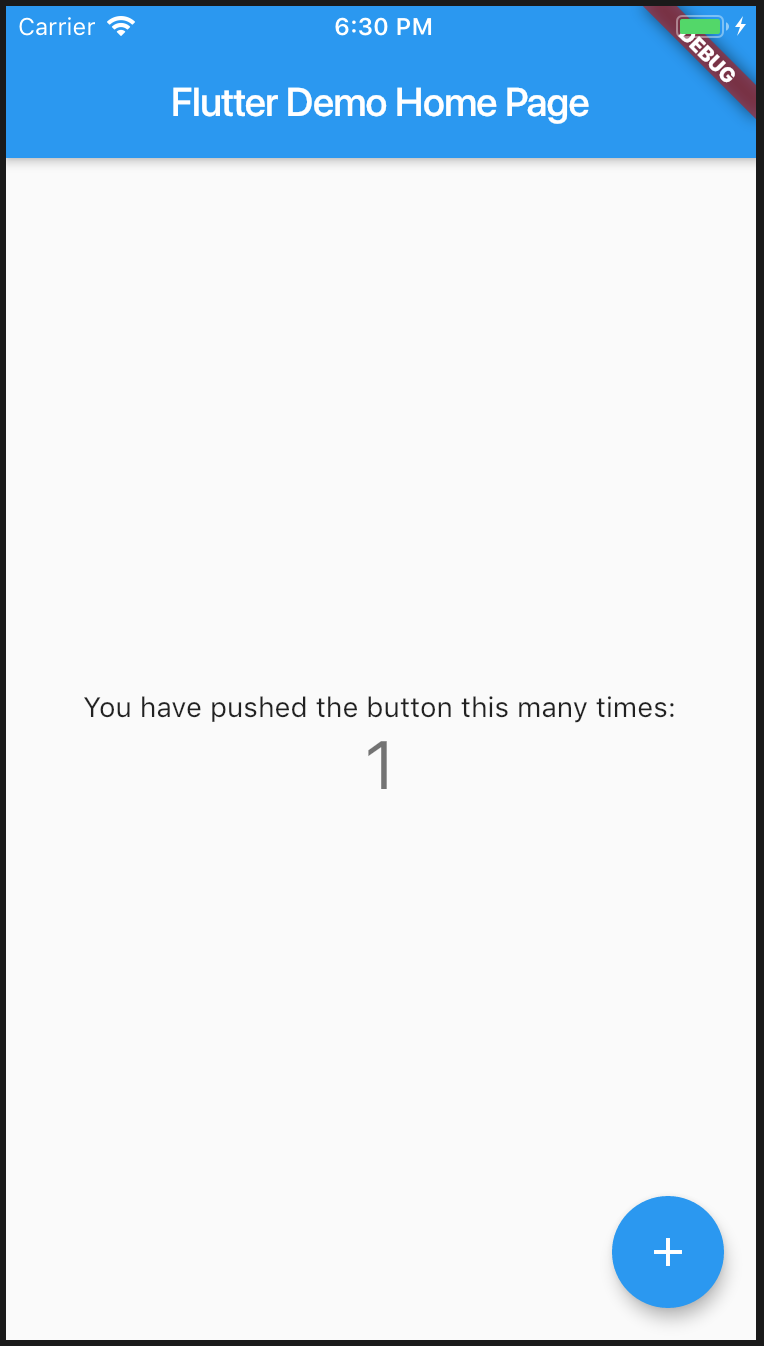
Firestore上のcountにも「1」がセットされている。

引き続き、Demoアプリ上でFloatingActionButtonを押すたびに、Firestoreのcountも一緒にカウントアップされていく。
Firestoreの値をFirestoreコンソールで直接書き換えた場合
FirestoreのcountをFirestoreコンソールで直接書き換えても、Demoアプリには反映されない。
Firestoreの側の値変更を即時にアプリ側に反映するには、StreamBuilderを使用する必要がある。
まとめ
FlutterにFirestoreのライブラリを追加し、アプリ側の操作からFirestoreの値を変更できるようになった。
今回はupdateを使用して値の変更を行ったが、他にもget,set,add等の操作が用意されている。また、StreamBuilderを使用することでFirestore側の変更をリアルタイムにアプリに反映することも可能。
FlutterとFirestoreを組み合わせることで、クラウドデータベースを使用したより高度なアプリを作ることができそうだ。
参考URL
