Raspberry Piでシリアル通信を使う機会があったので、疎通までのやり方を備忘録として載せておきます。
環境
- Raspberry Pi 3 Model B+
- Raspbian Buster
- Python 2.7.16
Raspberry Piのセットアップ
デフォルトだとRaspberry Piはシリアルポートが無効になっているので、設定を変更します。
LXTerminalを開き、コマンドを入力します。
pi@raspberrypi:~ $ sudo raspi-config
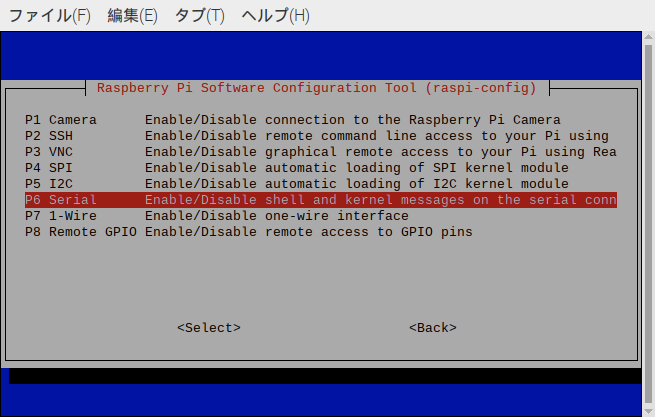
次のような画面になるので、「5 Interfacing Options」を選択します。

次に、「P6 Serial」を選択します。
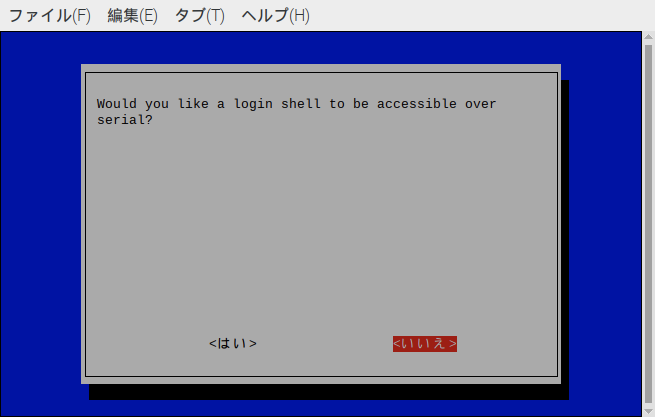
「いいえ」を選択します。
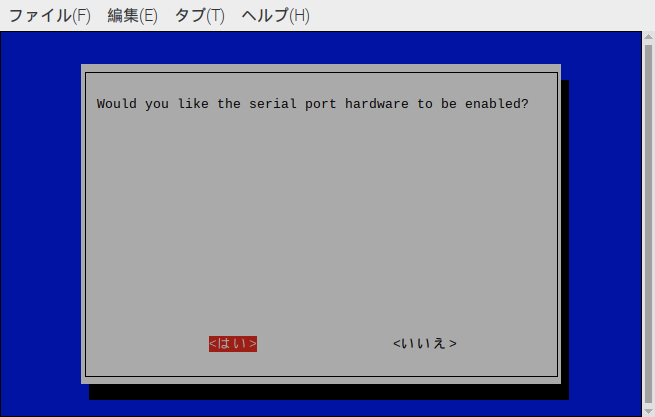
「はい」を選択します。
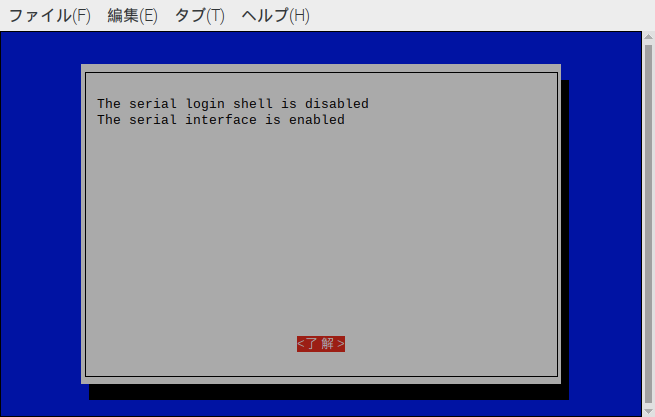
するとこのような画面になり、シリアルポートが有効になります。
そのままraspi-configを終了すると、再起動するかどうかの選択を求められるので、再起動しておきます。
再起動後、下記のコマンドを入力すると、/dev/配下に有効化したシリアルポートttyS0が表示されます。
pi@raspberrypi:~ $ ls -l /dev/ttyS*
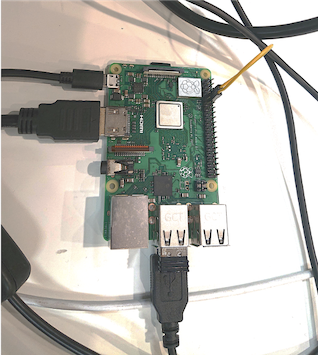
Raspberry Piの配線
Raspberry Piの8番ピン(GPIO14)と10番ピン(GPIO15)がUARTピンになっているので、
ワイヤージャンパでショートさせます。
実装
pyserialライブラリを使用して疎通確認をします。
serialTest.py
import serial

# 通信確立
ser = serial.Serial('/dev/ttyS0', '9600', timeout=0.1)
# データ送受信
ser.write('Hello, World!')
print(repr(ser.readline()))
ser.close()
ファイルを保存した後、LXTerminalでファイルが保存されているディレクトリに移動して実行します。
成功すると、送信したメッセージが表示されます。
pi@raspberrypi:~/work $ python setialTest.py
Hello World!
まとめ
Raspberry Piをあまり触った経験が無かったため、
シリアル通信がデフォルトでOFFになっていることを知りませんでした。
センサーやArduinoに繋げたりと、様々なことに使っていければと思います。