AndroidのFragmentについてKotlinでの実装を備忘録として記事にします。
Fragmentの概念的な話はもう少し学習が進んでその0として書きます。
Fragmentの印象(※iOSエンジニア向け)
自分がずっとiOSの開発を行ってきたのでiOSと比較して
「childViewController みたいなもの」
という印象です。
開発環境
Android Studio 3.1.3
Fragmentの実装
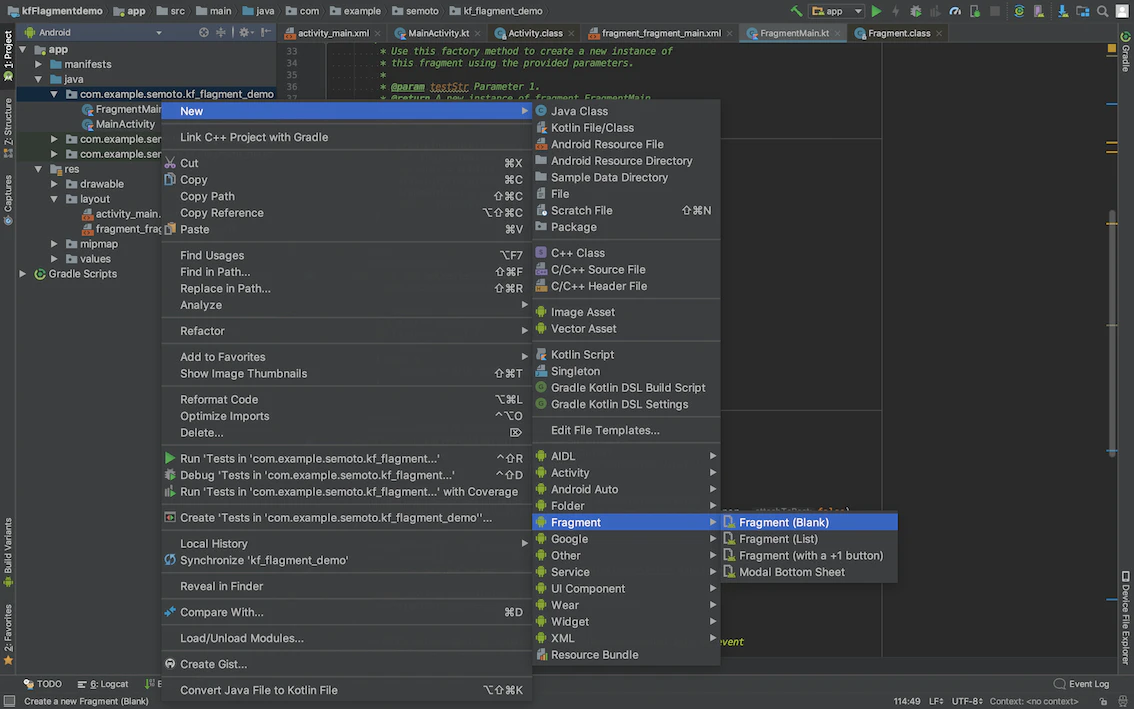
Step1.ファイルを作る
右クリック → New → Fragment から選択(下図)
ktファイルとxmlファイルが生成される
Step2.ファイルをいじる
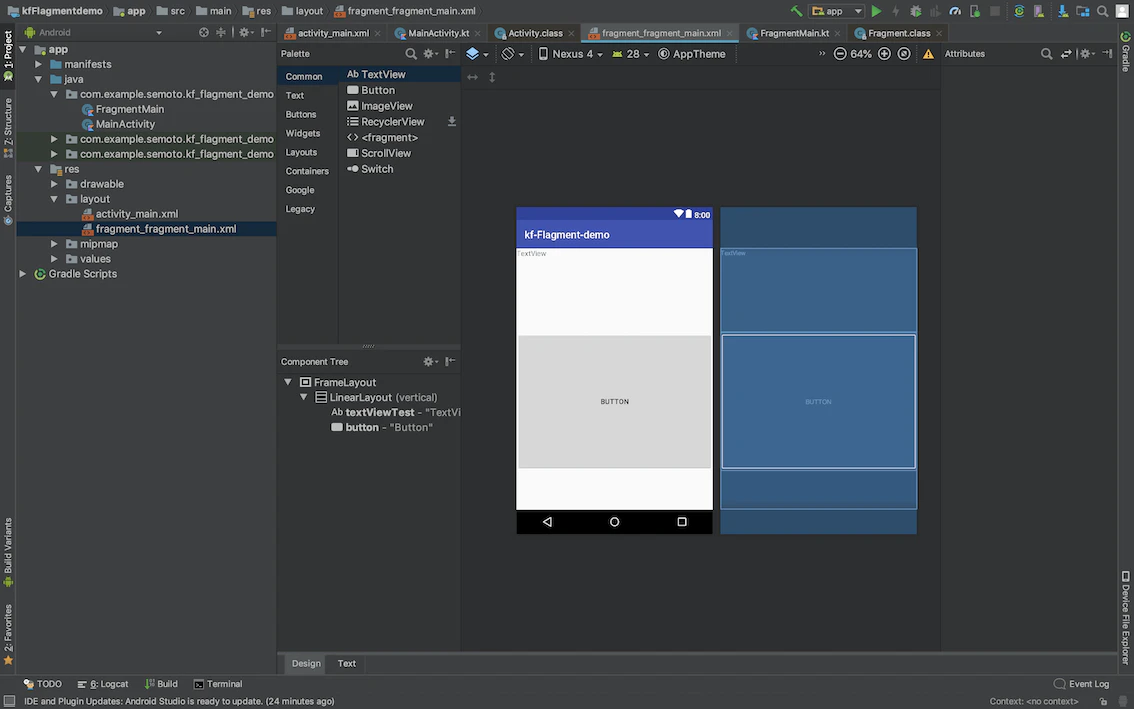
xmlファイル
下図のようにTextViewとButtonを配置する
ktファイル
①以下のメソッド以外のメソッドをコメントアウトする(後で使うので残しておく)
-
onCreate(savedInstanceState: Bundle?)
→ Fragment生成時にシステムが呼び出す(必須) -
onCreateView(inflater: LayoutInflater, container: ViewGroup?, savedInstanceState: Bundle?): View?
→ Fragmentが初めてUIを描画する時にシステムが呼び出す(必須)
②以下のメソッドを追加する
onViewCreated(view: View, savedInstanceState: Bundle?)
→ Viewの生成が完了した後に呼ばれる。UIパーツの設定などを行う
③インスタンスを生成するメソッドを実装する
ここまでを実装したファイルがこちら↓↓
(例)テキストを表示するFragment
// importなどは省略
class FragmentMain : Fragment() {

    private var testStr: String? = null
//    private var param2: String? = null
//    private var listener: OnFragmentInteractionListener? = null

    companion object {
        /**
         * Use this factory method to create a new instance of
         * this fragment using the provided parameters.
         *
         * @param testStr Parameter 1.
         * @return A new instance of fragment FragmentMain.
         */
        private const val KEY_TEST = "test"

        fun createInstance(testStr: String) : FragmentMain {
            val fragmentMain = FragmentMain()
            val args = Bundle()
            args.putString(KEY_TEST, testStr)
            fragmentMain.arguments = args
            return fragmentMain
        }
    }

    // 必須*
    // Fragment生成時にシステムが呼び出す
    override fun onCreate(savedInstanceState: Bundle?) {
        super.onCreate(savedInstanceState)

        // BundleからFragmentに渡したい値を取得する
        val args = arguments
        if (args == null) {
            testStr = ""
        } else {
            testStr = args.getString(KEY_TEST)
        }
    }

    // 必須*
    // Fragmentが初めてUIを描画する時にシステムが呼び出す
    override fun onCreateView(inflater: LayoutInflater,
                              container: ViewGroup?,
                              savedInstanceState: Bundle?): View? {

        // Fragmentとlayoutを紐付ける
        super.onCreateView(inflater, container, savedInstanceState)
        return inflater.inflate(R.layout.fragment_fragment_main, container, false)
    }

    // Viewの生成が完了した後に呼ばれる
    // UIパーツの設定などを行う
    override fun onViewCreated(view: View, savedInstanceState: Bundle?) {

        super.onViewCreated(view, savedInstanceState)
        textViewTest.text = testStr
    }

//    // TODO: Rename method, update argument and hook method into UI event
//    fun onButtonPressed(uri: Uri) {
//        listener?.onFragmentInteraction(uri)
//    }

//    override fun onAttach(context: Context) {
//        super.onAttach(context)
//        if (context is OnFragmentInteractionListener) {
//            listener = context
//        } else {
//            throw RuntimeException(context.toString() + " must implement OnFragmentInteractionListener")
//        }
//    }
//
//    override fun onDetach() {
//        super.onDetach()
//        listener = null
//    }
//
//    /**
//     * This interface must be implemented by activities that contain this
//     * fragment to allow an interaction in this fragment to be communicated
//     * to the activity and potentially other fragments contained in that
//     * activity.
//     *
//     *
//     * See the Android Training lesson [Communicating with Other Fragments]
//     * (http://developer.android.com/training/basics/fragments/communicating.html)
//     * for more information.
//     */
//    interface OnFragmentInteractionListener {
//        // TODO: Update argument type and name
//        fun onFragmentInteraction(uri: Uri)
//    }


}
Fragmentを使ってみる
上記で作成したFragmentを実際に使ってみます。
Activityをいじる
表示したいActivityで下記のように実装する。
// importなどは省略
class MainActivity : AppCompatActivity() {

    override fun onCreate(savedInstanceState: Bundle?) {
        super.onCreate(savedInstanceState)
        setContentView(R.layout.activity_main)

        if (savedInstanceState == null) {
            val transaction = supportFragmentManager.beginTransaction()
            transaction.add(R.id.testContainer,
                    FragmentMain.createInstance("Test on 2018/10/29"))
            transaction.commit()
        }
    }
}
まとめ
かなり簡単にですが、初めてFragmentを使って画面表示するまでの流れを記事にしてみました。
もっと良い方法があれば教えていただけると嬉しいです。