はじめに
タイトルについて記事にしました。
この記事で得る内容は以下の通りです。
・ Sassで条件分岐(if, else if, else)を使った実装例の紹介
例
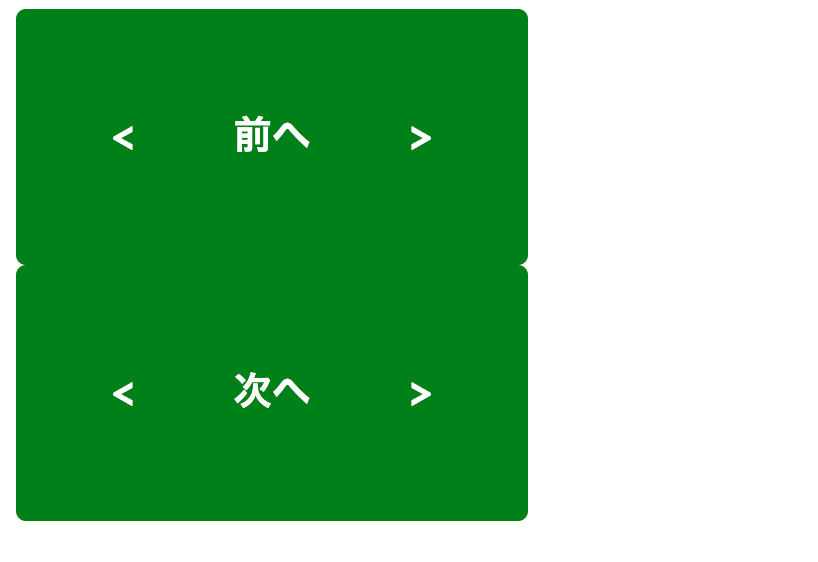
イメージ
次のようなボタンがあるとします。
コード
%a.button(href="") 前へ
%a.button(href="") 次へ
@charset "utf-8";

a {
  text-decoration: none;
}

.button {
  width: 10rem;
  height: 2rem;
  font-size: 1.2rem;
  font-weight: bold;
  color: #fff;
  background-color: green;
  padding: 3rem;
  display: block;
  text-align: center;
  border-radius: 5px;
  &::before {
    content: "<";
    position: relative;
    right: 50px;
  }
  &::after {
    content: ">";
    position: relative;
    left: 50px;
  }
  &:hover {
    opacity: .9;
  }
}
方法
mixinの定義
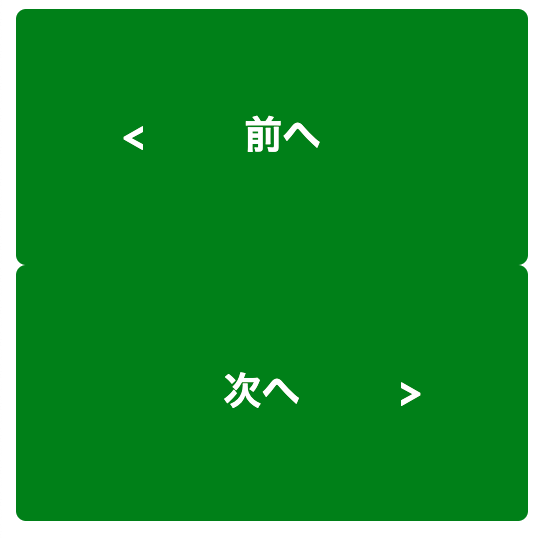
先程のボタンをそれぞれ、『前へ』にbeforeを適用させ、『次へ』にはafterを適用させてみます。
まずは『次へ』ボタンの名前に数字を加え、buttonに指定していたプロパティをmixinで呼び出す形にします。
%a.button(href="") 前へ
%a.button2(href="") 次へ
@charset "utf-8";

a {
  text-decoration: none;
}

@mixin buttonStyle {
  width: 10rem;
  height: 2rem;
  font-size: 1.2rem;
  font-weight: bold;
  color: #fff;
  background-color: green;
  padding: 3rem;
  display: block;
  text-align: center;
  border-radius: 5px;
  &::before {
    content: "<";
    position: relative;
    right: 50px;
  }
  &::after {
    content: ">";
    position: relative;
    left: 50px;
  }
  &:hover {
    opacity: .9;
  }
}

.button {
  @include buttonStyle;
}

.button2 {
  @include buttonStyle;
}
引数の定義
mixinの引数を定義し、もしdirectionの値がleftであればbeforeを、違うのであればafterを適用する内容にしていきます。
@mixin buttonStyle($direction: "left") {
  //省略
}
条件分岐
条件分岐をしていきます。Sassの条件分岐は@if $引数名 == {}のように記述します。
今回elseを書きませんが、書く時は、@else {}のように記述します。
@charset "utf-8";

@mixin buttonStyle {
  // 中略
  @if $direction == "left" {
    &::before {
      content: "<";
      position: relative;
      right: 50px;
    }

  } @else if $direction == "right" {
    &::after {
      content: ">";
      position: relative;
      left: 50px;
    }
  }

// 以下略
includeで呼び出し
呼び出す方の引数は、左は初期値が定義されているのでそのままで、右は条件分岐で指定したrightを定義します。
.button {
  @include buttonStyle;
}

.button2 {
  @include buttonStyle("right")
}
完成
それぞれ、適用したいスタイルに反映させることができました。
mixinの引数を活用することにより、条件分岐でスタイルを少し変えたい時にとても重宝しそうです。
ただ、Sassはswitch文は使えないとのことです。
リファクタリング
最後に疑似要素をmixinでまとめて終了です。
@charset "utf-8";

a {
  text-decoration: none;
}

@mixin arrowStyle($arrow) {
  content: $arrow;
  position: relative;
}

@mixin buttonStyle($direction: "left", $arrowMargin: 50px) {
  width: 10rem;
  height: 2rem;
  font-size: 1.2rem;
  font-weight: bold;
  color: #fff;
  background-color: green;
  padding: 3rem;
  display: block;
  text-align: center;
  border-radius: 5px;

  @if $direction == "left" {
    &::before {
      @include arrowStyle("<");
      right: $arrowMargin;
    }
  } @else if $direction == "right" {
    &::after {
      @include arrowStyle(">");
      left: $arrowMargin;
    }
  }
  &:hover {
    opacity: 0.9;
  }
}

.button {
  @include buttonStyle;
}

.button2 {
  @include buttonStyle("right");
}

