この記事は KDDIアジャイル開発センター(KAG) Advent Calendar 2024 、3日目の記事です。
こんにちは、KDDIアジャイル開発センターのはしもと(仮名)です。
この記事では、「Difyで作成したワークフローをバックエンドとしてAPI経由で実行する際、
ワークフローの入力にファイルを指定する方法」 を備忘もかねて簡単にまとめます。
需要は知らん!
はじめに
Dify APIを利用する際の実装サンプルは以下にまとめられています。
想定シナリオ
「ローカルPC上の画像を、Dify ワークフローを使ってマルチモーダルモデルに分析させたいよ〜!」です。
検証に使うツール
以下のツールを使用します。
フロントエンド (Streamlit)
- ファイルアップローダー
- 画像サムネイルおよび Dify API からの応答の表示
Streamlit は Python で実装されたWebアプリケーションフレームワークです。
フロントエンドの知識を必要とせず、かつ少ないコードで直感的なUIを作成できるため、LLMアプリ開発の文脈では、動作検証や本開発前のプロトタイピングなどによく用いられている印象です。
バックエンド (Dify)
- アップロードファイルの読み取り
- 入力画像に関する説明の生成
Dify はオープンソースのLLMアプリケーション開発プラットフォームです。
事前知識のみを使用する単純なチャットボットだけでなく、複雑なワークフローもブロックを組み合わせることで簡単に構築することもでき、アプリケーション開発を高速化することができます。
クラウド版として SaaS の形態で提供されているほか、OSSとしてソースコードも公開されています。
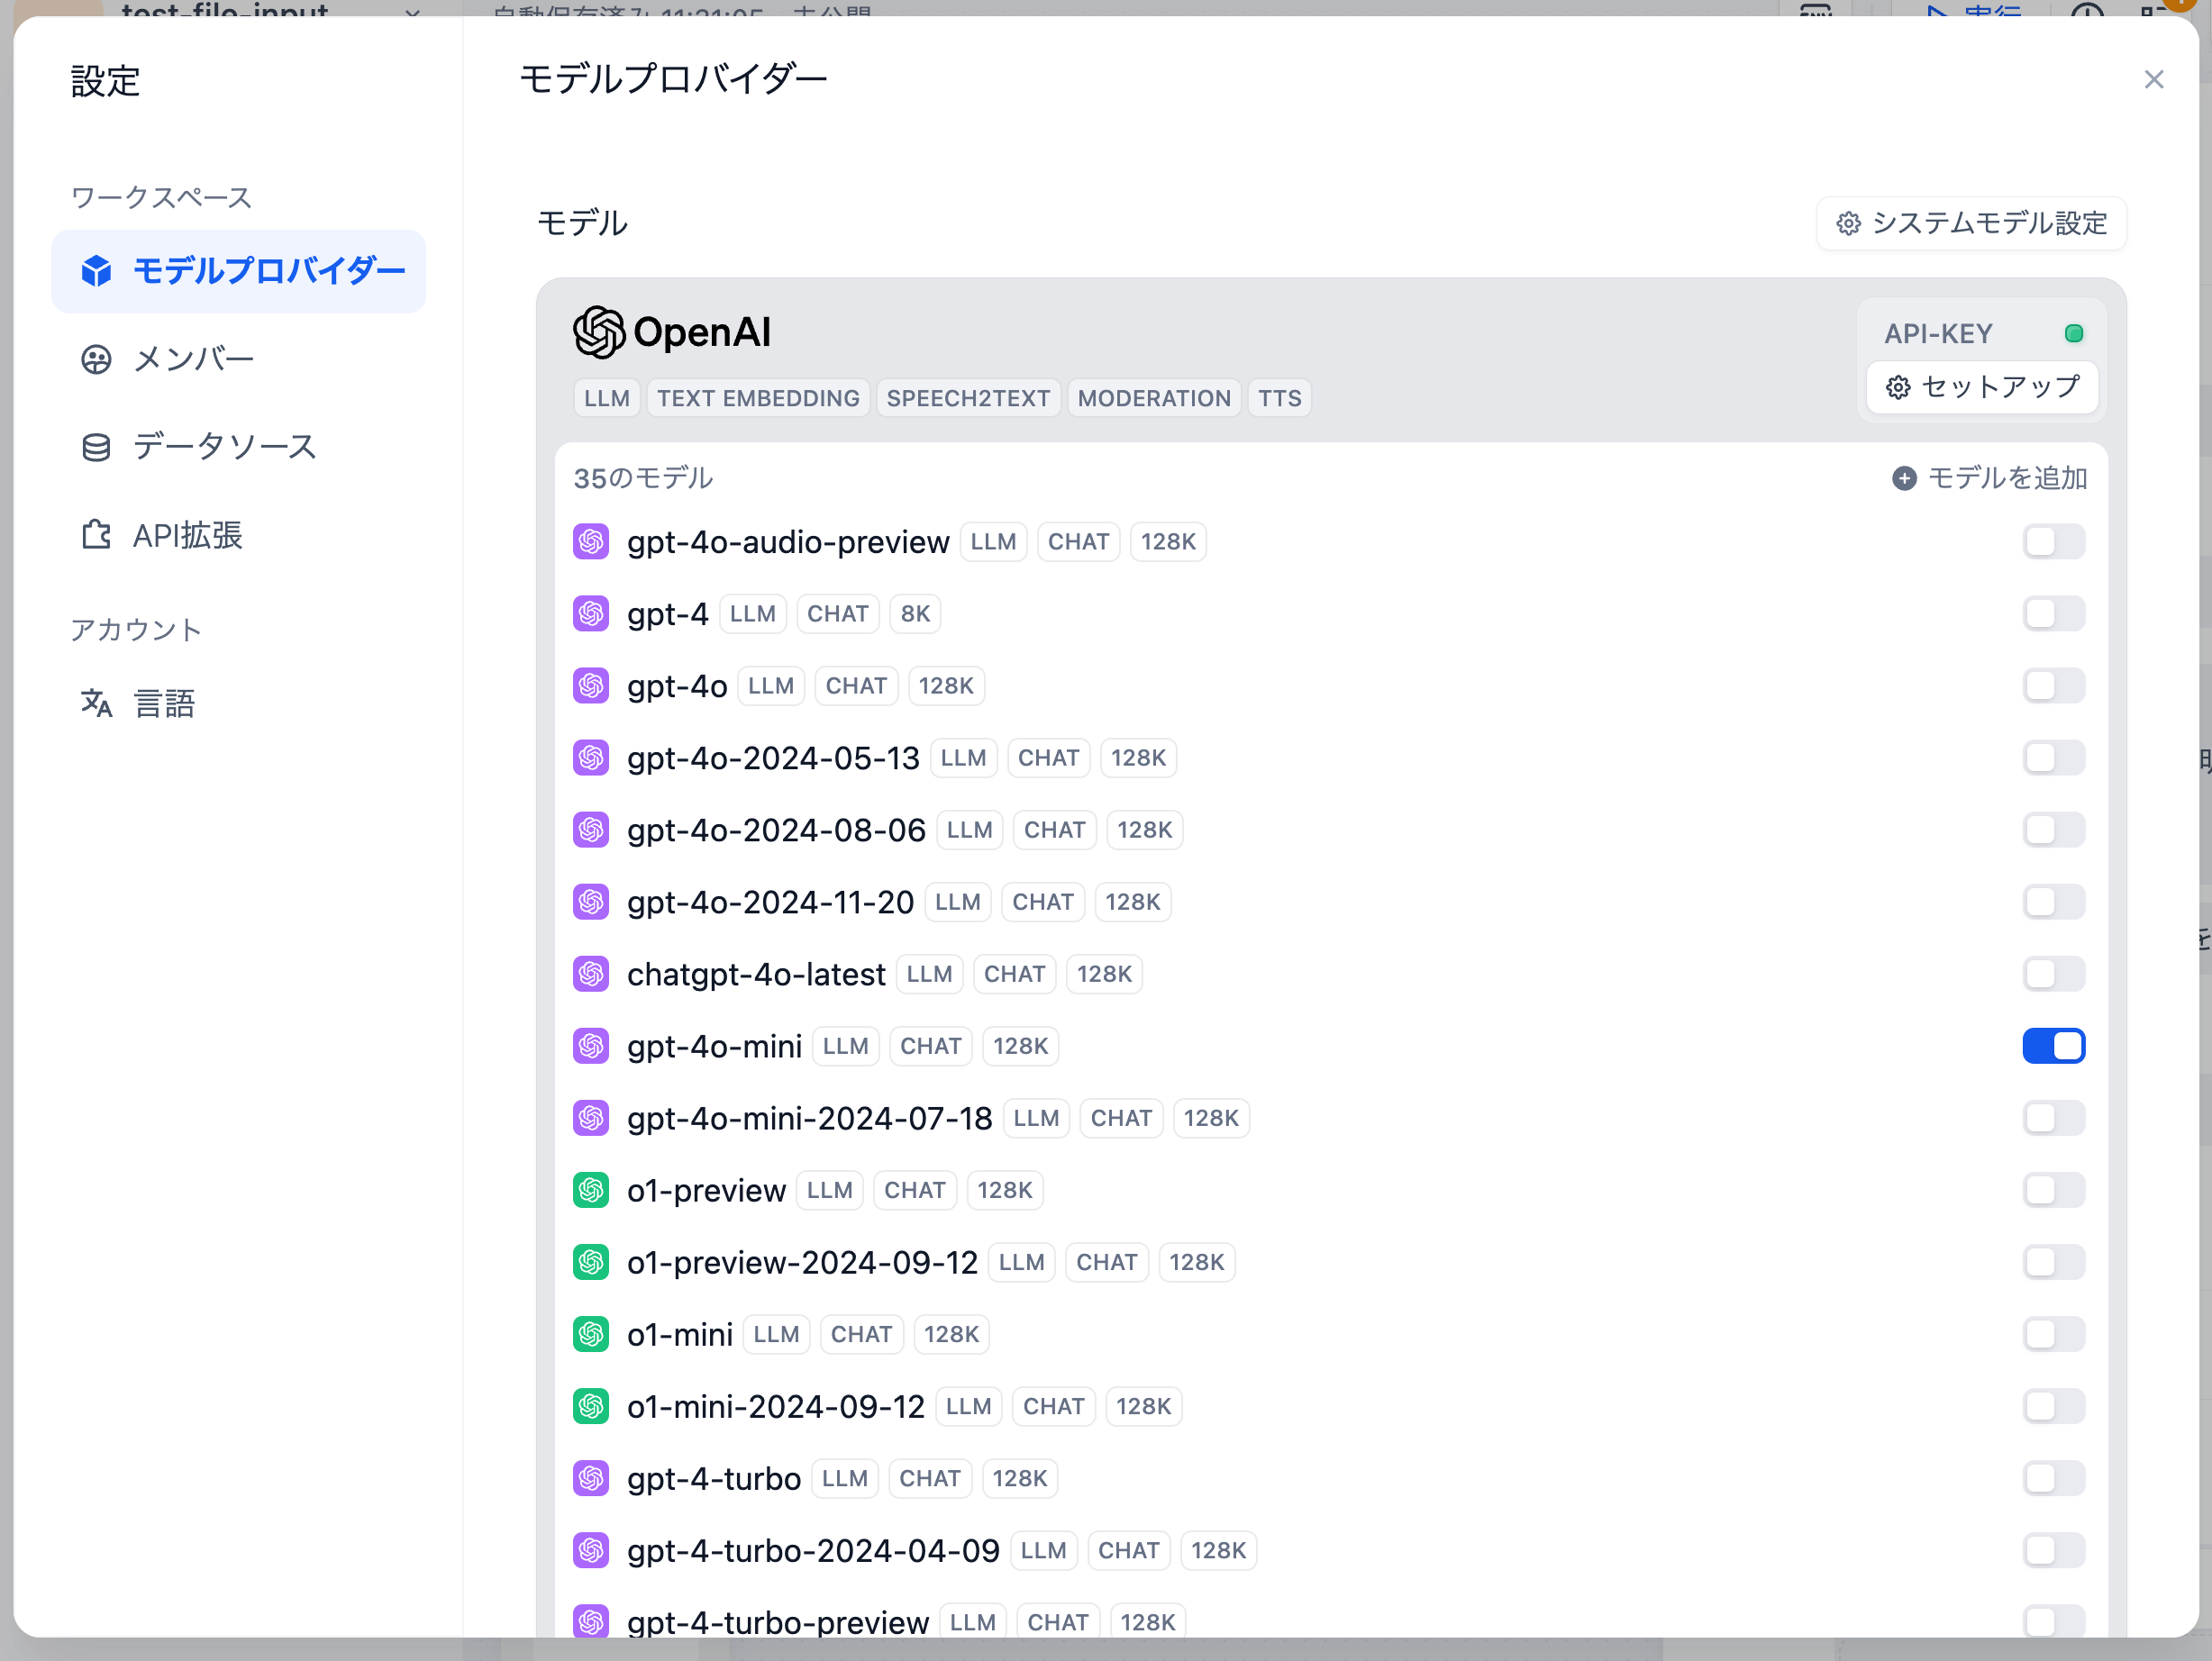
Community Edition はローカル環境やクラウド上のプライベートネットワークなどにも展開可能で、今回は下記の手順に沿ってローカルPC上で Dify を実行します。
環境構築
バージョン情報
| ソフトウェア | バージョン |
|---|---|
| Python | 3.13.0 |
| Dify | 0.12.1 |
| requests | 2.32.3 |
| streamlit | 1.40.2 |
| python-dotenv | 1.0.1 |
検証環境
Streamlit アプリケーションを実行するための環境を構築します。
また、Dify は前述したリポジトリをcloneし、ローカル環境で実行します。
実装
Dify ワークフローの作成
Dify の GUI 上でワークフローを作成します。

ワークフロー定義(DSL)
app:
  description: ''
  icon: 🤖
  icon_background: '#FFEAD5'
  mode: workflow
  name: test-file-input
  use_icon_as_answer_icon: false
kind: app
version: 0.1.3
workflow:
  conversation_variables: []
  environment_variables: []
  features:
    file_upload:
      allowed_file_extensions:
      - .JPG
      - .JPEG
      - .PNG
      - .GIF
      - .WEBP
      - .SVG
      allowed_file_types:
      - image
      allowed_file_upload_methods:
      - local_file
      - remote_url
      enabled: false
      fileUploadConfig:
        audio_file_size_limit: 50
        batch_count_limit: 5
        file_size_limit: 15
        image_file_size_limit: 10
        video_file_size_limit: 100
        workflow_file_upload_limit: 10
      image:
        enabled: false
        number_limits: 3
        transfer_methods:
        - local_file
        - remote_url
      number_limits: 3
    opening_statement: ''
    retriever_resource:
      enabled: true
    sensitive_word_avoidance:
      enabled: false
    speech_to_text:
      enabled: false
    suggested_questions: []
    suggested_questions_after_answer:
      enabled: false
    text_to_speech:
      enabled: false
      language: ''
      voice: ''
  graph:
    edges:
    - data:
        isInIteration: false
        sourceType: start
        targetType: llm
      id: 1730823952533-source-1730823963378-target
      source: '1730823952533'
      sourceHandle: source
      target: '1730823963378'
      targetHandle: target
      type: custom
      zIndex: 0
    - data:
        isInIteration: false
        sourceType: llm
        targetType: end
      id: 1730823963378-source-1730824088580-target
      source: '1730823963378'
      sourceHandle: source
      target: '1730824088580'
      targetHandle: target
      type: custom
      zIndex: 0
    nodes:
    - data:
        desc: ''
        selected: false
        title: 開始
        type: start
        variables:
        - allowed_file_extensions: []
          allowed_file_types:
          - image
          allowed_file_upload_methods:
          - local_file
          - remote_url
          label: file_input
          max_length: 48
          options: []
          required: true
          type: file
          variable: file_input
      height: 90
      id: '1730823952533'
      position:
        x: 30
        y: 249
      positionAbsolute:
        x: 30
        y: 249
      selected: true
      sourcePosition: right
      targetPosition: left
      type: custom
      width: 244
    - data:
        context:
          enabled: false
          variable_selector: []
        desc: ''
        model:
          completion_params:
            max_tokens: 2048
            temperature: 0.7
          mode: chat
          name: gpt-4o-mini
          provider: openai
        prompt_template:
        - id: 4566b58a-d860-40a6-a4a7-61507e1d8ab4
          role: system
          text: '入力された画像について日本語で説明してください

            '
        selected: false
        title: LLM
        type: llm
        variables: []
        vision:
          configs:
            detail: low
            variable_selector:
            - '1730823952533'
            - file_input
          enabled: true
      height: 98
      id: '1730823963378'
      position:
        x: 334
        y: 249
      positionAbsolute:
        x: 334
        y: 249
      selected: false
      sourcePosition: right
      targetPosition: left
      type: custom
      width: 244
    - data:
        desc: ''
        outputs:
        - value_selector:
          - '1730823963378'
          - text
          variable: text
        selected: false
        title: 終了
        type: end
      height: 90
      id: '1730824088580'
      position:
        x: 638
        y: 249
      positionAbsolute:
        x: 638
        y: 249
      selected: false
      sourcePosition: right
      targetPosition: left
      type: custom
      width: 244
    viewport:
      x: 0
      y: 0
      zoom: 0.7
このワークフローの処理フローは以下の通りです:
- ワークフロー実行時、入力ファイル(※ここでは画像ファイル限定)を指定する
- 画像入力に対応した LLM (GPT-4o mini) が画像を解析する
- 画像に関する説明を生成し、日本語で出力する

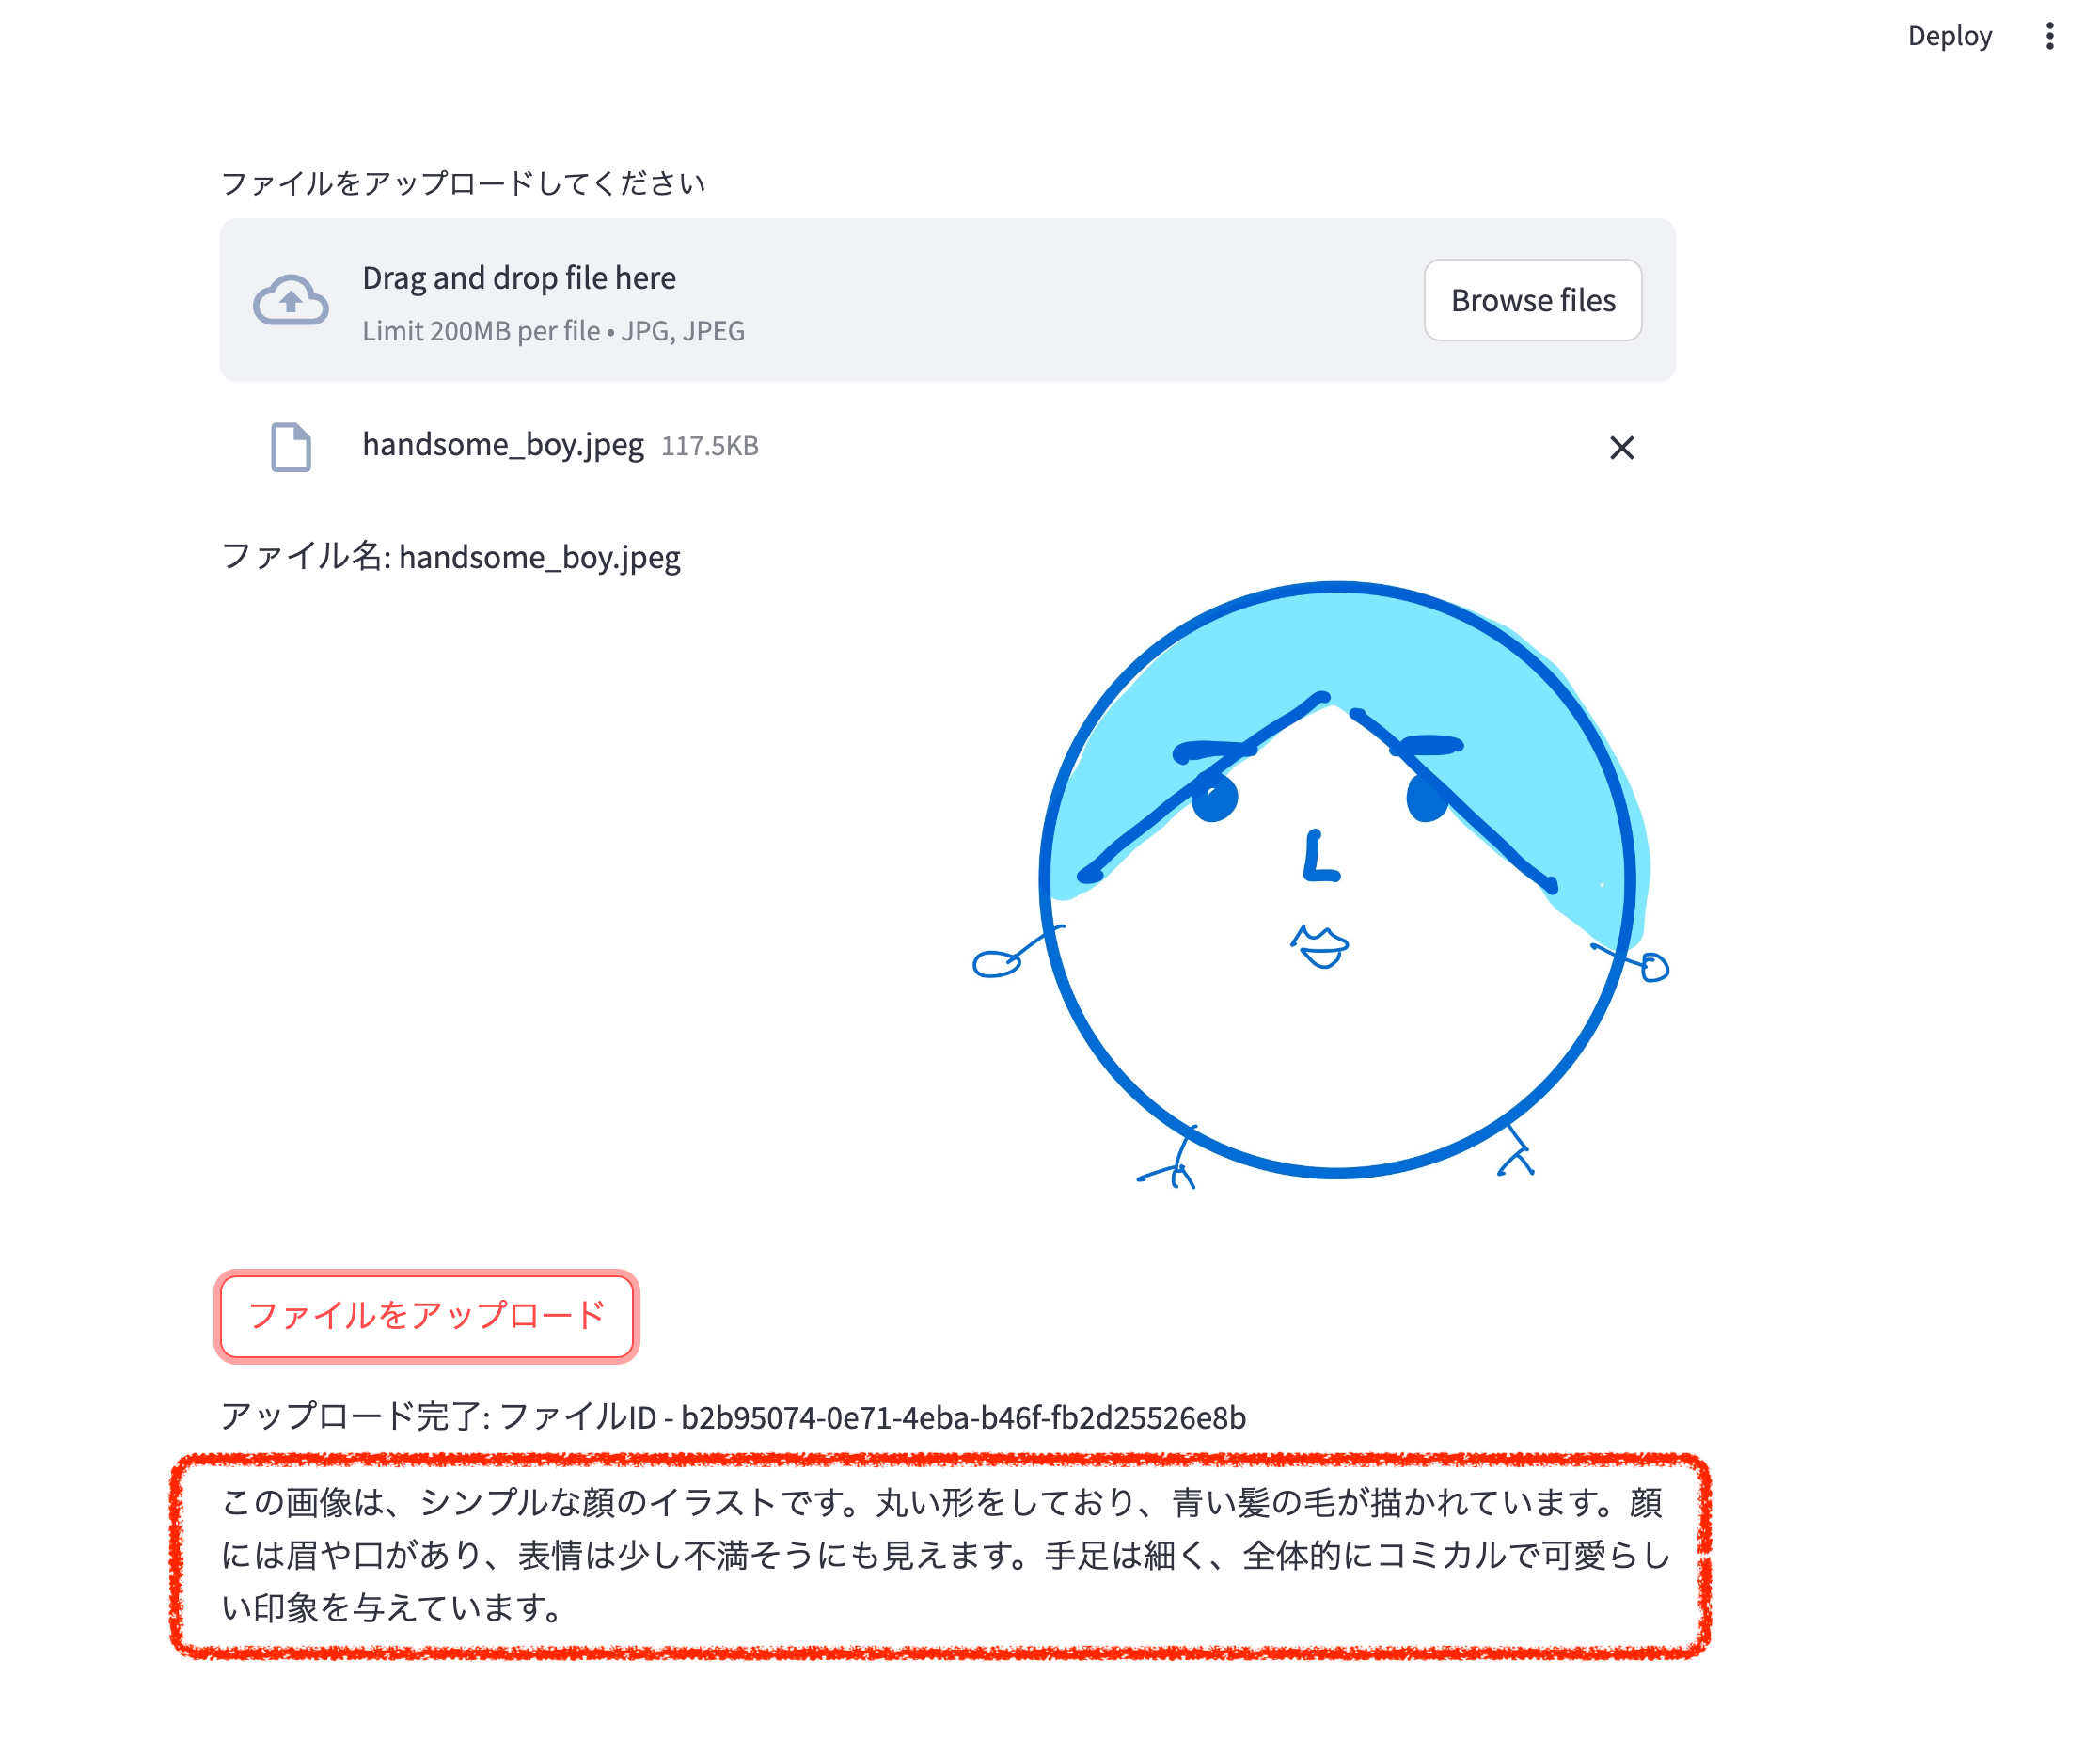
上記の画像を入力としてワークフローを実行すると、ワークフローは以下のような出力を生成します。

ワークフローの準備はこれで完了です。
Streamlit アプリケーションの作成
次に、先ほど作成したワークフローを呼び出すクライアントとなるフロントエンドを作成します。
.envファイルを作成し、必要な環境変数を設定します:
DIFY_API_KEY=your_api_key
ファイルアップロードまで
app.pyファイルを作成し、以下のコードを追加します:
app.py
import streamlit as st
from dotenv import load_dotenv
import requests
import os

load_dotenv(override=True)

DIFY_API_KEY = os.getenv("DIFY_API_KEY")
DIFY_BASE_URL = "http://localhost/v1"
DIFY_USER = "sample-user"

def upload_file(file):
    target_url = f"{DIFY_BASE_URL}/files/upload"

    headers = {
        "Authorization": f"Bearer {DIFY_API_KEY}",
    }

    try:
        response = requests.post(
            target_url,
            headers=headers,
            files={"file": (file.name, file.read(), file.type)},
            data={"user": DIFY_USER},
        )

        if response.status_code == 201:
            return response.json()
        else:
            st.error(f"アップロードエラー: {response.status_code}")
            return None

    except Exception as e:
        st.error(f"予期しないエラーが発生しました: {str(e)}")
        return None


uploaded_file = st.file_uploader(
    "ファイルをアップロードしてください",
    type=["jpg", "jpeg"],
)

if uploaded_file is not None:
    col1, col2 = st.columns(2)
    with col1:
        st.write("ファイル名:", uploaded_file.name)
    with col2:
        st.image(uploaded_file, use_container_width=True)

if st.button("ファイルをアップロード"):
    response = upload_file(uploaded_file)
    st.write(f'アップロード完了: ファイルID - {response["id"]}')
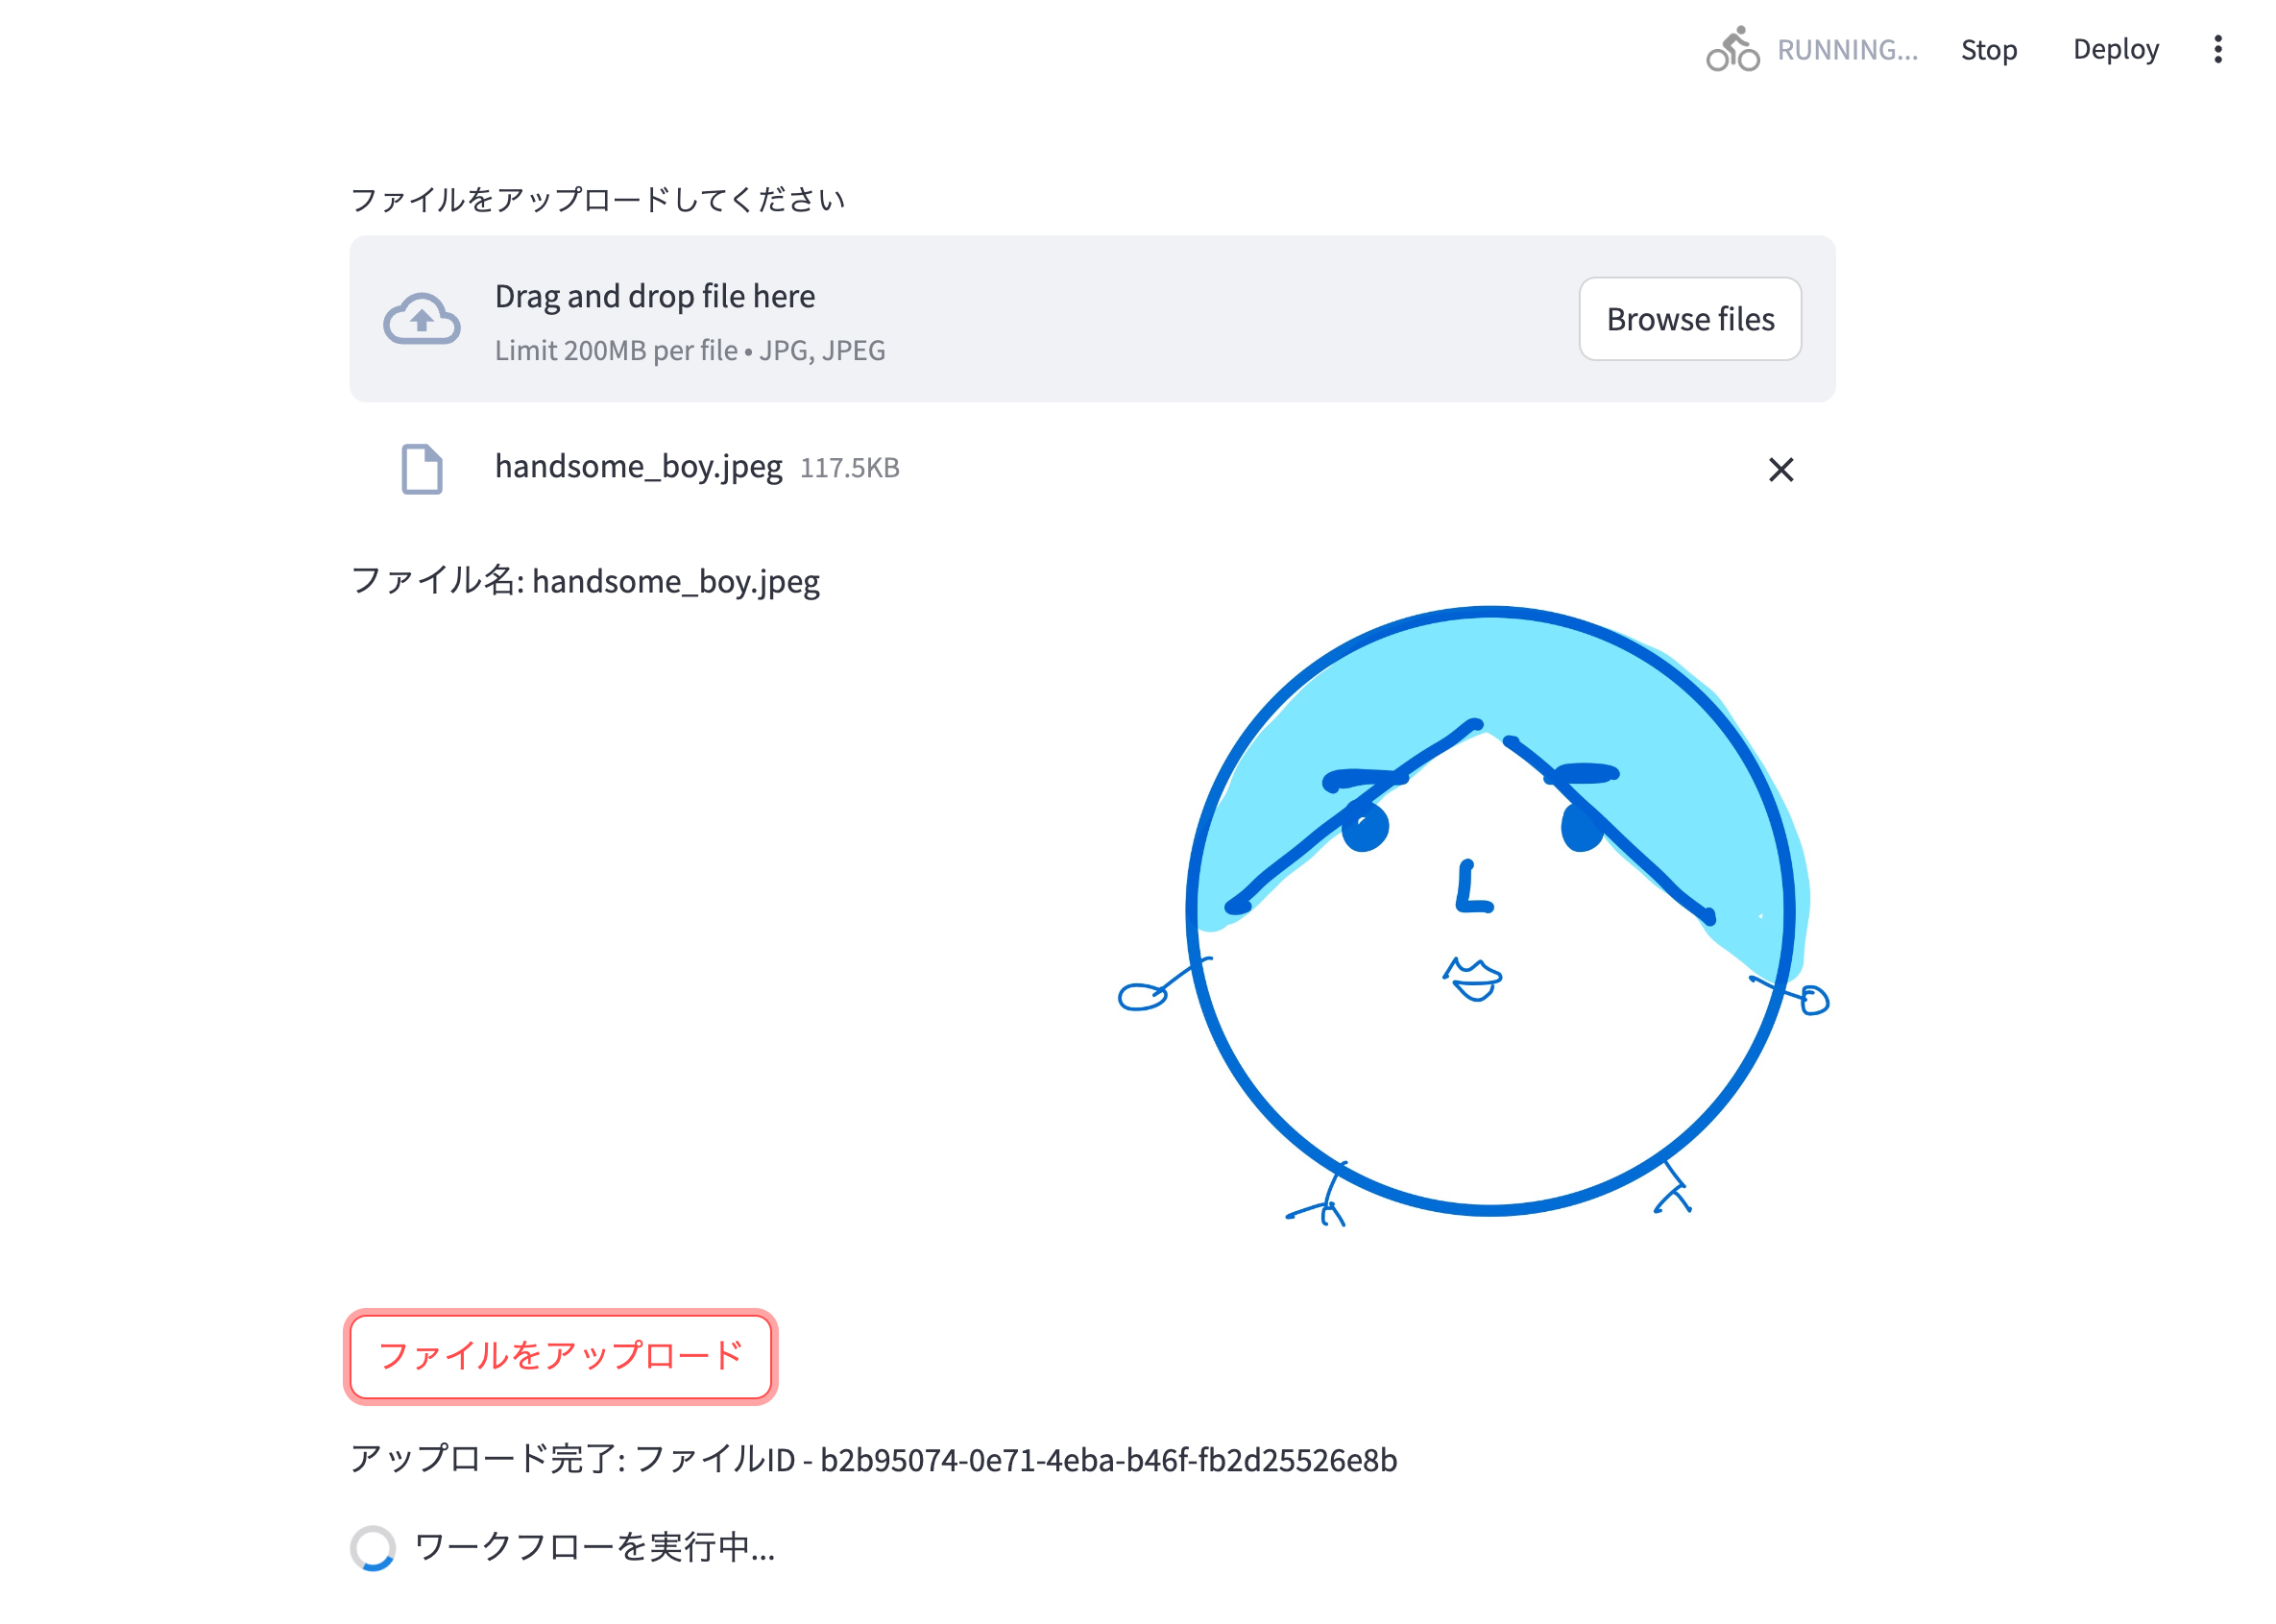
streamlit run app.py などでコードを実行すると、以下のような画面のアプリケーションが起動します。
ファイルを選択し「ファイルをアップロード」を押下するとアップロード処理が実行され、成功していればファイルに紐づくIDが表示されます。
なお、Dify をローカルで実行している場合、実際にインターネット上にアップロードされているわけではなく、ローカル環境の別の場所にコピーされているだけです。
また前述した Community Edition であれば、任意のパブリッククラウド上でも実行することができ、設定を変更することで各プロバイダーが提供するストレージサービスを利用することも可能です。
ファイルをワークフローの入力に指定する
app.py にワークフローを呼び出す処理を追加します。
Dify API でワークフローを実行する際にファイル入力を行うには、リクエストにファイルIDなどの情報を含める必要があります。
コメントのとおり、input 内のキー名はワークフローの入力フィールド名と一致させる必要があります。
これで私は大事な休日の一部を失いました。
追加箇所抜粋
def run_workflow(file_id):
    target_url = f"{DIFY_BASE_URL}/workflows/run"
    headers = {
        "Authorization": f"Bearer {DIFY_API_KEY}",
        "Content-Type": "application/json"
    }

    input = {
        # Dify ワークフローの入力フィールド名と一致させる
        "file_input": {
            "type": "image",
            "transfer_method": "local_file",
            "upload_file_id": file_id
        }
    }

    payload = {
        "inputs": input,
        "response_mode": "blocking",
        "user": DIFY_USER
    }

    try:
        response = requests.post(target_url, headers=headers, json=payload)
        response.raise_for_status()
        return response.json()
    except requests.exceptions.RequestException as e:
        st.error(f"ワークフロー実行エラー: {str(e)}")
        return None
これでワークフローを呼び出すための実装は完成です。
動作確認
ここまで作成したものを使用して、ファイルアップロードから画像解析までを行えるか検証します。
実行結果が分かるように、ボタン押下時の処理を以下のように変更します。
if st.button("ファイルをアップロード"):
    response = upload_file(uploaded_file)
    st.write(f'アップロード完了: ファイルID - {response["id"]}')

    with st.spinner("ワークフローを実行中..."):
        upload_result = run_workflow(response["id"])

    # レスポンスから画像の解析結果を取得して表示
    st.write(upload_result["data"]["outputs"]["text"])
先ほどと同じ画像を再度アップロードしてみます。
誰が不満そうな表情じゃ!!!!もう漫才やめさせてもらうわ!!!!!!
ありがとうございました!!!!!!
最終的な app.py
import streamlit as st
from dotenv import load_dotenv
import requests
import os

load_dotenv(override=True)

DIFY_API_KEY = os.getenv("DIFY_API_KEY")
DIFY_BASE_URL = "http://localhost/v1"
DIFY_USER = "sample-user"

def run_workflow(file_id):
    target_url = f"{DIFY_BASE_URL}/workflows/run"
    headers = {
        "Authorization": f"Bearer {DIFY_API_KEY}",
        "Content-Type": "application/json"
    }

    input = {
        # Dify ワークフローの入力フィールド名と一致させる
        "file_input": {
            "type": "image",
            "transfer_method": "local_file",
            "upload_file_id": file_id
        }
    }

    payload = {
        "inputs": input,
        "response_mode": "blocking",
        "user": DIFY_USER
    }

    try:
        response = requests.post(target_url, headers=headers, json=payload)
        response.raise_for_status()
        return response.json()
    except requests.exceptions.RequestException as e:
        st.error(f"ワークフロー実行エラー: {str(e)}")
        return None


def upload_file(file):
    target_url = f"{DIFY_BASE_URL}/files/upload"

    headers = {
        "Authorization": f"Bearer {DIFY_API_KEY}",
    }

    try:
        response = requests.post(
            target_url,
            headers=headers,
            files={"file": (file.name, file.read(), file.type)},
            data={"user": DIFY_USER},
        )

        if response.status_code == 201:
            return response.json()
        else:
            st.error(f"アップロードエラー: {response.status_code}")
            return None

    except Exception as e:
        st.error(f"予期しないエラーが発生しました: {str(e)}")
        return None


uploaded_file = st.file_uploader(
    "ファイルをアップロードしてください",
    type=["jpg", "jpeg"],
)

if uploaded_file is not None:
    col1, col2 = st.columns(2)
    with col1:
        st.write("ファイル名:", uploaded_file.name)
    with col2:
        st.image(uploaded_file, use_container_width=True)

if st.button("ファイルをアップロード"):
    response = upload_file(uploaded_file)
    st.write(f'アップロード完了: ファイルID - {response["id"]}')

    with st.spinner("ワークフローを実行中..."):
        upload_result = run_workflow(response["id"])

    # レスポンスから画像の解析結果を取得して表示
    st.write(upload_result["data"]["outputs"]["text"])
まとめ
Dify APIでワークフローを呼び出す際のファイル入力について検証しました。
GUI 上では何も考えず入力にファイルが使用できますが、API 経由の場合はファイルアップロード→ワークフロー実行という二段階の処理が必要となります。
複数ファイルを指定したり異なるファイル形式が混在したりする場合などはハンドリングもやや複雑になりそうです。
参考


