前記事のURL
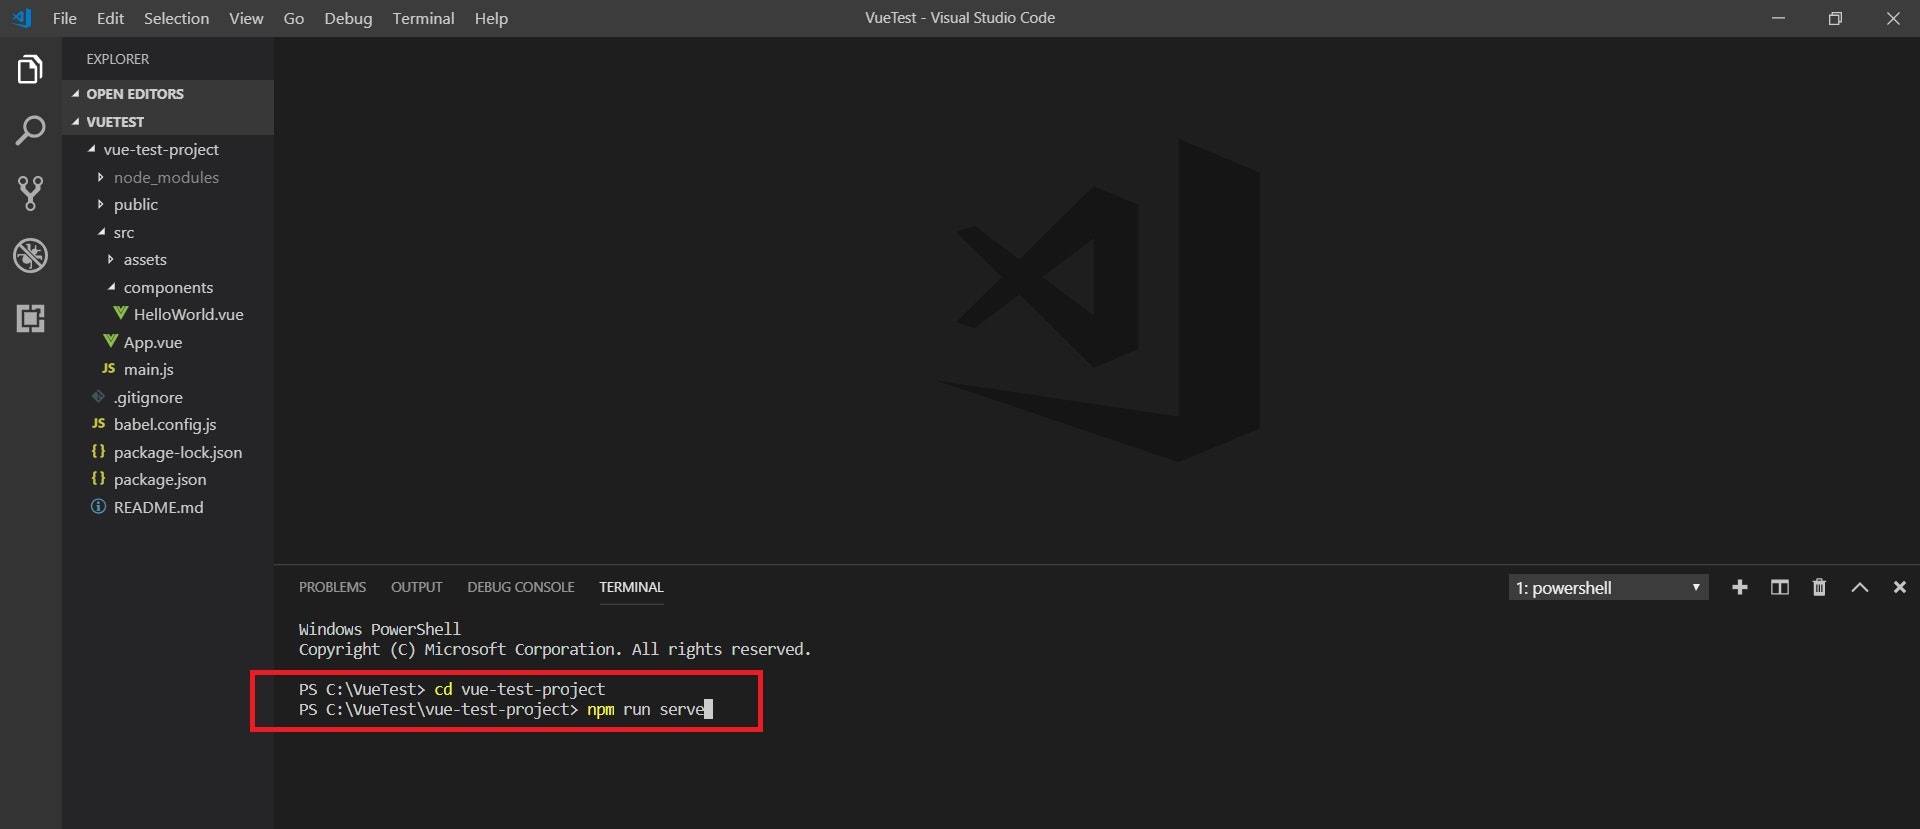
プロジェクトのディレクトリで「run npm serve」
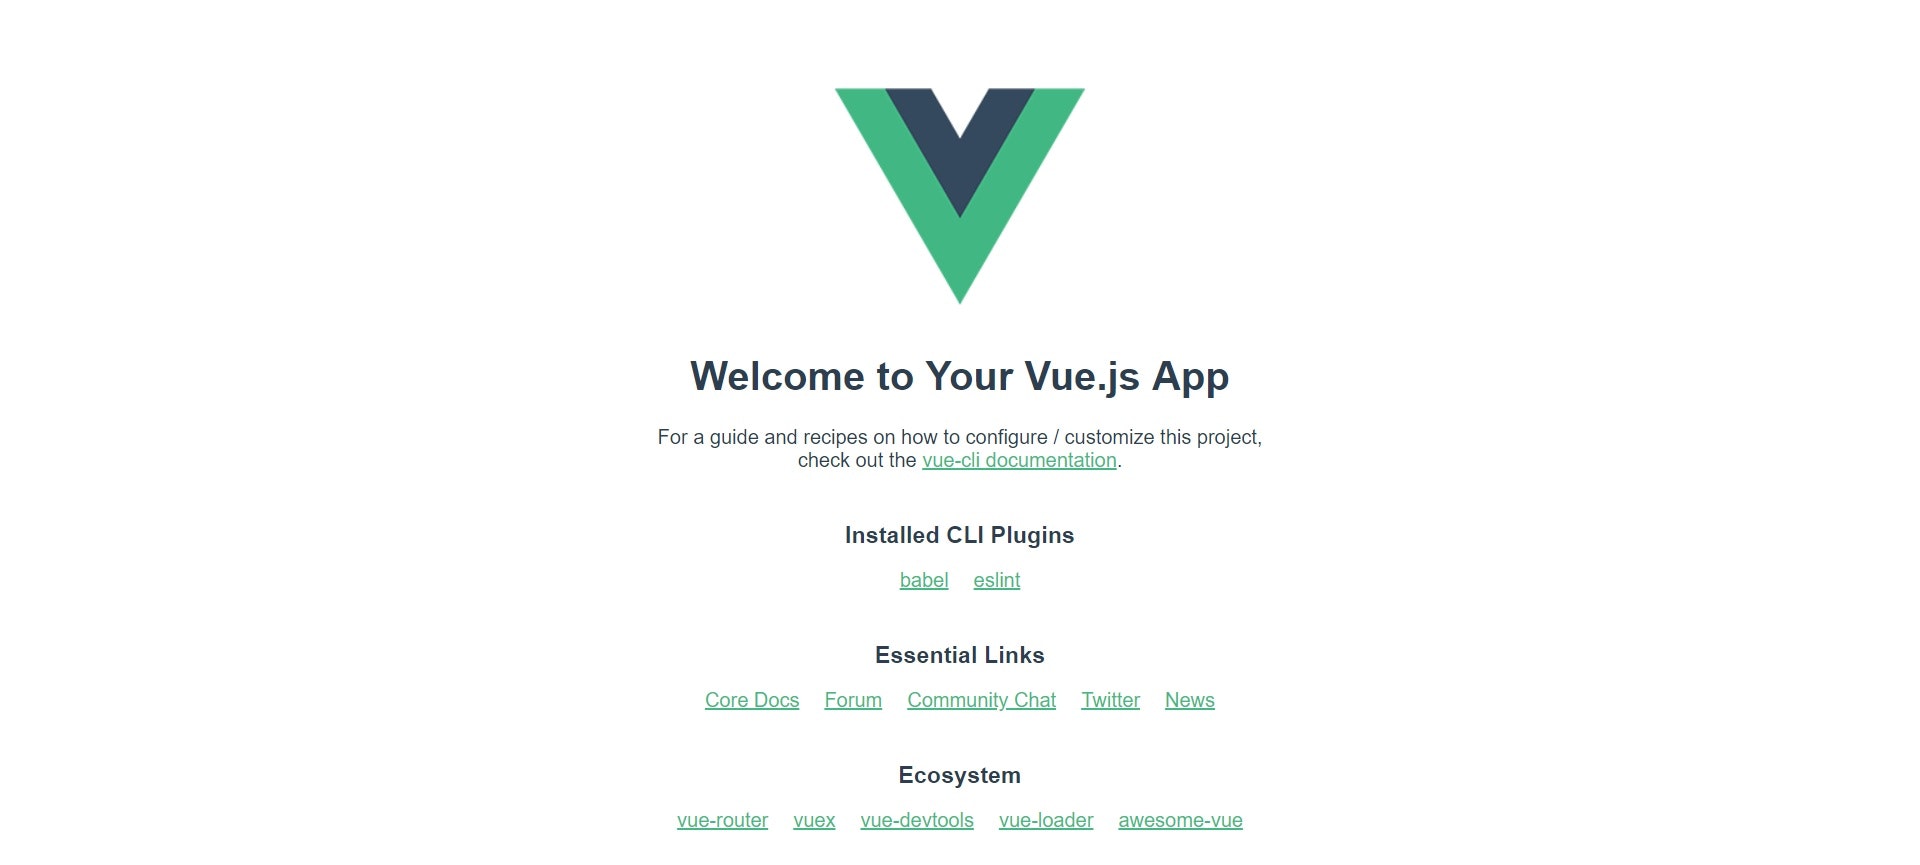
localhost:8080にアクセス
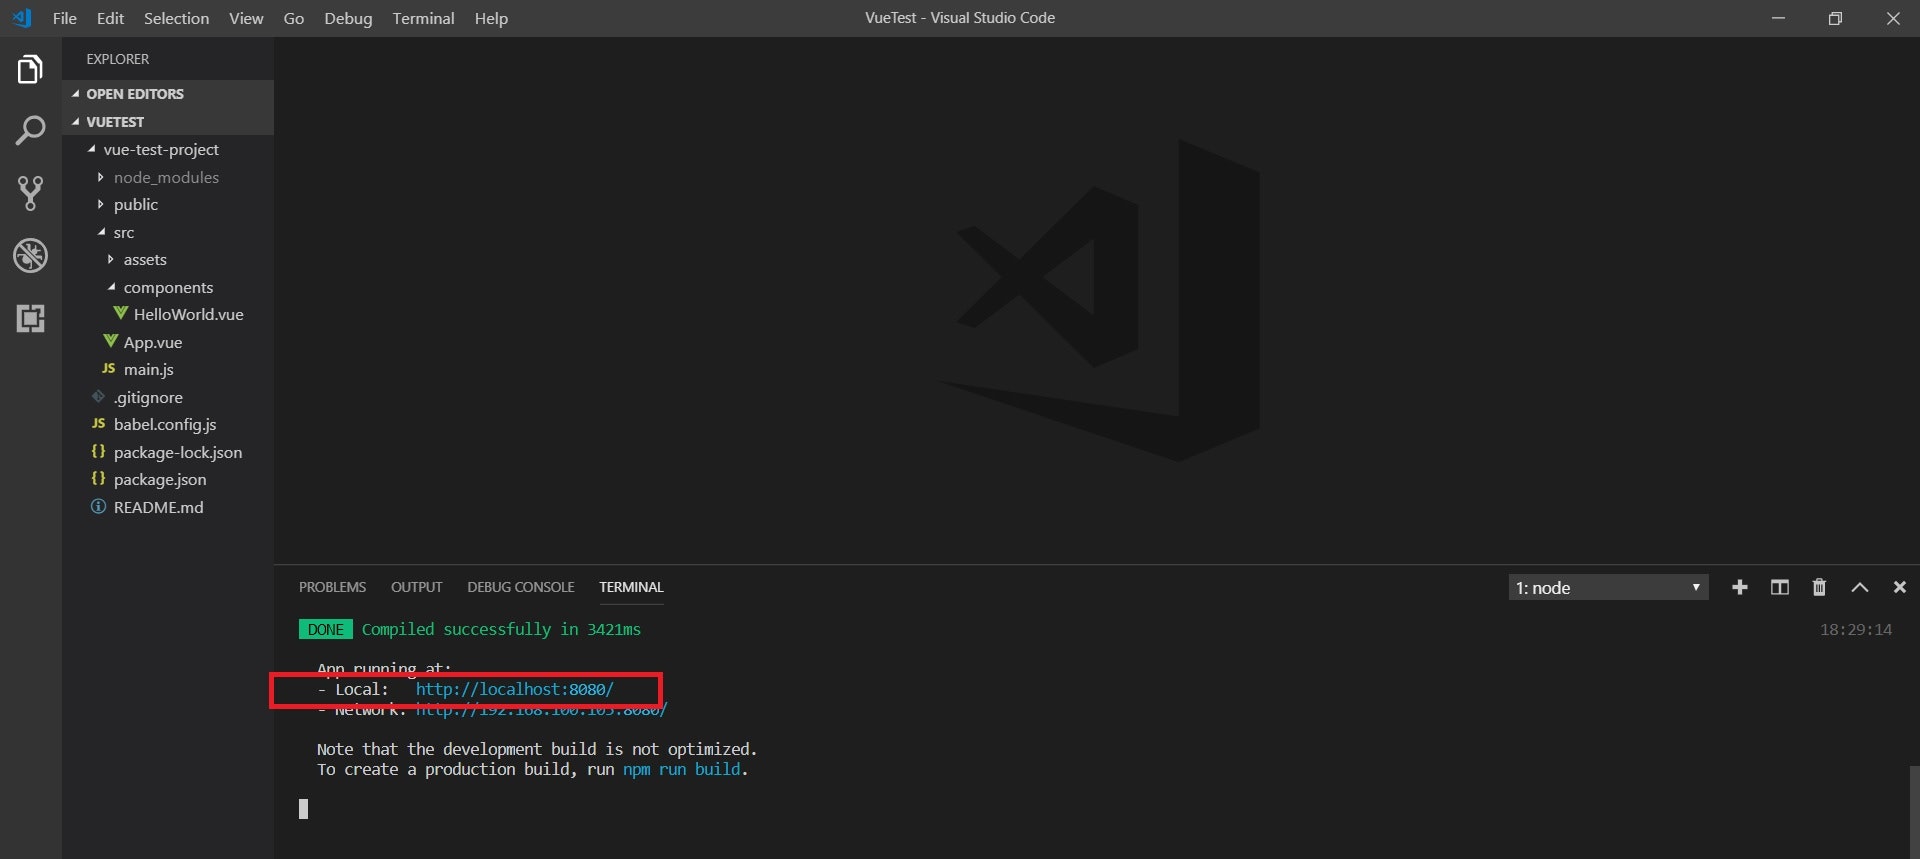
デフォルトのプロジェクトができます

デフォルトをいじる Part1~HelloWorld.vueのリネーム~
まずcomponentsのHelloWorld.vueをリネームしましょう(ダサいから)
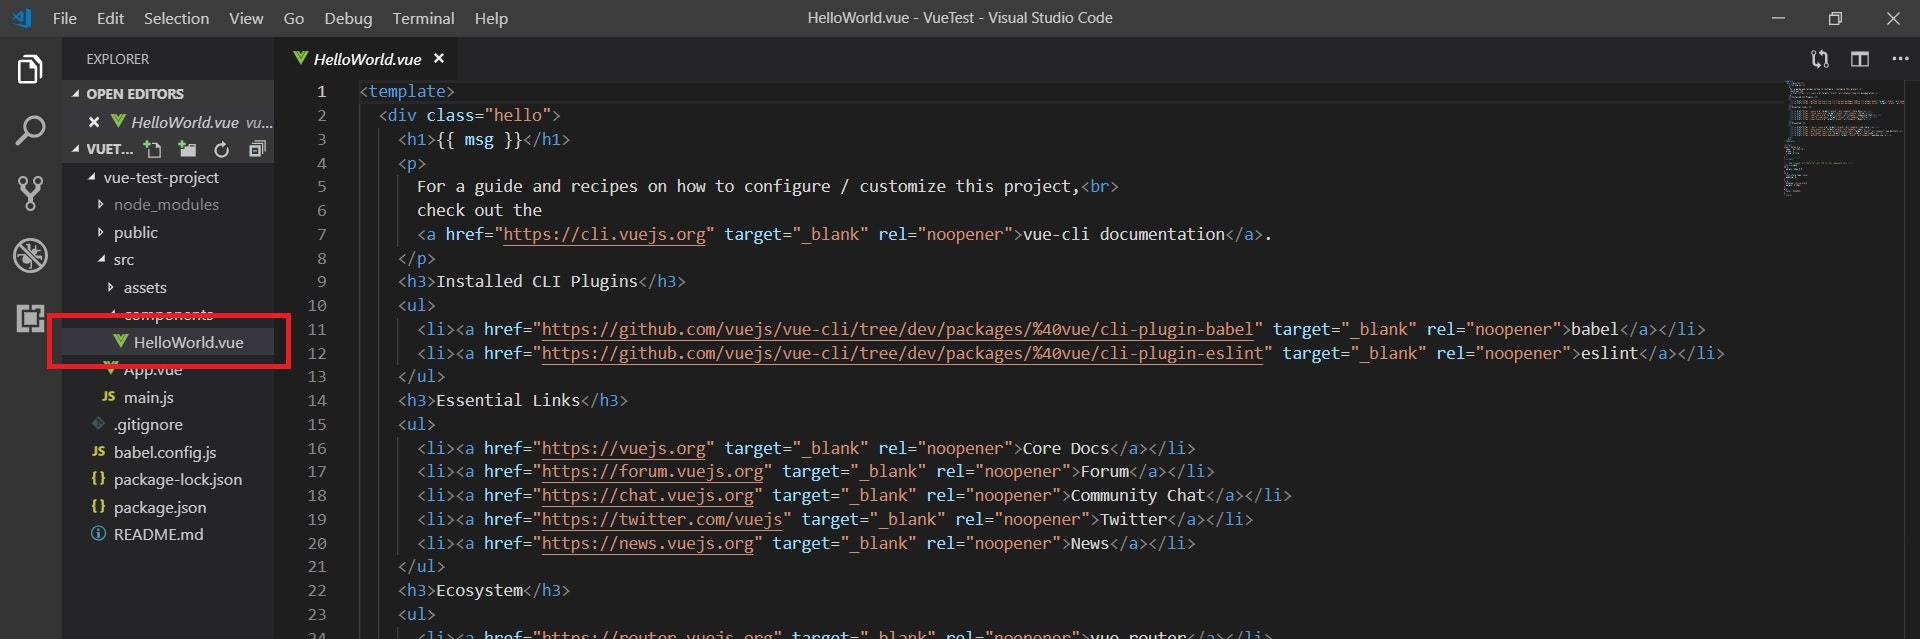
安心してください。ページが死ぬだけです。

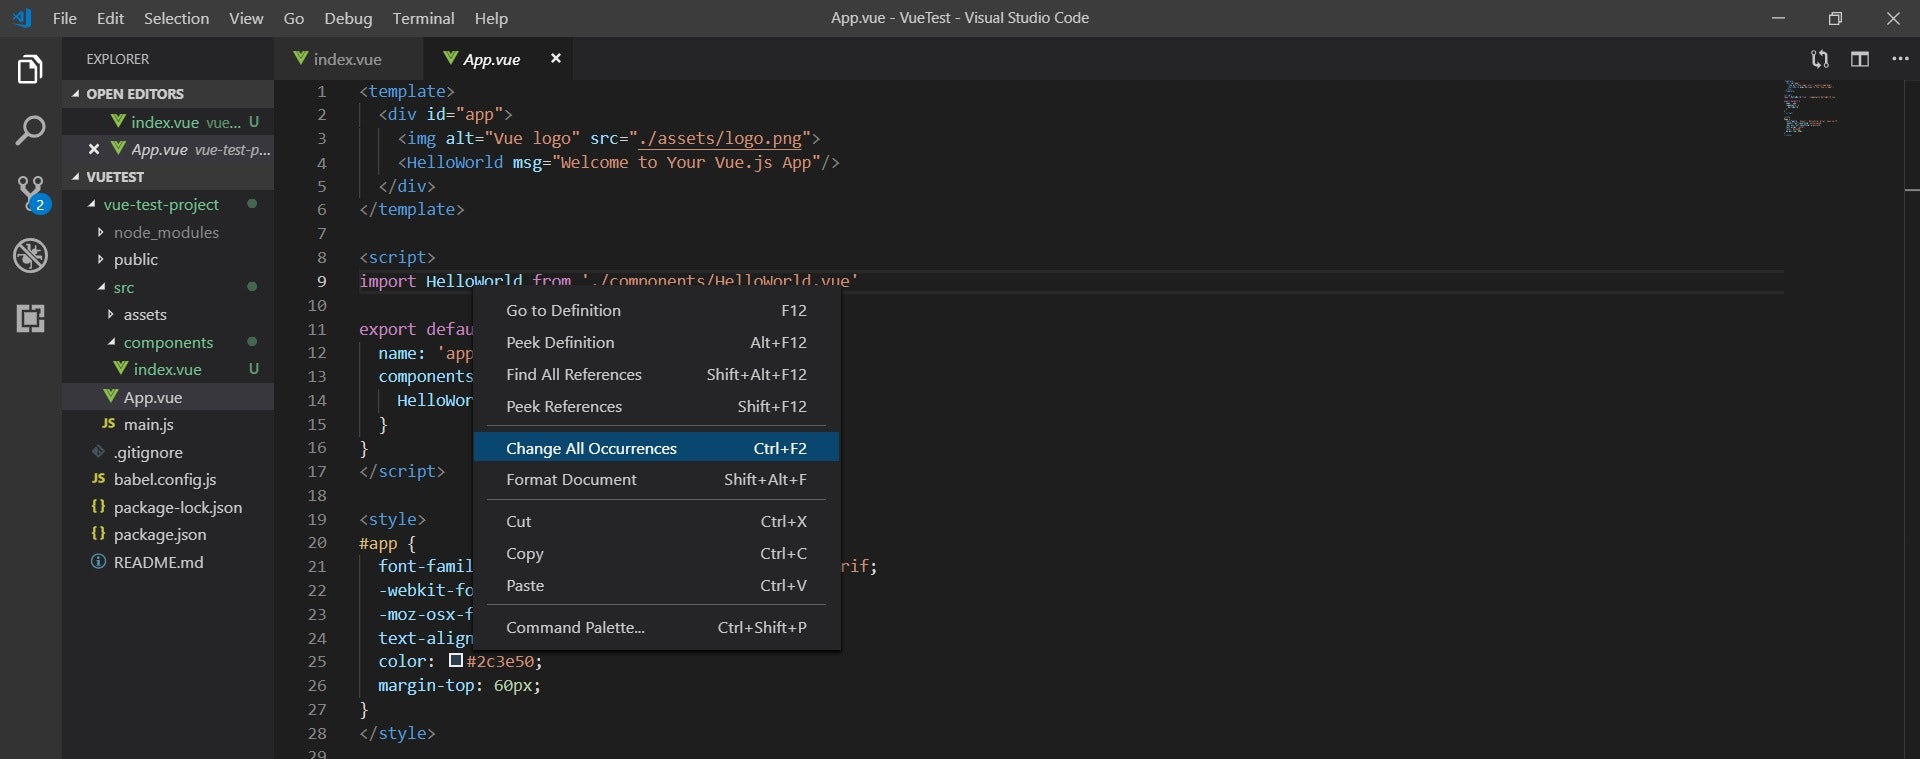
App.vueにHelloWorldがいっぱいいるので、全部indexに変えましょう。
App.vue
<template>
  <div id="app">
    <img alt="Vue logo" src="./assets/logo.png">
    <index msg="Welcome to Your Vue.js App"/>
  </div>
</template>

<script>
import index from './components/index.vue'

export default {
  name: 'app',
  components: {
    index
  }
}
</script>

<style>
# app {
  font-family: 'Avenir', Helvetica, Arial, sans-serif;
  -webkit-font-smoothing: antialiased;
  -moz-osx-font-smoothing: grayscale;
  text-align: center;
  color: #2c3e50;
  margin-top: 60px;
}
</style>
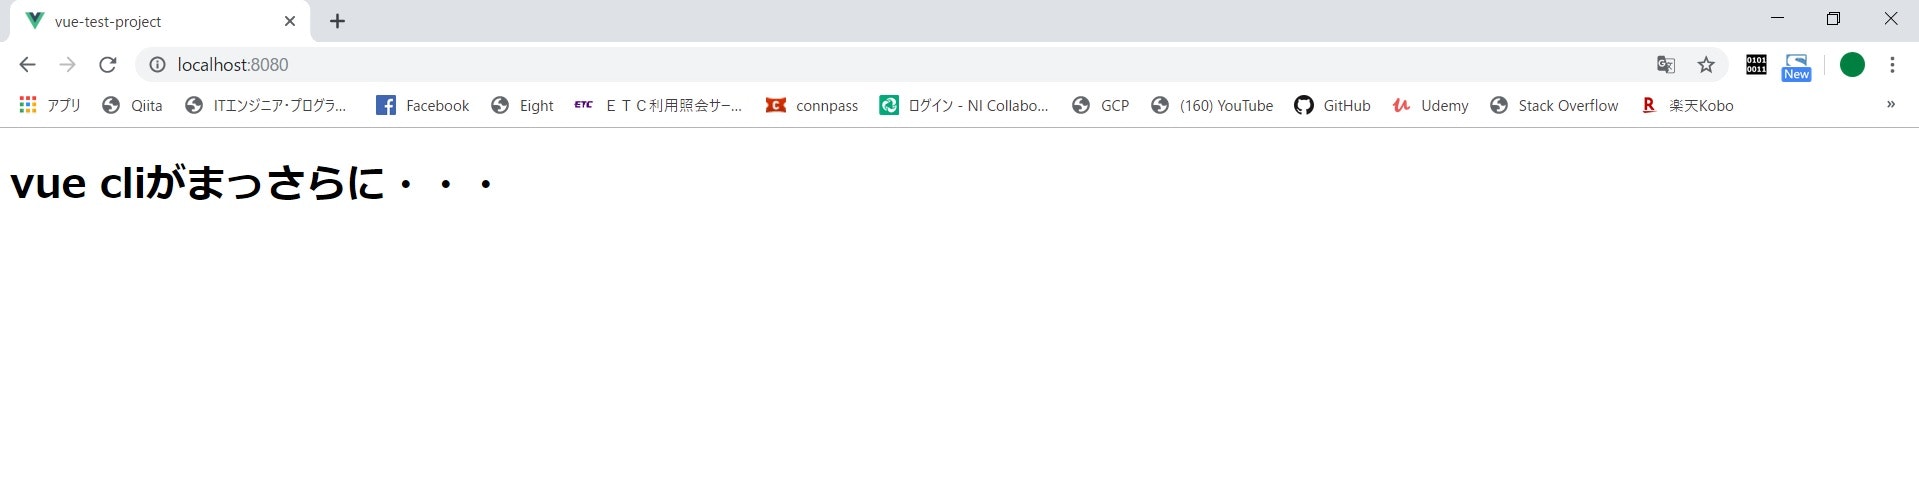
デフォルトをいじる Part2~ページをまっさらに~
つづいて、こいつを真っ白に染めましょう
divタグとstyleタグの中を消しましょう。
App.vue
<template>
  <div id="app">
   <h1>vue cliがまっさらに・・・</h1>
  </div>
</template>

<script>
import index from './components/index.vue'

export default {
  name: 'app',
  components: {
    index
  }
}
</script>

<style>

</style>
index.vueの中も同様にですね。※divタグのクラスはご自由に
index.vue
<template>
  <div class="index container">

  </div>
</template>

<script>
export default {
  name: 'index',
  props: {

  }
}
</script>

<!-- Add "scoped" attribute to limit CSS to this component only -->
<style>

</style>
つづく
次回はcomponentの追加における3ステップについて!