前提
フロントをnuxt.js、API側をlaravel8、DBにmysqlを使って認証機能付きSPAの環境構築をしていきます。
私の環境は下記の通りです。
OS: windows10
node.js: 14.17.6
php: 8.0.13
laravel: 8.83.8
nuxt: ^2.15.7
mysql: 8.0.13
※尚、本記事は下記記事の続きとなっております。
nuxt.jsの構築
前回作成したsample-appディレクトリ配下に新しくnuxtプロジェクトを作成する
$ npx create-nuxt-app sample-web


// 質問は適当に答えました…
✨  Generating Nuxt.js project in sample-web
? Project name: sample-web
? Programming language: JavaScript
? Package manager: Yarn
? UI framework: None
? Nuxt.js modules: Axios - Promise based HTTP client
? Linting tools: (Press <space> to select, <a> to toggle all, <i> to invert selection)
? Testing framework: None
? Rendering mode: Single Page App
? Deployment target: Server (Node.js hosting)
? Development tools: jsconfig.json (Recommended for VS Code if you're not using typescript)
? What is your GitHub username? hoge
? Version control system: Git
作成完了したらsample-webディレクトリに入って上手くインストールが完了したか確認しましょう。
$ cd sample-web
$ yarn dev
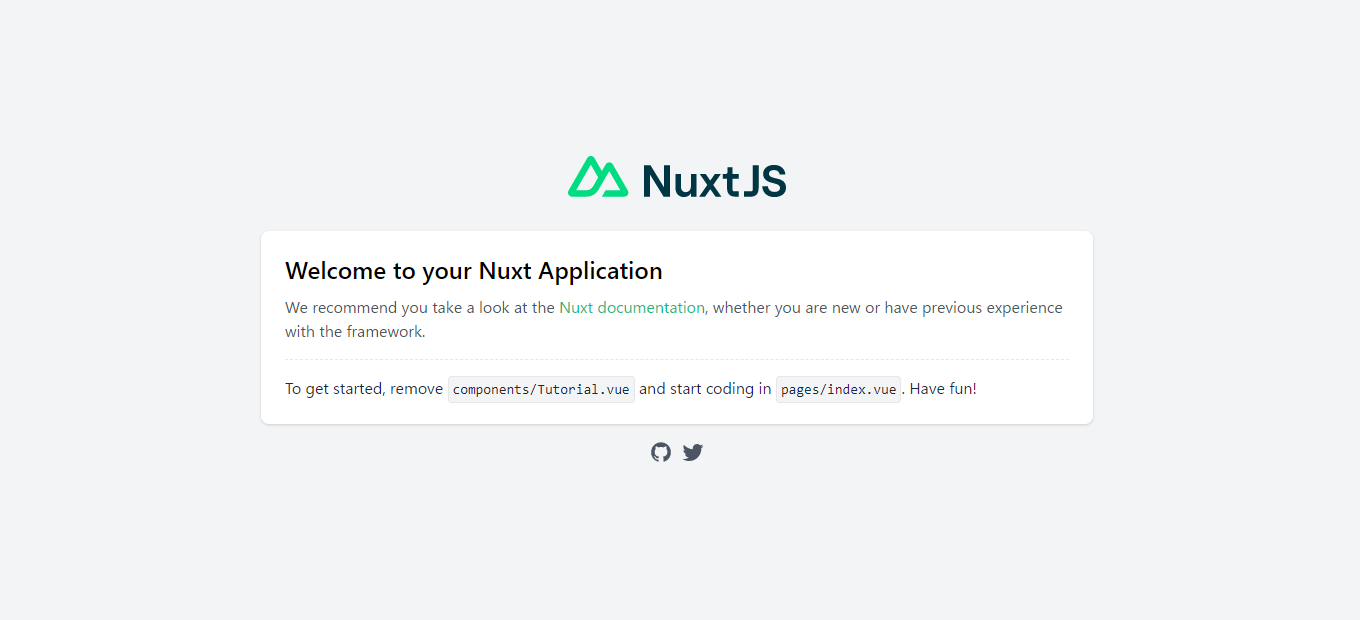
ブラウザでhttp://localhost:3000にアクセスし、下記のような画面になればOKです。
確認出来たら次は@nuxtjs/authをインストールしていく。
$ yarn add @nuxtjs/auth
インストールが完了したらnuxt.config.jsに色々書き込んでいく。
  // Modules: https://go.nuxtjs.dev/config-modules
  modules: [
    // https://go.nuxtjs.dev/axios
    '@nuxtjs/axios',
    '@nuxtjs/auth' // 追加する
  ],

  // Axios module configuration: https://go.nuxtjs.dev/config-axios
  axios: {
    // Workaround to avoid enforcing hard-coded localhost:3000: https://github.com/nuxt-community/axios-module/issues/308
    baseURL: 'http://localhost:8000',
  },

  auth: {
    redirect: {
      login: '/auth/login',
      logout: '/', // ログアウトした後どこに遷移するかを指定する
      callback: false,
      home: '/mypage' // ログインした後どこに遷移するかを指定する
    },
    strategies: {
      local: {
        endpoints: {
          login: {url: '/api/login', method: 'post', propertyName: 'token'},
          logout: {url: '/api/logout', method: 'post'},
          user: {url: '/api/user', method: 'get', propertyName: 'user'},
        }
      }
    }
  },
また、@nuxt-authを利用するにはstoreディレクトリ内にjsファイルが無いといけない。
空でもいいので作成しておく。
$ copy nul store/index.js
linuxやmacOSの場合はcopy nulではなくtouchコマンドを使う
※ここで一体何をやっているか分からない場合はぜひ公式ドキュメントを…!
次にログインフォームの画面とログイン後遷移する画面を作成する。
あと少し!
$ copy nul pages/auth/login.vue
$ copy nul pages/mypage.vue
<template>
  <div>
    <div>
      <label for="email">Email</label>
      <input type="email" v-model="email" placeholder="email">
    </div>
    <div>
      <label for="password">Password</label>
      <input type="password" v-model="password" placeholder="password">
    </div>
    <div>
      <button @click="login">Login</button>
    </div>
  </div>
</template>

<script>
export default {
  data(){
    return {
      email:'',
      password:''
    }
  },
  methods: {
    async login() {
      try {
        await this.$auth.loginWith('local', {
          data: {
            email: this.email,
            password: this.password
          }
        })
      } catch (err) {
        console.log(`error: ${err}`)
      }
    }
  }
}
</script>
<template>
  <div>
    <p>{{ userName }}さんがログインしています</p>
    <button @click="$auth.logout()">ログアウト</button>
  </div>
</template>

<script>
export default {
  middleware: ['auth'], // この記載のあるページはログインしていないと見れなくなる
  data() {
    return {
      userName: this.$auth.user.name // this.$auth.user.nameでログインしているユーザー名が取得できる
    }
  }
}
</script>
これでnuxt.js側の作成は完了しました。
実際にnuxt.jsからログインしてみる
※laravelAPIの作成については下記参照
laravelを起動させる
$ cd sample-api
$ php artisan serve
nuxt.jsを起動させる
$ cd sample.web
$ yarn dev
ブラウザでhttp://localhost:3000/auth/loginにアクセスする

Email, Passwordをそれぞれ入力して下記画面に遷移すれば成功!

Logoutボタンを押すとnuxt.confug.jsで設定した通り/に遷移する。
以上です。
お疲れ様でした!