Raspberry PI B Rev1 からUSBシリアル変換アタプタを使わずにAdruinoと通信したい。
$ uname -a
Linux raspberrypi 4.1.16+ #832 Sun Jan 24 12:54:04 GMT 2016 armv6l GNU/Linux
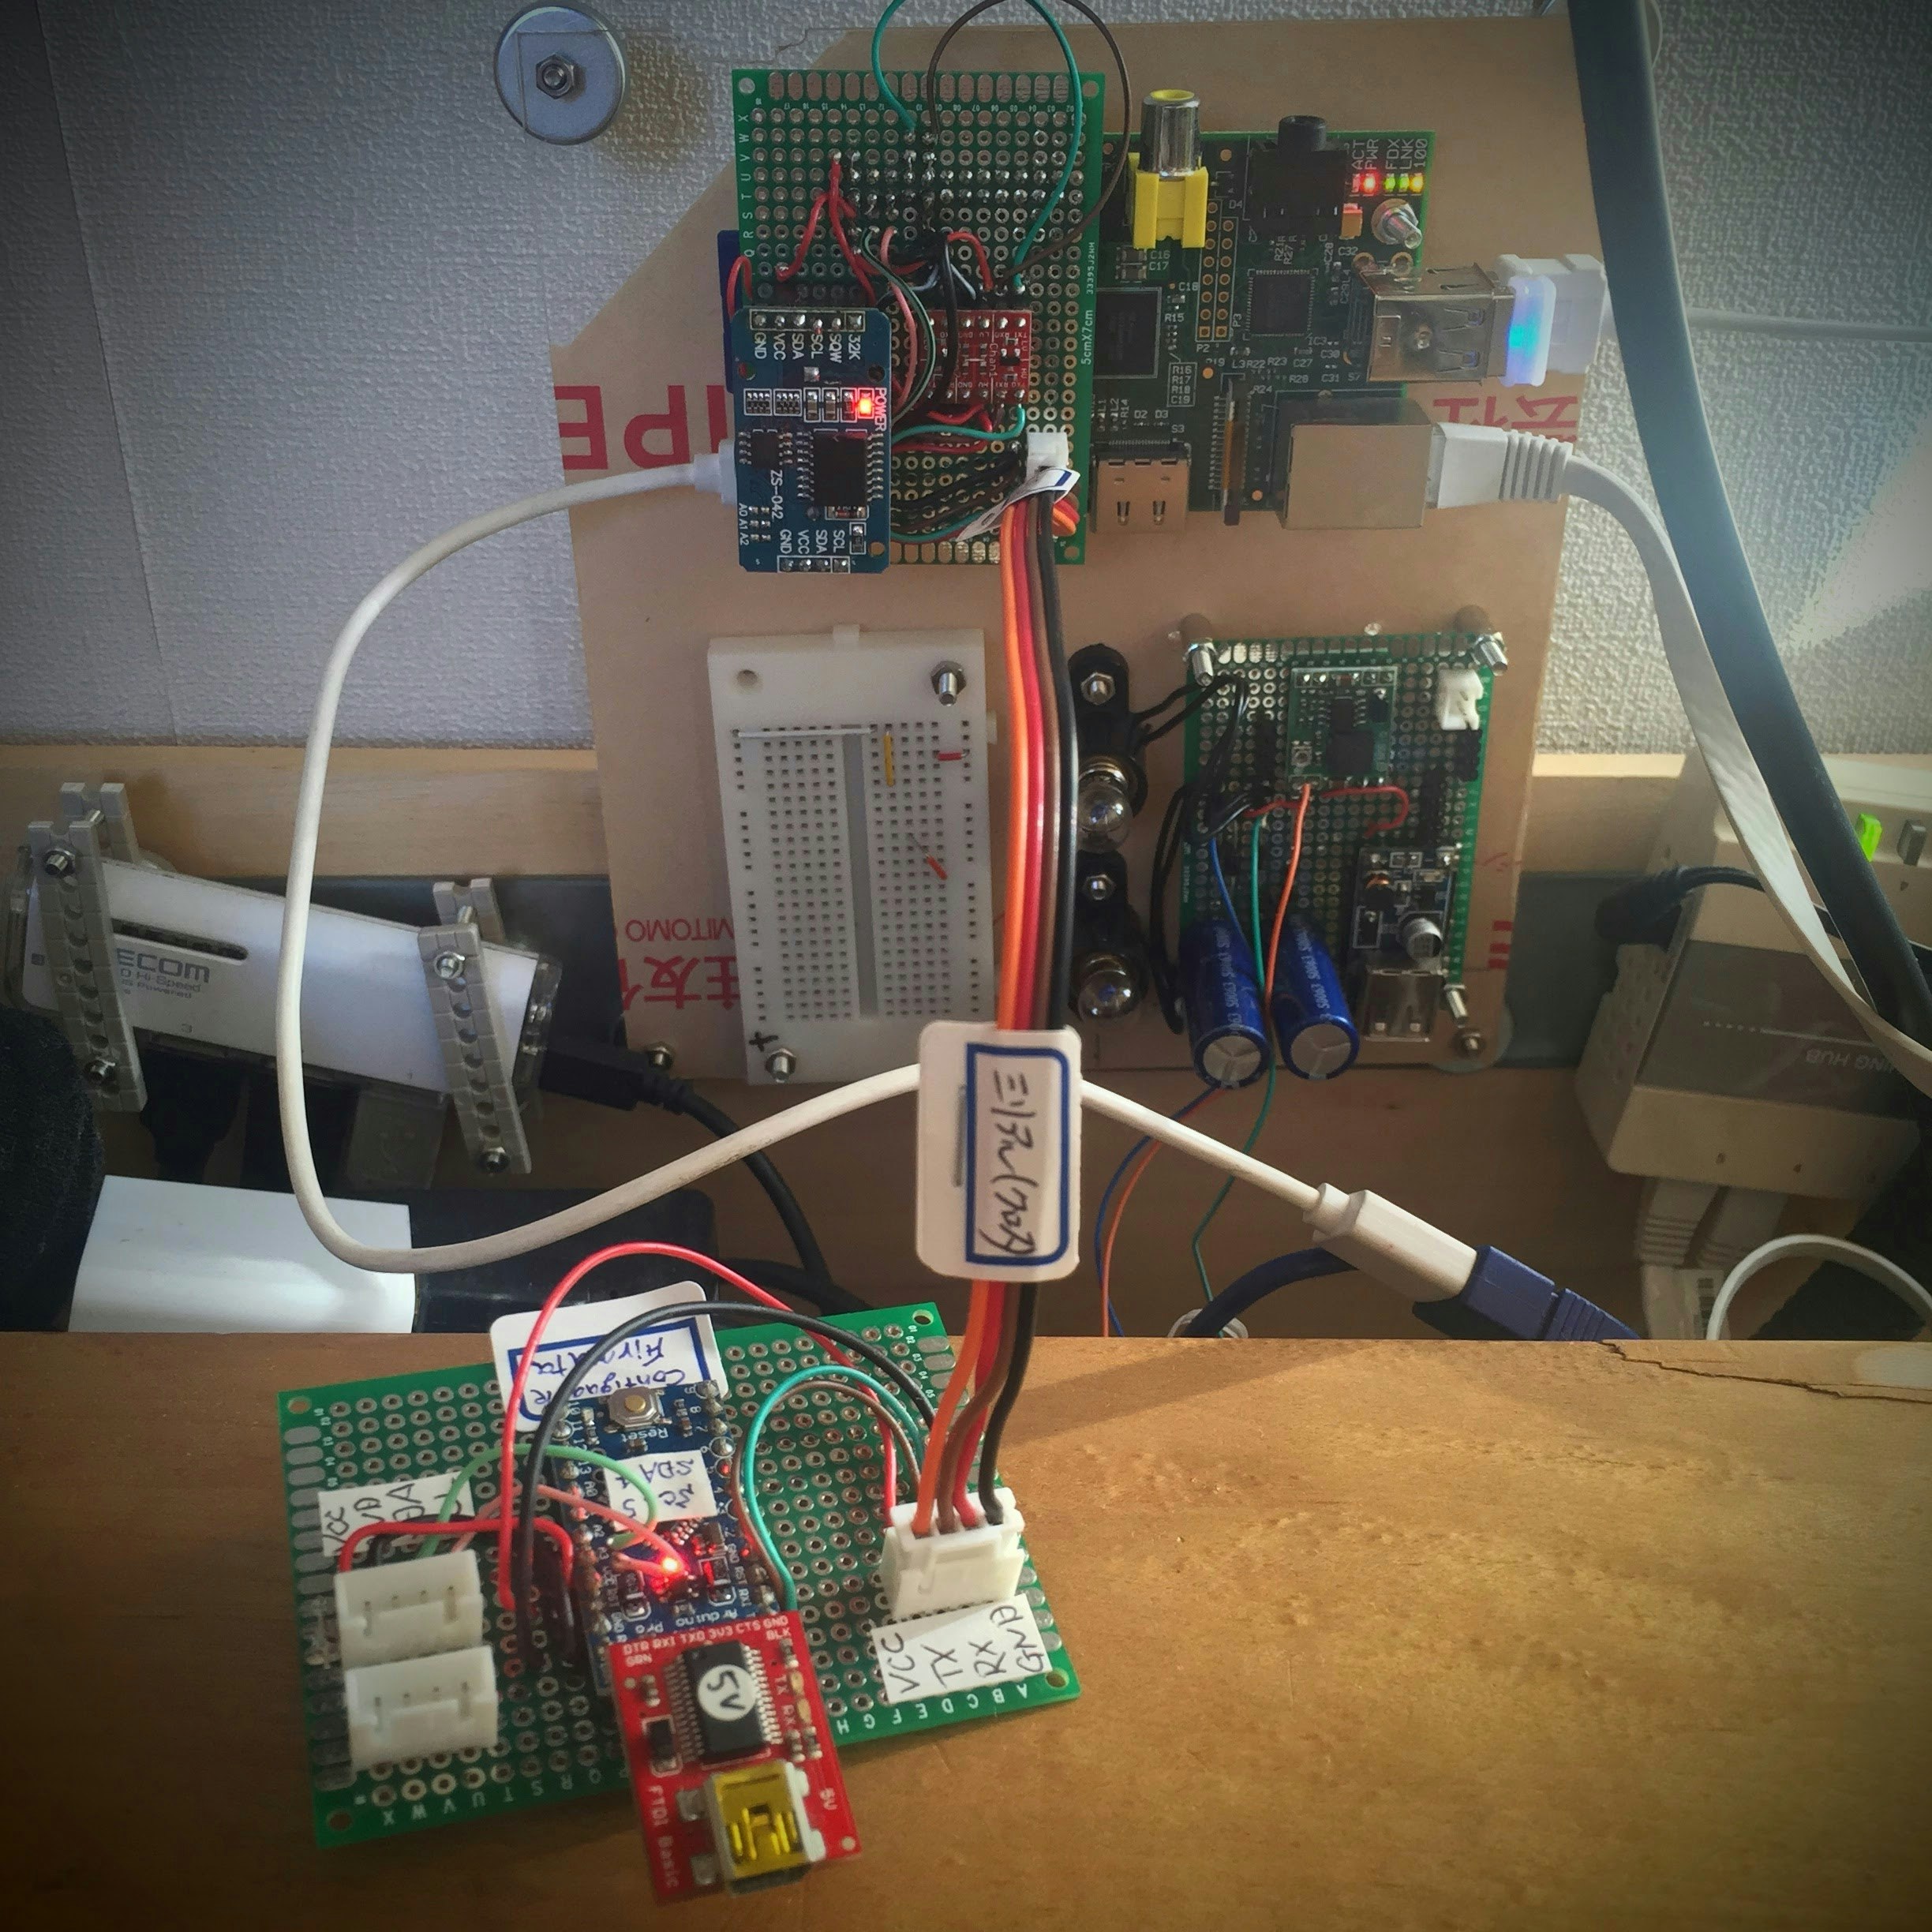
配線
Raspberry PIのGPIO 8がTXD, GPIO10がRXDなので、arduinoの0(RX),1(TX)と結線する。信号レベルがRaspberry PIは3.3V、Arduinoは種類により5V/3.3Vなので注意(写真ではSparkfunのレベル変換モジュールを使用しました)。
シリアル通信
cuというコマンドを使用します。歴史があるコマンドのようです。
sudo cu -s 9600 -l /dev/ttyAMA0
cu: open (/dev/ttyAMA0): Permission denied
cu: /dev/ttyAMA0: Line in use
さて困った。何かに使用されているらしい。
シリアルポートを使うための設定変更
ふと思い出したのは、Raspberry PIはモニターを接続しなくてもシリアル接続で操作ができるということ(一昔前のルータのような感じです)。幸いadafruitの記事で、GPIOのシリアル経由でGPSモジュールに接続する、という記事があったので参考にして設定を変更します。
一見すると何をしているのかよくわからないのですが、要はコンソールとしてシリアルポートを使うことをやめるよ、という設定変更です。
STEP1
dwc_otg.lpm_enable=0 console=ttyAMA0,115200 console=tty1 root=/dev/mmcblk0p2 rootfstype=ext4 elevator=deadline fsck.repair=yes rootwait
この中の console=ttyAMA0,115200 という部分を外します(そうするとコンソールとして使用するのはtty1=モニタ出力だけになるはず)。
dwc_otg.lpm_enable=0 console=tty1 root=/dev/mmcblk0p2 rootfstype=ext4 elevator=deadline fsck.repair=yes rootwait
STEP2(Raspbian Jessie)
serial-getty@ttyAMA0.serviceというサービスをdisableにします。
$ sudo systemctl stop serial-getty@ttyAMA0.service
$ sudo systemctl disable serial-getty@ttyAMA0.service
ここまで準備したらリブートします。
動作確認
arduino上にはサンプルのASCIITABLEを書き込んであります。
$ cu -s 9600 -l /dev/ttyAMA0
Connected.
", dec: 34, hex: 22, oct: 42, bin: 100010
# , dec: 35, hex: 23, oct: 43, bin: 100011
$, dec: 36, hex: 24, oct: 44, bin: 100100
%, dec: 37, hex: 25, oct: 45, bin: 100101
&, dec: 38, hex: 26, oct: 46, bin: 100110
', dec: 39, hex: 27, oct: 47, bin: 100111
(, dec: 40, hex: 28, oct: 50, bin: 101000
できた!
ちなみにcuを終わらせるときは「 ~. 」を入力すること。
動画だとこんな感じです(https://youtu.be/WyTzsJLRCdI)。
node.js + serialport
node.jsのライブラリ「serialport」を使用して先ほどのarduinoからのシリアル通信を受けてみました。
// seriapportに関しては以下URL参照
//     https://github.com/voodootikigod/node-serialport
//


var PortName = '/dev/ttyAMA0';

var SerialPort = require("serialport");
var serialPort = new SerialPort.SerialPort(
    PortName,
    {
	baudrate: 9600,
	dataBits: 8,
	parity: 'none',
	stopBits: 1,
	flowControl: false,
	parser: SerialPort.parsers.readline("\r\n")
    },
    false); // this is the openImmediately flag [default is true]


serialPort.open(function (error) {
    if ( error ) {
	console.log('failed to open: '+error);
    } else {
	console.log('open ' + PortName);
	serialPort.on('data', function(data) {
	    console.log(data);
	});
    }
});
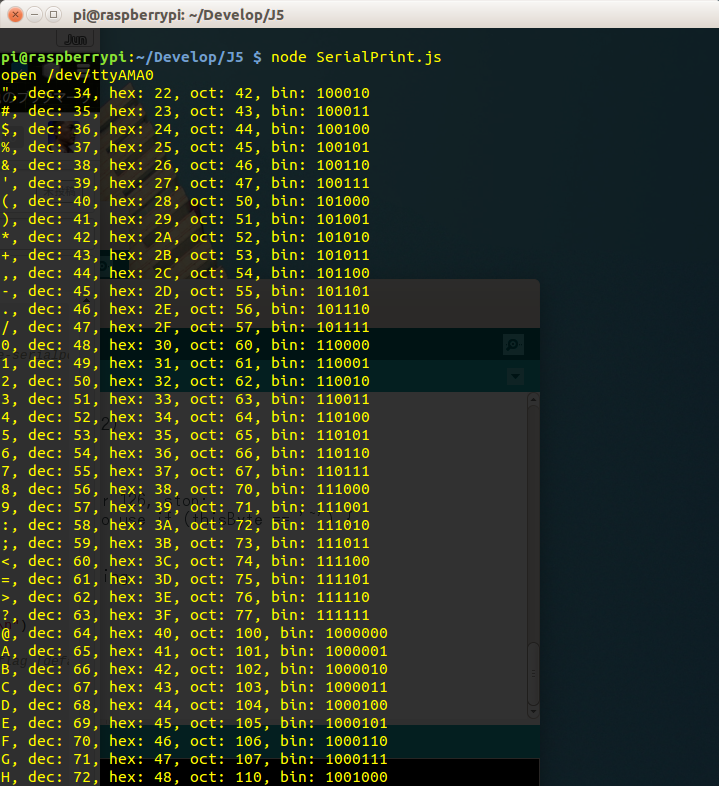
動画だとこんな感じです(https://youtu.be/k_ewB5XqGF4)。
johnny-fiveで受けようとするといろいろとエラーが出るのでまだ取り組んでいません。