rakeファイルを自動実行
Heroku Schedulerを使用して、コマンドを自動実行する
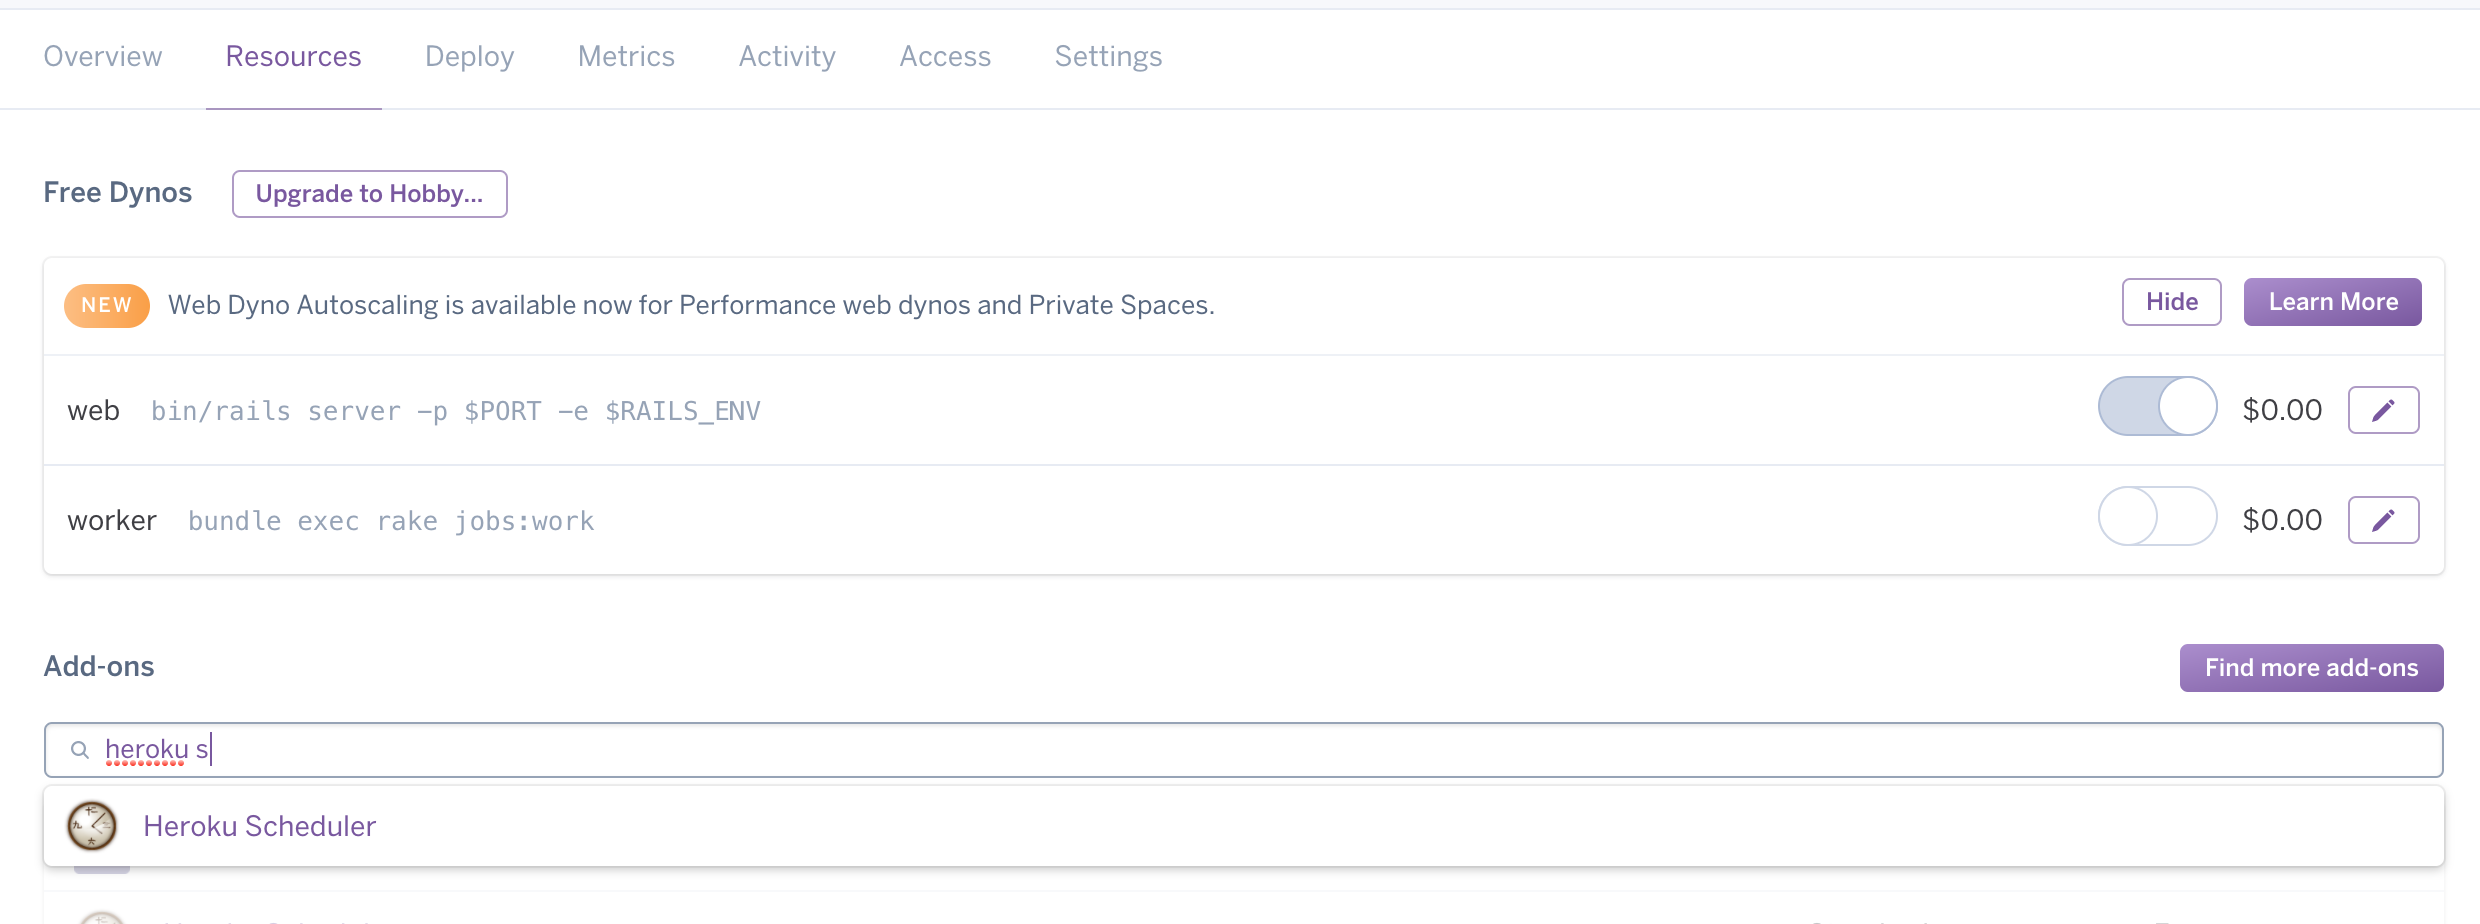
Heroku Scheduler追加方法
Heroku SchedulerはResources->Add-onsから追加可能
Standard - Freeプランを選択
コマンドで追加する場合はこちら
$ heroku addons:create scheduler:standard

Heroku Schedulerで実行したいコマンドを指定する。
下のキャプチャでは、上の$ rake destroy_past_post:destroyを1日一回
下の$ rake post:updateを10分間隔で実行しています。
実行間隔は、1日毎、1時間毎、10分毎と痒いところに手が届かない仕様なので、そこはrakeファイル内で制御しましょう。
なお実行時間はUTC時間なので、気をつけましょう。
UTC->JSTに変換
https://utctojst.appspot.com/utctojst

ログの確認
$ heroku logs --ps scheduler.xxxx
# (xxxxは実行時に割り当てられたプロセス番号)
プロセス番号はlogs -tで探す
$ heroku logs -t
2017-07-12T15:40:20.722747+00:00 app[api]: Starting process with command `bundle exec rake post:update` by user scheduler@addons.heroku.com
2017-07-12T15:40:26.524329+00:00 heroku[scheduler.8540]: Starting process with command `bundle exec rake post:update`
2017-07-12T15:40:27.097075+00:00 heroku[scheduler.8540]: State changed from starting to up