はじめに
「Auth0を使って認証機能を実装」
Nuxt+Javasrciptで動作する記事は見かけたのですが、Nuxt+Typescriptで動作する記事が見つからなかったので、記載してみました。
下記にソースを置いています。
https://github.com/ryuzo-nakata/nuxt-auth0
0.環境
下記のバージョンで動作しています。
$ npm -version
6.9.0

$ node -v
12.1.0

$ nvm --version
0.34.0
1.Nuxtを使えるようにする
1-1.初期化
nuxt-auth0というフォルダを作成して、npm installでpackage.jsonを作成します。
$ mkdir nuxt-auth0
$ cd nuxt-auth0

$ npm init
1-2.npxインストール
npxをインストールされていない方は、下記のようにインストールしてください。
$ npm install -g npx
1-3.create-nuxt-app
Nuxt.js プロジェクトの雛形を作成します。
$ npx create-nuxt-app
自分の環境では、nuxtのバージョンが2.8.1になっていました。
2. Typescriptを使えるようにする
2-1. Typescriptをインストール
Typescriptに必要なものをインストールします。
$ npm install @nuxt/typescript ts-node vue-property-decorator
2-2. tsconfig.jsonの作成
nuxt-auth0/tsconfig.jsonを作成します。
{
  "compilerOptions": {
    "target": "esnext",
    "module": "esnext",
    "moduleResolution": "node",
    "lib": [
      "esnext",
      "esnext.asynciterable",
      "dom"
    ],
    "esModuleInterop": true,
    "experimentalDecorators": true,
    "allowJs": true,
    "sourceMap": true,
    "strict": false,
    "allowSyntheticDefaultImports": true,
    "noImplicitAny": false,
    "noEmit": true,
    "baseUrl": ".",
    "resolveJsonModule": true,
    "paths": {
      "~/*": [
        "./*"
      ],
      "@/*": [
        "./*"
      ]
    },
    "types": [
      "@nuxt/vue-app",
      "@types/node"
    ]
  }
}
2-3. nuxt.config.tsへ変更
nuxt.config.jsからnuxt.config.tsへ変更します。
中身は下記のように変更します。
import NuxtConfiguration from '@nuxt/config'

const config: NuxtConfiguration = {
  // Type or Press `Ctrl + Space` for autocompletion
}

export default config
これでTypescriptが使えるようになりました。
3. Auth0を使えるようにする
3-1 Auth0のDomainとClient ID
Auth0(https://auth0.com/jp/)
サインアップし、Applicationsを選択すると、下記の図のように表示されます。
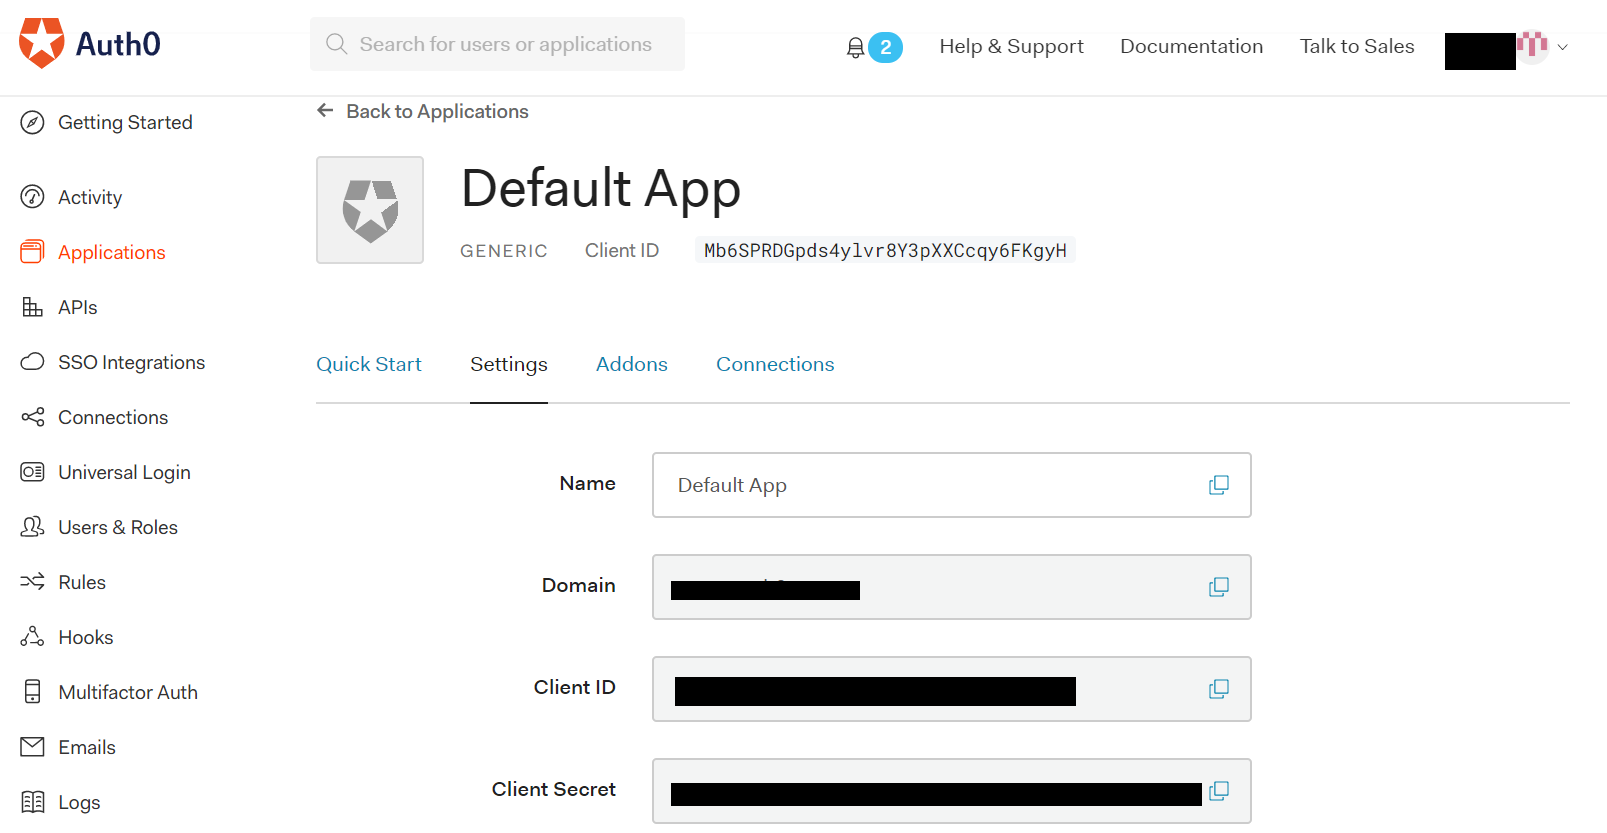
DomainとClient IDの値を、のちほど使います。
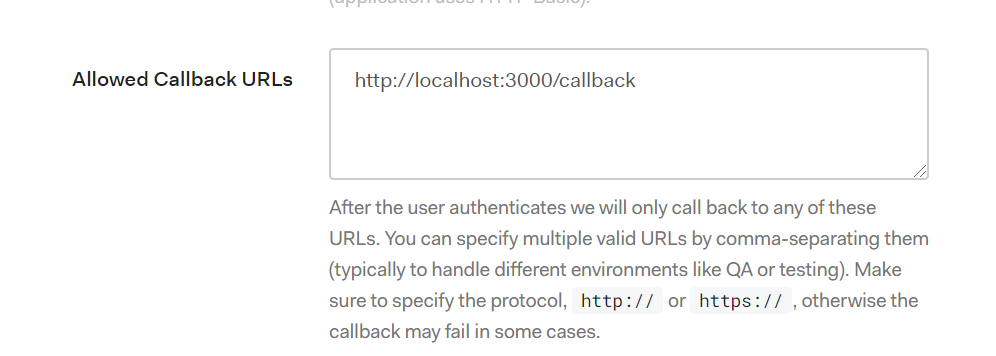
3-2 Auth0のCallback
次に、Callbackを下記のように設定します。
3-3. Auth0をインストール。
nuxtへauthに必要なものをインストールします。
$ npm install @nuxtjs/axios @nuxtjs/auth
3-3. nuxt.config.tsにAuthの設定を追加する
nuxt-auth0/nuxt.config.tsに下記の設定を追加します。
auth0のdomainとclient_idは、上記の図の値をいれます。
  modules: [
    // Doc: https://axios.nuxtjs.org/usage
    '@nuxtjs/axios',
    '@nuxtjs/auth'
  ],
  auth: {
    strategies: {
      auth0: {
        domain: 'Your Domain',
        client_id: 'Your Client ID'
      }
    },
    redirect: {
      login: '/',  // 未ログイン時のリダイレクト先
      logout: '/',  // ログアウト後のリダイレクト先
      callback: '/callback',  // コールバック
      home: '/home',  // ログイン後のページ
    }
  },
  router: {
    middleware: 'auth'
  },
3-4. ページの作成
auth0の使い方を見たいだけなので、ログイン画面、ログイン後の画面、コールバックの画面を作成します。
ログイン画面
<template>
  <div>
    <h1>Login Page</h1>
    <button @click="authenticate">Login</button>
  </div>
</template>

<script lang="ts">
import { Component, Vue } from 'vue-property-decorator'
@Component({})
export default class Index extends Vue {
  authenticate() {
    this.$auth.loginWith('auth0')
  }
}
</script>
ログイン後の画面
<template>
  <div>
    <h1>Login Success</h1>
    <p>User Name: {{this.$auth.$state.user.name}}</p>
    <button @click="logout">Logout</button>
  </div>
</template>

<script lang="ts">
import { Component, Vue } from "vue-property-decorator";
@Component({})
export default class Logout extends Vue {
  logout() {
    this.$auth.logout();
  }
}
</script>
コールバックの画面
<template>
  <h1>callback</h1>
</template>

<script lang="ts">
import { Component, Vue } from 'vue-property-decorator'
@Component({})
export default class CallBack extends Vue {}
</script>
3-5. 各ページ認証してるか確認する
nuxtのmiddlewareを実装します。
nuxt.config.tsのrouterで、authを読み込むように設定しています。
export default function ({ store, redirect }) {
  if (!store.state.auth.loggedIn) {
    redirect('/');
  }
}
3-6. storeにindex.tsファイルを追加する
storeにindex.tsファイルがないとエラーになるので、下記のようにファイルだけ追加しておきます。
3-7. $authをプロパティに追加する
エディタ上で$authプロパティをうまく認識してくれず、エラーを表示してしまします。。。
このままでも動作はするのですが、なんでだろう?教えてすごい人。
ひとまず、エラーを出さないようにするために、下記のように$authプロパティを自分で設定して回避しました。
declare module 'vue/types/vue' {
  interface Vue {
    $auth: any
  }
}
4. 動作
ローカルホスト上で動作してみましょう。
npm run dev
http://localhost:3000/へアクセスすると、NuxtがTypescriptで動作しています。
ログイン画面
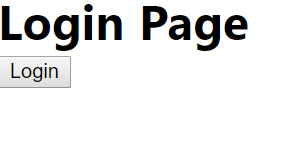
loginボタンを押すと、Auth画面へ遷移します。
Auth画面

auth0を使って、Signup / Login できます。
ログイン後の画面
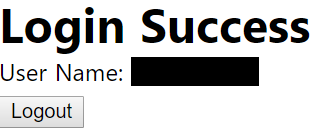
ログイン後に表示されます。
おわりに
Nuxt+Typescript+Auth0で認証できるようになりました。
nuxt.config.tsのstrategiesを追加すれば、ソーシャルログインをいろいろ増やすことができるので、サービスによって追加してみましょう。