はじめに
前回の続きです。
前の記事: Docker+Django+Next+TypeScript+ECSでアプリを作った話(2) ~ Djangoの初期設定からModel作成編 ~
次の記事: Docker+Django+Next+TypeScript+ECSでアプリを作った話(4) ~ Djangoのテスト編
今回はDjangoプロジェクトにスキーマを作成して、ブラウザにてデータを取得する所までを書きました。
1.スキーマ作成
以下のようにフォルダ、ファイルを新規作成します。
 myProject/
     app/
         app/
+           schema.py
         ...
         api/
+           schema.py
+           utils/
+               validator.py
- validator.py
ユーザー作成、プロフィール編集のMutationに使用するバリデーションを作成します。
import re
from graphql import GraphQLError

def validate_blank(value):
    if value == "":
        raise GraphQLError("Value is required")
    return value

def validate_too_long(value, num):
    if len(value) > num:
        raise GraphQLError("Value is too long")
    return value

def validate_nickname(value):
    validate_blank(value)
    validate_too_long(value, 20)
    return value

def validate_email(value):
    match = re.match(r'[a-zA-Z0-9_+-]+(.[a-zA-Z0-9_+-]+)*@([a-zA-Z0-9][a-zA-Z0-9-]*[a-zA-Z0-9]*\.)+[a-zA-Z]{2,}$', value)
    if not match:
        raise GraphQLError("Invalid Email Address")
    return value

def validate_password(value):
    validate_blank(value)
    if len(value) < 6:
        raise GraphQLError("Password is too short")
- api/schema.py
ユーザー作成、トークン取得、ユーザー削除、プロフィール編集のMutationと、
自身のプロフィールと全プロフィールを取得するQueryを作成します。
拡張機能として、relayを使用します。
import graphene
import graphql_jwt

from graphene_django import DjangoObjectType
from graphene_django.filter import DjangoFilterConnectionField
from graphene import relay
from graphql_jwt.decorators import login_required

from api.models import CustomUser, Profile
from api.utils.validator import validate_nickname, validate_email, validate_password

class UserNode(DjangoObjectType):
    class Meta:
        model = CustomUser
        filter_fields = {
            'email': ['exact'],
        }
        interfaces = (relay.Node,)

class ProfileNode(DjangoObjectType):
    class Meta:
        model = Profile
        filter_fields = {
            'nickname': ['exact', 'icontains'],
        }
        interfaces = (relay.Node,)


class CreateUserMutation(relay.ClientIDMutation):
    class Input:
        nickname = graphene.String(required=True)
        email = graphene.String(required=True)
        password = graphene.String(required=True)

    user = graphene.Field(UserNode)

    def mutate_and_get_payload(root, info, **input):
        nickname = validate_nickname(input.get('nickname'))
        email = validate_email(input.get('email'))
        password = validate_password(input.get('password'))
        user = CustomUser(
            email=email,
        )
        user.set_password(password)

        user.save()
        profile = Profile(
            nickname=nickname,
            user=user
        )
        profile.save()

        return CreateUserMutation(user=user)

class DeleteUserMutation(relay.ClientIDMutation):
    class Input:
        confirm = graphene.Boolean(required=True)

    user = graphene.Field(UserNode)

    @login_required
    def mutate_and_get_payload(root, info, **input):
        user = info.context.user
        user.delete()

        return DeleteUserMutation(user=None)

class UpdateProfileMutation(relay.ClientIDMutation):
    class Input:
        nickname = graphene.String(required=True)

    profile = graphene.Field(ProfileNode)

    @login_required
    def mutate_and_get_payload(root, info, **input):
        profile = info.context.user.profile
        profile.nickname = validate_nickname(input.get('nickname'))
        profile.save()

        return UpdateProfileMutation(profile=profile)

class Mutation(graphene.AbstractType):
    token_auth = graphql_jwt.ObtainJSONWebToken.Field()
    create_user = CreateUserMutation.Field()
    delete_user = DeleteUserMutation.Field()
    update_profile = UpdateProfileMutation.Field()

class Query(graphene.ObjectType):
    my_profile = graphene.Field(ProfileNode)
    all_profile = DjangoFilterConnectionField(ProfileNode)

    @login_required
    def resolve_my_profile(self, info, **kwargs):
        return Profile.objects.get(user=info.context.user.id)

    @login_required
    def resolve_all_profile(self, info, **kwargs):
        return Profile.objects.all()
- app/schema.py
api/schema.pyのスキーマを読み込む様に記載します。
import graphene
import api.graphql.schema

class Query(api.graphql.schema.Query, graphene.ObjectType):
    pass

class Mutation(api.graphql.schema.Mutation, graphene.ObjectType):
    pass

schema = graphene.Schema(query=Query, mutation=Mutation)
- urls.py
データを操作するためのエンドポイントを追加します。
  from django.contrib import admin
  from django.urls import path
+ from graphene_django.views import GraphQLView
+ from app.schema import schema
+ from django.views.decorators.csrf import csrf_exempt

  urlpatterns = [
      path('admin/', admin.site.urls),
+     path('graphql/', csrf_exempt(GraphQLView.as_view(graphiql=True, schema=schema))),
]
コンテナを起動して、localhost:8000/graphqlにアクセスすれば、graphqlのページが表示されます。
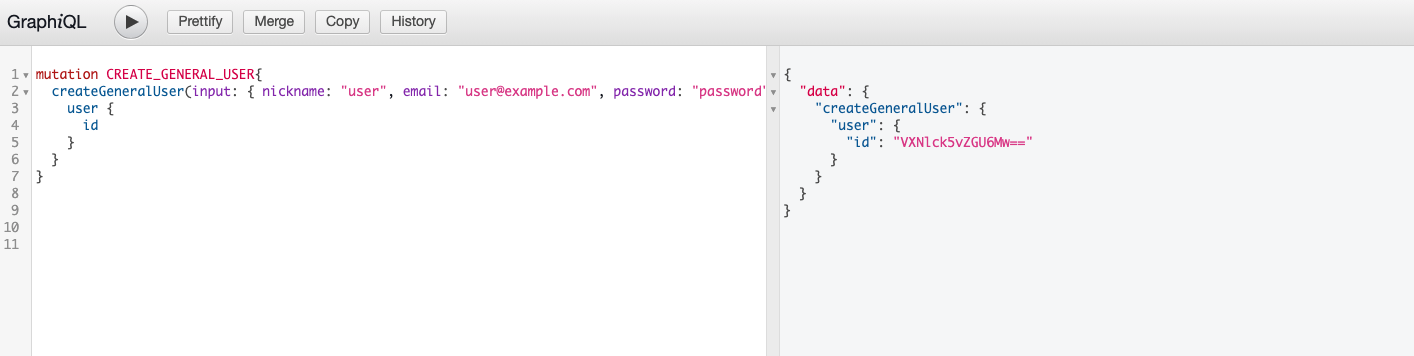
graphqlページの左側に以下の記載をすれば、一連のデータ操作が可能です。
mutation CREATE_USER{
  createUser(input: { nickname: "user", email: "user@example.com", password: "password" }) {
  	user {
      id
    }
  }
}

mutation TOKEN_AUTH{
  tokenAuth(email: "user@example.com", password: "password") {
    token
  }
}

mutation UPDATE_MYPROFILE{
  updateProfile(input: {nickname: "user update"}) {
    profile {
      nickname
    }
  }
}

mutation DELETE_USER {
  deleteUser(input: {confirm: true}) {
    user {
      id
    }
  }
}

query MY_PROFILE{
  myProfile {
    nickname
  }
}

query ALL_PROFILE{
  allProfile {
    edges {
      node {
        nickname
      }
    }
  }
}
ユーザー削除、プロフィール編集、プロフィール取得に関しては、トークン認証ができていない場合、操作ができないように記述しているため、
(ブラウザでGoogleChromeを使用していることを前提とします。)ModHeaderという拡張機能をGoogleChromeに追加してヘッダーに、
graphqlページで取得したトークンを記載すれば操作が可能となります。
まとめ
User認証に関わるUserモデル、Profileモデルのスキーマを作成して、データを操作する所まで書きました。
次回はDjangoプロジェクトのスキーマをテストする所を書きたいと思います。
次の記事: Docker+Django+Next+TypeScript+ECSでアプリを作った話(4) ~ Djangoのテスト編