特に目的はありませんが、常用している unicorn+nginx と違う環境が欲しかったのでapache2+passengerでインストールしてみました。
前提条件
OS:Raspbian GNU/Linux 8 (jessie)
MW:apache2、mysql-server、rubyインストール済み。
インストールディレクトリ:/usr/local/redmine3
インストールソース:SVNリポジトリ
ruby最新化、パッケージ追加
piユーザで作業
sudo gem update --system
sudo gem install rdoc --no-rdoc --no-ri
sudo gem install bundler --no-rdoc --no-ri
sudo apt-get install \
 ruby-dev                 \
 libapache2-mod-passenger \
 libmysqlclient-dev       \
 imagemagick              \
 libmagickcore-dev        \
 libmagickwand-dev        \
 apache2-dev              \
 libcurl4-openssl-dev     \
 libapr1-dev              \
 libaprutil1-dev
DB設定
mysql -u root -p
DB作成
create database db_redmine default character set utf8;
grant all on db_redmine.* to user_redmine@localhost identified by 'Password';
grant all on db_redmine.* to user_redmine@'%' identified by 'Password';
flush privileges;
exit;
Redmine3.3のインストール
sudo mkdir -p /usr/local/redmine3
sudo chown www-data:www-data /usr/local/redmine3/
sudo su - www-data -s /bin/bash
以下、www-dataユーザで作業
cd /usr/local/
svn co http://svn.redmine.org/redmine/branches/3.3-stable/ redmine3/
mkdir -p /usr/local/redmine3/public/plugin_assets
DB設定
/usr/local/redmine3/config/database.yml
production:
  adapter: mysql2
  database: db_redmine
  host: localhost
  username: user_redmine
  password: Password
  encoding: utf8
SMTP&クッキー設定
/usr/local/redmine3/config/configuration.yml
production:
  email_delivery:
    delivery_method: :smtp
    smtp_settings:
      address: "XXX.XXX.XXX"
      port: 25
      domain: 'yyy.yyy.jp'

autologin_cookie_path: Redmine::Utils.relative_url_root
Gemの追加
cd /usr/local/redmine3
export PKG_CONFIG_PATH=/usr/lib/pkgconfig
bundle install --path vendor/bundle --without development test
初期DB作成
cd /usr/local/redmine3
bundle exec rake generate_secret_token
RAILS_ENV=production bundle exec rake db:migrate
ログローテートの設定
ここはrootで。
/etc/logrotate.d/redmine
/usr/local/redmine3/log/production.log {
    daily
    rotate 5
    copytruncate
    compress
    notifempty
    missingok
}
Webサーバ設定
Passengerのビルド
piユーザに戻ります。
sudo gem install passenger --no-rdoc --no-ri
sudo passenger-install-apache2-module
ビルドが成功すると、こんなメッセージが表示されます。
The Apache 2 module was successfully installed.

Please edit your Apache configuration file, and add these lines:

   LoadModule passenger_module /var/lib/gems/2.1.0/gems/passenger-5.0.30/buildout/apache2/mod_passenger.so

     PassengerRoot /var/lib/gems/2.1.0/gems/passenger-5.0.30
     PassengerDefaultRuby /usr/bin/ruby2.1


After you restart Apache, you are ready to deploy any number of Ruby on Rails
applications on Apache, without any further Ruby on Rails-specific
configuration!

Press ENTER to continue.
ビルドしたモジュールのパスをデフォルト値と差し替えます。
/etc/apache2/mods-enabled/passenger.load
LoadModule passenger_module /var/lib/gems/2.1.0/gems/passenger-5.0.30/buildout/apache2/mod_passenger.so
apacheの設定変更
ドキュメントルート配下にシンボリックリンクを置く方式にしました。
sudo ln -s /usr/local/redmine3/public /var/www/html/redmine3
ビルド結果からコピペして設定ファイルを作成します。
/etc/apache2/sites-enabled/redmine.conf
<IfModule mod_passenger.c>
  PassengerRoot /var/lib/gems/2.1.0/gems/passenger-5.0.30
  PassengerDefaultRuby /usr/bin/ruby2.1
</IfModule>

PassengerMaxPoolSize 20
PassengerMaxInstancesPerApp 4
PassengerPoolIdleTime 3600
PassengerHighPerformance on
PassengerStatThrottleRate 10
RailsSpawnMethod smart
RailsAppSpawnerIdleTime 86400
PassengerMaxPreloaderIdleTime 0

RackBaseURI /redmine3
起動
sudo systemctl enable apache2
sudo systemctl start apache2
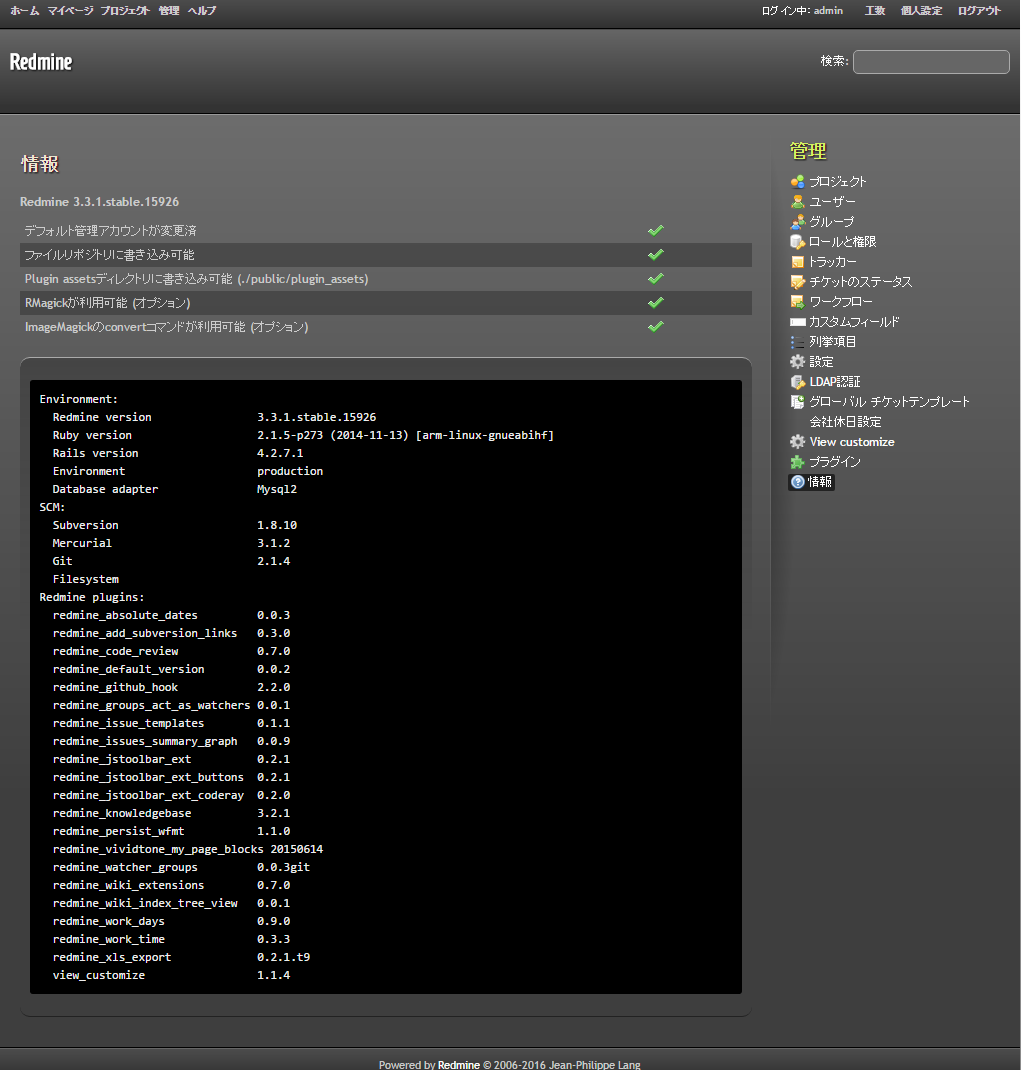
http://[ラズパイのIP]/redmine3/ にアクセスして後は普段通りに設定。
Ruby versionの部分でかすかにラズパイとわかる程度ですね。