まえがき
画像をタップして画面遷移するときに、そのタップしたWidgetから広がるように画面遷移するようにしたいな、と思ってました。
いろいろWidgetを調べていく中でHeroというWidgetがありました。
Heroとは
Heroは画面遷移するときのアニメーションを指定できるWidgetです。
Hero()ではchildとtagを指定できます。
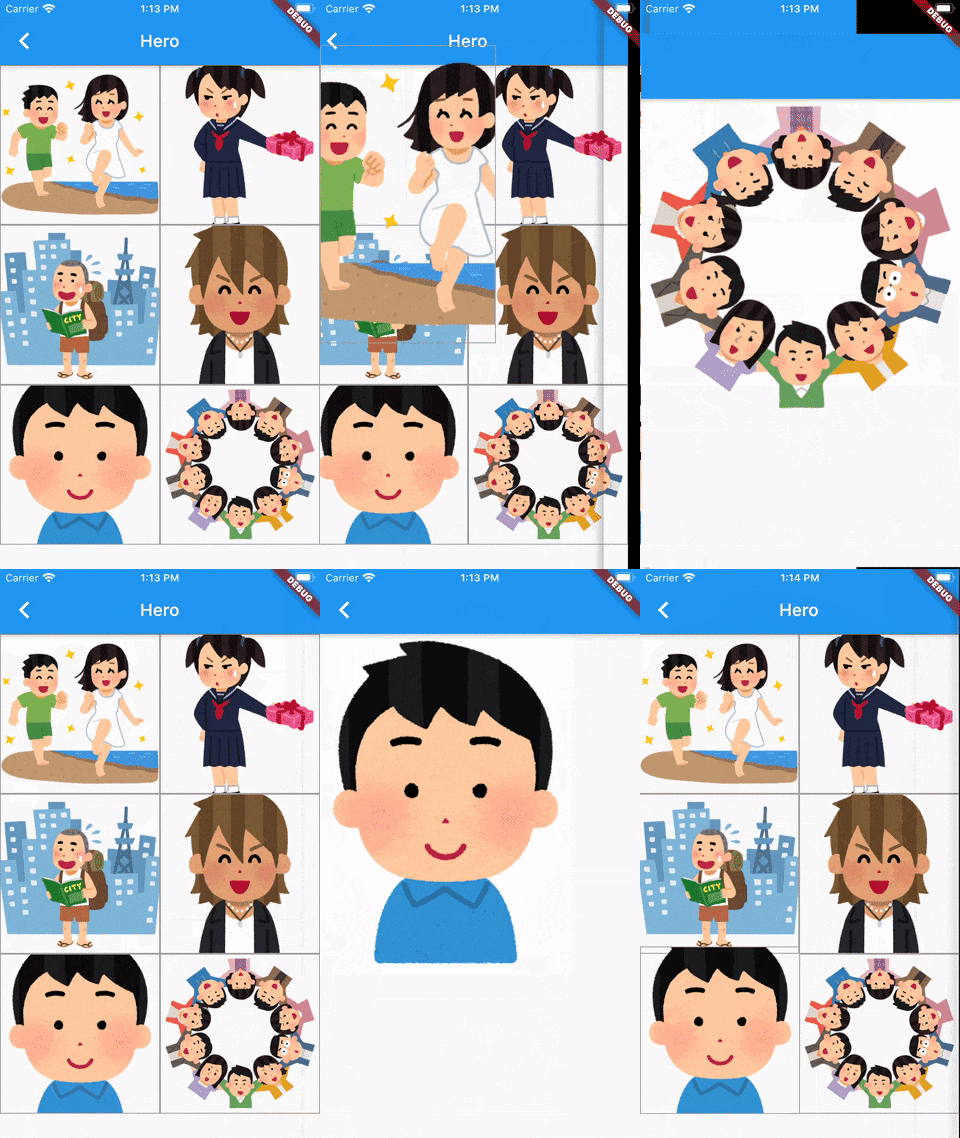
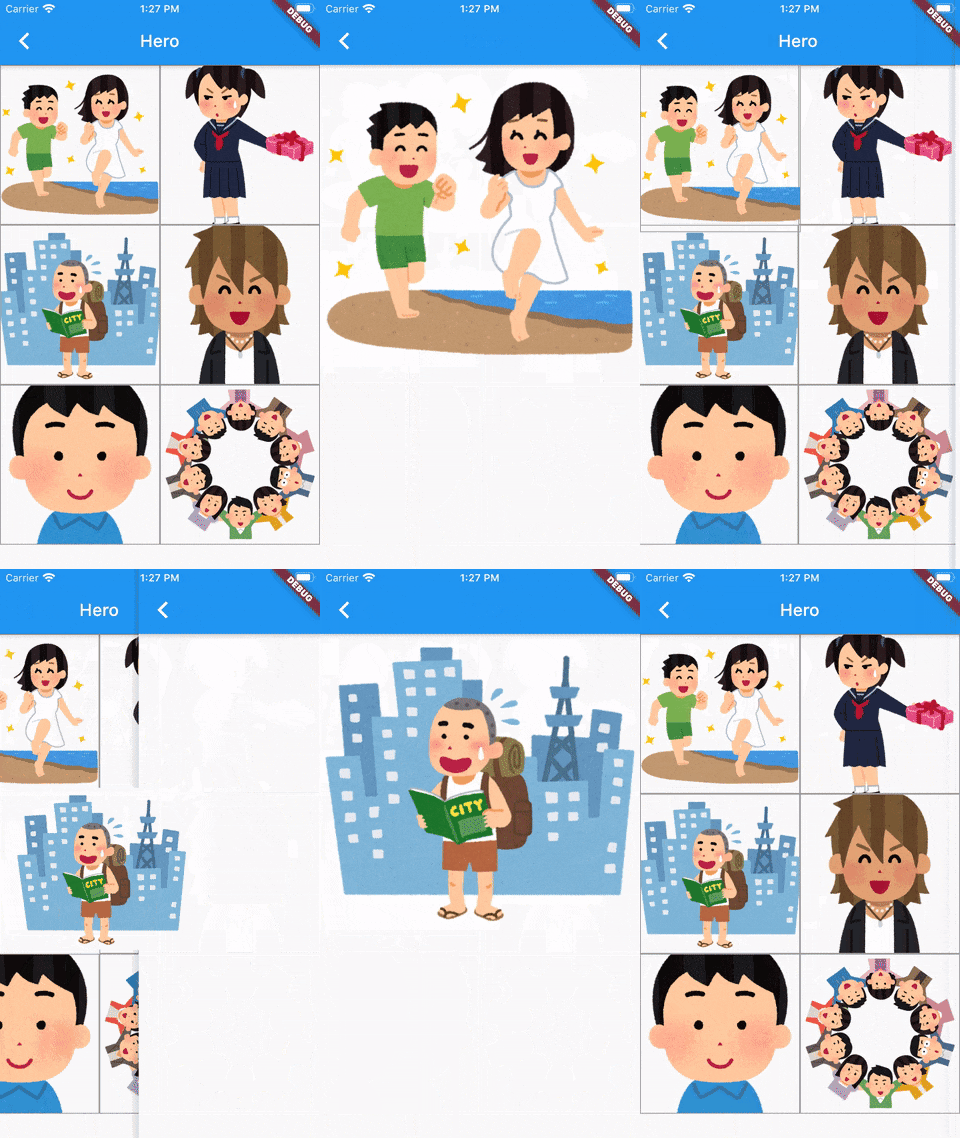
画面遷移間の元のWidgetと、遷移先のクラスの中のWidgetの両方をHeroで囲み、同じ値のtagを指定するとその位置関係を把握して、元のWidgetを起点に画面が中央に広がるようアニメーションで遷移します。
実際のアニメーションとコード
実際にはこんな感じのアニメーション
元の画像のコード
Widget _photoItem(String image, int index) {
  return GestureDetector(
    child: Hero(
      tag: index,
      child: Container(
        decoration: BoxDecoration(border: Border.all(color: Colors.grey)),
        child: Image.asset(
          image,
          fit: BoxFit.cover,
        ),
      ),
    ),
    onTap: () {
      Navigator.push(
        context,
        MaterialPageRoute(
          builder: (context) => FullScreenImage(image: image, index: index),
        ),
      );
    },
  );
}
遷移先のコード
@override
Widget build(BuildContext context) {
  return Hero(
    tag: index,
    child: Scaffold(
      appBar: AppBar(),
      body: Container(
        color: Colors.white,
        child: Image.asset(image),
      ),
    ),
  );
}
今回はGridViewで並べた画像をタップすると、その画像のパスとindexが遷移先のクラスに渡されます。
Heroのtagにindexを入れておきます。
またHeroの入れ子にScaffoldを入れています。もしScaffoldのbodyにHeroを入れると、appBarが建てられるのとHeroのアニメーションが同時になりちょっと違和感がありました。
これがそのアニメーション
他のWidgetを組み合わせる
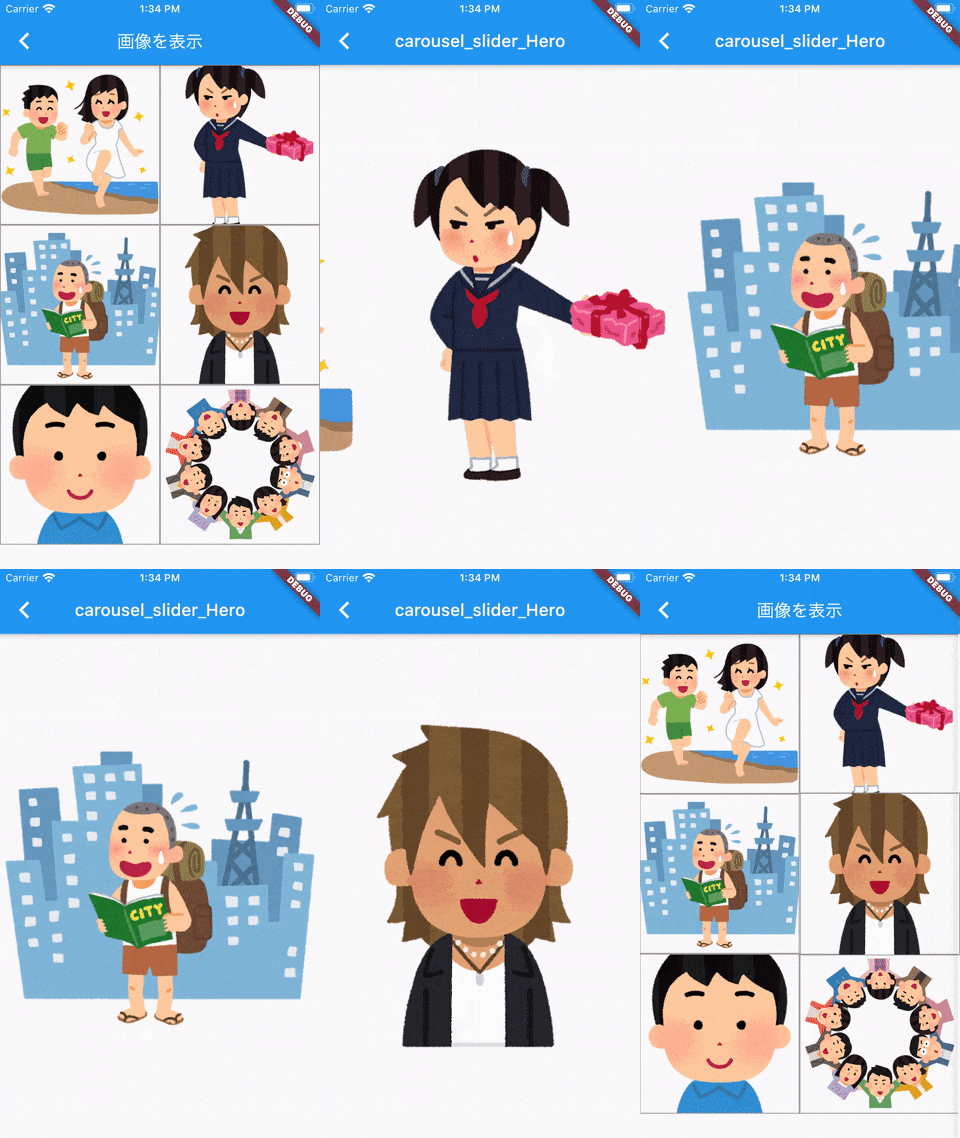
carousel_sliderを組み合わせると結構いい感じです。
carousel_sliderの使い方は以前こちらで説明しました。
(ScaffoldのなかにHeroを入れてます。)
ソースコード
import 'package:flutter/material.dart';

class SampleHero extends StatefulWidget {
  @override
  State<StatefulWidget> createState() => _SampleHero();
}

class _SampleHero extends State<SampleHero> {
  final List images = [
    "images/sample1.png",
    "images/sample2.png",
    "images/sample3.png",
    "images/sample4.png",
    "images/sample5.png",
    "images/sample6.png"
  ];

  @override
  Widget build(BuildContext context) {
    return Scaffold(
      appBar: AppBar(
        title: Text('Hero'),
      ),
      body: GridView.builder(
        gridDelegate: SliverGridDelegateWithFixedCrossAxisCount(
          crossAxisCount: 2,
        ),
        itemCount: images.length,
        itemBuilder: (BuildContext context, int index) {
          return _photoItem(images[index], index);
        },
      ),
    );
  }

  Widget _photoItem(String image, int index) {
    return GestureDetector(
      child: Hero(
        tag: index,
        child: Container(
          decoration: BoxDecoration(border: Border.all(color: Colors.grey)),
          child: Image.asset(
            image,
            fit: BoxFit.cover,
          ),
        ),
      ),
      onTap: () {
        Navigator.push(
          context,
          MaterialPageRoute(
            builder: (context) => FullScreenImage(image: image, index: index),
          ),
        );
      },
    );
  }
}

class FullScreenImage extends StatefulWidget {
  final String image;
  final int index;

  FullScreenImage({this.image, this.index});

  @override
  State<StatefulWidget> createState() => _FullScreenImage(image, index);
}

class _FullScreenImage extends State<FullScreenImage> {
  String image;
  int index;

  _FullScreenImage(this.image, this.index);

  @override
  Widget build(BuildContext context) {
    return Scaffold(
      appBar: AppBar(),
      body: Hero(
        tag: index,
        child: Container(
          color: Colors.white,
          child: Image.asset(image),
        ),
      ),
    );
  }
}
カルーセルスライダーを使った方のソースコード
import 'package:carousel_slider/carousel_slider.dart';
import 'package:flutter/material.dart';

class ImageList extends StatefulWidget {
  @override
  State<StatefulWidget> createState() => _ImageList();
}

class _ImageList extends State<ImageList> {
  final List images = [
    "images/sample1.png",
    "images/sample2.png",
    "images/sample3.png",
    "images/sample4.png",
    "images/sample5.png",
    "images/sample6.png"
  ];

  @override
  Widget build(BuildContext context) {
    return Scaffold(
      appBar: AppBar(
        title: Text('画像を表示'),
      ),
      body: GridView.builder(
        gridDelegate: SliverGridDelegateWithFixedCrossAxisCount(
          crossAxisCount: 2,
        ),
        itemCount: images.length,
        itemBuilder: (BuildContext context, int index) {
          return _photoItem(images[index], index);
        },
      ),
    );
  }

  Widget _photoItem(String image, int index) {
    return GestureDetector(
      child: Hero(
        tag: index,
        child: Container(
          decoration: BoxDecoration(border: Border.all(color: Colors.grey)),
          child: Image.asset(
            image,
            fit: BoxFit.cover,
          ),
        ),
      ),
      onTap: () {
        Navigator.push(
          context,
          MaterialPageRoute(
            builder: (context) =>
                SampleCarouselSlider(images: images, index: index),
          ),
        );
      },
    );
  }
}

class SampleCarouselSlider extends StatefulWidget {
  final List images;
  final int index;

  SampleCarouselSlider({this.images, this.index});

  @override
  State<StatefulWidget> createState() => _SampleCarouselSlider(images, index);
}

class _SampleCarouselSlider extends State<SampleCarouselSlider> {
  List images;
  int index;

  _SampleCarouselSlider(this.images, this.index);

  @override
  Widget build(BuildContext context) {
    return Scaffold(
      appBar: AppBar(
        title: Text('carousel_slider_Hero'),
      ),
      body: CarouselSlider.builder(
        options: CarouselOptions(
          height: 600.0,
          initialPage: index,
          viewportFraction: 1,
          enableInfiniteScroll: false,
        ),
        itemCount: images.length,
        itemBuilder: (BuildContext context, int index) {
          return Hero(
            tag: index,
            child: Image.asset(
              images[index],
            ),
          );
        },
      ),
    );
  }
}


