Windows に VirtualBox5.1 + Ruby2.4 + Rails5.0 をインストール
開発環境構築の備忘録です。
VirtualBox最新版
以下からダウンロードしてインストール
http://www.oracle.com/technetwork/server-storage/virtualbox/downloads/index.html?ssSourceSiteId=otnjp
ubuntuダウンロード
日本語化、Guest Additionは特に問題なし。
Guest Additionがマウントできなかったが、以下を参照して解消
http://d.hatena.ne.jp/x76789/20131002/1380664591
ゲストOSのネットワーク設定などなど
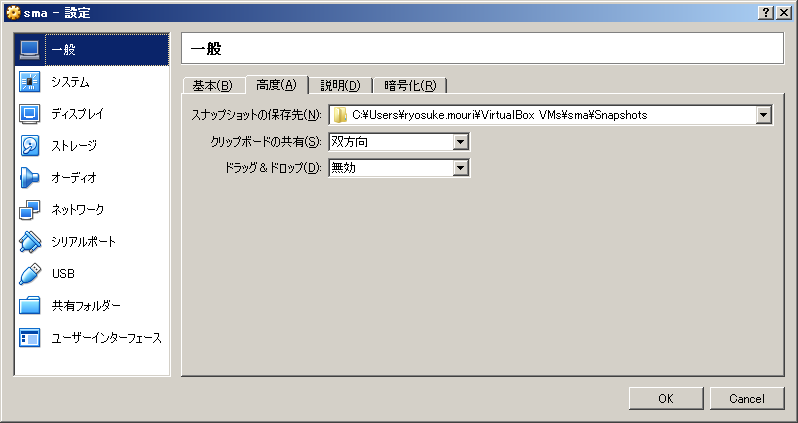
ホストOSとのクリップボード共有
Virtual Box Managerの設定から・・・
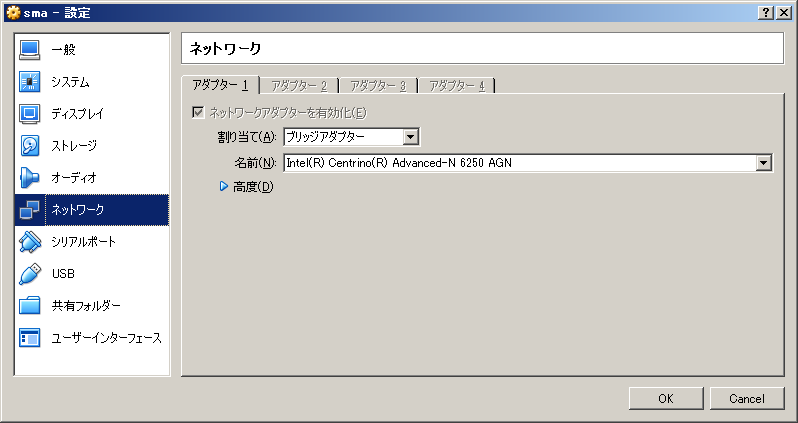
ゲストOSのネットワーク設定
Virtual Box Managerの設定から・・・
Ruby2.4.0をインストール
以下の作業はこちらを参考にした
必要なパッケージのインストール
$ sudo apt-get install git -y
$ sudo apt-get install git-core curl zlib1g-dev build-essential libssl-dev libreadline-dev libyaml-dev libsqlite3-dev sqlite3 libpq-dev libxml2-dev libxslt1-dev libcurl4-openssl-dev python-software-properties libffi-dev
vimインストール
$ sudo apt-get install vim
エディタでvimを使うならこちらがお勧め!
Rubyのバージョン管理ソフト「rbenv」をインストール
$ cd
$ git clone https://github.com/rbenv/rbenv.git ~/.rbenv
ユーザーの初期化コマンドを記述
$ echo 'export PATH="$HOME/.rbenv/bin:$PATH"' >> ~/.bashrc
$ echo 'eval "$(rbenv init -)"' >> ~/.bashrc
$ exec $SHELL
ruby-buildをインストール
$ git clone https://github.com/rbenv/ruby-build.git ~/.rbenv/plugins/ruby-build
$ echo 'export PATH="$HOME/.rbenv/plugins/ruby-build/bin:$PATH"' >> ~/.bashrc
$ exec $SHELL
rbenvでインストール可能なリストを確認し、2.4.0をインストール
$ rbenv install -l
$ rbenv install 2.4.0
Node.jsをインストール
$ curl -sL https://deb.nodesource.com/setup_4.x | sudo -E bash -
$ sudo apt-get install -y nodejs
rbenv-rehashをインストール
$ rbenv global 2.4.0
$ rbenv rehash
$ gem i rbenv-rehash
Rails5.0.1をインストール
$ gem install rails -v 5.0.1
PostgerSQL9.5をインストール
$ sudo sh -c "echo 'deb http://apt.postgresql.org/pub/repos/apt/ xenial-pgdg main' > /etc/apt/sources.list.d/pgdg.list"
$ wget --quiet -O - http://apt.postgresql.org/pub/repos/apt/ACCC4CF8.asc | sudo apt-key add -
$ sudo apt-get update
$ sudo apt-get install postgresql-common
$ sudo apt-get install postgresql-9.5 libpq-dev
Peer認証を変更
$ vi /etc/postgresql/9.5/main/pg_hba.conf
peerをmd5に変更する
PostgreSQLのユーザとパスワードを設定
$ sudo -u postgres createuser hoge -s
$ sudo -u postgres psql
postgres=# \password hoge
postgres=# \q
Rails新規プロジェクトを作成する
$ cd
$ rails new myapp -d postgresql
データベースのパスワードを設定
$ cd myapp
$ vi config/database.yml
上記で設定したユーザとパスワードを設定
config/database.yml
development:
  username:hoge
  password:hoge
データベースを作成
$ rails db:create
Rails5からrakeタスクがrailsコマンドで実行可能になってる
プロジェクトをスタート
$ rails s -b 0.0.0.0
ホストOSからアプリを見てみる
$ ifconfig
IPアドレスを確認し、ホストOS側のブラウザからアプリが見れたらOK
データベースがうまく作れていなかった
$ sudo -u postgres psql
postgres=# create user hoge
postgres=# \q
postgresのユーザとubuntuのユーザが一致していなかったっぽい。
再び、ホストOSからアプリを見てみる
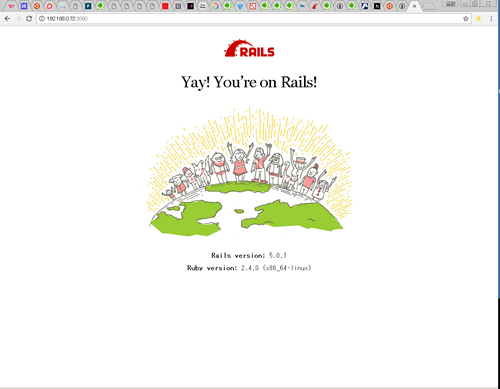
めでたしめでたし
アーモンドがマイブーム