
概要
お蔵入りされていたMacBook Air (11-inch, Late 2010)を友人に譲るべく、工場出荷状態に戻すことに。
何も考えずHDDを初期化し、インターネット経由でクリーンインストールしようとしたら、
「このアイテムは現在一時的にご利用になれません。しばらくしてから、もう一度お試し下さい。」
と言われ、にっちもさっちもいかない状態に…。
調べてみると、
どうやらマシンのバージョンが古く、OSXのインターネット復元ができないということらしい。
参考元
なにかと方法があるらしいが…、
- Mac付属のOSXインストールDVDを使う
- EFI ファームウェア・アップデート → インターネット復元
OSXインストールDVDを探すのが手間、
SnowLeopardからアップデートを繰り返すのは手間、
手元に別のMacマシンがあるということもあったので、
macOSクリーンインストール用USBメモリを作成、
それを用いてMacBook Airを工場出荷状態にすることにした。
必要なもの
- クリーンインストールするマシン(今回はMacBook Air (11-inch, Late 2010))
- 上記以外のUSBメモリ作成用のマシン(動けば上記マシンでもOK)
- USBメモリ(8GB以上)
- Install macOS Sierra.app
作業
Step1.クリーンインストール用USBメモリの作成
USBメモリ初期化
ディスクのリストを表示し、USBメモリがマウントされていることを確認。
df -l
HFS+でUSBメモリをフォーマット。
sudo diskutil eraseVolume HFS+ Untitled /dev/disk2s2
パーティションの数を1、GUIDパーティションテーブルでパーティションを作成。
sudo diskutil partitionDisk disk2 1 GPT HFS+ Untitled 100%
書き込み
USBメモリのフォーマットが済んだ所で、
上記リンクからダウンロードしたInstall macOS Sierra.appをUSBメモリに書き込む。
sudo /Applications/"Install macOS Sierra.app"/Contents/Resources/createinstallmedia --volume /Volumes/Untitled --applicationpath /Applications/"Install macOS Sierra.app" --nointeraction
ターミナル上で下記のようにログが出れば書き込み成功。
Erasing Disk: 0%... 10%... 20%... 30%...100%...
Copying installer files to disk...
Copy complete.
Making disk bootable...
Copying boot files...
Copy complete.
Done.
※下記は作業ログ。
RNakamura@ERISYSTEM-b:~$ df -l
Filesystem   512-blocks      Used Available Capacity iused      ifree %iused  Mounted on
/dev/disk1    487653376 412850384  74290992    85% 2311280 4292655999    0%   /
/dev/disk3s2   10706168   9703560   1002608    91%      15 4294967264    0%   /Volumes/OS X Install ESD
/dev/disk2s2   59861168    210200  59650968     1%      74 4294967205    0%   /Volumes/NoName

RNakamura@ERISYSTEM-b:~$ sudo diskutil eraseVolume HFS+ Untitled /dev/disk2s2
Started erase on disk2s2 NoName
Unmounting disk
Erasing
Initialized /dev/rdisk2s2 as a 29 GB case-insensitive HFS Plus volume
Mounting disk
Finished erase on disk2s2 Untitled

RNakamura@ERISYSTEM-b:~$ df -l
Filesystem   512-blocks      Used Available Capacity iused      ifree %iused  Mounted on
/dev/disk1    487653376 412851120  74290256    85% 2311281 4292655998    0%   /
/dev/disk3s2   10706168   9703560   1002608    91%      15 4294967264    0%   /Volumes/OS X Install ESD
/dev/disk2s2   59861168    210544  59650624     1%      78 4294967201    0%   /Volumes/Untitled

RNakamura@ERISYSTEM-b:~$ sudo diskutil partitionDisk disk2 1 GPT HFS+ Untitled 100%
Started partitioning on disk2
Unmounting disk
Creating the partition map
Waiting for partitions to activate
Formatting disk2s2 as Mac OS Extended with name Untitled
Initialized /dev/rdisk2s2 as a 29 GB case-insensitive HFS Plus volume
Mounting disk
Finished partitioning on disk2
/dev/disk2 (external, physical):
   #:                       TYPE NAME                    SIZE       IDENTIFIER
   0:      GUID_partition_scheme                        *31.0 GB    disk2
   1:                        EFI EFI                     209.7 MB   disk2s1
   2:                  Apple_HFS Untitled                30.6 GB    disk2s2

RNakamura@ERISYSTEM-b:~$ sudo /Applications/"Install macOS Sierra.app"/Contents/Resources/createinstallmedia --volume /Volumes/Untitled --applicationpath /Applications/"Install macOS Sierra.app" --nointeraction
Erasing Disk: 0%... 10%... 20%... 30%...100%...
Copying installer files to disk...
Copy complete.
Making disk bootable...
Copying boot files...
Copy complete.
Done.
これで、クリーンインストール用USBメモリの準備はOKです。
Step2.初期化とクリーンインストール
電源の入っていないマシン(今回はMacBook Air (11-inch, Late 2010))に先程準備したUSBメモリを挿入し、[option]キーを押しながらマシンを起動。
起動ディスク選択画面が表示されるので、
「Install macOS Sierra」を選択し起動します。
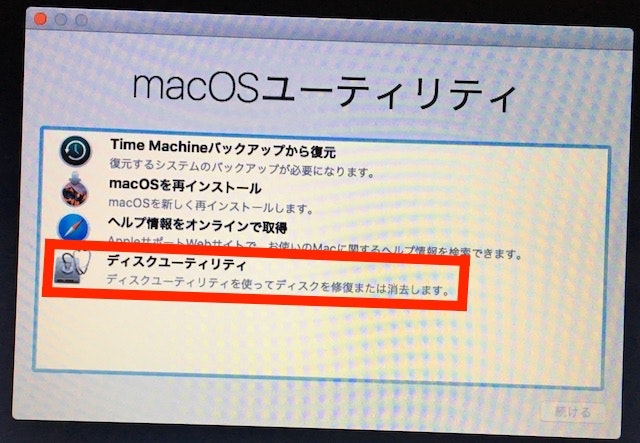
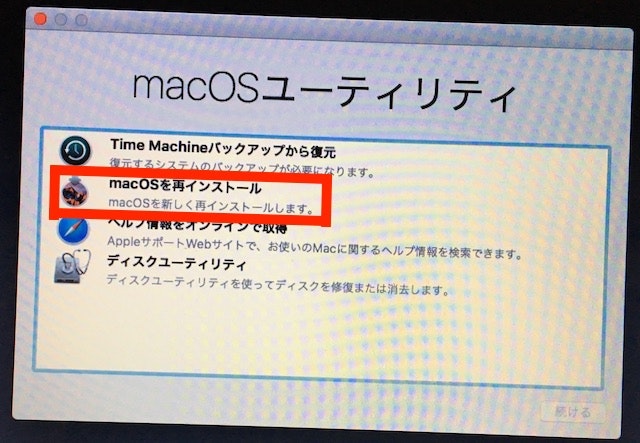
起動が完了すると、「macOSユーティリティ」が表示されます。
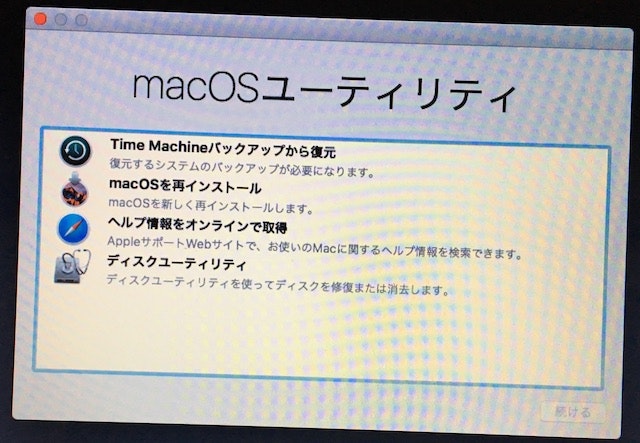
先にディスクの初期化を行いたいので「ディスクユーティリティー」を選択。
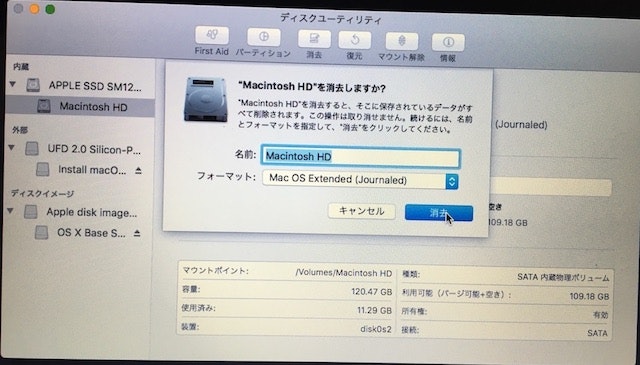
「Macintosh HD」を選択、「消去」をクリックします。
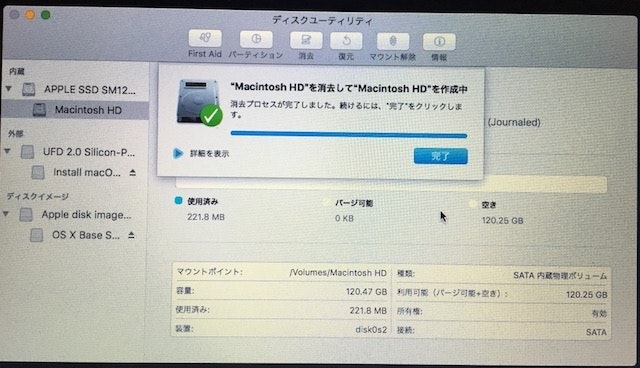
これで既存のOSが消去されました。
ディスクユーティリティーを終了し、再インストールに移ります。
「macOSユーティリティ」から、今度は「macOSを再インストール」を選択。
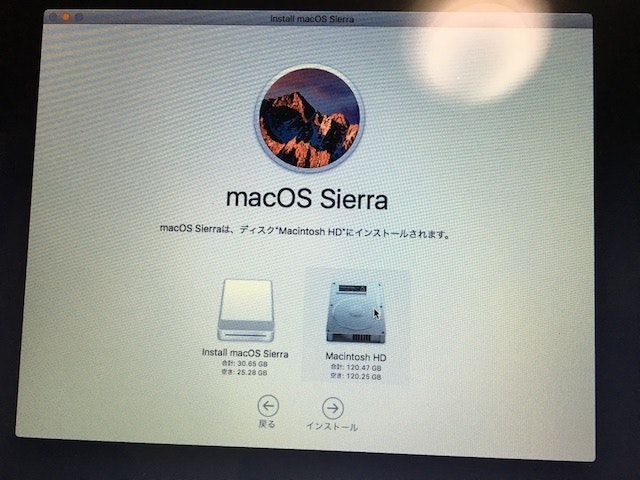
インストール先に「Macintosh HD」を選択し、インストール開始。
インストールが始まり…、
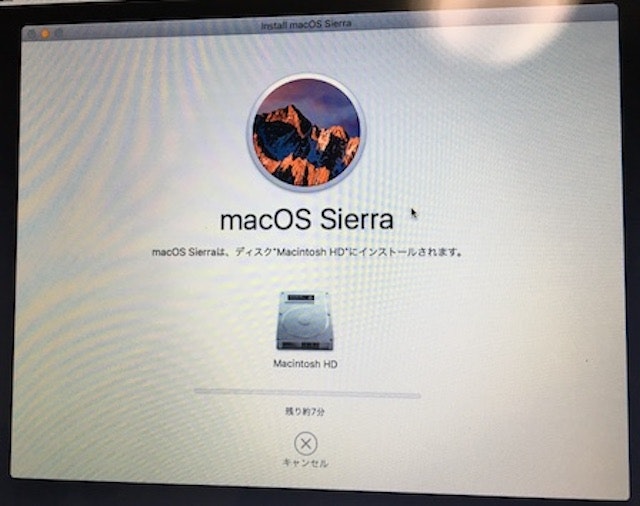
無事インストール完了。
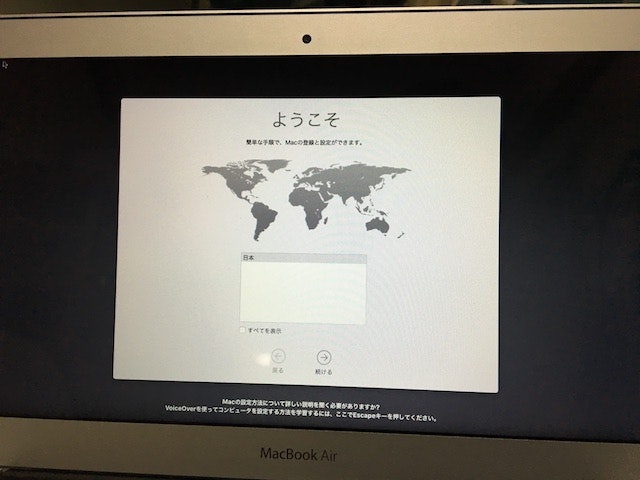
再インストールが終わると「ようこそ」画面が表示されます。
無事工場出荷状態となったので、
[command + Q]キーを同時に押してシステムを終了させます。
以上!USBメモリを用いたmacOSのクリーンインストールでした!
USBを使えば、
簡単にクリーンインストールができるのでおすすめです。