サンプルページ
iframe内にボタンを用意して、そのボタンを押すとボタンの色が変わるだけのページを作ります。
app/index.html
<!DOCTYPE html>
<html lang="ja">
<head>
<meta charset="utf-8">
<title>サンプルページ</title>
</head>
<body>
  <iframe src="iframe.html" name="hoge">
</body>
<html>
app/iframe.html
<!DOCTYPE html>
<html lang="ja">
<head>
<meta charset="utf-8">
<title>iframeページ</title>
</head>
<body>
<button type="button" id="button" style="background-color:red;" onclick="chColor()">
おしてね
</button>
<script>
  function chColor(){
    document.getElementById('button').style.background='blue';
  }
</script>

</body>
<html>

サンプルコードを作成
puppeteerのコードを書いていきます。
app/script.js
const puppeteer = require('puppeteer');

(async () => {
  const browser = await puppeteer.launch({
    args: [
      '--no-sandbox',
      '--disable-setuid-sandbox'
    ]
  });

  const page = await browser.newPage();

  // urlは適宜変更してください
  await page.goto('file:///Users/somiya/app/index.html');
  await page.screenshot({ path: 'before.png' });

  const frame = await page.frames().find(f => f.name() === 'hoge');
  const button = await frame.$('#button');
  await button.click();
  await page.screenshot({ path: 'after.png'});

  browser.close();
})();
frameの指定をnameで指定しています。
その後そのフレーム内のボタン要素を取得し、クリックという流れです。
(他の指定方法があったら教えてください。iframe自体あまり使わないので調べてないですm(_ _)m)
実行
$ node script.js
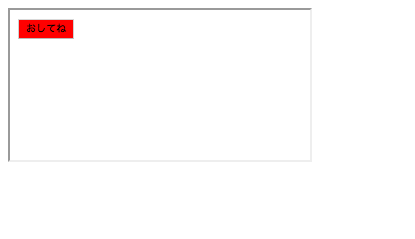
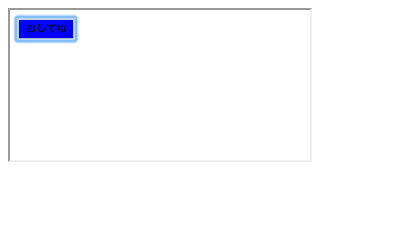
実行したらボタンを押す前と押した後のスクリーンショットが保存されてるので確認します。
[befor]
 |
|---|
[after]
 |
|---|
このframeを使えばiframe内でも外でも同様の操作ができそうですね。