概要
Ionic Advent Calendar 2019
6日目の記事です。
渋谷で エンタメマッチングアプリ pato を開発している内田です。
Ionicでリストを表示しつつ、クリックしたらアコーディオンメニューが表示されるサンプルです。
僕がめちゃめちゃ悩んでたのを先輩がサクッと解決してくれたので、メモとして残します。雑です。
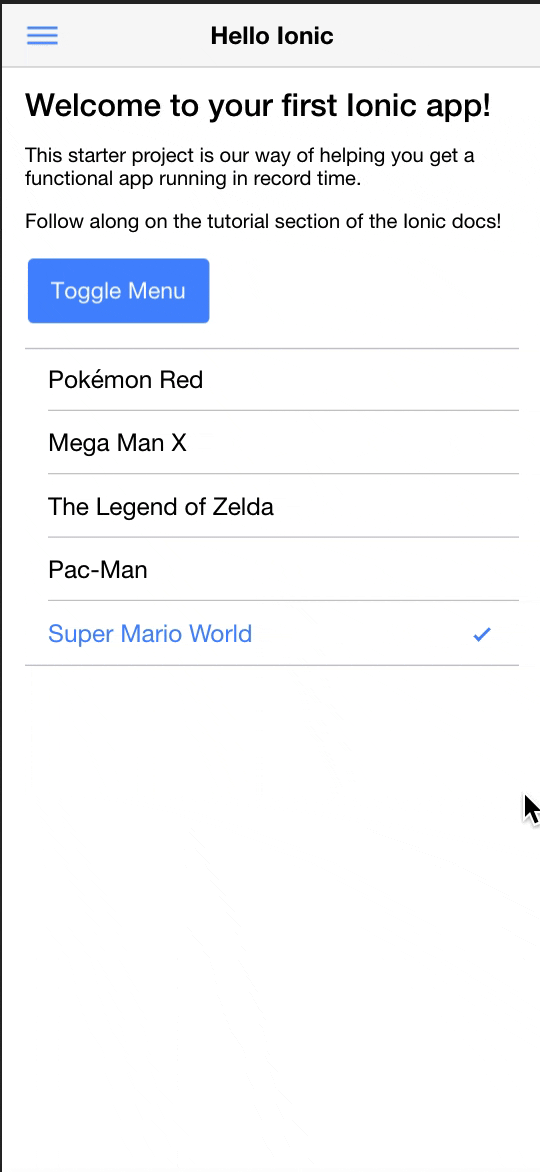
作るものは、こんな感じのやつです。
リストってどうやって作るん?
Ionicでは、<ion-list>タグで作成可能です!
公式サイトで詳しく説明されています。
公式サイトのリストを使っていじっていきます!
<ion-list>
  <ion-item>
    <ion-label>Pokémon Yellow</ion-label>
  </ion-item>
  <ion-item>
    <ion-label>Mega Man X</ion-label>
  </ion-item>
  <ion-item>
    <ion-label>The Legend of Zelda</ion-label>
  </ion-item>
  <ion-item>
    <ion-label>Pac-Man</ion-label>
  </ion-item>
  <ion-item>
    <ion-label>Super Mario World</ion-label>
  </ion-item>
</ion-list>
動的なリストの作成
*ngForを使って、リストに繰り返し処理を加えます。
まずは、対象のリストの配列を作りましょう。
import { Component } from '@angular/core';

@Component({
  selector: 'page-hello-ionic',
  templateUrl: 'hello-ionic.html'
})
export class HelloIonicPage {
  gameTitles = [
   { lavel: "Pokémon Yellow" },
   { lavel: "Mega Man X" },
   { lavel: "The Legend of Zelda" },
   { lavel: "Pac-Man" },
   { lavel: "Super Mario World" }
  ];
  constructor() {
    this.gameTitles;
  }
}
*ngForの使い方はこちら
<ion-list>
  <ion-item *ngFor="let game of gameTitles">
    <ion-label>{{ game.lavel }}</ion-label>
  </ion-item>
</ion-list>
アコーディオン可能な処理を加える
今回はリストのPokémon Yellowに最初のポケモンたちを表示させましょう!
...としたかったんですが、Pokémon Yellow == ポケットモンスター ピカチュウ
なので、最初に選べるポケモンは強制的にピカチュウです。
なんか面白くないので、Pokémon Redってことにします!
import { Component } from '@angular/core';

@Component({
  selector: 'page-hello-ionic',
  templateUrl: 'hello-ionic.html'
})
export class HelloIonicPage {
  pokemons = ["zenigame", "hitokage", "fushigidane"];
  gameTitles = [
   { lavel: "Pokémon Red" },
   { lavel: "Mega Man X" },
   { lavel: "The Legend of Zelda" },
   { lavel: "Pac-Man" },
   { lavel: "Super Mario World" }
  ];
  constructor() {
    this.gameTitles;
    this.pokemons;
  }
}
ng-containerで囲みましょう。
選択したtitleにアコーディオンを表示させるため、*ngForを<ng-container>に移動させます。
<ion-list>
  <ng-container *ngFor="let game of gameTitles; let idx = index">
    <ion-item>
      <ion-label>{{ game.lavel }}</ion-label>
    </ion-item>
   </ng-container>
</ion-list>
選択されたidxを取得するために、selectGameTitle()を作ります。
sample-list.tsに以下のように追加します。
import { Component } from '@angular/core';

@Component({
  selector: 'page-hello-ionic',
  templateUrl: 'hello-ionic.html'
})
export class HelloIonicPage {
  pokemons = ["zenigame", "hitokage", "fushigidane"];
  selectTitle: number = 0;
  gameTitles = [
   { lavel: "Pokémon Red" },
   { lavel: "Mega Man X" },
   { lavel: "The Legend of Zelda" },
   { lavel: "Pac-Man" },
   { lavel: "Super Mario World" }
  ];
  constructor() {
    this.gameTitles;
    this.pokemons;
    this.selectTitle;
  }
  selectGameTitle(idx): void{
    this.selectTitle = idx;
  }
}
ion-itemの下に表示させたいアコーディオンを加えましょう。
Pokémon Redのpokemonsだけ表示させたいので、
*ngIfを使いましょう!
また、ionSelectを使うことで、指定されたradioボタンのidxを取得できます。
<ion-list>
  <ng-container *ngFor="let game of gameTitles; let idx = index">
     <ion-item>
       <ion-label>{{ game.lavel }}</ion-label>
       <ion-radio name="games" (ionSelect)="selectGameTitle(idx)" ></ion-radio>
     </ion-item>
     <div *ngIf="selectTitle == 0 && game.lavel == 'Pokémon Red'">
       <div *ngFor="let pokemon of pokemons">
         <p>{{ pokemon }}</p>
       </div>
     </div>
  </ng-container>
</ion-list>
*ngIfの使い方はこちら
結果は以下のようになります。
以上で、アコーディオンメニューの完成です。