μRaidenとは
A payment channel framework for fast & free off-chain ERC20 token transfers
とあるように、ERC20のトークンをオフチェーンで送信できるフレームワークです。
用途的には、連続で課金したりするものに向いていて、例えばコンテンツごとに都度課金したりするものに使うと速く安く作れます。
今回は、μRaidenが用意してくれているexmapleを動かしてみることにします。環境はmac。
gethセットアップ
$ mkdir tmp
$ vi tmp/genesis.json
{
  "nonce": "0x0000000000000042",
  "mixhash": "0x0000000000000000000000000000000000000000000000000000000000000000",
  "difficulty": "0x400",
  "alloc": {},
  "coinbase": "0x3333333333333333333333333333333333333333",
  "timestamp": "0x0",
  "parentHash": "0x0000000000000000000000000000000000000000000000000000000000000000",
  "extraData": "0x",
  "gasLimit": "0x8000000",
  "config": {
    "chainID"       : 65536,
    "homesteadBlock": 0,
    "eip155Block":    0,
    "eip158Block":    0
  }
}
genesis lockの作成
$ geth --datadir ./tmp init tmp/genesis.json
consoleの起動
$ geth --networkid 65536 --nodiscover --datadir tmp --rpc --rpcport 8545 --rpcapi "web3,eth,net,personal" --rpccorsdomain "*" --rpcaddr "0.0.0.0" console
metamask
次にmetamaskをブラウザにインストールてします。
https://chrome.google.com/webstore/detail/metamask/nkbihfbeogaeaoehlefnkodbefgpgknn?hl=ja
networkを、PrivateNetworkを選択して接続します。
アカウントをてきとうに1つ作り、Export Private Keyから、keyをコピーします。
それをファイルに置いて、パーミッションを600にしておきます。tmp/account1.key
gethでimportしておきましょう。
$ geth account import ./tmp/account1.key --datadir tmp
micro raiden の インストール
clone。
git clone https://github.com/raiden-network/microraiden.git
フロントエンドのtsをビルド
cd microraiden/microraiden/microraiden/webui/microraiden
npm i
エラーが出ます。objectのconstraintがsatisfyじゃないと言われてしまいます。バージョン間の問題でどうせサンプルうごかすだけなので直接編集してしまいます。
node_modules/@types/lodash/index.d.ts:12651:53 - error TS2344: Type 'T' does not satisfy the constraint 'object'.

12651         isWeakSet<T>(value?: any): value is WeakSet<T>;
isWeakSet<T extends object>に修正します。
再度
npm i
pythonのsetup。
cd
pip install -r requirements-dev.txt
pip install -e .
コントラクトをdeploy
まずgethのconsoleでアカウントをunlockしてminerもstartしておきます。
> personal.unlockAccount(eth.accounts[0])
> miner.start()
コントラクトをdeployするスクリプトが用意されてるので実行します。
cd microraiden/contracts
python -m deploy.deploy_testnet --chain privtest
CustomTokenとRaidenMicroTransferChannelsのコントラクトがupされ、コントラクトアドレスが表示されました。
これでCutomToken(通貨はTKN・総流通量は10,000,000)が発行され、RaidenMicroTransferChannelsのコントラクトが使えるようになります。
Make sure privtest chain is running, you can connect to it and it is synced,
          or you'll get timeout
Web3 provider is RPC connection http://127.0.0.1:8545
Owner is 0x8b08E4a96Fc1Ca8EEE0e2C304BF5a89b46257461
CustomToken address is 0xA72323a2Bb40bf00fBDa611AD9A0C84847b8123A
RaidenMicroTransferChannels address is 0x773095D4C839979A4fD55b81d716dBD24Ff9210A
proxyを起動
--channel-manager-addressに、さっきのRaidenMicroTransferChannelsのコントラクトアドレスを入れます。
cd microraiden/microraiden
python -m microraiden.examples.demo_proxy --private-key ../../tmp/account1.key --rpc-provider "http://localhost:8545" --channel-manager-address "0x773095D4C839979A4fD55b81d716dBD24Ff9210A" start
動かしてみる
http://localhost:5000/doggo.txt
にアクセスします。

トークン作成者なのでいっぱい持ってます。Depositを押してチャンネルを開きましょう。
そうすると課金コンテンツをみるためにDepositから一部支払うため署名をします。

すると課金コンテンツが...
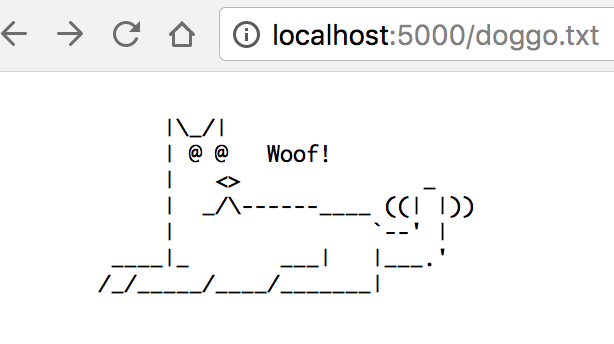
犬!!!!!!!
犬みるのに2TKNかかるので、リロードするとDepositが2だけなので足りず表示されなくなります。
という具合に、Depositして、必要な分だけ署名して課金することができました。
おわり