概要
ローカル環境で実行しているPower BI Desktopにて、ローカル環境のExcelから、Analysis Servciesとして接続する方法を紹介します。Power BI(バックで起動しているAnalysis Services)のポート番号を調べ、Excelから接続します。
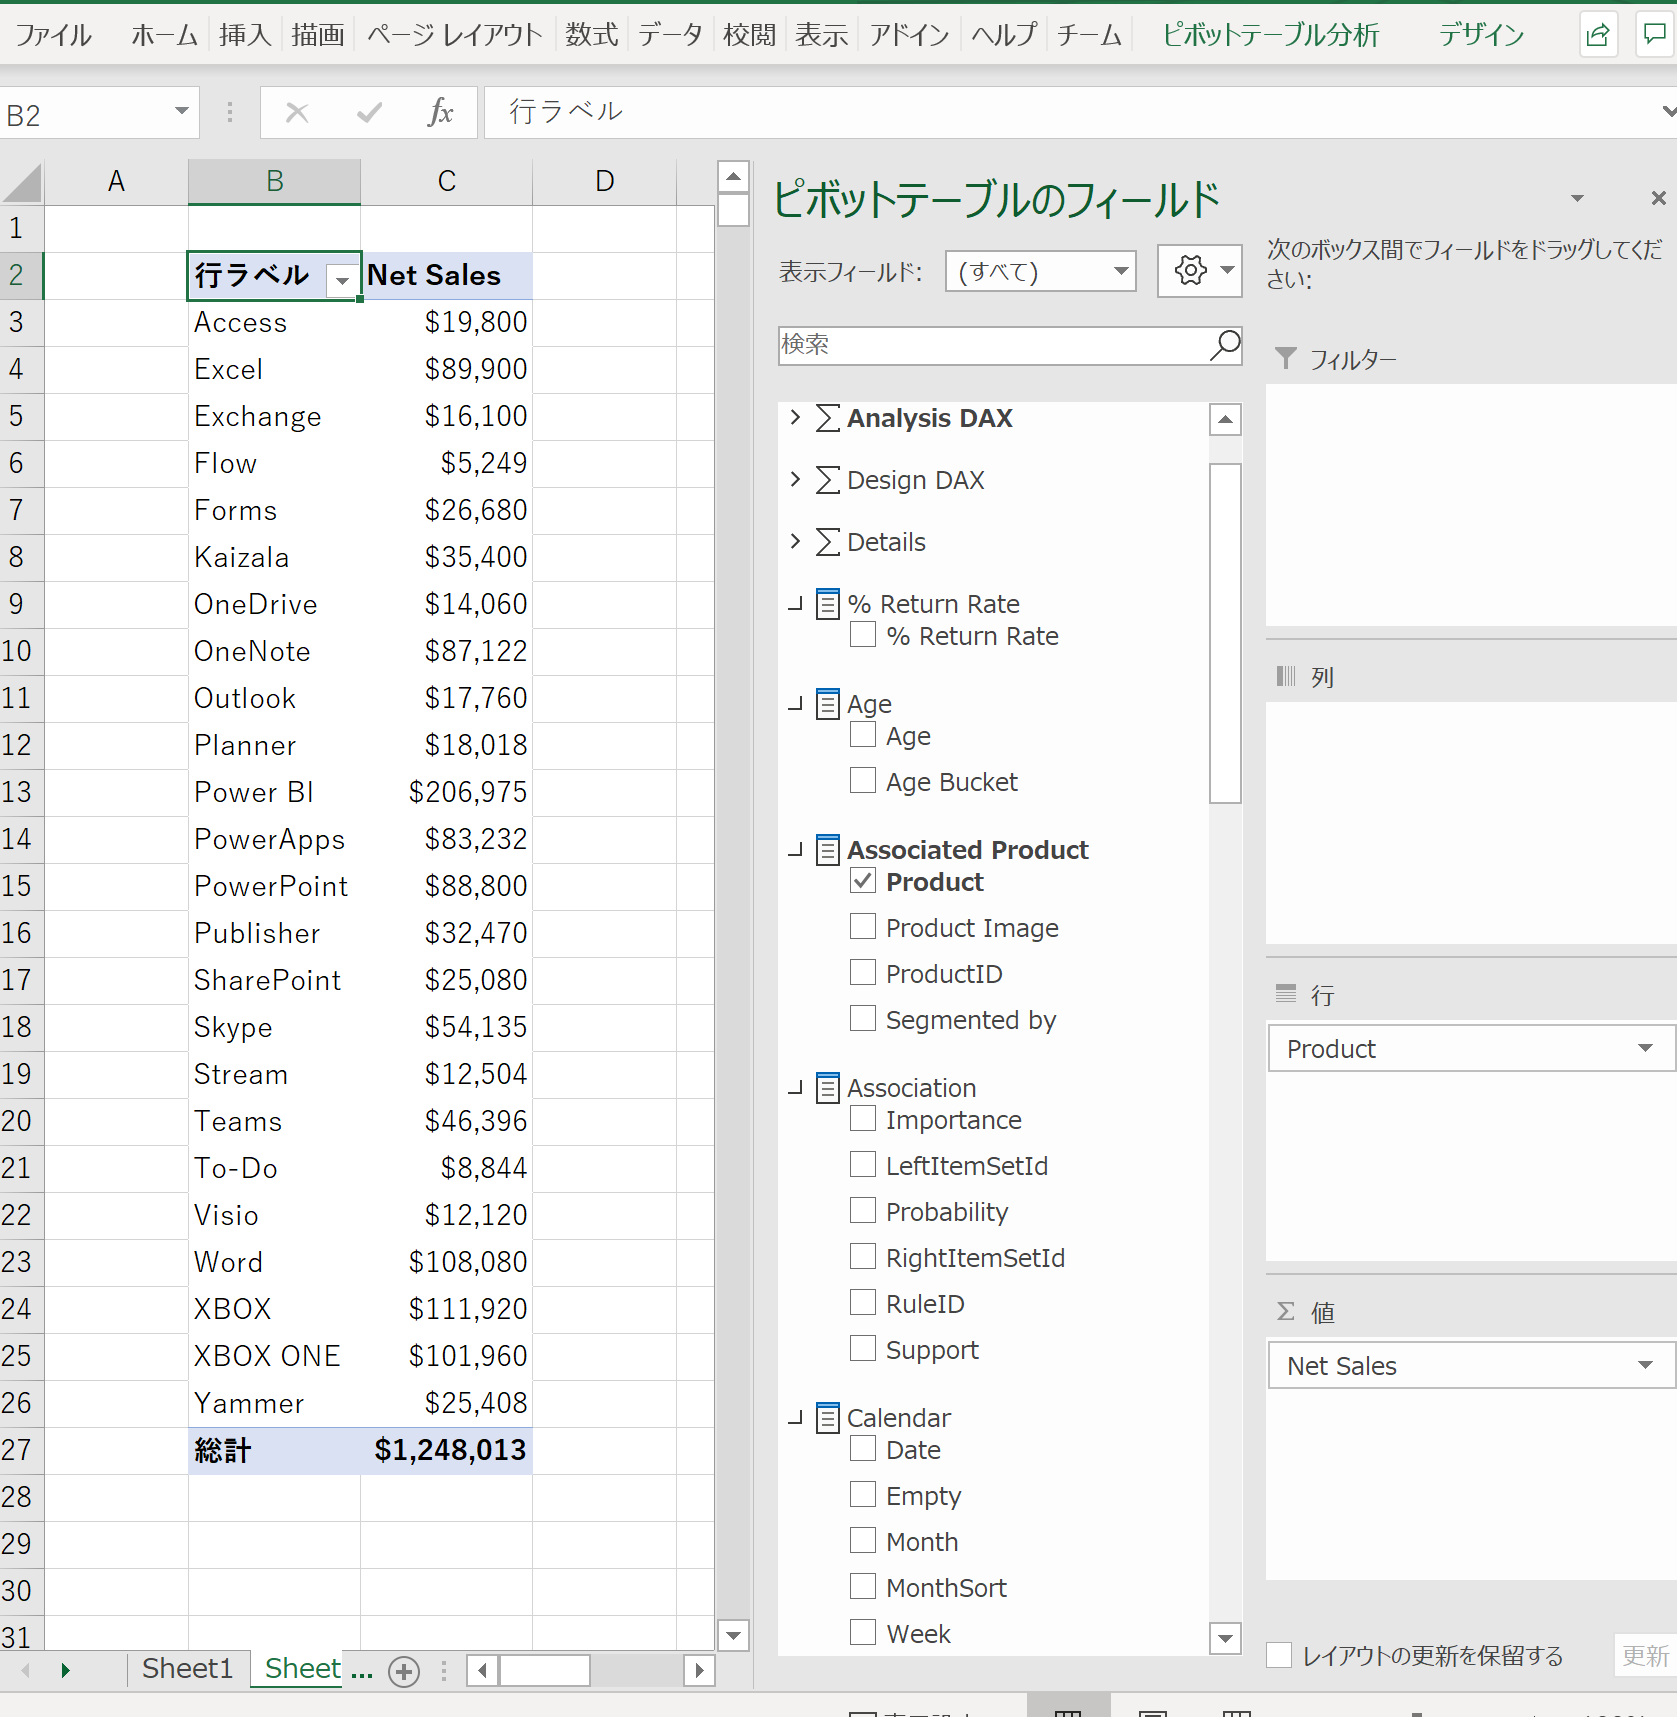
表形式の可視化についてはExcelのほうが使いやすい場合があり、データの内容確認時には重宝します。
ポートの確認方法には下記がありますが、DAX Studioの利用をおすすめします。
- DAX Studioにて接続のポートを確認する方法 <- おすすめの方法
- Powershellにてポートを確認する方法
DAX Studioの利用法については下記記事をご確認ください。
接続方法
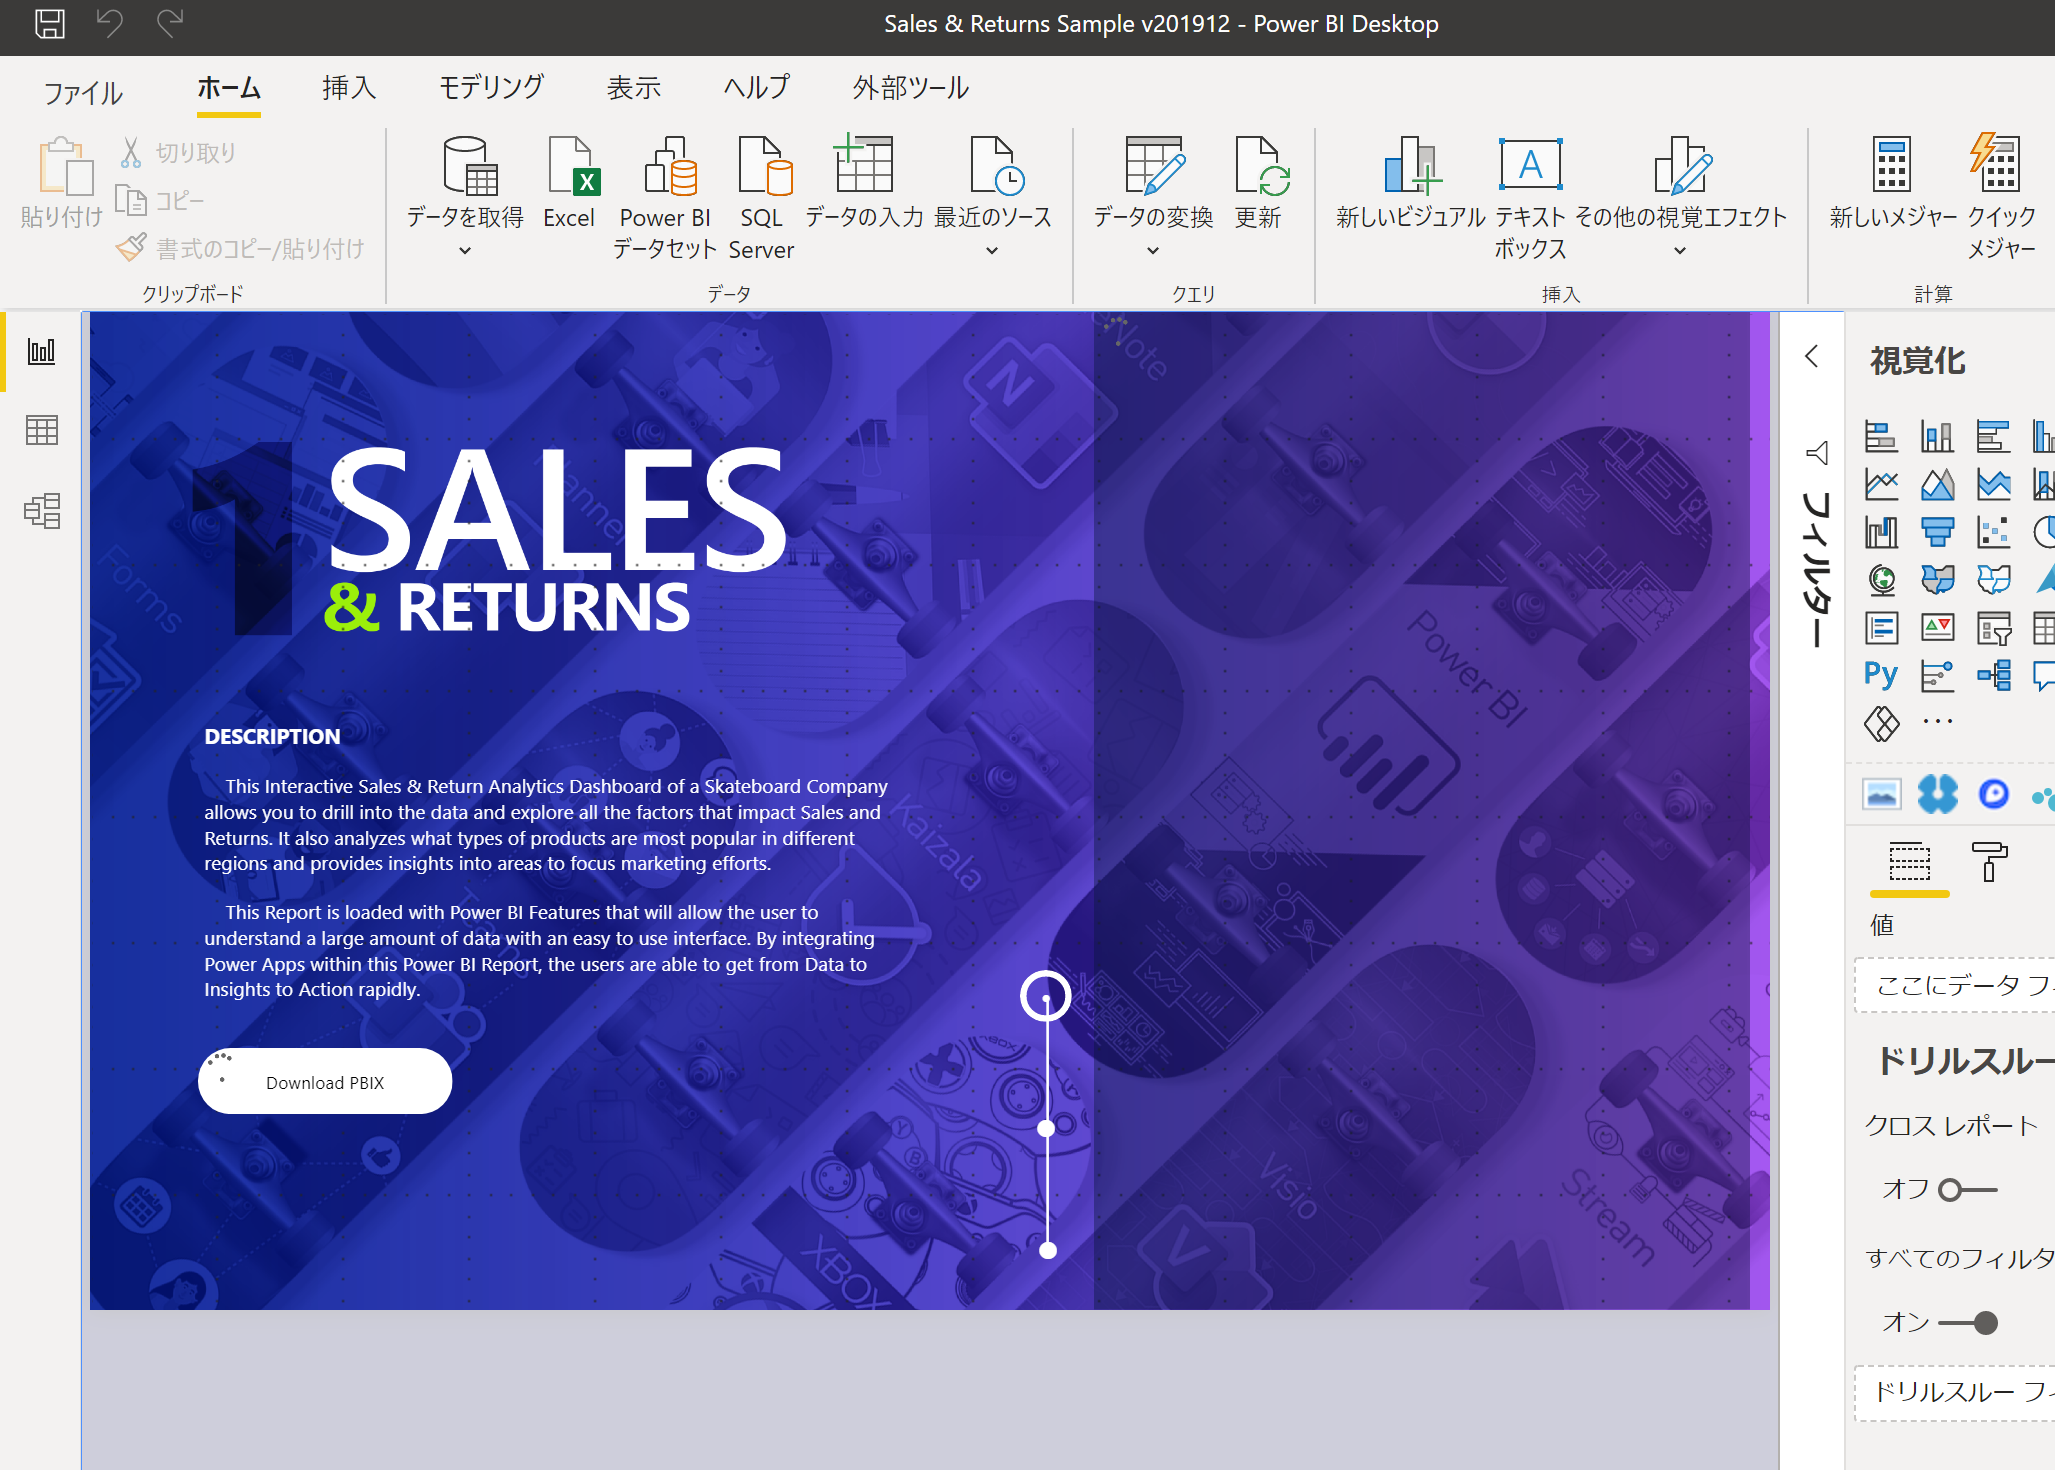
1. Power BI Desktopにてレポートを表示
2. ポートの確認
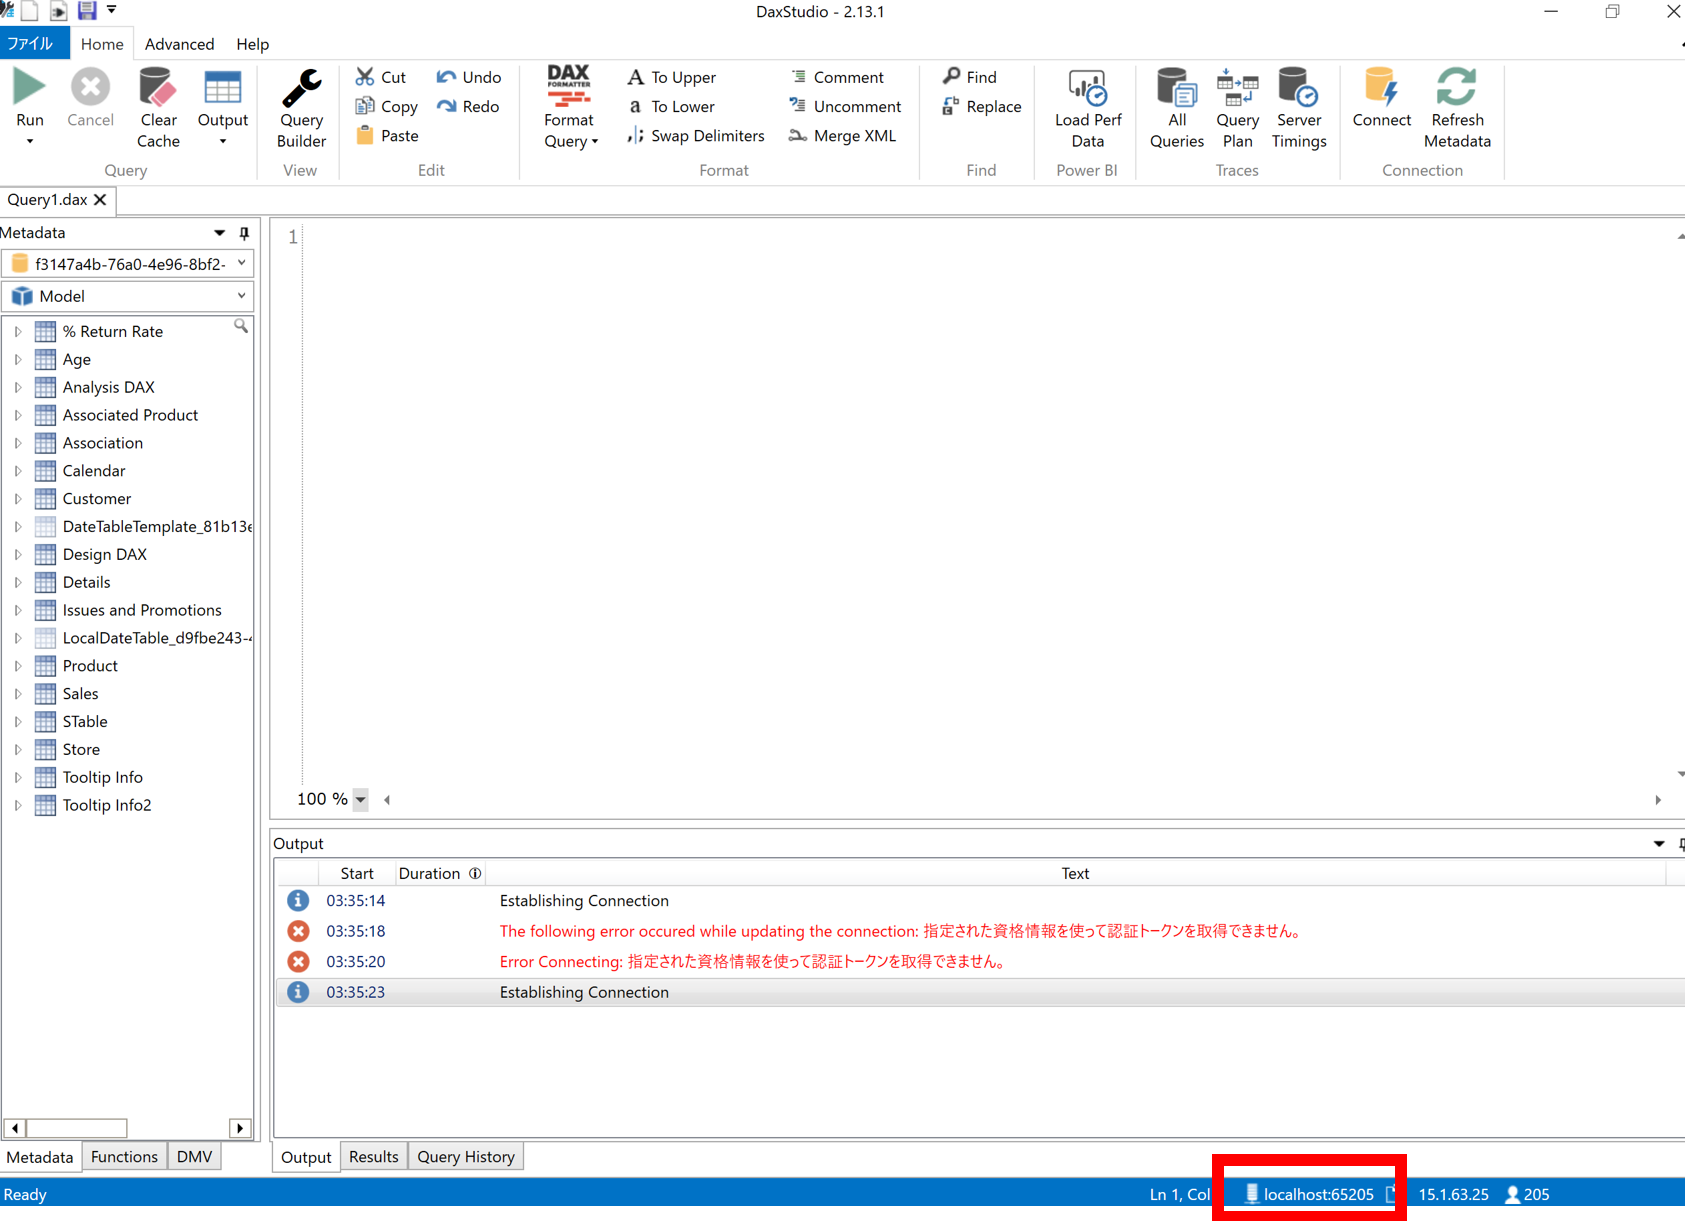
実施方法1. DAX Studioにて接続のポートを確認する方法
DAX Studioにてレポートに接続し、右下の表示されるポート番号(例:localhost:65205)を控えます。
実施方法2. PowerSshellにてポートを確認する方法
Powershellを管理者で実行し、"msmdsrv.exe"のポート番号をひかえます。
netstat -b -n

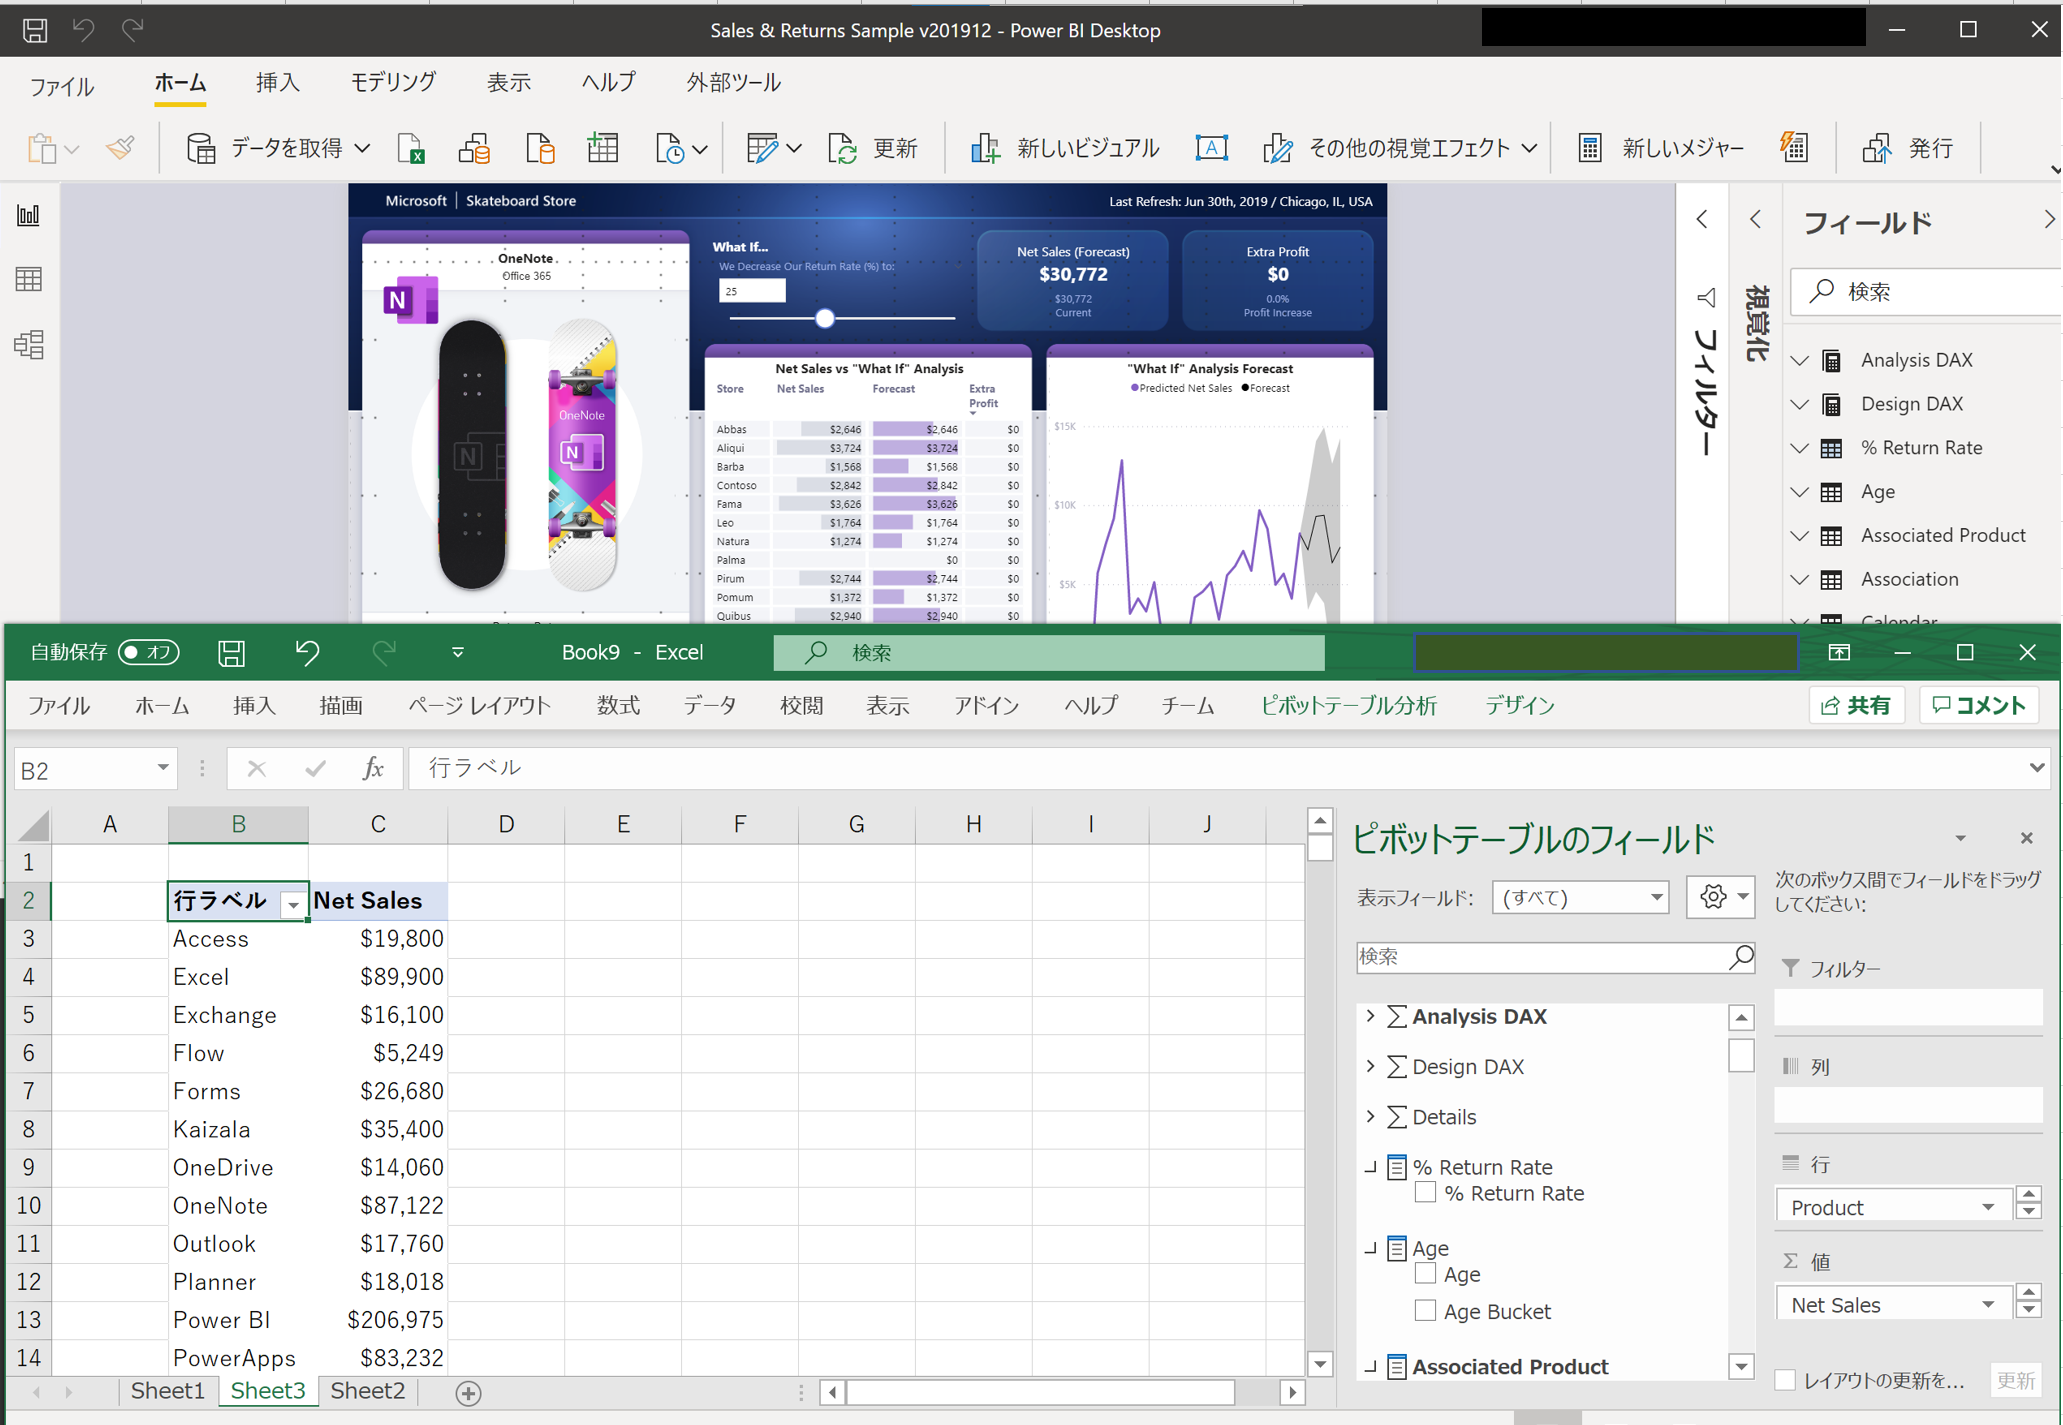
3. Excelから接続
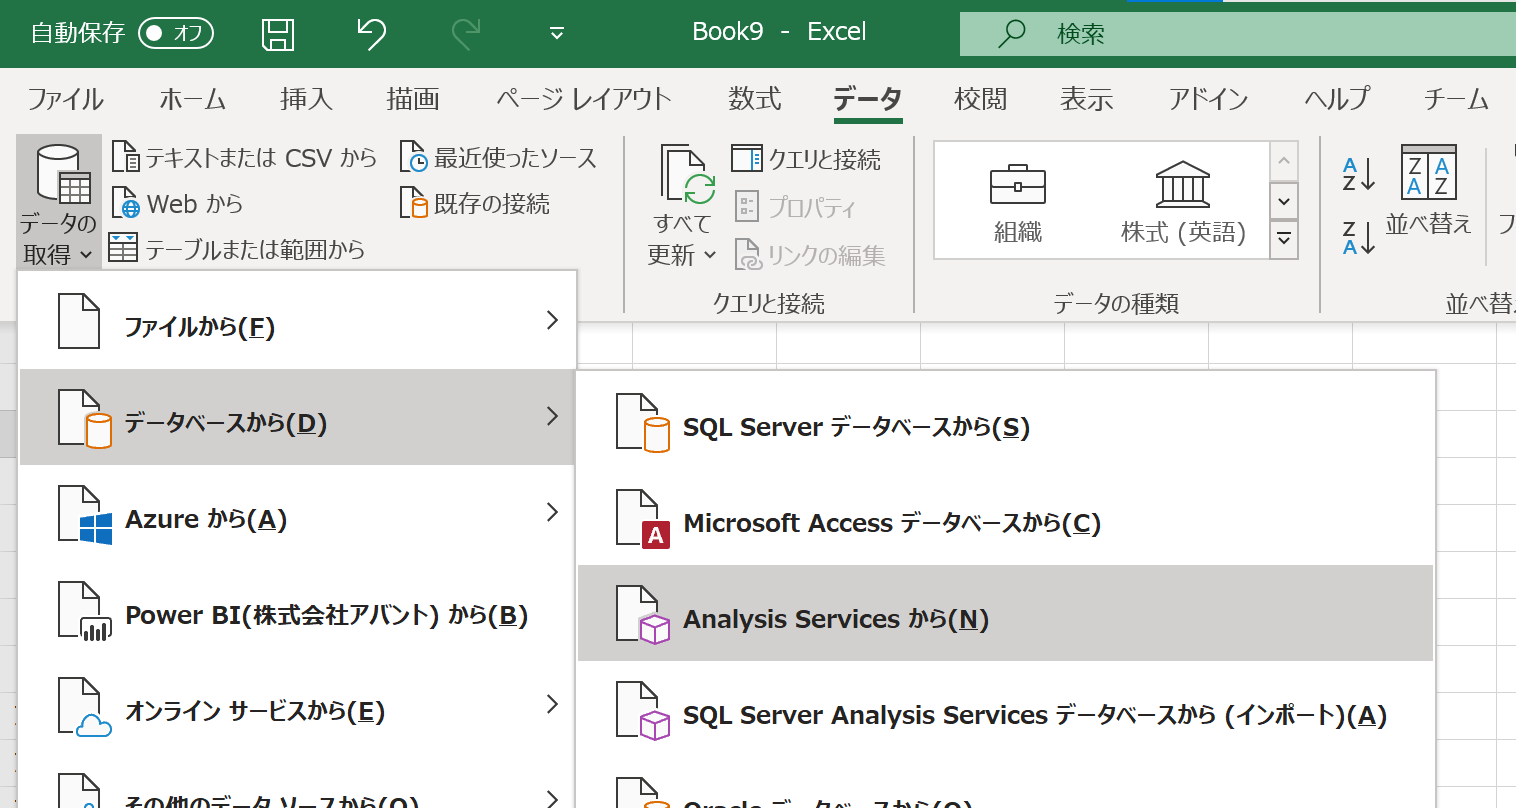
1. Excelを起動し、"データ" -> "データの取得" -> "データベースから" -> "Analysis Servciesから"を選択。
2. "サーバー名"に"localhost:<ポート番号>(例:localhost:65205)" を入力し、"次へ"を選択。

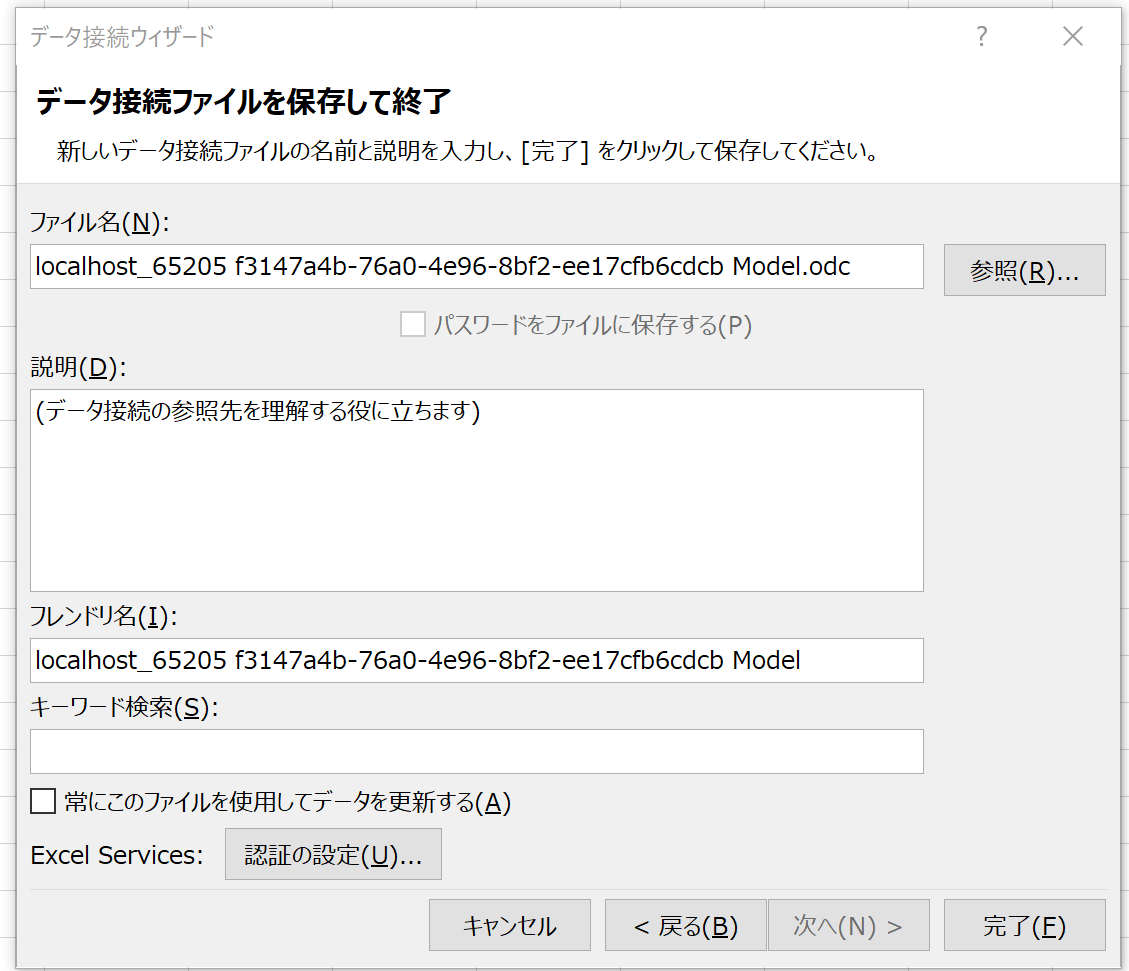
3. "次へ"を選択。

4. "完了"を選択。
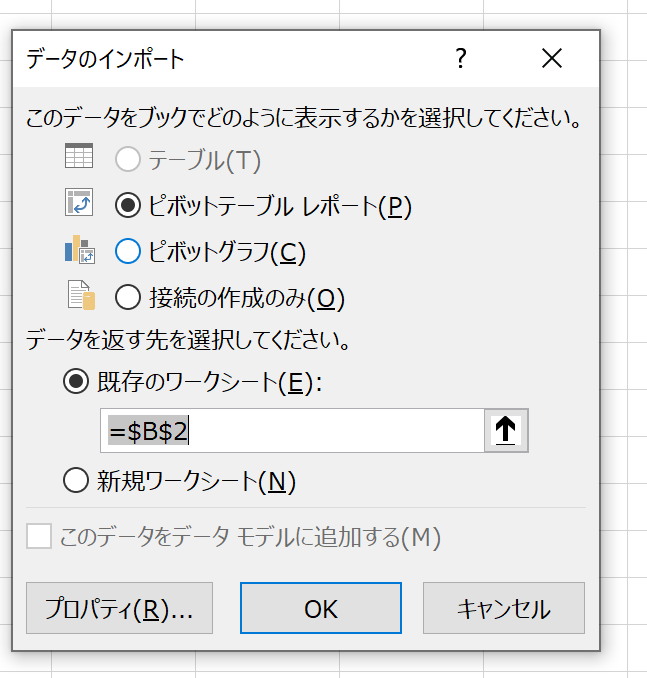
5. "OK"を選択。
6. データを取得可能であることを確認