はじめに
iOS Second Stage Advent Calendar15日目の記事です。
個人的には5記事目になります。
本題
個人的に触ったことなかったけど興味があったSFSafariViewControllerを触ってみました。
一番最初にすげーって思ったのはiOSアプリのReederというアプリです。
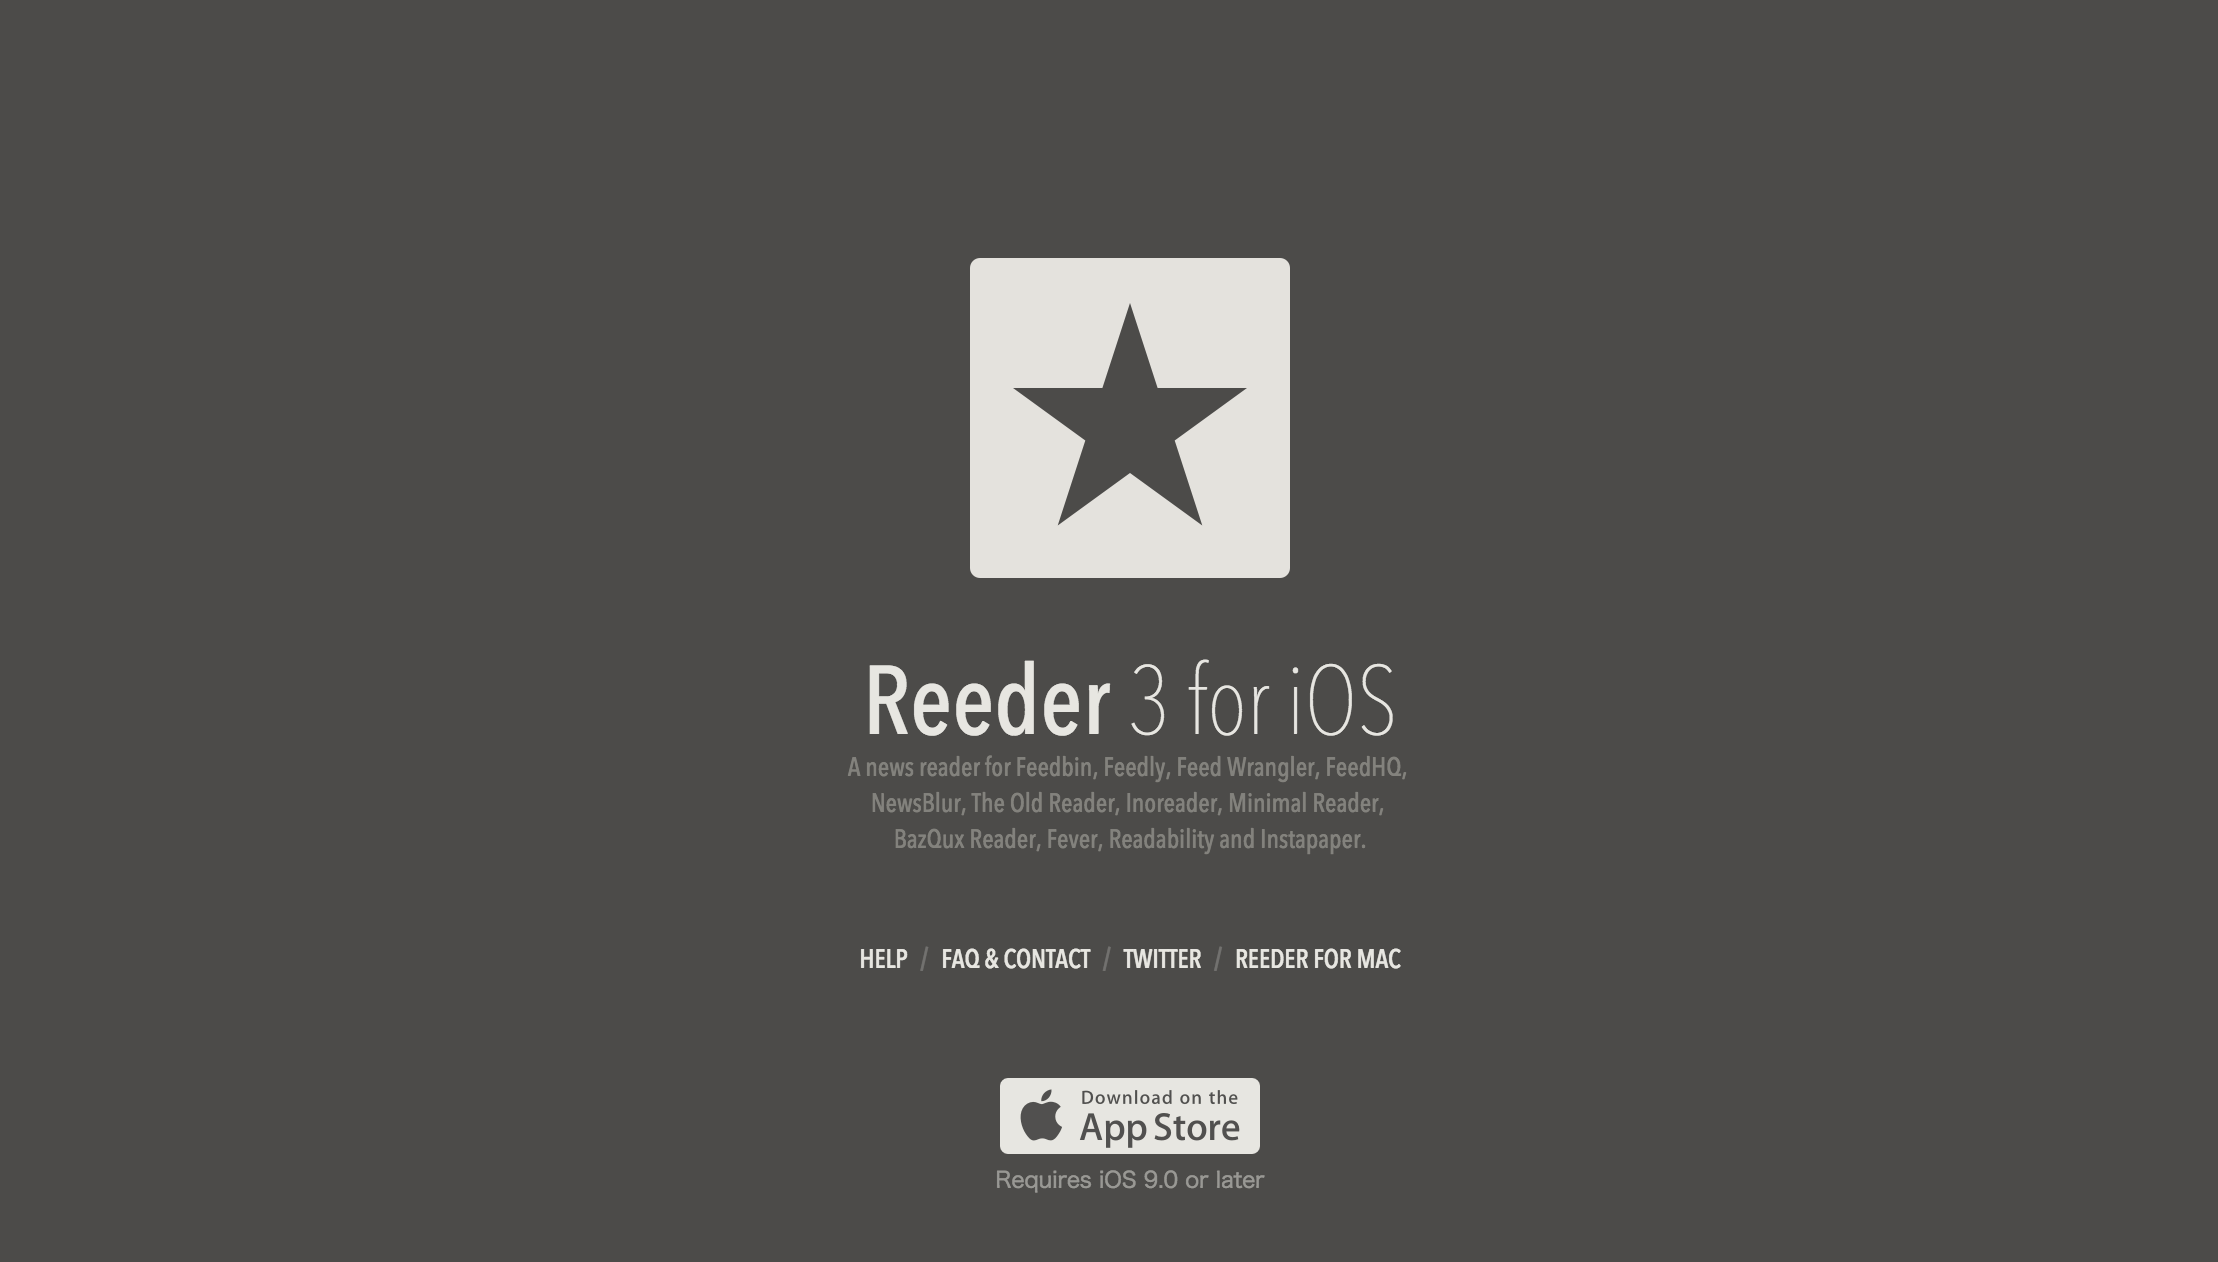
これがiOS9に対応した時にSFSafariViewControllerを導入していました。
そしてそれがUINavigationControllerとうまく馴染んでいて、これをどうやるのかなーって思ったのが調べたきっかけです。
でもmodalで普通に出すと違和感が半端なかったので、なじませられるようにいろいろ考えていたらいい記事があったので、それを実装してみました。
その記事がこちらです。
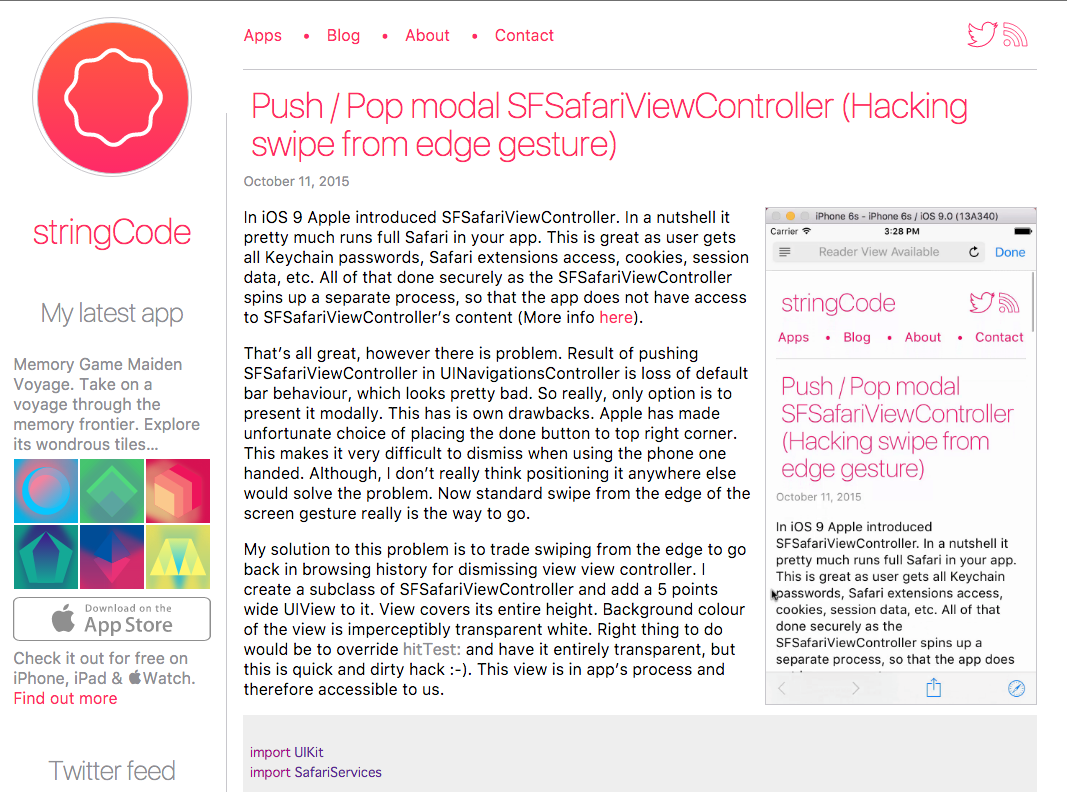
push-pop-modal-sfsafariviewcontroller-hacking-swipe-from-edge-gesture - stringCode
ちょっと英語に疎いのでとりあえず実装してみました。
所感
かなり簡単に実装できました。
すごくわかりやすかったので、本家のサンプルコードを参考にしてもらえればと思います。
stringcode86/SCSafariViewController
ソースコードと解説
触ってみてちょっと引っかかった点を幾つか紹介したいと思います。
SFSafariViewControllerの継承
まずはSFSafariViewControllerを継承したクラスを作成します。
import UIKit
import SafariServices

class SafariViewController: SFSafariViewController {

    private var _edgeView: UIView?
    var edgeView: UIView? {
        if _edgeView == nil && isViewLoaded() {
            let edgeView = UIView()
            edgeView.translatesAutoresizingMaskIntoConstraints = false
            edgeView.backgroundColor = UIColor(white: 1.0, alpha: 0.005)
            view.addSubview(edgeView)
            let widthConstraint = NSLayoutConstraint(item: edgeView, attribute: NSLayoutAttribute.Width, relatedBy: NSLayoutRelation.Equal, toItem: nil, attribute: NSLayoutAttribute.NotAnAttribute, multiplier: 1, constant: 5)
            edgeView.addConstraint(widthConstraint)
            let leadingConstraint = NSLayoutConstraint(item: edgeView, attribute: NSLayoutAttribute.Leading, relatedBy: NSLayoutRelation.Equal, toItem: view, attribute: NSLayoutAttribute.Leading, multiplier: 1, constant: 0)
            let topConstraint = NSLayoutConstraint(item: edgeView, attribute: NSLayoutAttribute.Top, relatedBy: NSLayoutRelation.Equal, toItem: view, attribute: NSLayoutAttribute.Top, multiplier: 1, constant: 0)
            let bottomConstraint = NSLayoutConstraint(item: edgeView, attribute: NSLayoutAttribute.Bottom, relatedBy: NSLayoutRelation.Equal, toItem: view, attribute: NSLayoutAttribute.Bottom, multiplier: 1, constant: 0)
            view.addConstraint(leadingConstraint)
            view.addConstraint(topConstraint)
            view.addConstraint(bottomConstraint)
            _edgeView = view
        }

        return _edgeView
    }

}
_edgeViewの部分がSwipeに対応する部分です。
肝になるのはbackgroundColorをUIColor(white: 1.0, alpha: 0.005)にしてる部分です。
表示したくないので最初backgroundColor = UIColor.clearColor()にしていたらタップ判定も起きず、何もできなかったです...。(考えれば当たり前なのですが...。)
あとはAutoLayoutで適当に組んでます。
そして呼び出す側が_edgeViewに対してSwipeGestureを登録してメソッドを実装すれば大丈夫でした。
それが以下のコードになります。
import UIKit

import BrightFutures
import SafariServices

class ViewController: UIViewController {
    /// ~ 省略 ~
    private func showSafariViewWithURL(URL: NSURL) {
        let safariView = SafariViewController(URL: URL)
        safariView.delegate = self
        safariView.transitioningDelegate = self
        presentViewController(safariView, animated: true) {[weak self] () -> Void in
            if let weakSelf = self {
                let gesture = UIScreenEdgePanGestureRecognizer(target: weakSelf, action: "handlePanGesture:")
                gesture.edges = UIRectEdge.Left
                safariView.edgeView?.addGestureRecognizer(gesture)
            }
        }
    }
    /// ~ 省略 ~
}


extension ViewController: UIViewControllerTransitioningDelegate {

    func animationControllerForDismissedController(dismissed: UIViewController) -> UIViewControllerAnimatedTransitioning? {
        animator.dismissing = true
        return animator
    }

    func animationControllerForPresentedController(presented: UIViewController, presentingController presenting: UIViewController, sourceController source: UIViewController) -> UIViewControllerAnimatedTransitioning? {
        animator.dismissing = false
        return animator
    }

    func interactionControllerForDismissal(animator: UIViewControllerAnimatedTransitioning) -> UIViewControllerInteractiveTransitioning? {
        return self.animator.percentageDriven ? self.animator : nil
    }

}

extension ViewController {

    func handlePanGesture(gesture: UIScreenEdgePanGestureRecognizer) {
        var percent = gesture.locationInView(view).x / view.bounds.width / 2.0
        percent = percent < 1 ? percent : 0.99
        animator.percentageDriven = true
        switch gesture.state {
        case .Began:
            dismissViewControllerAnimated(true, completion: nil)
        case .Changed:
            animator.updateInteractiveTransition(percent)
        case .Ended, .Cancelled:
            gesture.velocityInView(view).x < 0 ? animator.cancelInteractiveTransition() : animator.finishInteractiveTransition()
            animator.percentageDriven = false
        default:
            break
        }
    }

}

extension ViewController: SFSafariViewControllerDelegate {

    func safariViewControllerDidFinish(controller: SFSafariViewController) {
        controller.dismissViewControllerAnimated(true, completion: nil)
    }

}
という感じでうまくできました。
あとはUIPercentDrivenInteractiveTransitionとUIViewControllerAnimatedTransitioningを継承したアニメーションのクラスを作成すれば好き勝手できるかと思います。
最後に
ここまで出来ればSFSafariViewControllerもアプリに馴染ませられると思います。
SFSafariViewControllerはかなり便利だと思うので、うまく活用していきたいです。