やること
今回は、自分のMACにPrometheusとGrafanaをインストールしたいと思います。
事前準備
https://docs.docker.com/docker-for-mac/install/
以上から、自分のMacにDockerをインストールしてください。
各種ファイルの準備
terminalで以下のディレクトリを任意の箇所に置いてください。
(今回は、/Users/”user名”/下にこのディレクトリを作成します。)
$ cd

$ mkdir prometheus

$ mkdir grafana
prometheus.yml
/Users/"user名"/prometheusに以下のファイルを作成
global:
  scrape_interval:     15s
  evaluation_interval: 15s
  external_labels:
      monitor: 'codelab-monitor'

rule_files:
#   - "/var/app/prometheus/alert.rules"

scrape_configs:
  - job_name: 'prometheus'
    static_configs:
      - targets:
        - 'localhost:9090'
Grafana.env
/Users/"user名"/grafanaに以下のファイルを作成
docker 経由で grafana を起動する上で必要になります。
ただし、こちらのファイルは参照されないので、コメントアウトしています。
# [server]
# GF_SERVER_DOMAIN=localhost
# GF_SERVER_HTTP_PORT=3000
# GF_SERVER_PROTOCOL=http
docker-compose.yml
/Users/"user名"/prometheusに以下のファイルを作成
version: '3'
services:
  prometheus:
    image: prom/prometheus
    container_name: prometheus
    volumes:
      - /Users/"user名"/prometheus/prometheus.yml:/etc/prometheus/prometheus.yml
    ports:
      - 9090:9090
  grafana:
    image: grafana/grafana
    container_name: grafana
    ports:
      - 3000:3000
    env_file:
      - /Users/"user名"/grafana/grafana.env
dockerの起動
$ docker-compose -f docker-compose.yml up
prometheus
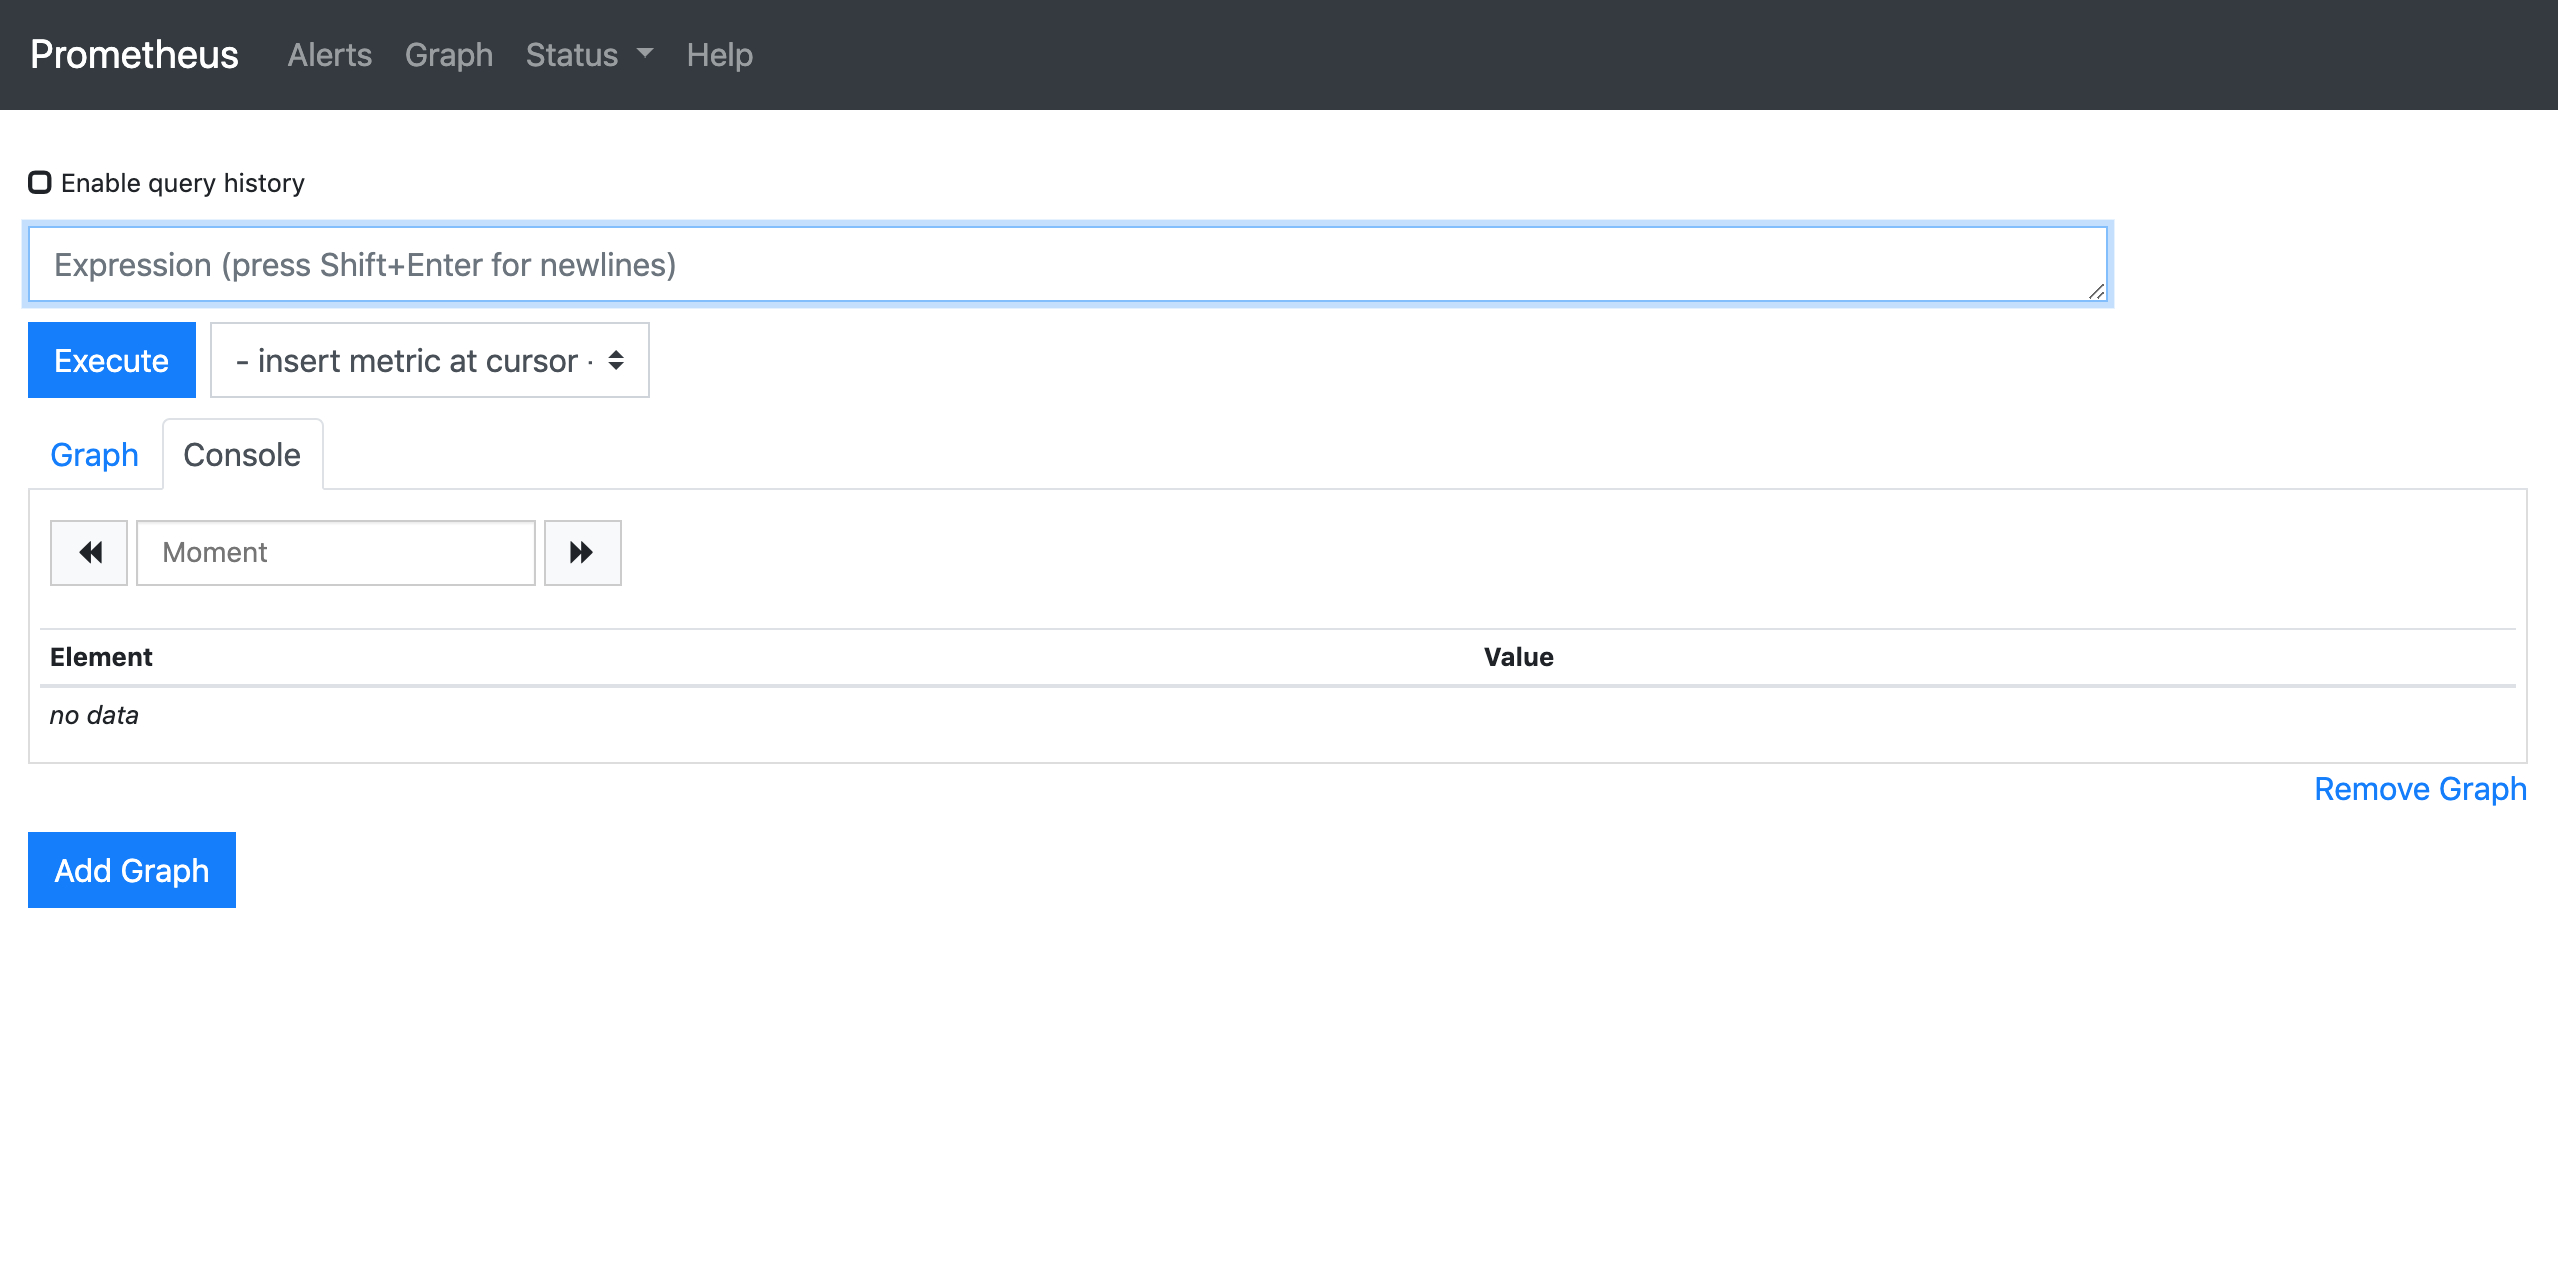
起動したら、まずprometheusを確認してみましょう。
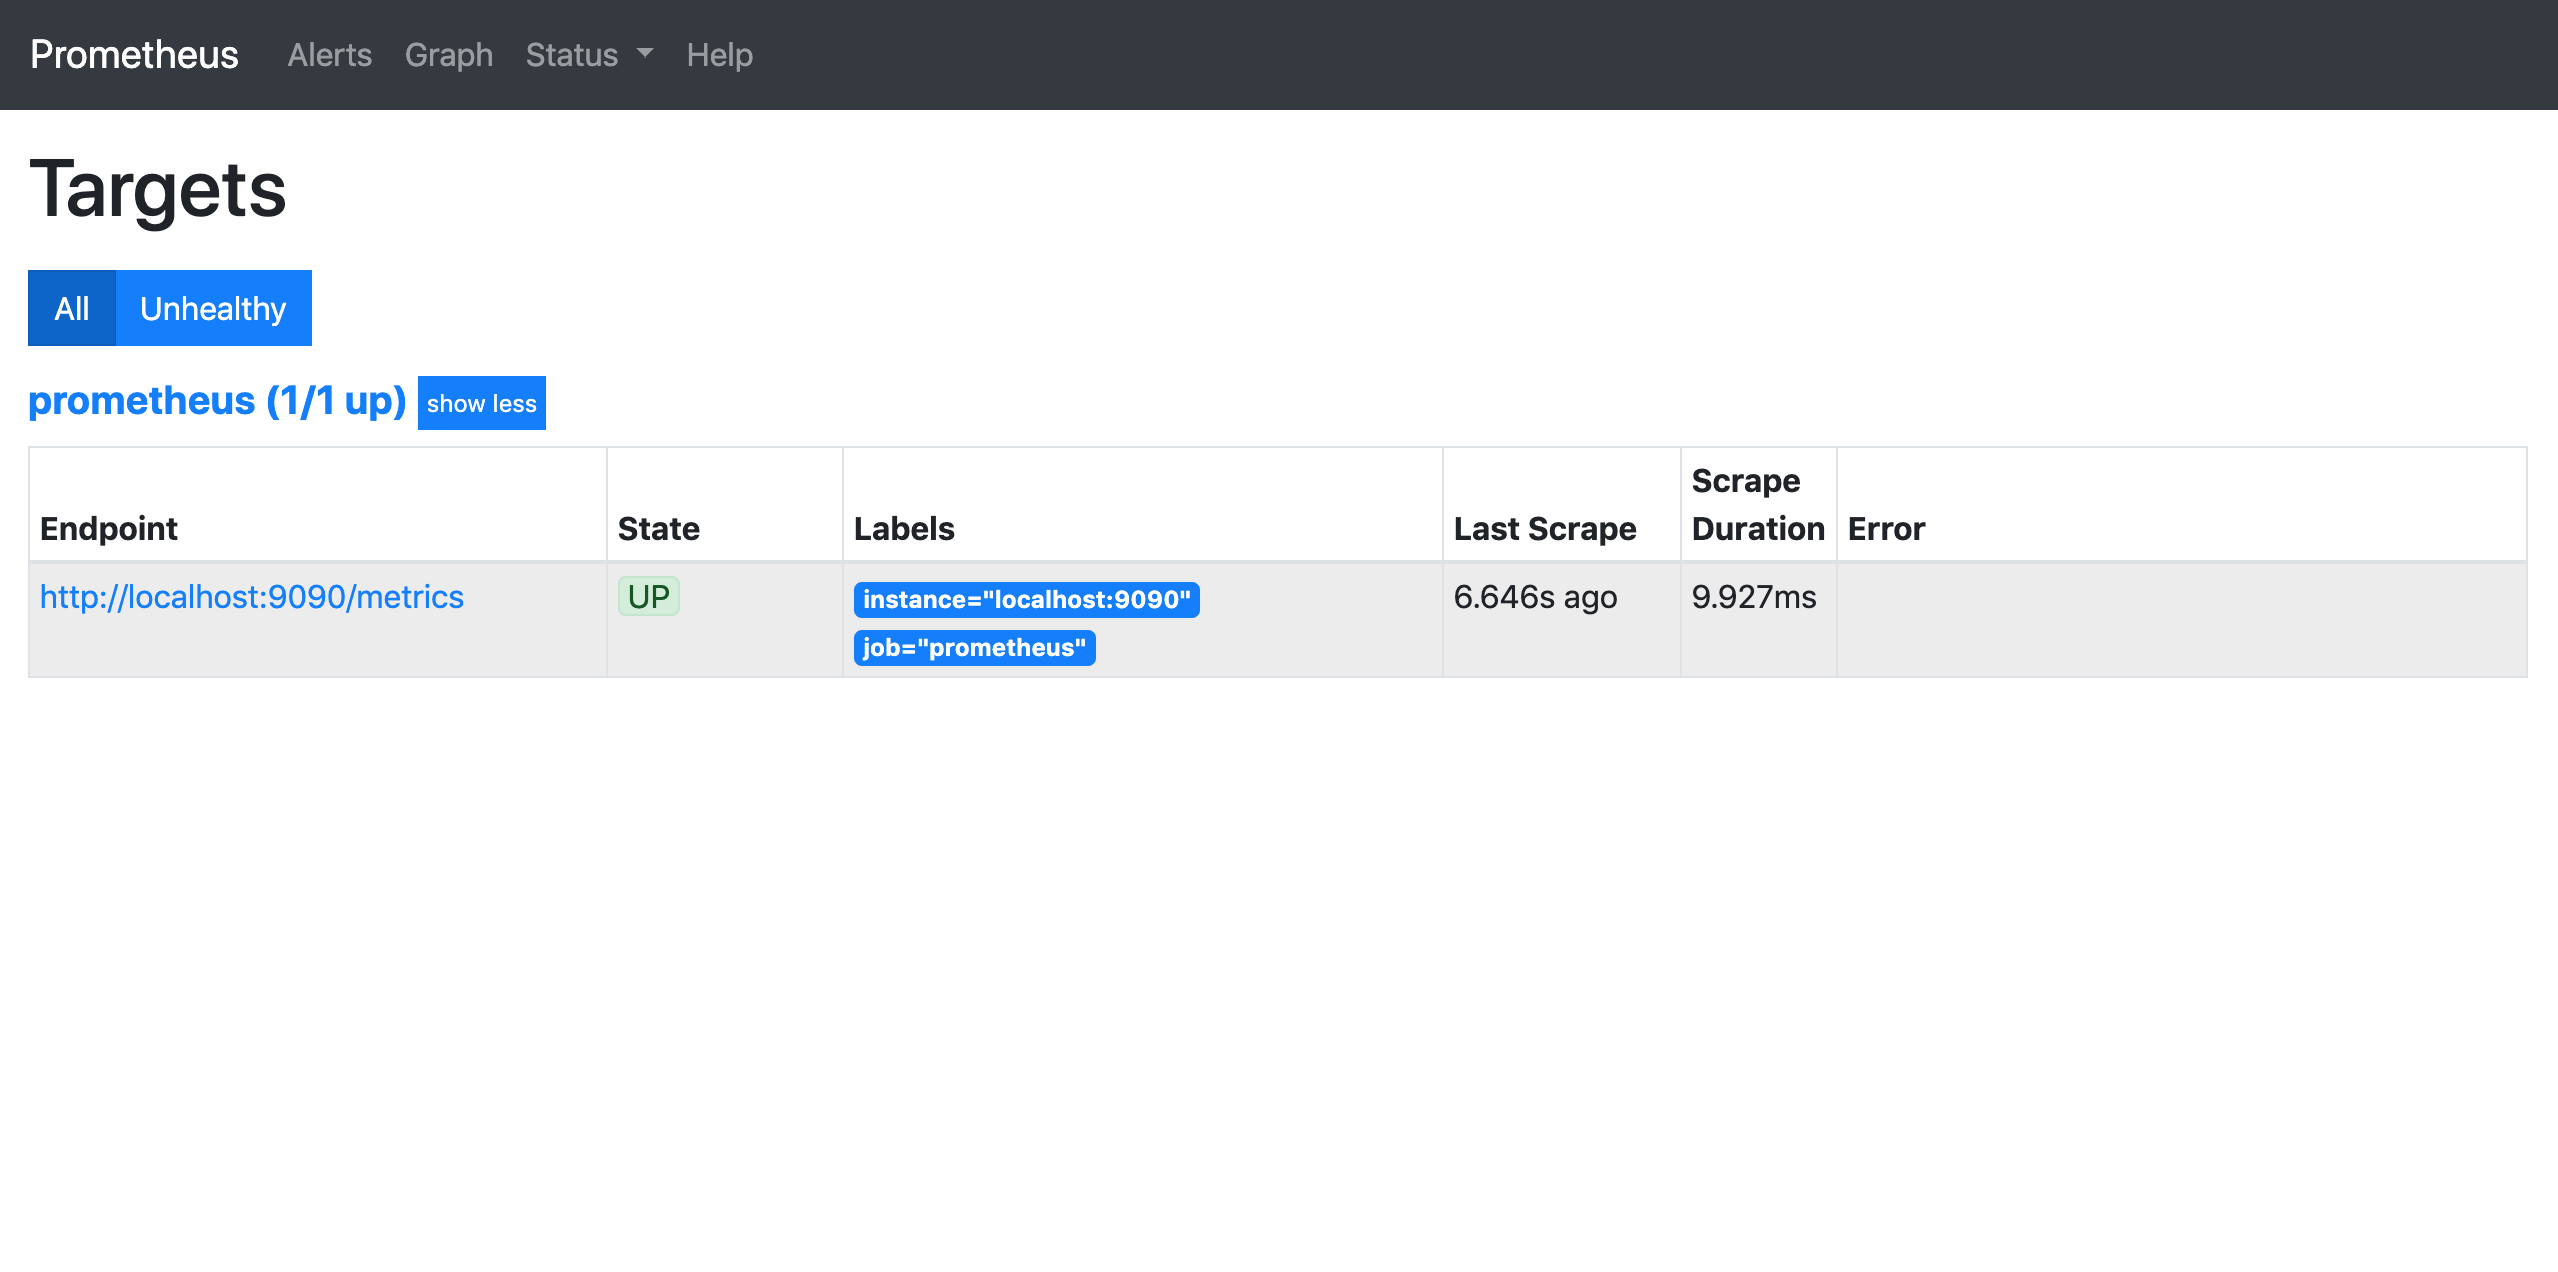
Status > Target を確認してみましょう。
先ほど、prometheus.ymlのscrape_configsに書いた設定が反映されています。
ここまでを確認できましたでしょうか。
Grafana
そうしたら、次はGrafanaを見てみましょう。
え... どうやってログインするの
ってなった方!!!朗報です。
両方「admin」と入力してみてください。
すると、passwordを設定する画面になりますので、自分の好きなpasswordを打ってください。
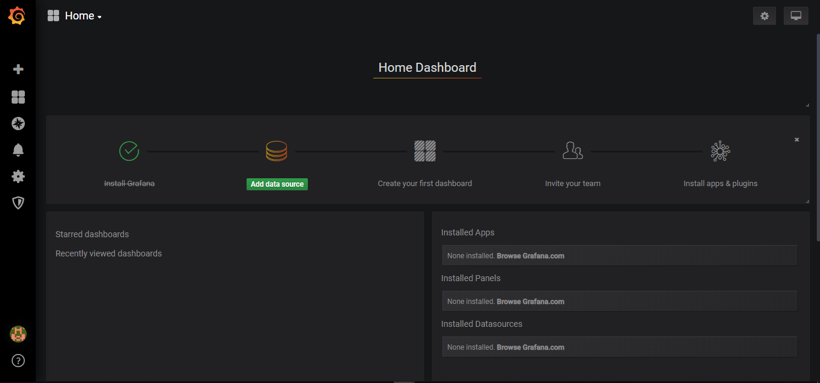
終わると、次の画面に映ります。
configuration > Data Sources を選択して下さい。
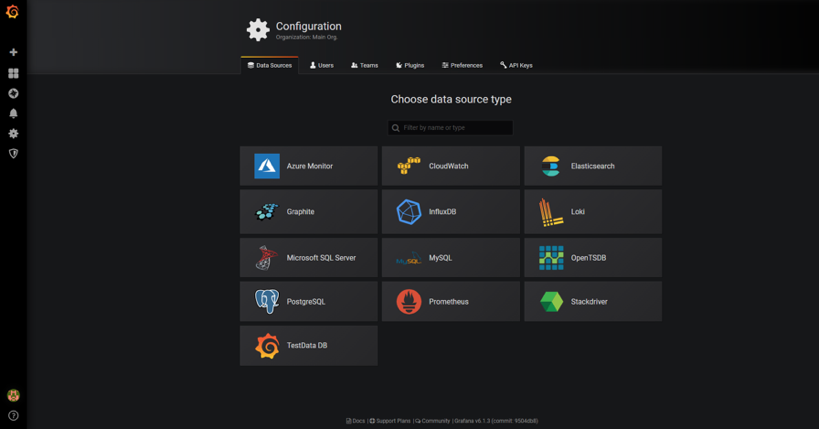
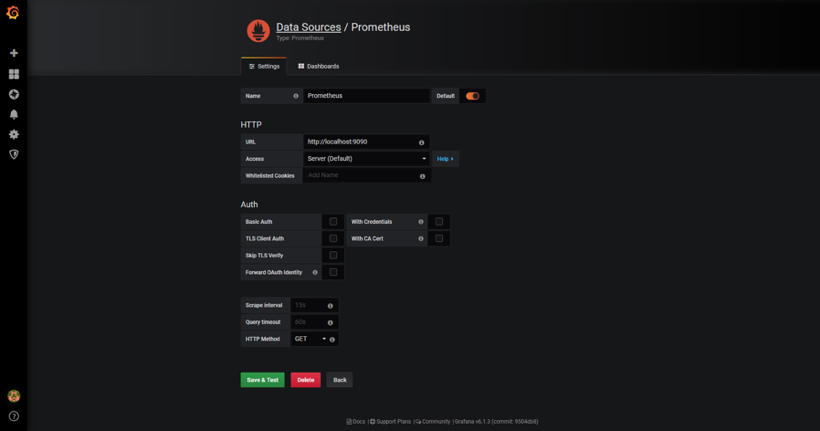
Add data source を選択して以下の画面に来ましたら、prometheusを選択して下さい。
以下の状態になったら、
URL: http://localhost:9090
Access: Browser
と記入し、下の「Save & Test」を選択
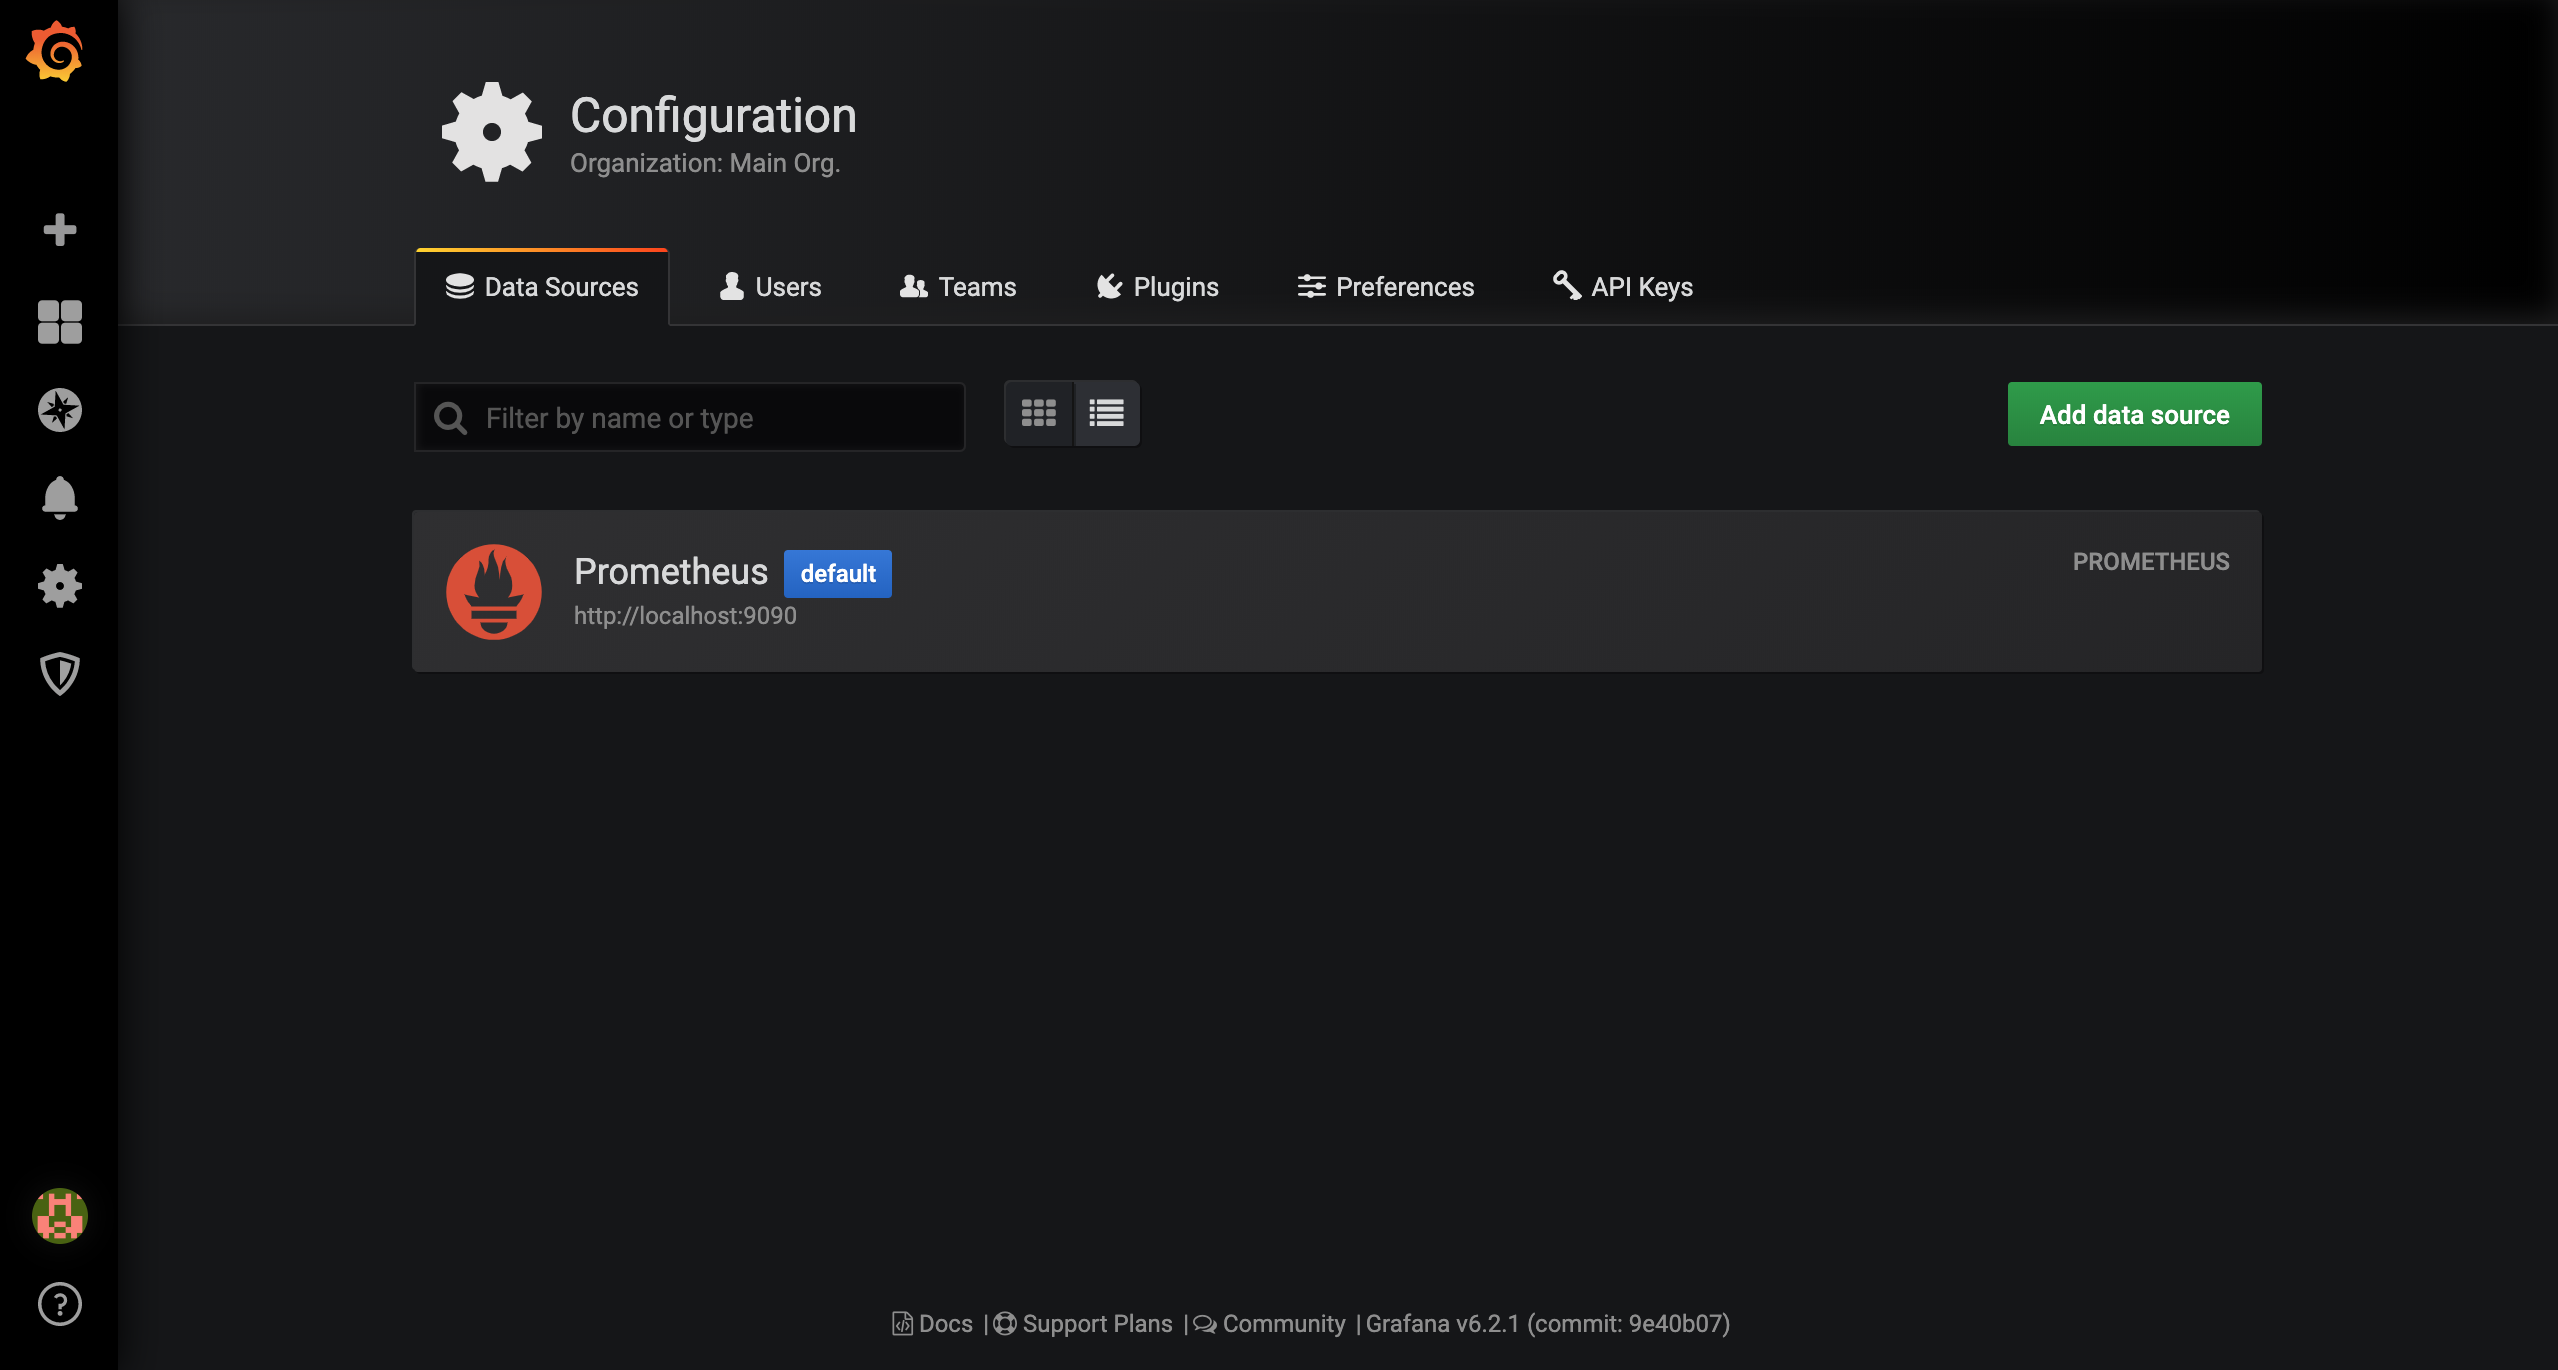
以下のものが表示されたら、完了です。
再度、Configuration > Data Sourse を選択すると、先ほど登録したPrometheusが表示されます。
この後やること
この後は、NodeExportetであったり、自作Exporterをprometheusと連携させて
自分好みの監視をしてみて下さい。
