LaunchKitとは?
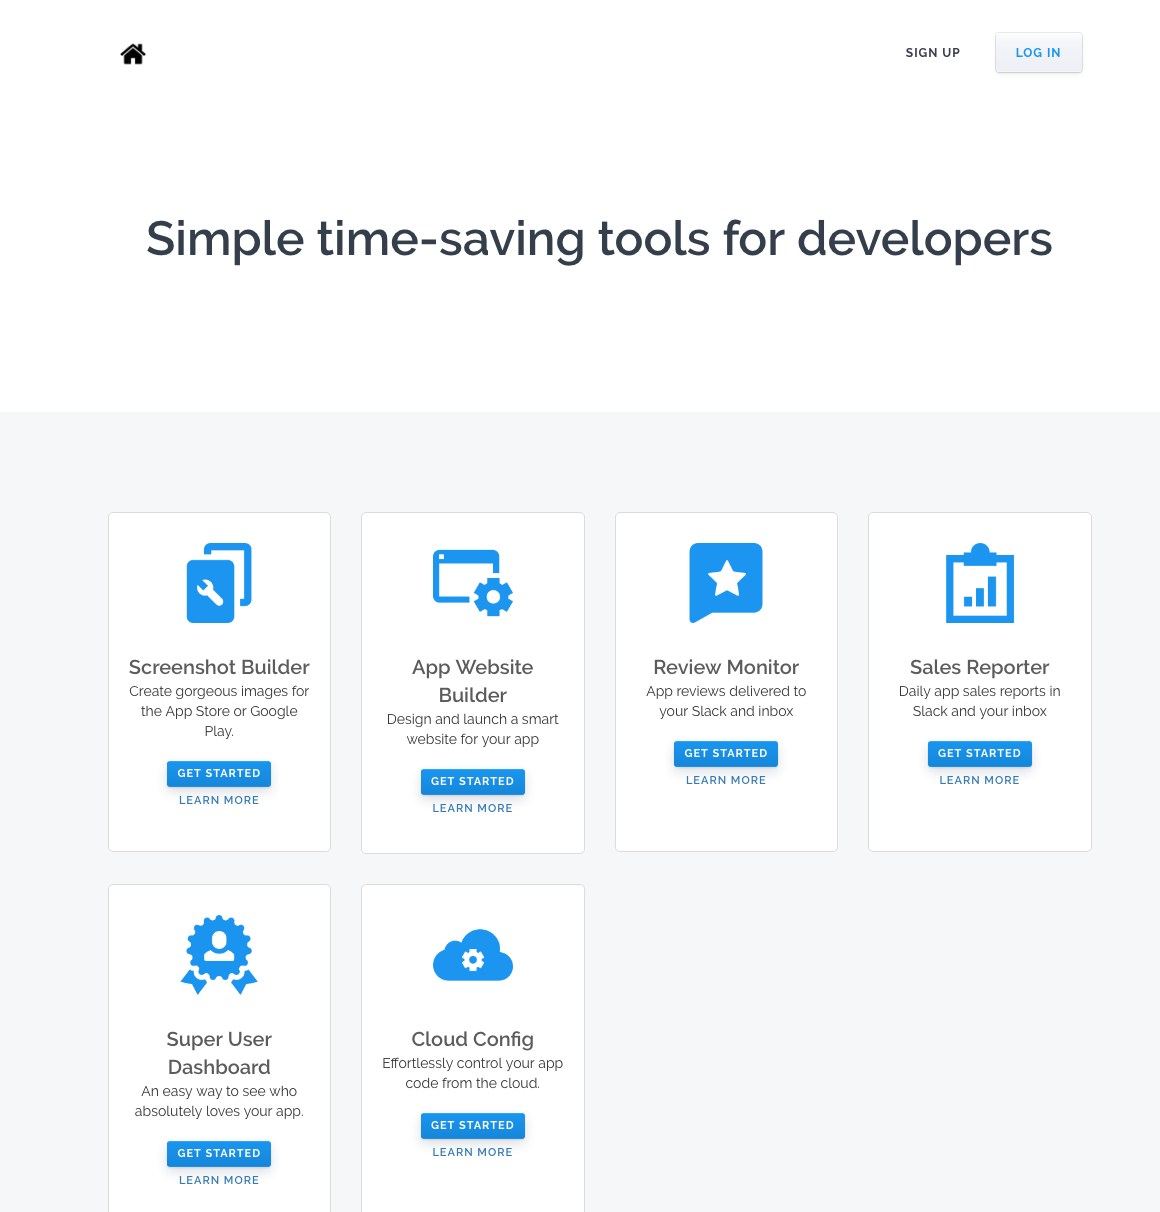
AppStoreやGooglePlayStoreに掲載するスクリーンショットをいい感じに作ってくれるサービスが有名。
他には、アプリ用Webサイト作成、レビュー通知等の機能。
有料サービスだったが、Googleに買収されて、現在は新規登録はできない。
オープンソース化されて、Macにインストールできる。
1つの画像で(iPhone/iPad/Androidの様々なサイズの画像を出力してくれる)↓


Githubのドキュメント通り進める。
STEP1-コンパイラの確認
ターミナルで、
$ cc
と入力してみる。
↓こんなエラーが出れば大丈夫
clang: error: no input files
Not foundの場合は、Xcode developer toolsをインストールする。
STEP2-Vagrantをインストールする
VagrantはVirtualBoxの操作をいい感じにラップしてくれるツール
ダウンロードした.dmgをインストール。
STEP3-VirtualBoxをインストール
5.0系をインストールしてくれと書いてあるので、言う通りに5.0.26をインストール
https://www.virtualbox.org/wiki/Download_Old_Builds_5_0
STEP4-ansibleのインストール
書いてある通りにターミナルで実行していく。
$ sudo easy_install pip $ pip install --upgrade setuptools --user python $ sudo pip install ansible
※opensslのエラーがでるときのみ
sudo env LDFLAGS="$(brew --prefix openssl)/lib/libssl.a $(brew --prefix openssl)/lib/libcrypto.a" CFLAGS="-I$(brew --prefix openssl)/include" pip install ansible
ansibleを実行してみてインストールの確認。(ヘルプ表示されたらOK)
$ ansible
STEP5-LaunchKitをGitからクローン
$ cd [クローンしたいディレクトリ] $ git clone https://github.com/LaunchKit/LaunchKit.git $ cd LaunchKit
STEP6-LaunchKitの起動
起動
$ vagrant up --provision
初回実行時にubuntuのイメージをダウンロードしてくれる。(かなり長い)
ターミナルの処理が終わったら、
にブラウザでアクセス
