業務で急遽Springbootアプリケーション(MVC)にSAML認証をかけたものを触らなければならなくなったので、勉強がてら作成したものを、忘備録として記載。
デモアプリケーション repository
参考文献
実装
Java
pom.xml抜粋
以下をSpringbootInitializerでの設定以外で追加する。
Java一時ディレクトリの使用に関連する脆弱性があるようなのでそこだけ注意。
        <!-- SAML認証のためにはSpringbootの初期設定だけでなく、追加で必要な依存 -->
        <!-- https://mvnrepository.com/artifact/org.springframework.security/spring-security-saml2-service-provider -->
        <dependency>
            <groupId>org.springframework.security</groupId>
            <artifactId>spring-security-saml2-service-provider</artifactId>
            <version>6.2.4</version>
        </dependency>
application.yaml
security以下設定を参照。
秘密鍵は以下で生成。
openssl req -newkey rsa:2048 -nodes -keyout local.key -x509 -days 365 -out local.crt
spring:
  application:
    name: demo
  #DB
  sql:
    init:
      schema-locations: classpath:schema.sql
      data-locations: classpath:data.sql
  datasource:
    driver-class-name: org.h2.Driver
    url: jdbc:h2:mem:testdb;DB_CLOSE_DELAY=-1;DB_CLOSE_ON_EXIT=FALSE
    username: sa
    password: sa
  #h2
  h2:
    console:
      enabled: true
  #saml
  security:
    saml2:
      relyingparty:
        registration:
          my-client: #任意の値
            entity-id: spring-saml-demo #keycloakのクライアントIDの指定
            signing:
              credentials:
                - private-key-location: classpath:credentials/local.key
                  certificate-location: classpath:credentials/local.crt
            assertingparty:
              metadata-uri: http://localhost:18080/realms/demo/protocol/saml/descriptor

#LOG
logging:
  level:
    org:
      springframework.web: debug

#Mybatis
mybatis:
  configuration:
    map-underscore-to-camel-case: true
SecurityConfig
SpringSecurityの設定実装。
saml2Metadataの記載によって、特定URLにアクセスすることでSP、つまり本アプリケーションのメタデータXMLを生成することができる。
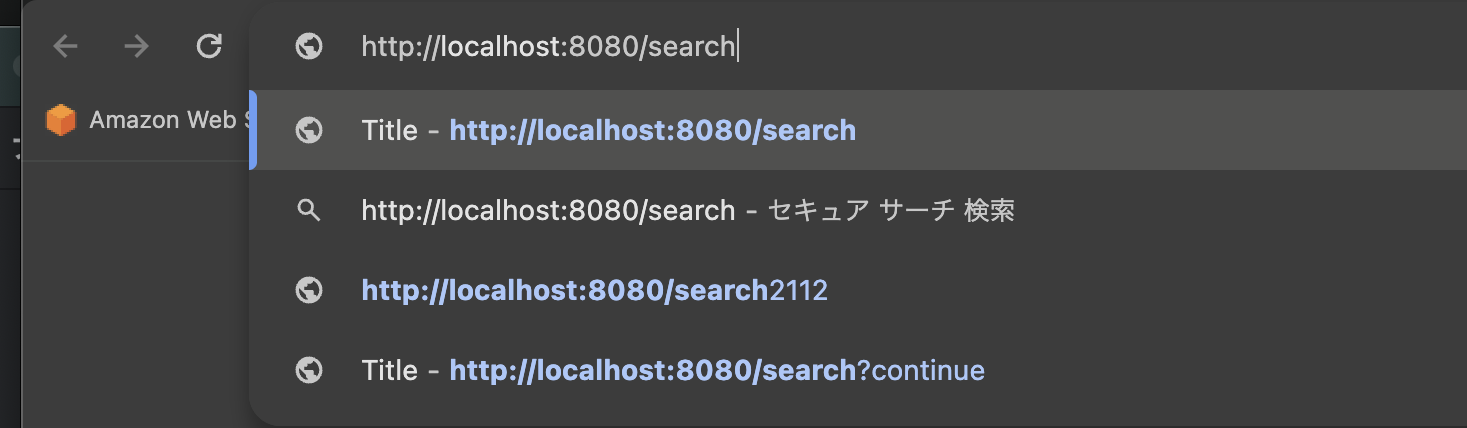
上記yaml設定で、my-clientとしてsaml設定を用意しているので、接続URLは以下となる。
疑問:
デフォルトサクセスURLを指定していても、リダイレクト前に指定したURLに飛ぶ。
どういう挙動が正解なのか、SpringSecurityの理解が必要。
package com.example.demo.config;

import org.springframework.context.annotation.Bean;
import org.springframework.context.annotation.Configuration;
import org.springframework.security.config.Customizer;
import org.springframework.security.config.annotation.web.builders.HttpSecurity;
import org.springframework.security.config.annotation.web.configuration.EnableWebSecurity;
import org.springframework.security.web.SecurityFilterChain;
import org.springframework.security.web.servlet.util.matcher.MvcRequestMatcher;
import org.springframework.web.servlet.handler.HandlerMappingIntrospector;


@Configuration
@EnableWebSecurity
public class SecurityConfig {

    /*
     * 認可設定とログインの設定を定義
     */
    @Bean
    public SecurityFilterChain filterChain(HttpSecurity http, HandlerMappingIntrospector introspector) throws Exception {
        MvcRequestMatcher.Builder mvcMatcherBuilder = new MvcRequestMatcher.Builder(introspector);

        http
                .authorizeHttpRequests(authz -> authz
                        // URLごとの認可設定
                        .anyRequest().authenticated()
                ).saml2Login(saml2Login -> saml2Login
                        // SAML 2.0プロトコルの認証設定をカスタマイズする場合は、ここにCustomizerを指定します
                        .defaultSuccessUrl("/search") // 認証成功後のデフォルトのリダイレクト先を設定する場合など)
                ).saml2Metadata(
                        Customizer.withDefaults()
                ).csrf(
                        // CSRFキー有効化設定(デフォルト:有効)
                        Customizer.withDefaults()
                );
        return http.build();
    }
}
Controller
Token情報の受け取り例。
    /**
     * 初期表示想定
     * @param principal 認証ユーザ情報の入れ物
     * @param modelAndView モデルとviewの入れ物
     * @return
     */
    @GetMapping("/search")
    public ModelAndView initPage(@AuthenticationPrincipal Saml2AuthenticatedPrincipal principal, ModelAndView modelAndView) {
        SearchCondition condition = new SearchCondition();
        searchService.init(condition);
        //Tokenから情報を取得
        //Authentication auth = SecurityContextHolder.getContext().getAuthentication();

        //view, model
        modelAndView.setViewName("index");
        modelAndView.addObject("searchCondition", condition);
        return modelAndView;
    }
Keycloak
Docker
物理でもいいが、再現性向上のためにDockerで用意する。
version: '3'
services:
  keycloak:
    image: quay.io/keycloak/keycloak:19.0.2
    container_name: keycloak
    tty: true
    stdin_open: true
    ports:
      - "18080:8080" # 8080は被りやすいので別のポートに設定
    volumes:
      - ./data/keycloak:/opt/keycloak/data # DB情報等が格納されます
    environment:
      KEYCLOAK_ADMIN: admin # 管理ユーザーIDを設定
      KEYCLOAK_ADMIN_PASSWORD: admin # 管理ユーザーのパスワードを設定
    command:
      - start-dev # 開発モードで起動
Keycloakにメタデータのインポート
詳細は割愛するが、Clients画面でキャプチャの丸部分をクリックし、前述したメタデータXMLをインポートすれば自動的にクライアントを登録できる。

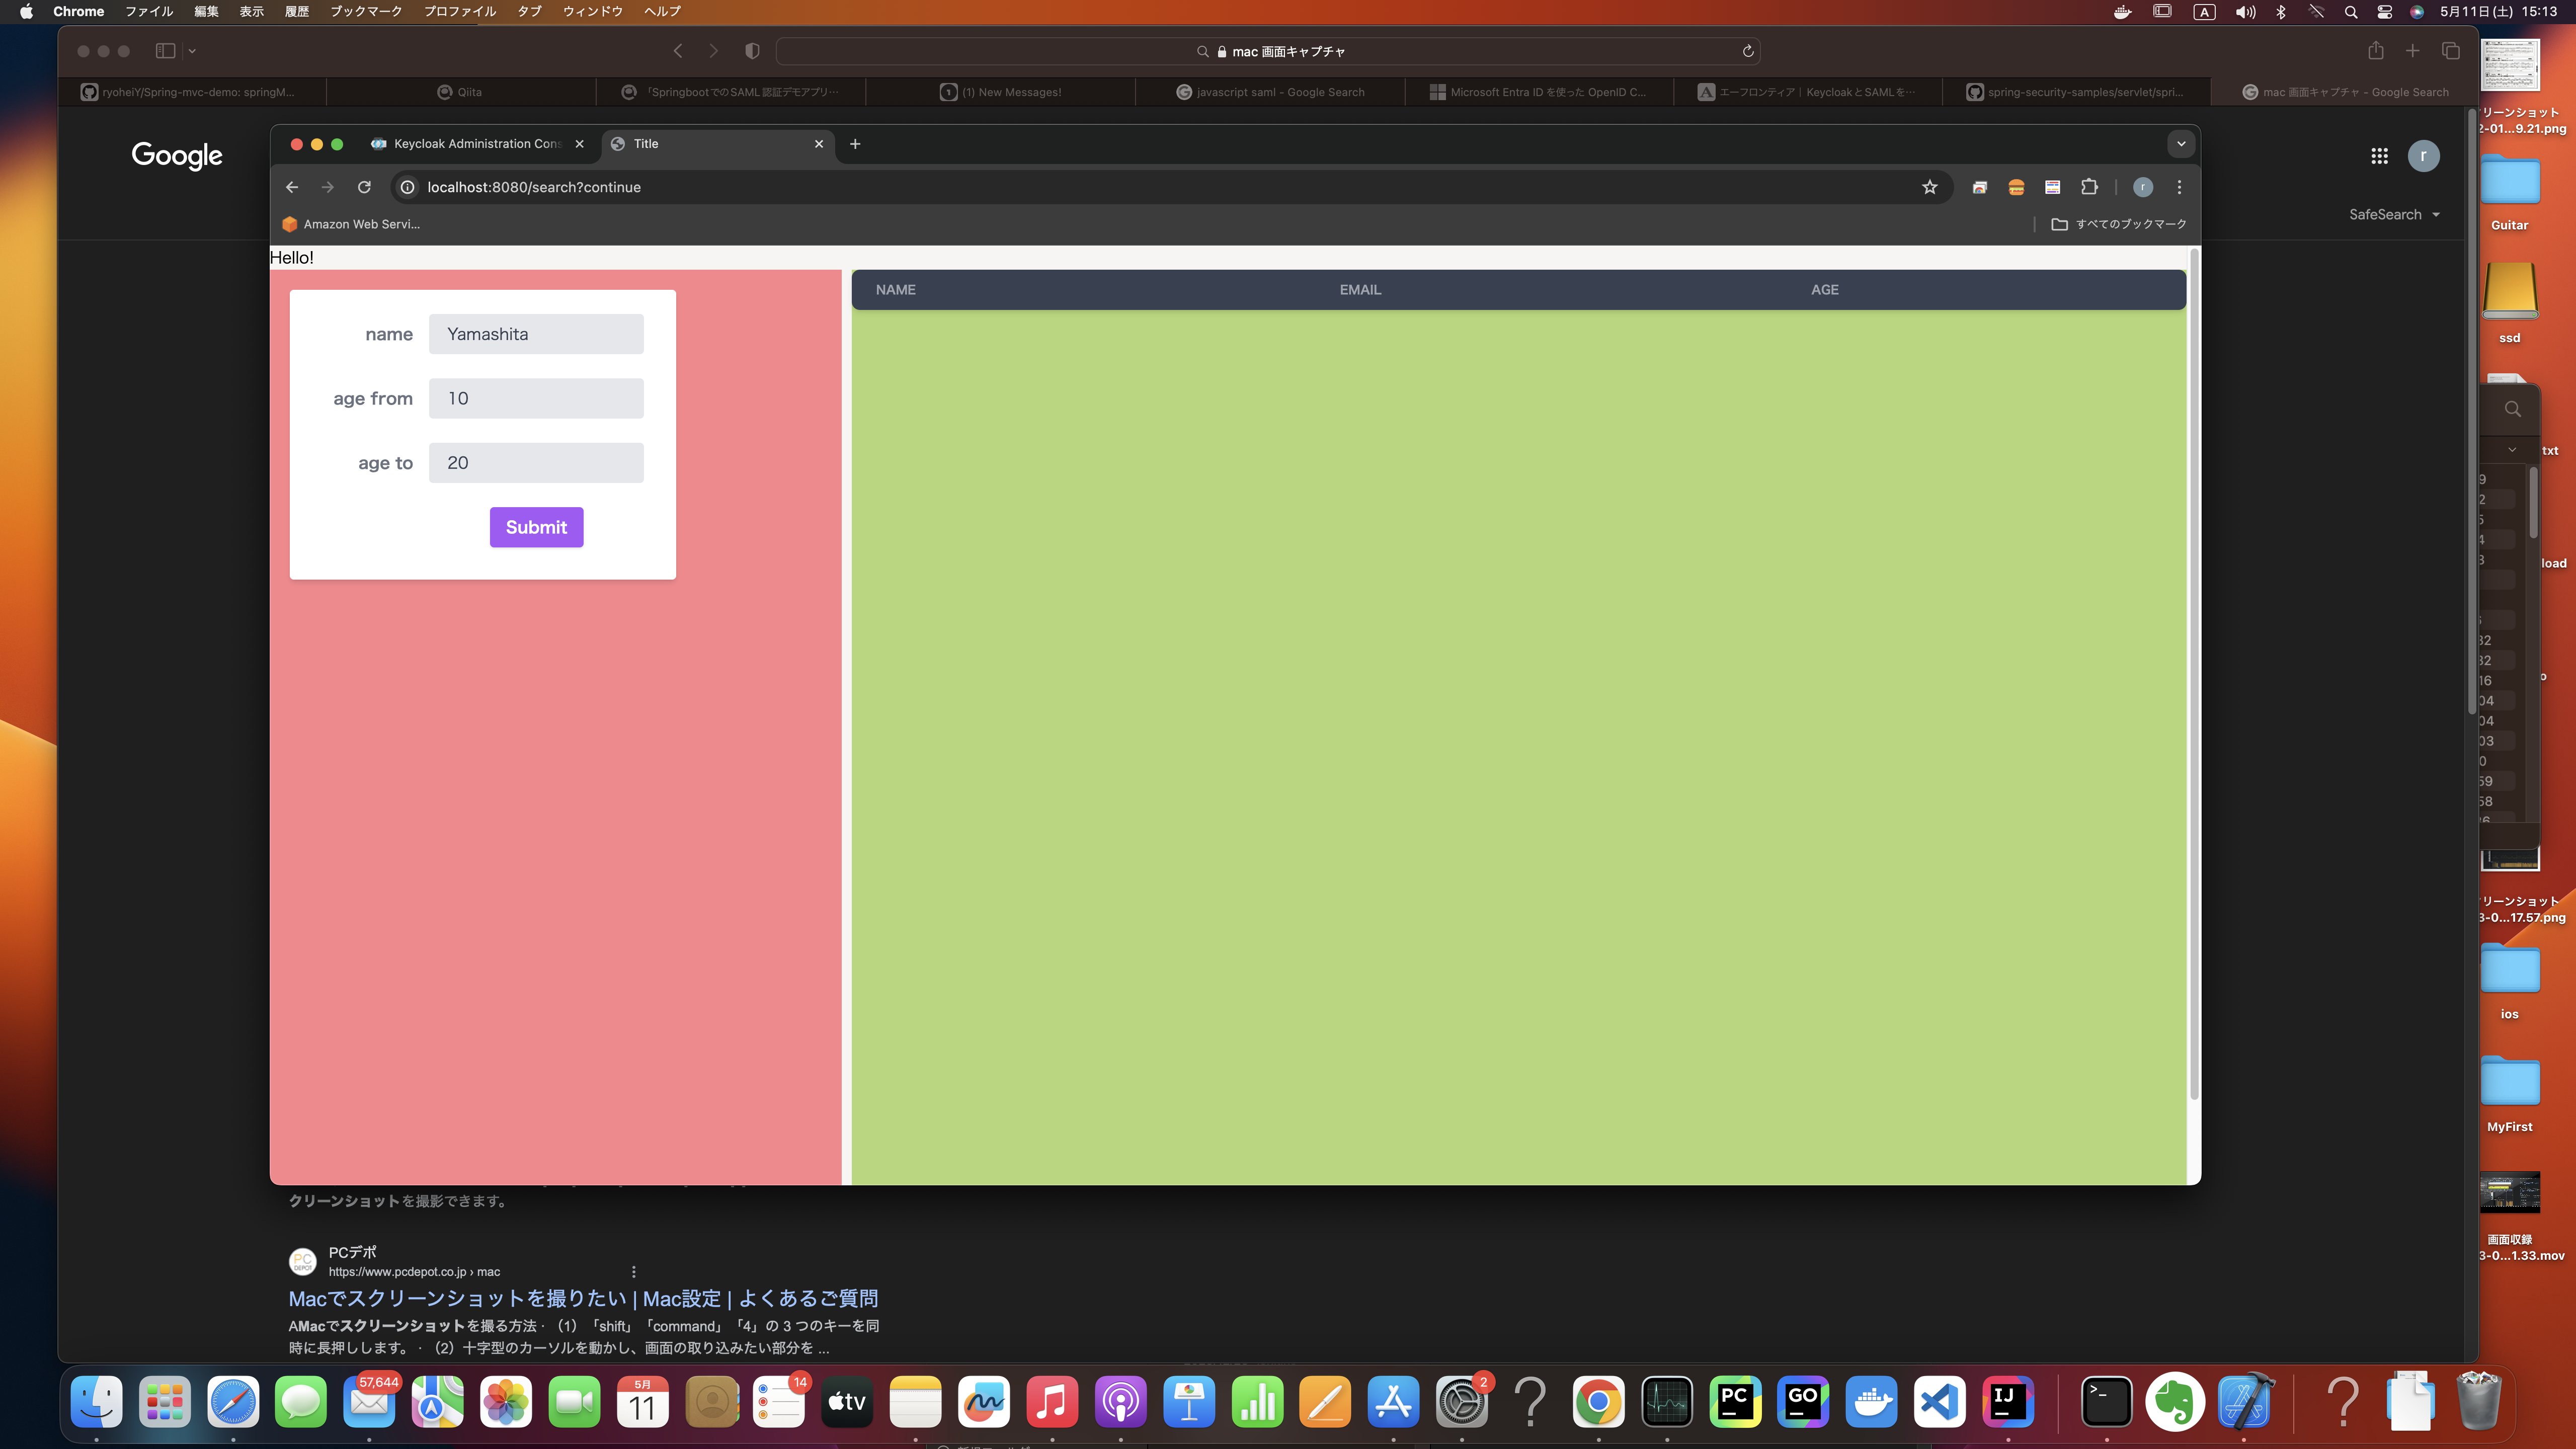
動作確認
アプリケーション(SP)にアクセスすると、、、
自動的にKeycloakへリダイレクト!
事前に用意したユーザでログインしてみると、認証成功して先ほどアクセスしたURLのアプリケーションへ再リダイレクト