はじめに
この記事はMisoca+弥生+ALTOA Advent Calendar 2018の24日目のエントリーになります。
フロントエンドの勉強のためVue.jsを使用してシングルページアプリケーションを試してみました。
Angular、Reactと比較してVue.jsが一番学習量が少ないだろうと思い、今回はVue.jsを選択。
また普段Djangoを使用しているためDjango REST frameworkと合わせて動かしてみました。
*とりあえず動くかすことが目的のためかなり説明少ないです..
Django REST framework
Django REST frameworkで簡単なAPIを作成します。長くなりそうなので別の記事にしました。
Django REST frameworkでAPIを作ってみた
Vue.js
node
まずはnode.jsのバージョンを管理するためにnodebrewをインストールします。
$ brew install nodebrew
$ echo 'export PATH=$HOME/.nodebrew/current/bin:$PATH' >> ~/.bash_profile
$ source ~/.bash_profile
$ nodebrew setup
$ nodebrew install-binary stable
$ nodebrew use v10.14.2
これでnode v10.14.2が使用できます。
Vue.js
DjangoとVue.jsを共存させます。
すでに作ったDjangoのプロジェクトのプロジェクトディレクトリに移動して、vueを追加します。
$ npm install -g vue-cli
$ vue init webpack-simple
質問を聞かれますが、適当に答えてください。
Generate project in current directory ? Yes
? Project name : myproject
? Project description : A Vue.js project
? Author : default
? Lincense : default
? Use Sass : Yes
すると色々なファイルが作成されて、プロジェクトの中が以下のようになるはずです。
myproject
|_ myproject
   |_ __init__.py
   |_ settings.py
   |_ urls.py
   |_ wsgi.py
|_ myapp
   |_ migrations
   |_ __init__.py
   |_ admin.py
   |_ apps.py
   |_ models.py
   |_ renderers.py
   |_ tests.py
   |_ urls.py
   |_ views.py
|_ manage.py
|_ db.sqlite3
|_ src
  |_ assets
  |_ App.vue
  |_ main.js
|_ .babelrc
|_ .editorconfig
|_ index.html
|_ manage.py
|_ package.json
|_ README.md
|_ webpack.config.js
そしてnpm installを実行するとpackage.jsonに記載されているpackageがインストールされます。
npm install
ここで正しくインストールされた確認するために、サーバを起動します。
npm run dev
この画面が表示されたらインストールは成功してそうです。
Vue.js + Django
ここからはDjangoとVue.jsを統合していきます。
まず必要となるプラグインをインストールします。
npm install webpack-bundle-tracker --save-dev
npm install write-file-webpack-plugin --save-dev
次にインストールしたプラグインを利用するため、webpack.config.jsに追加します。
var path = require('path')
var webpack = require('webpack')
var BundleTracker = require('webpack-bundle-tracker')
var WriteFilePlugin = require('write-file-webpack-plugin')

module.exports = {
  entry: './src/main.js',
  output: {
    path: path.resolve(__dirname, './dist'),
    filename: 'build.js'
  },
  plugins: [
    new BundleTracker({filename: 'webpack-stats.json'}),
    new WriteFilePlugin()
  ],
  module: {
    rules: [
...

 resolve: {
    alias: {
      'vue$': 'vue/dist/vue.esm.js',
      '@': path.resolve(__dirname, 'src')
    },
    extensions: ['*', '.js', '.vue', '.json']
  },

...
以下のコマンドでビルドするとdistにビルドされたファイルができます。
npm run build
Djangoの方も設定します。
必要なdjangoのプラグインをインストール。
pip install django-webpack-loader
その後、settings.pyを変更します。
...

INSTALLED_APPS = [
    'django.contrib.admin',
    'django.contrib.auth',
    'django.contrib.contenttypes',
    'django.contrib.sessions',
    'django.contrib.messages',
    'django.contrib.staticfiles',
    'rest_framework',
    'myapp',
    'webpack_loader', #追加
]

...

TEMPLATES = [
    {
        'BACKEND': 'django.template.backends.django.DjangoTemplates',
        'DIRS': [BASE_DIR], #変更
        'APP_DIRS': True,
        'OPTIONS': {
            'context_processors': [
                'django.template.context_processors.debug',
                'django.template.context_processors.request',
                'django.contrib.auth.context_processors.auth',
                'django.contrib.messages.context_processors.messages',
            ],
        },
    },
]

...

STATIC_URL = '/public/' #変更

# 以下追加
STATIC_ROOT = os.path.join(BASE_DIR, 'public')
STATICFILES_DIRS = (
    os.path.join(BASE_DIR, 'dist'),
)

WEBPACK_LOADER = {
    'DEFAULT': {
        'CACHE': not DEBUG,
        'BUNDLE_DIR_NAME': '',
        'STATS_FILE': os.path.join(BASE_DIR, 'webpack-stats.json'),
        'POLL_INTERVAL': 0.1,
        'TIMEOUT': None,
        'IGNORE': ['.+\.hot-update.js', '.+\.map']
    }
}
index.htmlでbundle.jsを呼ぶようにします。
<!DOCTYPE html>
<html lang="en">
  <head>
    <meta charset="utf-8">
    <title>saicoro</title>
  </head>
  <body>
    {% load render_bundle from webpack_loader %}
    <div id="app">
      <app></app>
    </div>
    {% render_bundle 'main' %}
  </body>
</html>
urls.pyでindex.htmlを呼ぶようにします。
from django.contrib import admin
from django.urls import path
from django.conf.urls import include, url
from rest_framework import routers
from myapp import urls
from django.views.generic import TemplateView
from django.contrib.staticfiles.urls import staticfiles_urlpatterns

router = routers.DefaultRouter()

urlpatterns = [
    path('admin/', admin.site.urls),
    url('api/', include(router.urls)),
    url('api/', include(urls, namespace='spots')),
    url('', TemplateView.as_view(template_name='index.html'), name='Home'),
]

urlpatterns += staticfiles_urlpatterns()
タグをmain.jsを定義。
import Vue from 'vue'
import App from './App.vue'

new Vue({
  el: '#app',
  components: {
    'app': App
  }
})
Vue.jsのアプリをビルドし、Dajngoのサーバを起動します。
$ npm run build

# 静的ファイルを一箇所に集める
$ python manage.py collectstatic
$ python manage.py runserver
これでDajngoとVue.jsを共存させることができました。
ブラウザで http://localhost:8000/ アクセスするとVue.jsのデフォルト画面が表示されるはずです。
Components
すべての画面で利用するHeaderとFooterのコンポーネントを作ります。
まずcssをビルドするのに必要なloaderをインストールします。
$ npm install --save-dev node-sass sass-loader
webpack.config.jsに以下を追加します。
...
      {
        test: /\.(css|sass)$/,
        loader: ['node-sass', 'sass-loader']
      }
...
Header
<template>
  <header>
    <h1>Header</h1>
  </header>
</template>

<script>
  export default {
    data() {
      return {

      }
    }
  }
</script>

<style scoped lang="sass">
  header
    display: flex
    background-color: #000000
    border-bottom: 2px solid darken(#000000, 30%)
    color: #ffffff
</style>
Footer
<template>
  <footer>
    <h1>Footer</h1>
  </footer>
</template>

<script>
  export default {
    data () {
      return {

      }
    }
  }
</script>

<style scoped lang="sass">
  footer
    position: fixed
    bottom: 0
    width: 100%
    background-color: #000000
    border-top: 2px solid darken(#000000, 20%)
    color: #ffffff
</style>
App.vue
<template>
<div id="app">
<MyHeader></MyHeader>
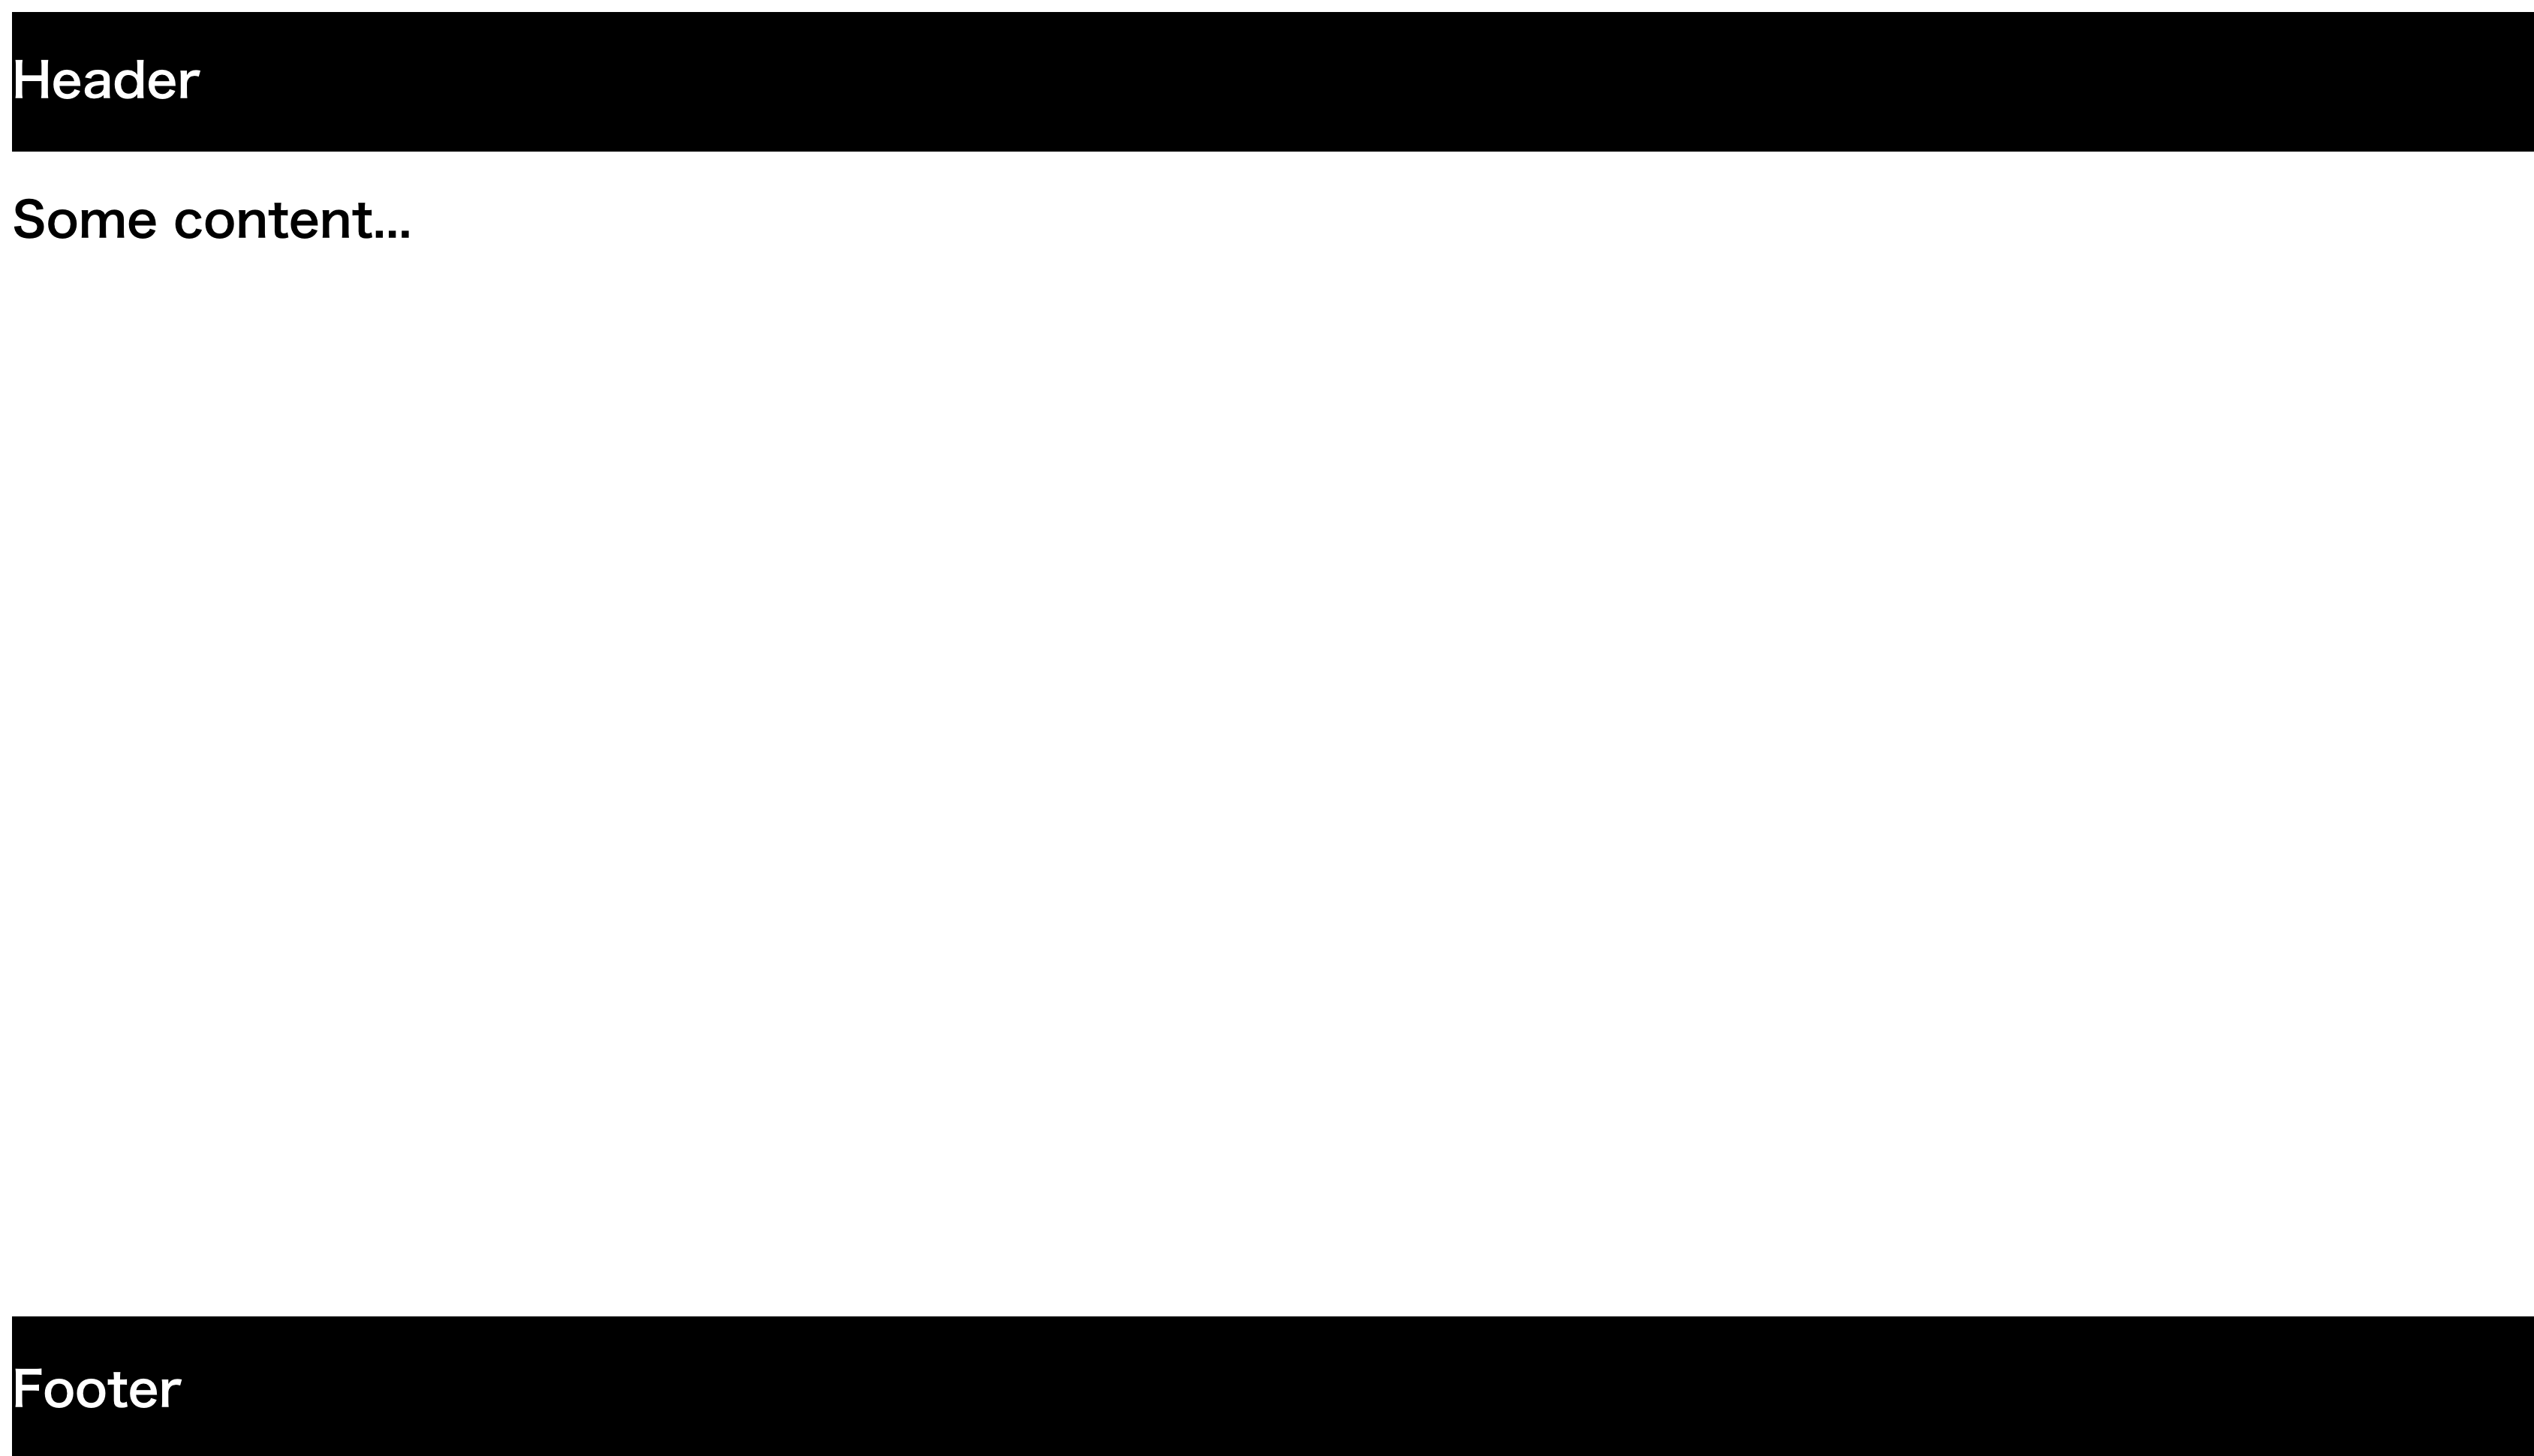
<h1> Some content... </h1>
<MyFooter></MyFooter>
</div>
</template>
<script>
import MyHeader from '@/components/Header'
import MyFooter from '@/components/Footer'
export default {
components: {
MyHeader,
MyFooter
}
}
</script>
<style scoped lang="sass">
html, body
margin: 0
min-height: 100vh
</style>
画面を確認します。
$ nmp run build
$ python manage.py collectstatic
$ python manage.py runserver
Button.vue
APIを呼ぶためのボタンを配置するコンポーネントを作成します。
<template>
  <button type="button" @click="goTo">押さないでください!</button>
</template>

<script>
  export default {
    props:{
      pathname: {
        type: String,
        required: true
      }
    },
    methods: {
      goTo() {
        this.$router.push({name: this.pathname})
      }
    }
  }
</script>

<style scoped lang="sass">
  button
    width: 80%
    background-color: transparent
    color: #000000
    border: 2px solid #000000
    border-radius: 5px
    min-height: 50px
    text-transform: uppercase
    &:hover
        background-color: #ffefd5
        color: #000000
        border-color: #000000
</style>
またボタンを配置するコンポーネントも作成。
<template>
  <section class="container">
    <redirectButton pathname="spot"></redirectButton>
  </section>
</template>

<script>
  import redirectButton from '@/components/Button'

  export default {
    components: {
      redirectButton
    }
  }
</script>
ボタンを配置したHome.vueを結びつけます。
$ npm install --save vue-router
import Vue from 'vue'
import Router from 'vue-router'

import Home from '@/views/Home'

Vue.use(Router)

export default new Router({
  routes: [
    {
      path: '/',
      name: 'home',
      component: Home
    }
  ]
})
App.vueを更新してHome.vueを配置します。
<template>
  <div id="app">
    <MyHeader></MyHeader>
    <router-view></router-view>
    <MyFooter></MyFooter>
  </div>
</template>
...
import Vue from 'vue'
import App from './App.vue'
import router from '@/router'

new Vue({
  el: '#app',
  router,
  components: {
    'app': App
  }
})
画面を確認します。ボタンが表示できていると思います。
nmp run build
python manage.py collectstatic
python manage.py runserver
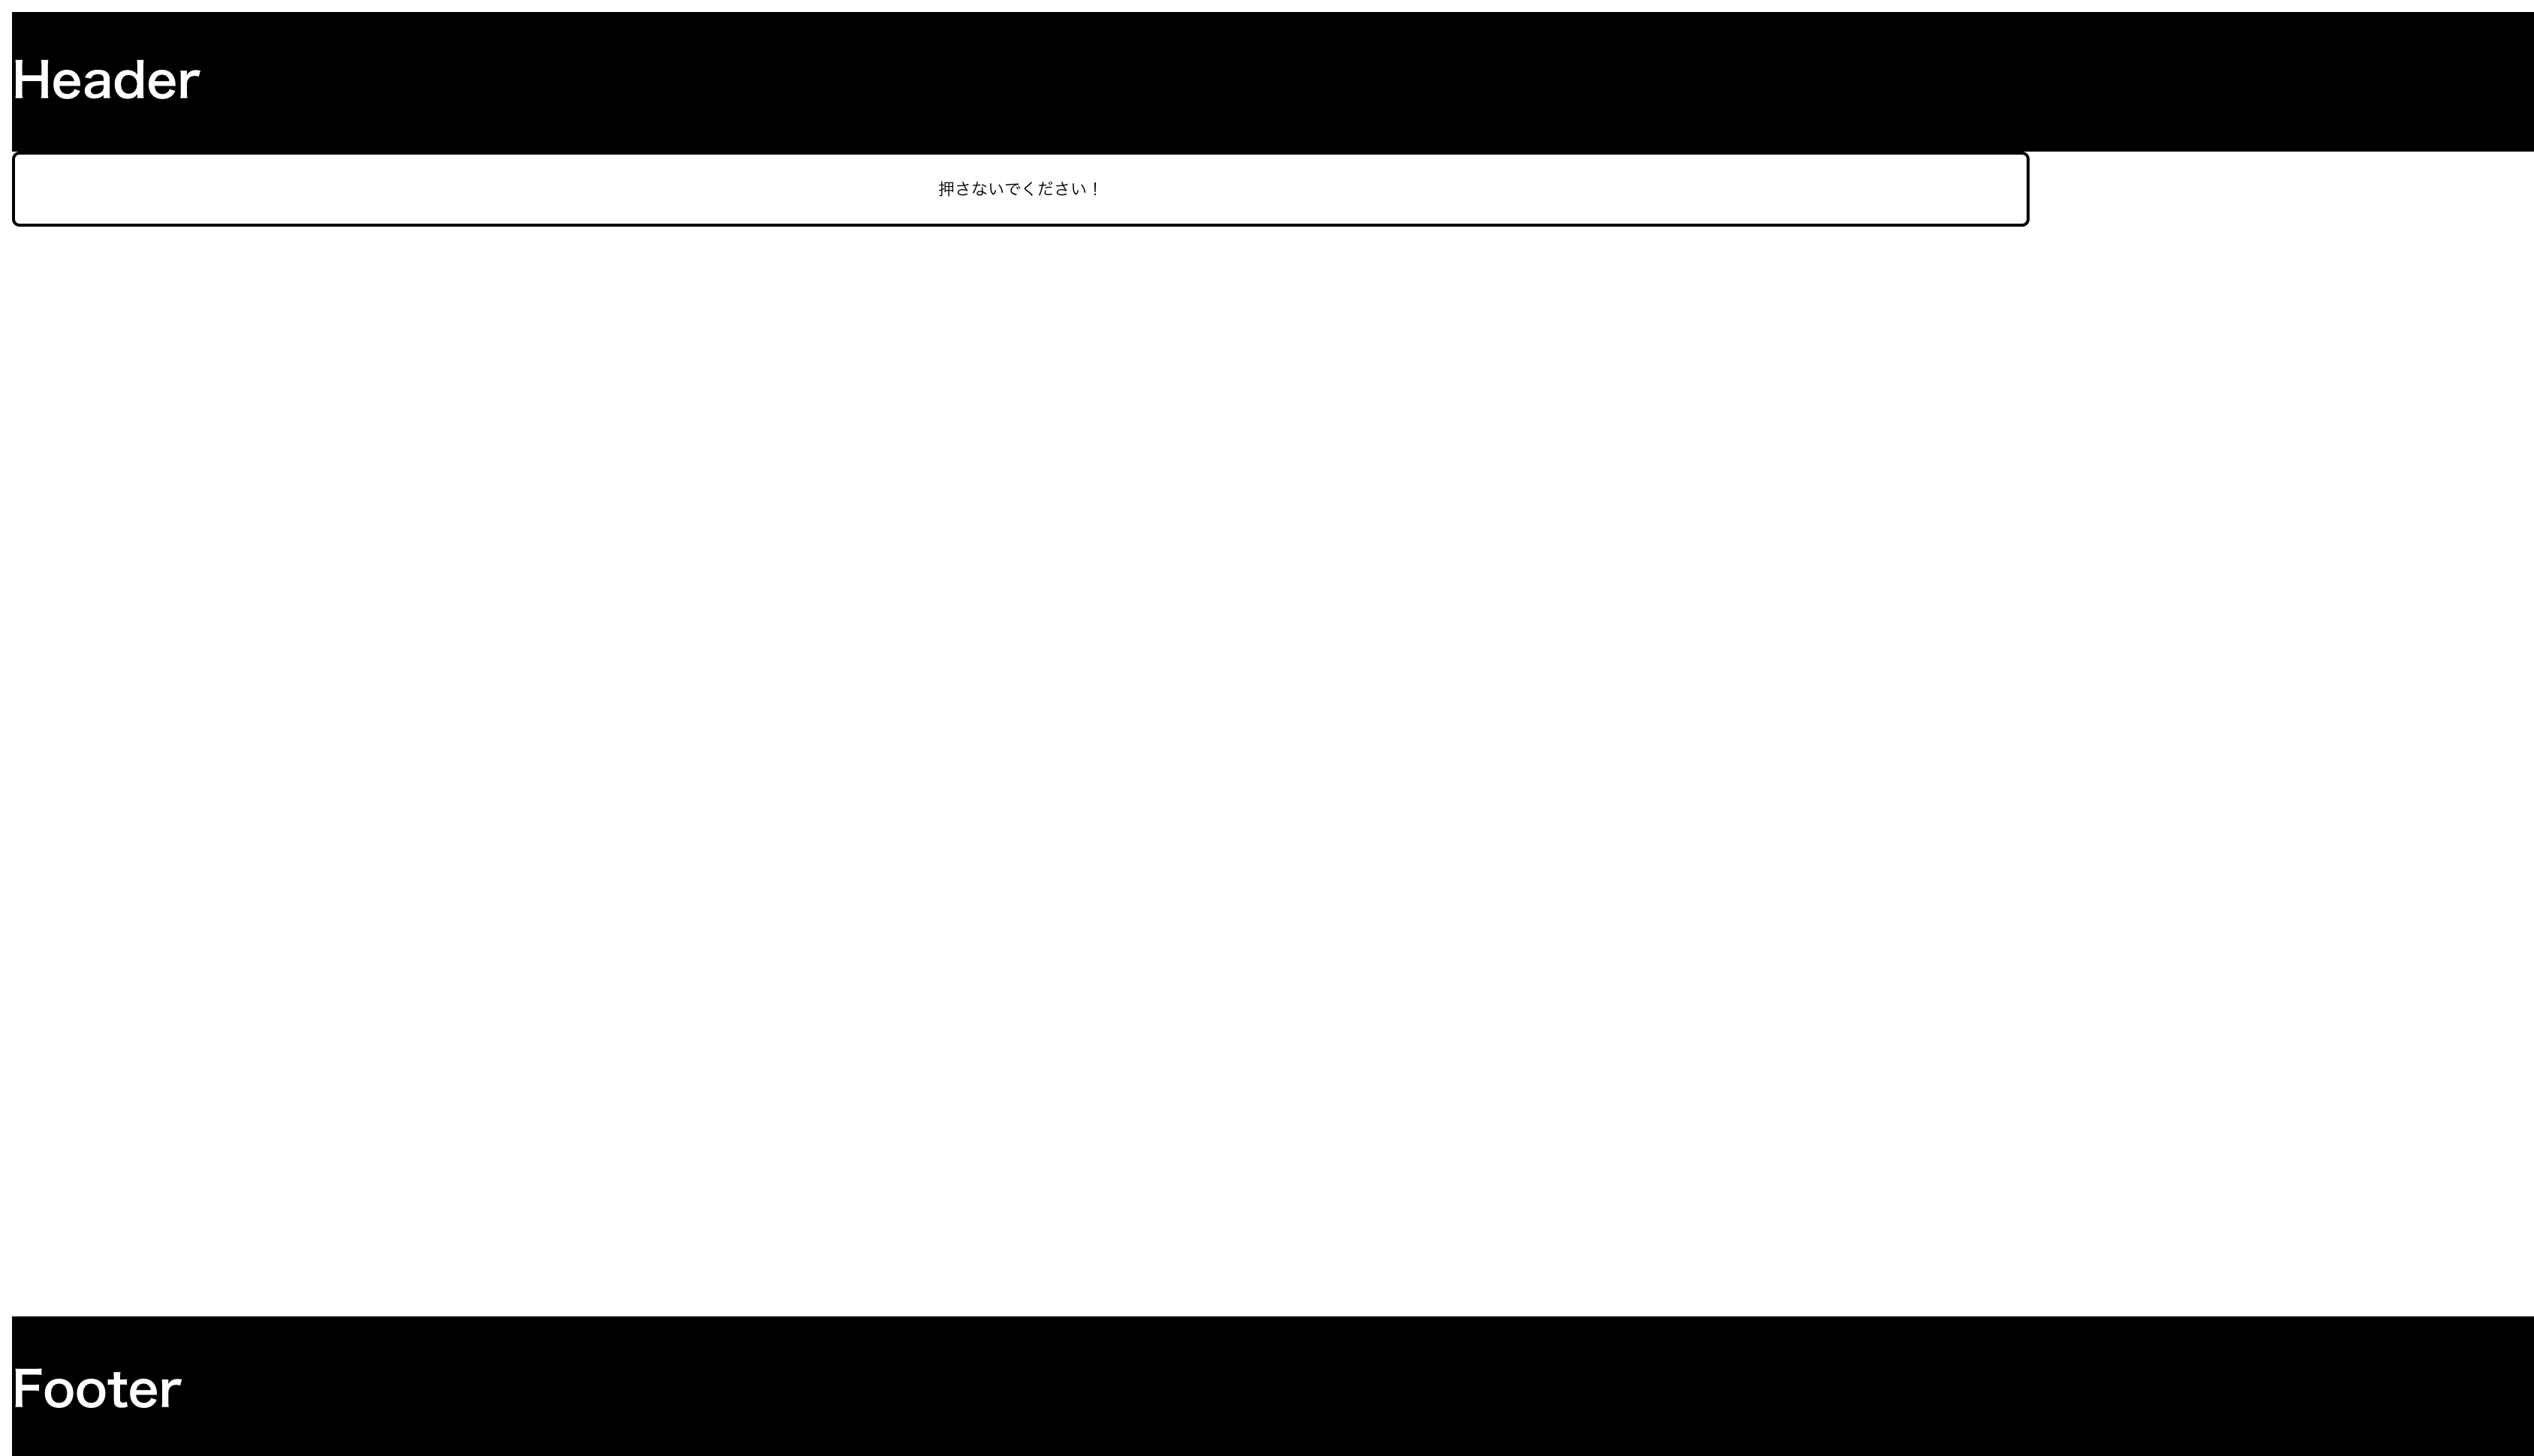
ボタンを押しても何も表示されません。とりあえず配置したかたちになります。
Vuex
Django REST frameworkで作成したAPIから情報を受け取り、画面に表示されるように実装していきます。
API呼び出し
まず必要なパッケージをインストールします。
npm install --save axios vue-axios vuex
APIの呼び出し処理を実装。
import Vue from 'vue'
import axios from 'axios'
import VueAxios from 'vue-axios'
import { API_URL } from '@/services/config'

const ApiService = {
  init () {
    Vue.use(VueAxios, axios)
    Vue.axios.defaults.baseURL = API_URL
  },

  get (resource, slug='') {
    return Vue.axios
      .get(`${resource}\${slug}`)
      .catch((error) => {
        throw new Error(`ApiService ${error}`)
      })
  },
}

export default ApiService
export default {}
export const API_URL = 'http://localhost:8000/api'
import Vue from 'vue'
import Vuex from 'vuex'

import spot from './spots.module'

Vue.use(Vuex)

export default new Vuex.Store({
  modules: {
    spots
  }
})
export const FETCH_A_SPOT = "fetchASpot"
export const FETCH_SPOTS = "fetchSpots"
export const FETCH_START = "loadingOn"
export const FETCH_END = "loadingOff"
export const SET_ERROR = "setError"
export const SET_A_SPOT = "setACat"
export const SET_SPOTS = "setCats"
import ApiService from '@/services/api.service'
import {FETCH_A_SPOT, FETCH_SPOTS} from './actions.type'
import {FETCH_START, FETCH_END, SET_A_SPOT, SET_SPOTS, SET_ERROR} from './mutations.type'

const state = {
  spots: [],
  spot: {},
  loading: false
}

const getters = {
  currentSpot(state) {
    return state.spot
  },
  spots(state) {
    return state.spots
  },
  ifLoading(state) {
    return
  }
}

const actions = {
  [FETCH_SPOTS](context, payload) {
    context.commit(FETCH_START)
    return ApiService
      .get(`spots`)
      .then((response) => {
        console.log('status:', response.status);
        console.log('body:', response.data);
        context.commit(SET_SPOTS, response.data.spots);
        context.commit(FETCH_END)
      })
      .catch((response) => {
        context.commit(SET_ERROR, response.errors)
      })
  },
  [FETCH_A_SPOT](context, payload) {
    context.commit(FETCH_START)
    const {spot_id} = payload
    return ApiService
      .get(`spots/${spot_id}`)
      .then((response) => {
        console.log('status:', response.status);
        console.log('body:', response.data);
        context.commit(SET_A_SPOT, response.data.spots);
        context.commit(FETCH_END)
      })
      .catch(((response) => {
        context.commit(SET_ERROR, response.errors)
      }))
  }
}

const mutations = {
  [FETCH_START](state) {
    state.loading = true
  },
  [FETCH_END](state) {
    state.loading = false
  },
  [SET_A_SPOT](state, pSpot) {
    state.spot = pSpot
    state.errors = {}
  },
  [SET_SPOTS](state, pSpots) {
    state.spots = pSpots
    state.errors = {}
  },
  [SET_ERROR](state) {
    state.errors = errors
  }
}

export default {
  state,
  getters,
  actions,
  mutations
}
画面表示
Homeにスポットの一覧を表示するために、まずSpotList.vueを作成します。
<template>
  <ul id="spotList">
    <li v-for="spot in spots">
      <div class="description">
        <p><span class="grey"> 名前 </span>{{ spot.name }}</p>
        <p><span class="grey"> カテゴリー </span>{{ spot.category }}</p>
        <p><span class="grey"> 都道府県 </span>{{ spot.address_prefecture }}</p>
      </div>
    </li>
  </ul>
</template>

<script>
  import {mapGetters} from 'vuex'

  export default {
    name: 'spotList',
    computed: {
      ...mapGetters([
        'spots',
        'isLoading'
      ])
    }
  }
</script>

<style scoped lang='sass'>
  #spotList
    min-width: 85%
    li
      list-style: none
      width: 500px
      display: flex
      justify-content: space-between
      border: solid 3px #e0e0e0
      margin: 15px 0
      box-shadow: 2px 3px #adadad
      .description
        flex: 2
        padding: 10px 15px
        background: #f5f5f5
        p
          text-transform: uppercase
          span
            font-size: 18px
            color: darkgrey
            padding: 0 10px 0 0
</style>
次にHome.vueを更新します。
<template>
  <section class="container">
    <h1>スポット一覧</h1>
    <spotList></spotList>
    <redirectButton></redirectButton>
  </section>
</template>

<script>
  import redirectButton from '@/components/Button'
  import spotList from '@/components/SpotList'
  import { FETCH_SPOTS } from '@/store/actions.type'
  import { mapGetters } from 'vuex'

  export default {
    components: {
      redirectButton,
      spotList
    },
    mounted () {
      this.$store.dispatch(FETCH_SPOTS)
      .then(() => {
        console.log("YOU API");
      })
      .catch((err) => {
        console.log("ERR : ", err);
      })
    }
  }
</script>
画面を確認すると以下のようなります。
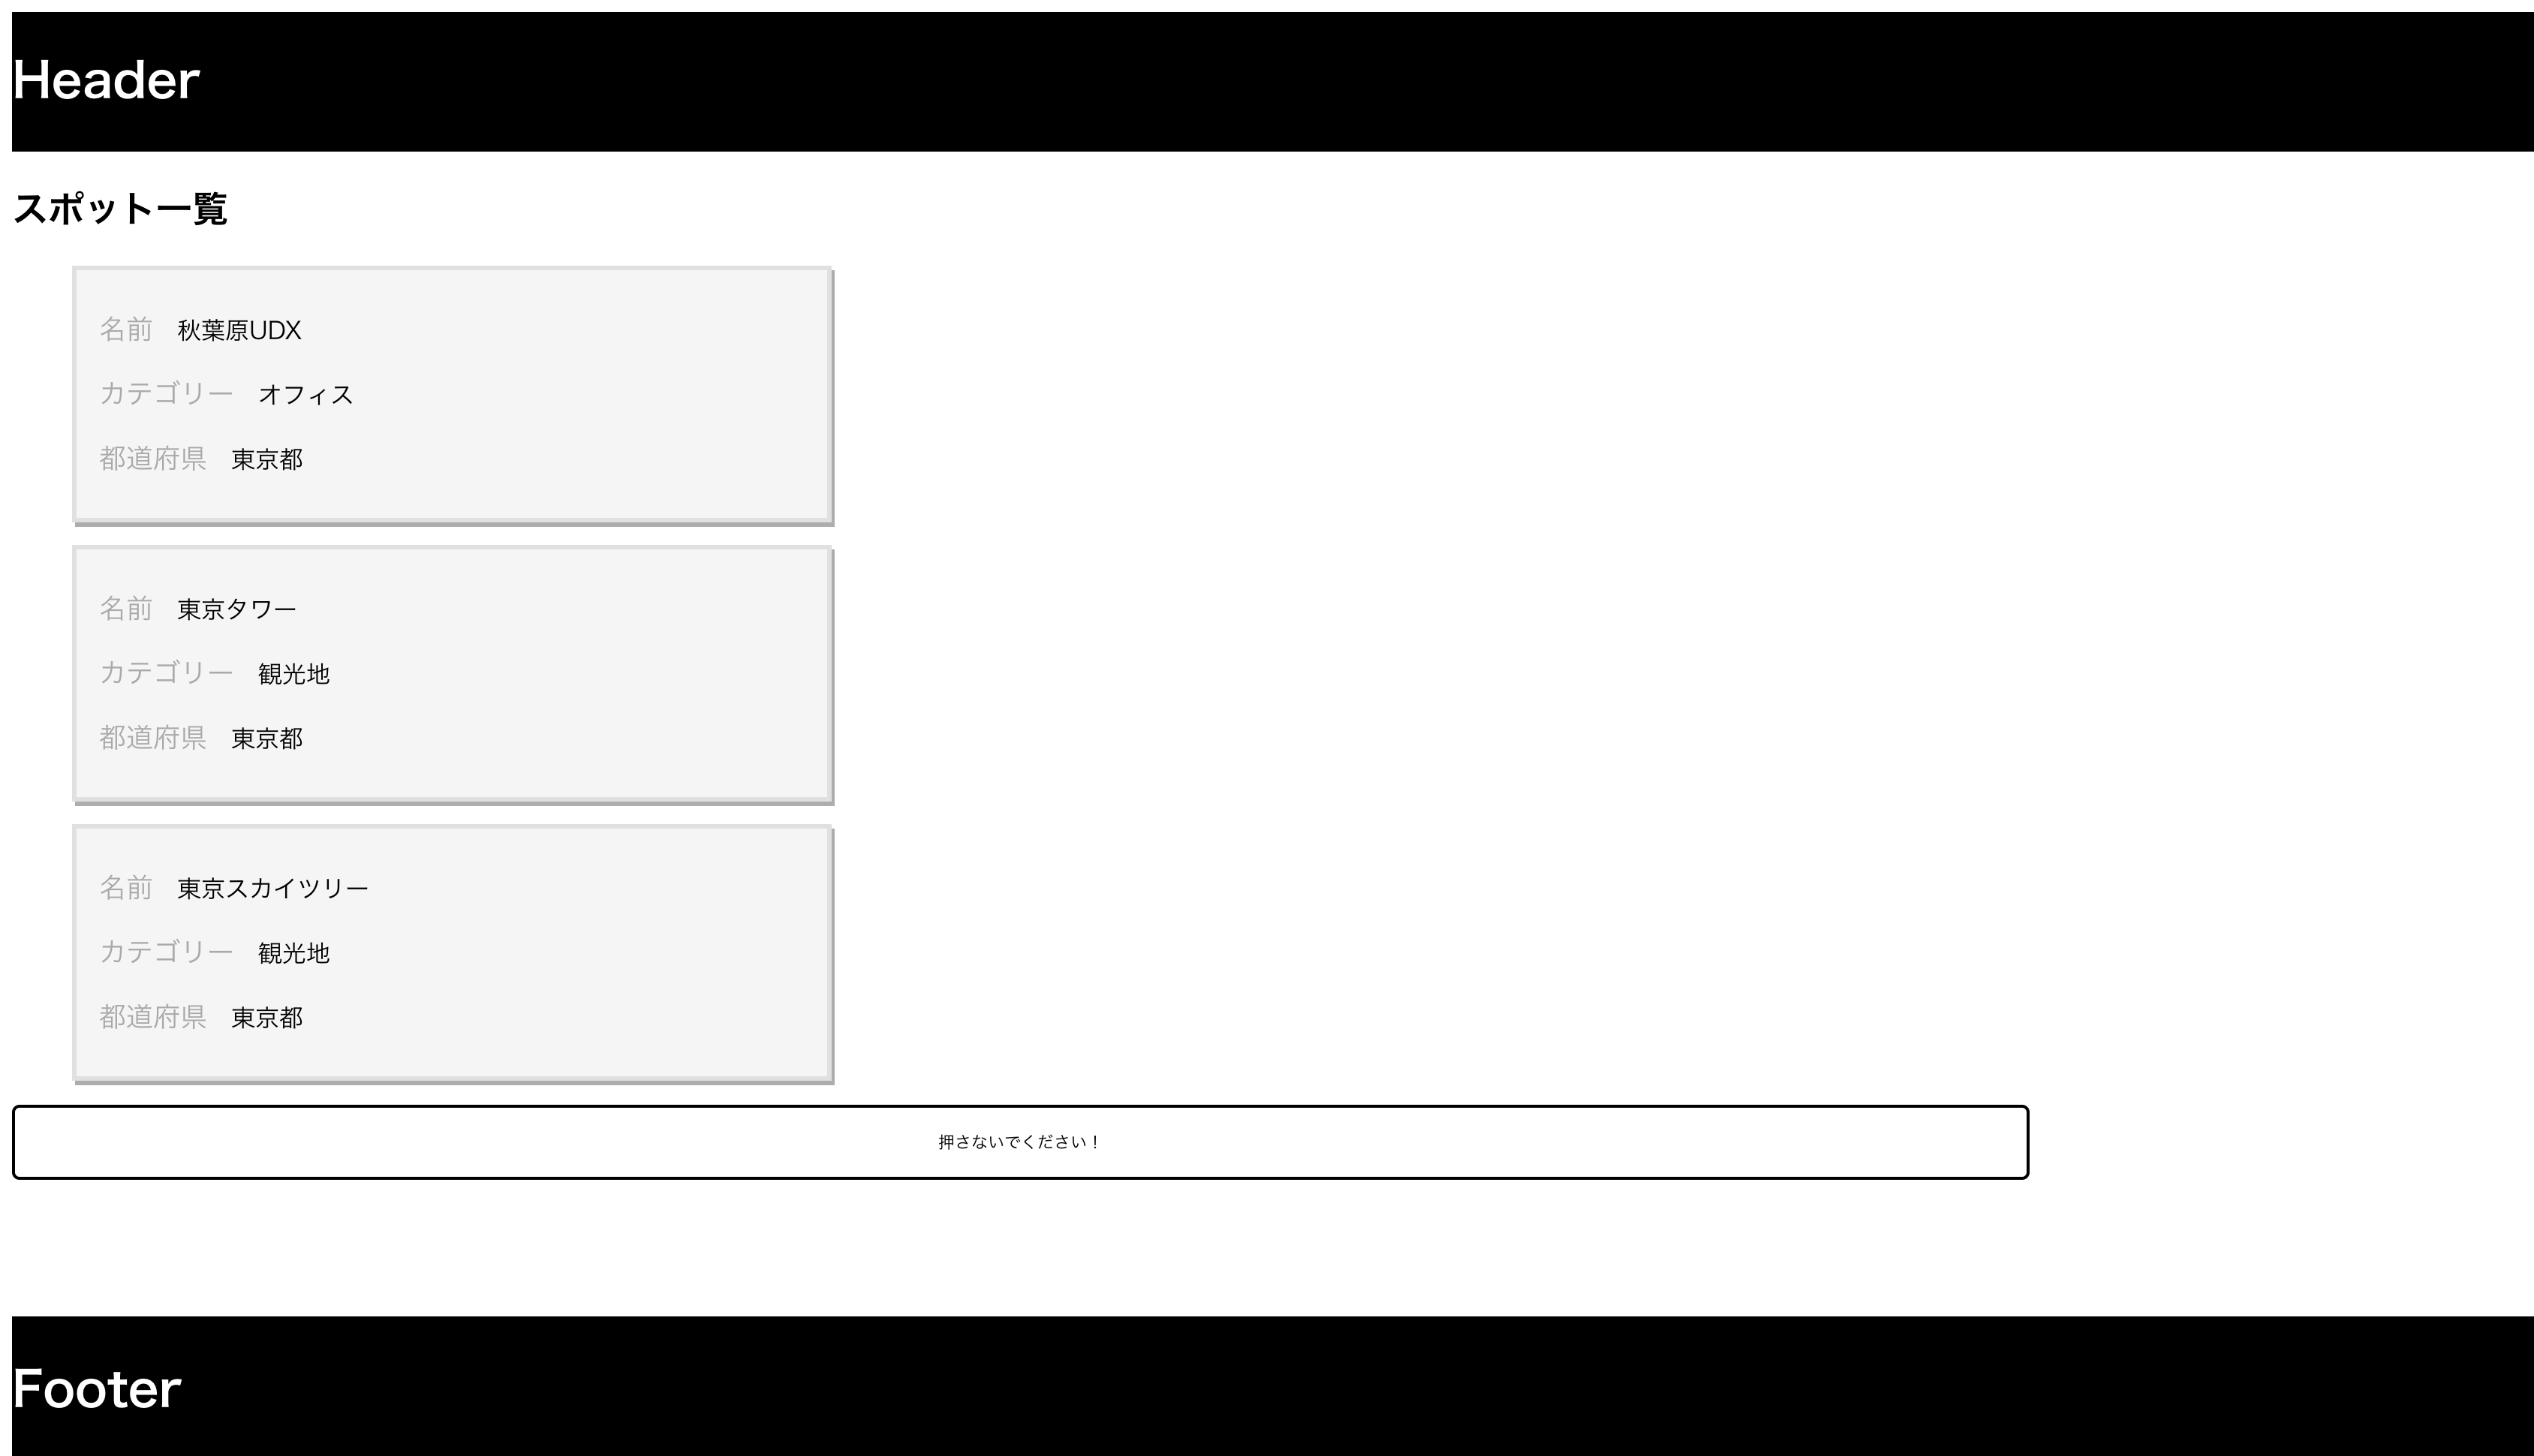
個々のSpot情報を表示するために、SpotList.vueにボタンを追加します。
<template>
  <ul id="spotList">
    <li v-for="spot in spots">
      <div class="description">
        <p><span class="grey"> 名前 </span>{{ spot.name }}</p>
        <p><span class="grey"> カテゴリー </span>{{ spot.category }}</p>
        <p><span class="grey"> 都道府県 </span>{{ spot.address_prefecture }}</p>
        <div class="more">
          <router-link :to="{ name: 'spot', params: {spot_id: spot.id} }">See more...</router-link>
        </div>
      </div>
    </li>
  </ul>
</template>

...

<style scoped lang='sass'>
...
        p
          text-transform: uppercase
          span
            font-size: 18px
            color: darkgrey
            padding: 0 10px 0 0
        .more
          height: 35px
          text-align: center
          padding-top: 8px
          font-size: 19px
          background: #5bab74
          border-radius: 5px
          &:hover
            background-color: #3e8353
          a
            text-decoration: none
            color: #f5f5f5
</style>
個々のSpot情報をどのように表示するか定義するIdSpot.vueを作成します。
<template>
  <div id="idSpot">
    <h1>{{ currentSpot.name }}</h1>
    <div class="description">
      <div>
        <p><span class="grey"> 名前 </span>{{ currentSpot.name }}</p>
        <p><span class="grey"> カテゴリー </span>{{ currentSpot.category }}</p>
        <p><span class="grey"> ジャンル </span>{{ currentSpot.genre }}</p>
        <p><span class="grey"> 都道府県 </span>{{ currentSpot.address_prefecture }}</p>
        <p><span class="grey"> 市区町村 </span>{{ currentSpot.address_city }}</p>
        <p><span class="grey"> 丁目番地等 </span>{{ currentSpot.address_street }}</p>
        <p><span class="grey"> 緯度 </span>{{ currentSpot.latitude }}</p>
        <p><span class="grey"> 経度 </span>{{ currentSpot.longitude }}</p>
      </div>
    </div>
  </div>
</template>

<script>
  import { mapGetters } from 'vuex'

  export default {
    name: 'idSpot',
    computed: {
      ...mapGetters([
        'currentSpot',
        'isLoading'
      ])
    }
  }
</script>

<style scoped lang='sass'>
  h1
    text-transform: uppercase
    font-size: 40px
  .description
    width: 500px
    flex: 2
    padding: 10px 15px
    display: flex
    flex-direction: column
    justify-content: space-around
    div
      p
        text-transform: uppercase
        display: flex
        justify-content: space-between
        span
          font-size: 18px
          padding: 0 10px 0 0

</style>
IdSpot.vueを表示するSpot.vueを作成します。
<template>
  <section class="container">
    <idSpot></idSpot>
  </section>
</template>

<script>
  import idSpot from '@/components/IdSpot'
  import { FETCH_A_SPOT } from '@/store/actions.type'
  import { mapGetters } from 'vuex'

  export default {
    data () {
      return{}
    },
    components: {
      idSpot
    },
    mounted () {
      this.$store.dispatch(FETCH_A_SPOT, this.$route.params)
        .then(() => {
          console.log('YOU API');
        })
        .catch(() => {
          console.log('ERR: ', err)
        })
    }
  }
</script>
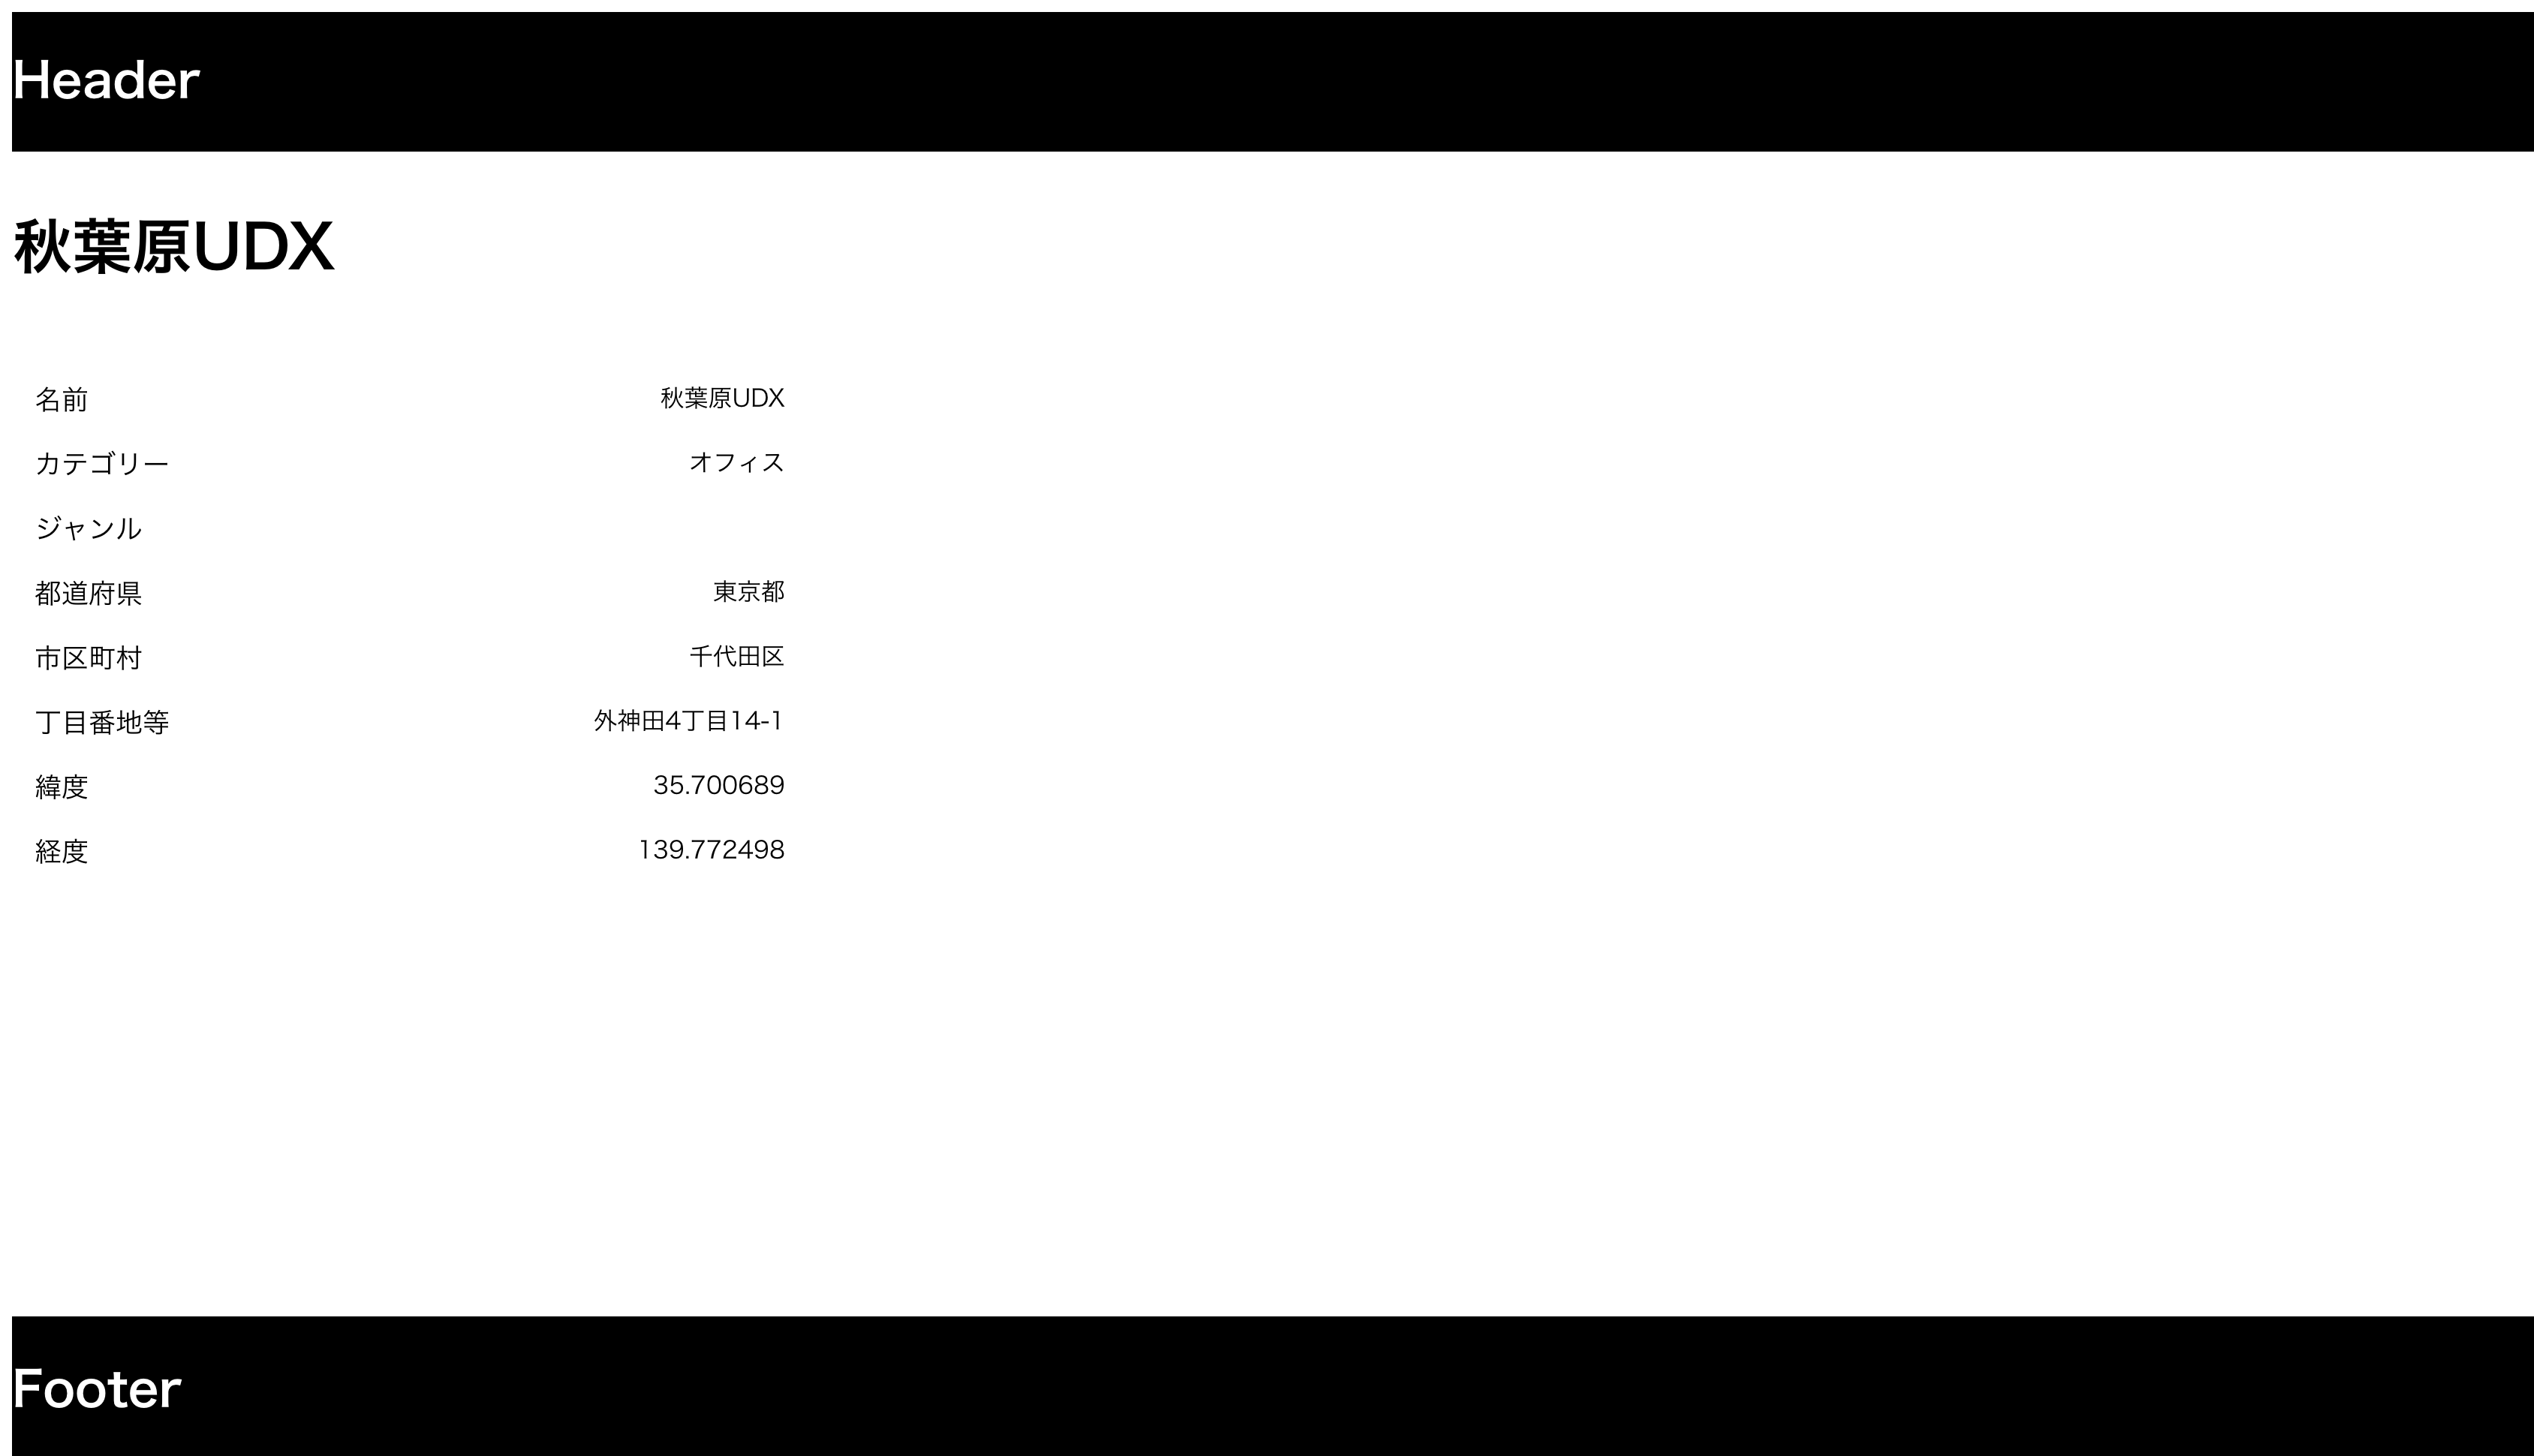
これで一通り実装完了です。画面を確認してみます。
一覧画面

詳細画面
今回はここまでになります。
クリスマス・イブなのでこれからケーキ買いに行ってきます。
終わりに
Vue.js + Django REST frameworkで一応動くものができました。
コピペすれば動くはずなので試してみてはいかがでしょうか。
みんなVue.js + Dajngo REST frameworkでSPAを作るべし!