AndroidではML Kitを使用することで簡単にコードリーダーアプリを作ることが可能です。
コードを検出した際、画像のどの領域のコードを検出したのかという情報を表示したいこともあるでしょう。
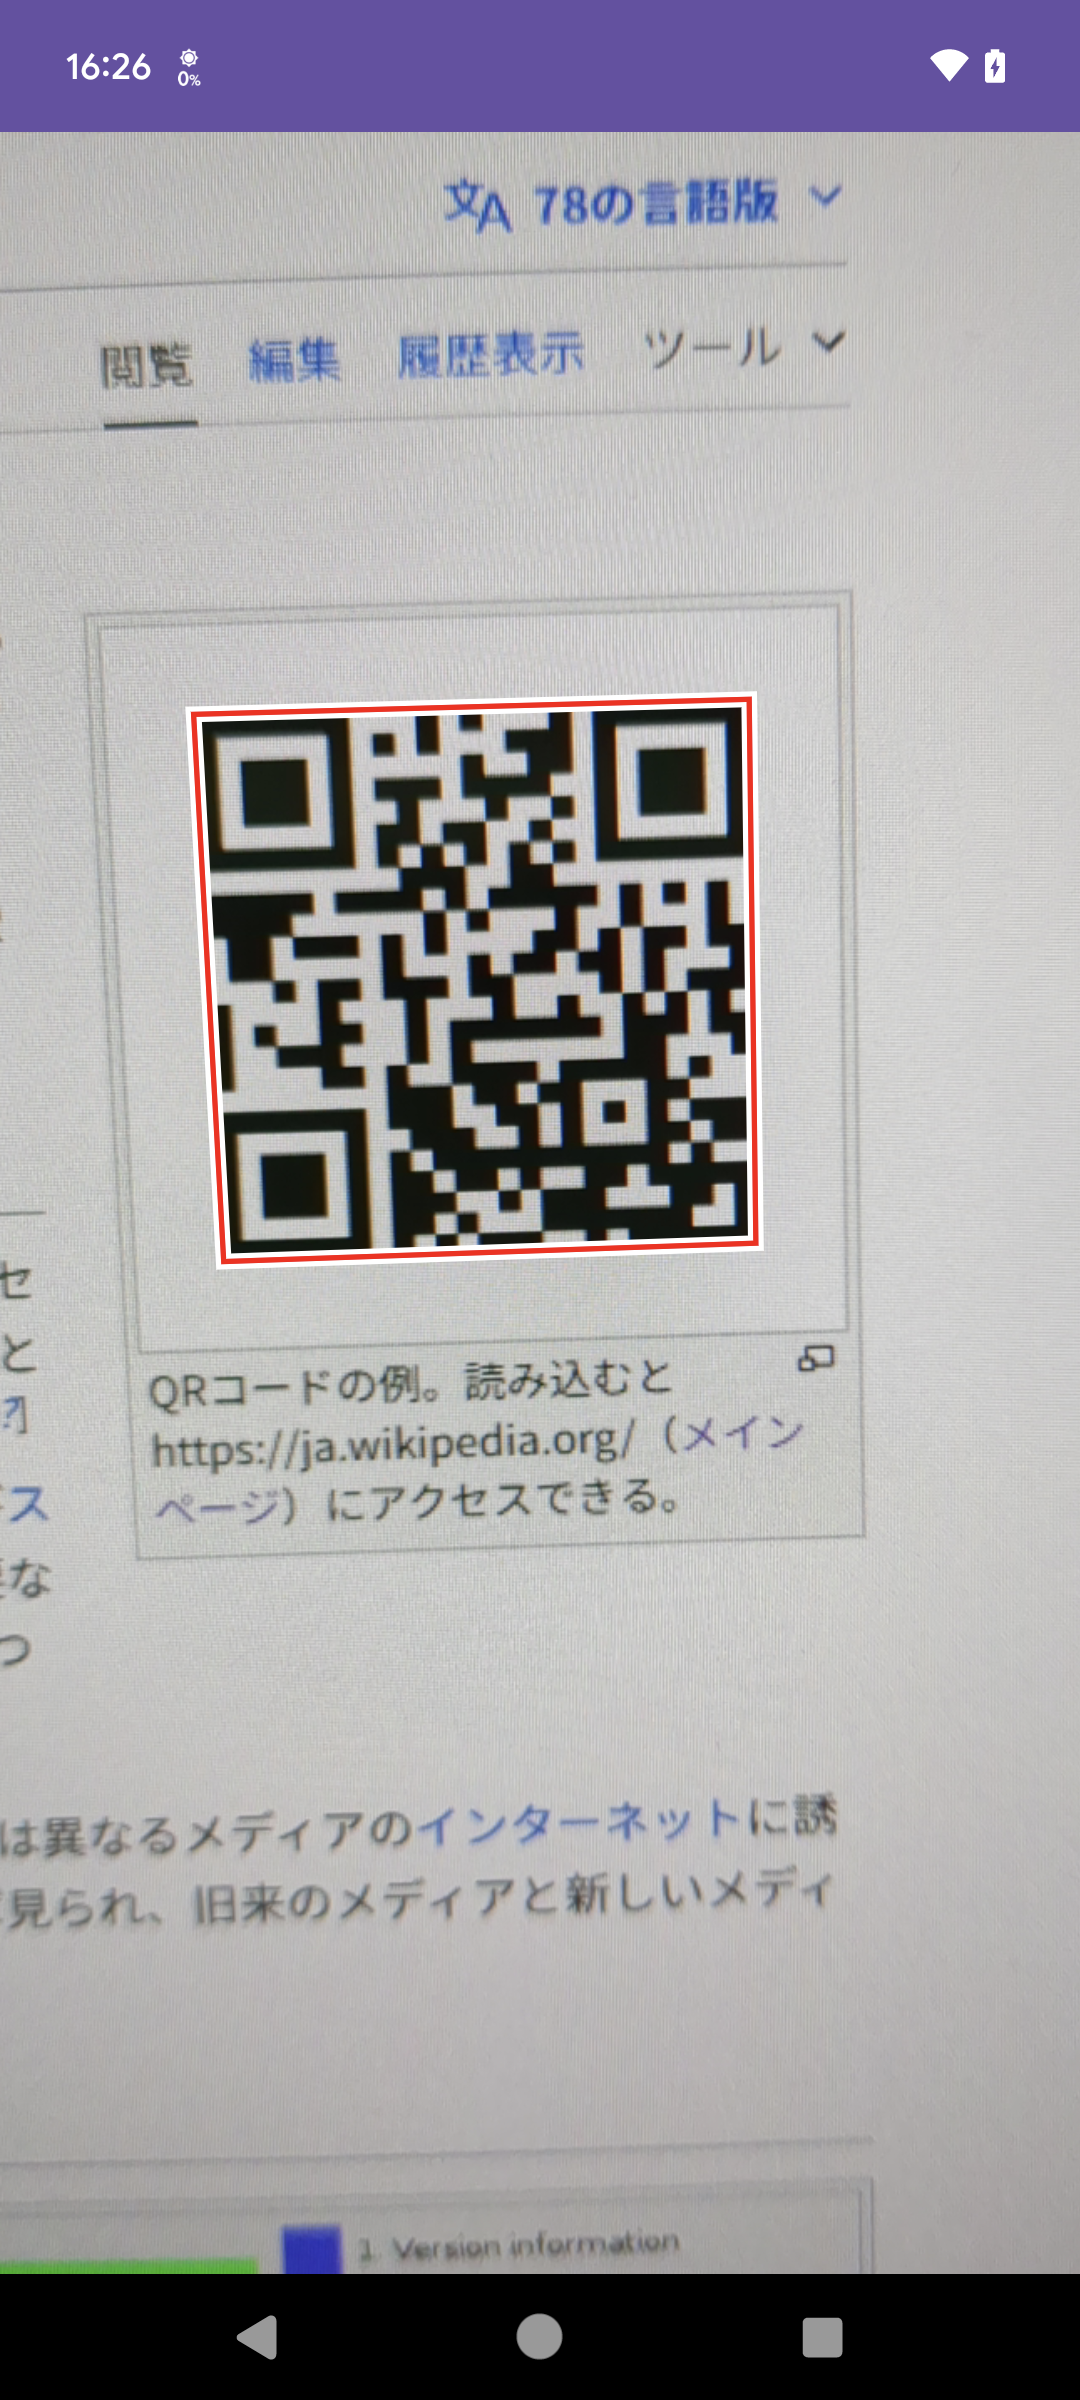
以下のような表示です。
これを実現するにはどうすれば良いかというお話です。
ML Kitを使ったQRコードリーダーアプリの作り方はGoogleのドキュメントを参照ください。過去以下のような記事を投稿しています。
検出した座標の取得
BarcodeScannerの検出結果であるBarcodeにはgetCornerPoints()というメソッドがあり、検出したコードの座標情報を取得することができます。
ただ、当然ですが、これはBarcodeScannerに渡した画像の座標であって、画面上の座標ではありません。カメラ画像を表示しているViewの座標に変換する必要があります。
また、PreviewViewの画像はリアルタイムに更新されている一方、検出結果は遅延しているため、検出直後にPreviewを止めても異なるタイミングの画像になってしまいます。
そのため、コードを検出したタイミングで、
- 検出に使用した時点の画像をPreviewと同じスケールで表示
- Barcordの
getCornerPoints()の結果をView上の座標に変換して矩形表示
を行う必要があります。
PreviewViewの画角
PreviewViewを使うと勝手にカメラ画像をリアルタイム更新してくれるので便利ですが、どのような画角で表示されているのかということは実際必要になるまで意識しないものです。
カメラの画角は16:9などの動画フォーマットの画角になっています。通常PreviewViewのアスペクト比は動画と一致していないため、何らかの加工が行われているわけです。
PreviewViewでは表示領域が動画に内接する形で表示しています。
言葉で表現するのは難しいですが、アスペクト比固定で動画を拡大縮小し、縦横のうちどちらかがViewと一致し、片方がViewの外にはみ出すサイズに拡縮されます。ImageViewのScaleTypeでいうとCENTER_CROPに相当するスケーリングが行われています。
座標変換する上ではこれを知っておく必要があります。
検出した時点の画像を表示する
まずは、画像を表示するImageViewを用意します。PreviewViewと同じサイズになるように設定します。
<androidx.camera.view.PreviewView
    android:id="@+id/preview_view"
    android:layout_width="0dp"
    android:layout_height="0dp"
    app:layout_constraintBottom_toBottomOf="parent"
    app:layout_constraintEnd_toEndOf="parent"
    app:layout_constraintStart_toStartOf="parent"
    app:layout_constraintTop_toTopOf="parent"
    />

<ImageView
    android:id="@+id/still_view"
    android:layout_width="0dp"
    android:layout_height="0dp"
    android:importantForAccessibility="no"
    android:scaleType="centerCrop"
    app:layout_constraintBottom_toBottomOf="@id/preview_view"
    app:layout_constraintEnd_toEndOf="@id/preview_view"
    app:layout_constraintStart_toStartOf="@id/preview_view"
    app:layout_constraintTop_toTopOf="@id/preview_view"
    />
PreviewViewと同じスケーリングになるようandroid:scaleType="centerCrop"を指定しておきます。
続いて、検出時点のImageProxyからBitmapを生成して、このImageViewに貼り付けます。
ImageProxyにはtoBitmap()というBitmapに変換するメソッドが用意されていますが、そのままだと画像の回転を反映していないBitmapが生成されてしまいます。回転を反映したBitmapを生成するメソッドは用意されていないようなので自作します。
private fun toBitmap(imageProxy: ImageProxy): Bitmap =
    if (imageProxy.imageInfo.rotationDegrees == 0) {
        imageProxy.toBitmap()
    } else {
        val temp = imageProxy.toBitmap()
        val matrix = Matrix()
        matrix.postRotate(imageProxy.imageInfo.rotationDegrees.toFloat())
        Bitmap.createBitmap(temp, 0, 0, temp.width, temp.height, matrix, true)
    }
結果をImageViewに貼り付ければOKです。
stillView.setImageBitmap(toBitmap(imageProxy))
検出したコードの位置を表示する
続いて、検出したコードの位置を表示するためのViewを作ります。任意の描画ができるようにカスタムViewで作りましょうかね
<androidx.camera.view.PreviewView
    android:id="@+id/preview_view"
    android:layout_width="0dp"
    android:layout_height="0dp"
    app:layout_constraintBottom_toBottomOf="parent"
    app:layout_constraintEnd_toEndOf="parent"
    app:layout_constraintStart_toStartOf="parent"
    app:layout_constraintTop_toTopOf="parent"
    />

<ImageView
    android:id="@+id/still_view"
    android:layout_width="0dp"
    android:layout_height="0dp"
    android:importantForAccessibility="no"
    android:scaleType="centerCrop"
    app:layout_constraintBottom_toBottomOf="@id/preview_view"
    app:layout_constraintEnd_toEndOf="@id/preview_view"
    app:layout_constraintStart_toStartOf="@id/preview_view"
    app:layout_constraintTop_toTopOf="@id/preview_view"
    />

<com.example.myapplication.DetectedMarkerView
    android:id="@+id/marker_view"
    android:layout_width="0dp"
    android:layout_height="0dp"
    app:layout_constraintBottom_toBottomOf="@id/preview_view"
    app:layout_constraintEnd_toEndOf="@id/preview_view"
    app:layout_constraintStart_toStartOf="@id/preview_view"
    app:layout_constraintTop_toTopOf="@id/preview_view"
    />
とPreviewViewと同じサイズにになるように配置しておきます。
検出したコードの座標をViewの座標に変換する
つづいて、検出したコードの座標をViewの座標に変換する計算を行います。
InputImageの生成段階でrotationDegreesを反映させているので、まずはrotationDegreesを反映した画像の解像度を求めましょう。
private fun normalizeResolution(imageProxy: ImageProxy): Pair<Float, Float> {
    val w = imageProxy.width.toFloat()
    val h = imageProxy.height.toFloat()
    return when (imageProxy.imageInfo.rotationDegrees) {
        90, 270 -> h to w
        else -> w to h
    }
}
これを元に、PreviewViewに表示されている状態にするための、スケールと上下左右のはみだし量を計算しましょう。CENTER_CROPで拡縮するので以下のような計算になります。
val (rw, rh) = normalizeResolution(imageProxy)
val w = width.toFloat()
val h = height.toFloat()
val scale = maxOf(w / rw, h / rh)
val offset = PointF((rw * scale - w) / 2f, (rh * scale - h) / 2f)
以下のようにPathを作って、invalidate()でdraw()を呼び出します。
pointsList
    .map { it.map { PointF(it.x * scale - offset.x, it.y * scale - offset.y) } }
    .forEach { points ->
        val path = Path()
        points.first().let {
            path.moveTo(it.x, it.y)
        }
        points.drop(1).forEach {
            path.lineTo(it.x, it.y)
        }
        path.close()
        drawPaths.add(path)
    }
invalidate()
drawではPathを描画します、1色だと画像の種類によっては見えなくなるので2色で描画してみます。
override fun onDraw(canvas: Canvas) {
    drawPaths.forEach {
        canvas.drawPath(it, basePaint)
        canvas.drawPath(it, accentPaint)
    }
}
検出したら検出処理を停止し、表示してみましょう。
private fun onDetect(imageProxy: ImageProxy, codes: List<Barcode>) {
    if (codes.none { it.rawValue != null }) return
    paused = true
    val pointsList = codes.mapNotNull { it.toCornerPoints() }
    markerView.setMarkers(imageProxy, pointsList)
    stillView.setImageBitmap(toBitmap(imageProxy))
    stillView.isVisible = true
}

private fun Barcode.toCornerPoints(): Array<Point>? {
    val cornerPoints = cornerPoints ?: return null
    if (cornerPoints.isEmpty()) return null
    return cornerPoints
}
良い感じですね。
検出のアニメーションを実行する
せっかくなので最初のアニメーションで表示しているようなアニメーションを入れてみましょう。
Pathのスケールアニメーションを実行します。そのためにはPath以外に中心座標も必要です。
private data class Marker(
    val center: PointF,
    val path: Path,
)
pathを作るときに一緒に作っちゃいましょう。
pointsList
    .map { it.map { PointF(it.x * scale - offset.x, it.y * scale - offset.y) } }
    .forEach { points ->
        val center = PointF(
            points.fold(0f) { acc, point -> acc + point.x } / points.size,
            points.fold(0f) { acc, point -> acc + point.y } / points.size,
        )
        val path = Path()
        points.first().let {
            path.moveTo(it.x, it.y)
        }
        points.drop(1).forEach {
            path.lineTo(it.x, it.y)
        }
        path.close()
        markers.add(Marker(center, path))
    }
Pathの中心点と考えると難しそうですが、座標の平均値を計算すればそれが中心座標になります。
指定倍率でPathを中心座標を中心に拡大してから描画するメソッドを作ります。
変換はMatrixを使えば簡単にできますね。
fun drawMarker(scale: Float) {
    drawPaths.clear()
    markers.forEach {
        drawPaths.add(transformPath(scale, it))
    }
    invalidate()
}

private fun transformPath(scale: Float, marker: Marker): Path =
    Path(marker.path).also {
        matrix.setScale(scale, scale, marker.center.x, marker.center.y)
        it.transform(matrix)
    }
コードを検出したら、一定時間静止、その間にアニメーションを実行、終わったら次の検出を開始するようにします。アニメーションは簡単にValueAnimatorを使っています。倍率1だと、少しコードが隠れてしまうので、1.2倍まで、また、アニメーションも終わりの方で緩やかに変化するよう、DecelerateInterpolatorを使っています。
private fun onDetect(imageProxy: ImageProxy, codes: List<Barcode>) {
    if (codes.none { it.rawValue != null }) return
    paused = true
    val pointsList = codes.mapNotNull { it.toCornerPoints() }
    markerView.setMarkers(imageProxy, pointsList)
    stillView.setImageBitmap(toBitmap(imageProxy))
    stillView.isVisible = true
    ValueAnimator.ofFloat(4f, 1.2f)
        .also {
            it.setDuration(ANIMATION_DURATION)
            it.setInterpolator(DecelerateInterpolator(3f))
            it.addUpdateListener {
                markerView.drawMarker(it.animatedValue as Float)
            }
            it.addListener(onEnd = { onEnd() })
        }.start()
}

private fun Barcode.toCornerPoints(): Array<Point>? {
    val cornerPoints = cornerPoints ?: return null
    if (cornerPoints.isEmpty()) return null
    return cornerPoints
}

private fun onEnd() {
    markerView.postDelayed({
        markerView.clearMarker()
        stillView.setImageBitmap(null)
        stillView.isVisible = false
        paused = false
    }, RESUME_INTERVAL)
}
これで、検出したコードに枠が縮小していくアニメーション付きで表示させることができました。
以上です。