お盆休みにふと「React Nativeで何か作りたい!!」思い立ち(その時までReact Native経験0)
GCPの画像解析エンジンのCloud Visonと連携したOCRアプリを作って見ました。
備忘録としてまとめます。
作るもの
以下GIFのようなOCRアプリを作ります。
カメラで撮影、撮影内容をCloud Visionに送り、画像からテキスト情報を取得・表示。
クリップボードにコピーできるというものです。
これから説明するアプリのコードは以下Githubリポジトリで公開されてます。
「とりあえず動かしたいんや!」という方はそちらからcloneしてください
https://github.com/kawamataryo/react-native-practice
対象
(というか私の開発はじめる前の状態)
- Reactは使ったことがあるけど、Vueが好き。React Native、Cloud Visionは初めて。
1. React Nativeの環境構築
React Nativeの環境構築の方法として、Expo CLIの利用とReact Native CLIの利用の2つの方法があります。
今回はExpoの機能で事足りるので、Expo CLIで開発を進めます。
Expo CLIとReact Native CLIの違いは、React Native CLI vs Expo とかをみると良いかも。
Expoの追加
$ npm install -g expo-cli
プロジェクトの作成
expo initコマンドで色々聞かれますが、最初の質問だけblank(TypeScript)を選んであとはよしなに入力、Yを選択する。
$ expo init myOcrApp
  ----- Managed workflow -----
blank                 a minimal app as clean as an empty canvas
❯  blank (TypeScript)    same as blank but with TypeScript configuration
  tabs                  several example screens and tabs using react-navigation
プロジェクトに移動してアプリを起動してみます。
$ cd myOcrApp
$ yarn start
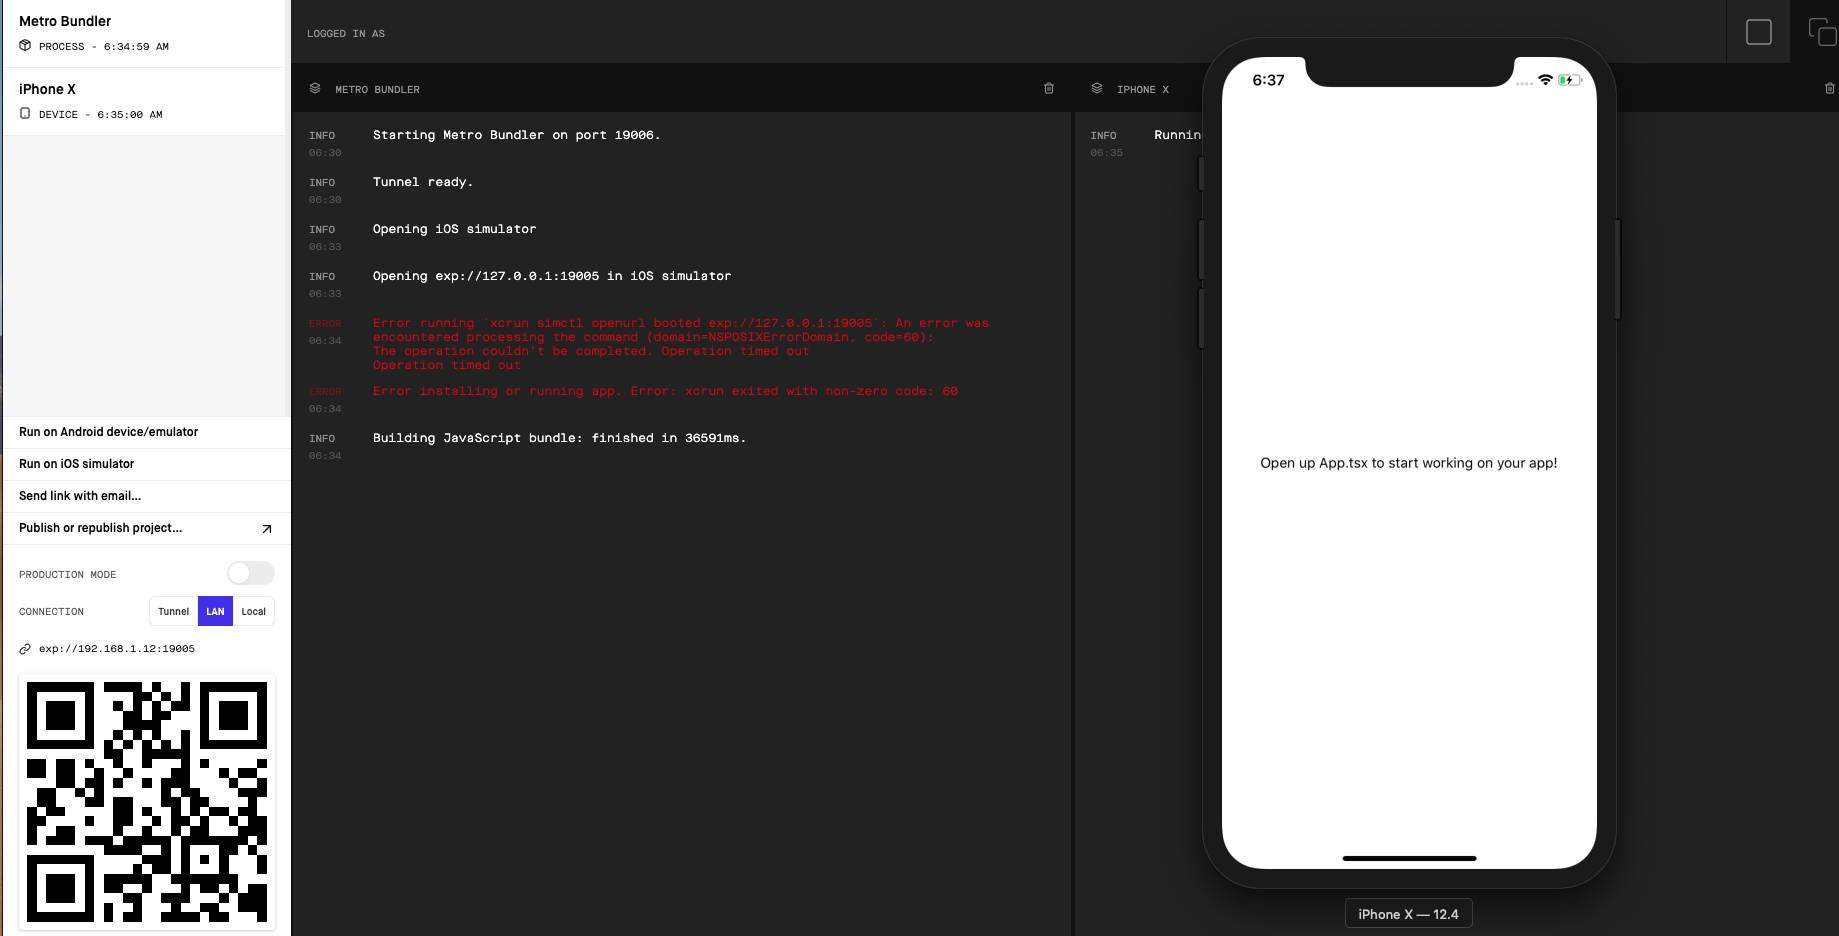
localhostでExpoの管理画面が立ち上がるので、
あとはIPhoneにExpoクライアントアプリを入れた上で、カメラでQRコードを読み取り。
もしくは、起動したTerminalでiを入力してXcodeのsimulatorを起動すれば以下のような画面がでるはず。
必要モジュールの追加
今後の章で必要になるモジュールを予め追加しておきます。
Native baseの追加
Native Base はReact NativeのComponent Libraryです。VueでいうVuetifyのようなもの。
デザイン良いほうが、気持ちよく開発できるため追加します。
$ yarn add native-base
React Native Modalの追加
テキスト情報を表示するためのモーダルを使いたいので、 react-native-modal を追加します。
モーダル採用の理由としては、上記と同じく格好良く表示されたほうがテンションが上がるためです。
$ yarn add react-native-modal
以上で開発準備完了です!
2. カメラの作成
Cloud Visionに画像情報を送るために、何はともあれ写真を取らなくてはならないので、カメラを追加します。
React Nativeのカメラは色々あるようですが、今回はExpoに入っているカメラモジュールを使います。
Camera - Expo Documentation
カメラモジュールの追加
カメラモジュールはExpo cli で追加します。
$ expo install expo-camera
Camera Componentの作成
次にCamera Componentを追加します
$ mkdir -p src/components/
$ touch ./src/components/MyCamera.tsx
import React, { createRef } from "react";
import { View, StyleSheet } from "react-native";
import { Button, Container, Icon, Text } from "native-base";
import { Camera } from "expo-camera";
import * as Permissions from "expo-permissions";
import Environment from "../../../config/environment";

interface Props {}

interface State {
  hasCameraPermission: boolean;
  ocrText: string;
}

export default class MyCamera extends React.Component<Props, State> {
  state = {
    hasCameraPermission: null,
    ocrText: "",
  };

  async componentDidMount() {
    // カメラの使用確認
    const { status } = await Permissions.askAsync(Permissions.CAMERA);
    this.setState({ hasCameraPermission: status === "granted" });
  }

  private cameraRef = createRef<Camera>();

  takePicture = async () => {
    if (this.cameraRef) {
      // 撮影
      let photo = await this.cameraRef.current.takePictureAsync({
        base64: true
      });
    }
  };

  render() {
    const { hasCameraPermission } = this.state;

    if (hasCameraPermission === null) {
      return <View />;
    } else if (hasCameraPermission === false) {
      return <Text>No access to camera</Text>;
    } else {
      return (
        <Container style={styles.flexOne}>
          <Camera style={styles.flexOne} ref={this.cameraRef}>
            <View style={styles.flexOne}>
              <Button
                rounded
                icon
                onPress={this.takePicture}
                style={styles.button}
              >
                <Icon name="camera" style={styles.icon} />
              </Button>
            </View>
          </Camera>
        </Container>
      );
    }
  }
}

const styles = StyleSheet.create({
  button: {
    position: "absolute",
    bottom: 100,
    zIndex: 1,
    alignSelf: "center",
    height: 80,
    width: 80,
    flex: 1,
    justifyContent: "center"
  },
  icon: {
    fontSize: 50
  },
  flexOne: {
    flex: 1
  }
});
App.tsxでの読み込み・表示
componentが出来たので、App.tsxで読み込みます。
合わせて初期にあった不要なStyleなどは削除しています。また、モーダルのToast表示で使うため、Rootのコンポーネントは、Native baseのRootを使っています。
import React from "react";
import { Root } from "native-base";
import MyCamera from "./src/components/MyCamera";

export default function App() {
  return (
    <Root>
      <MyCamera />
    </Root>
  );
}
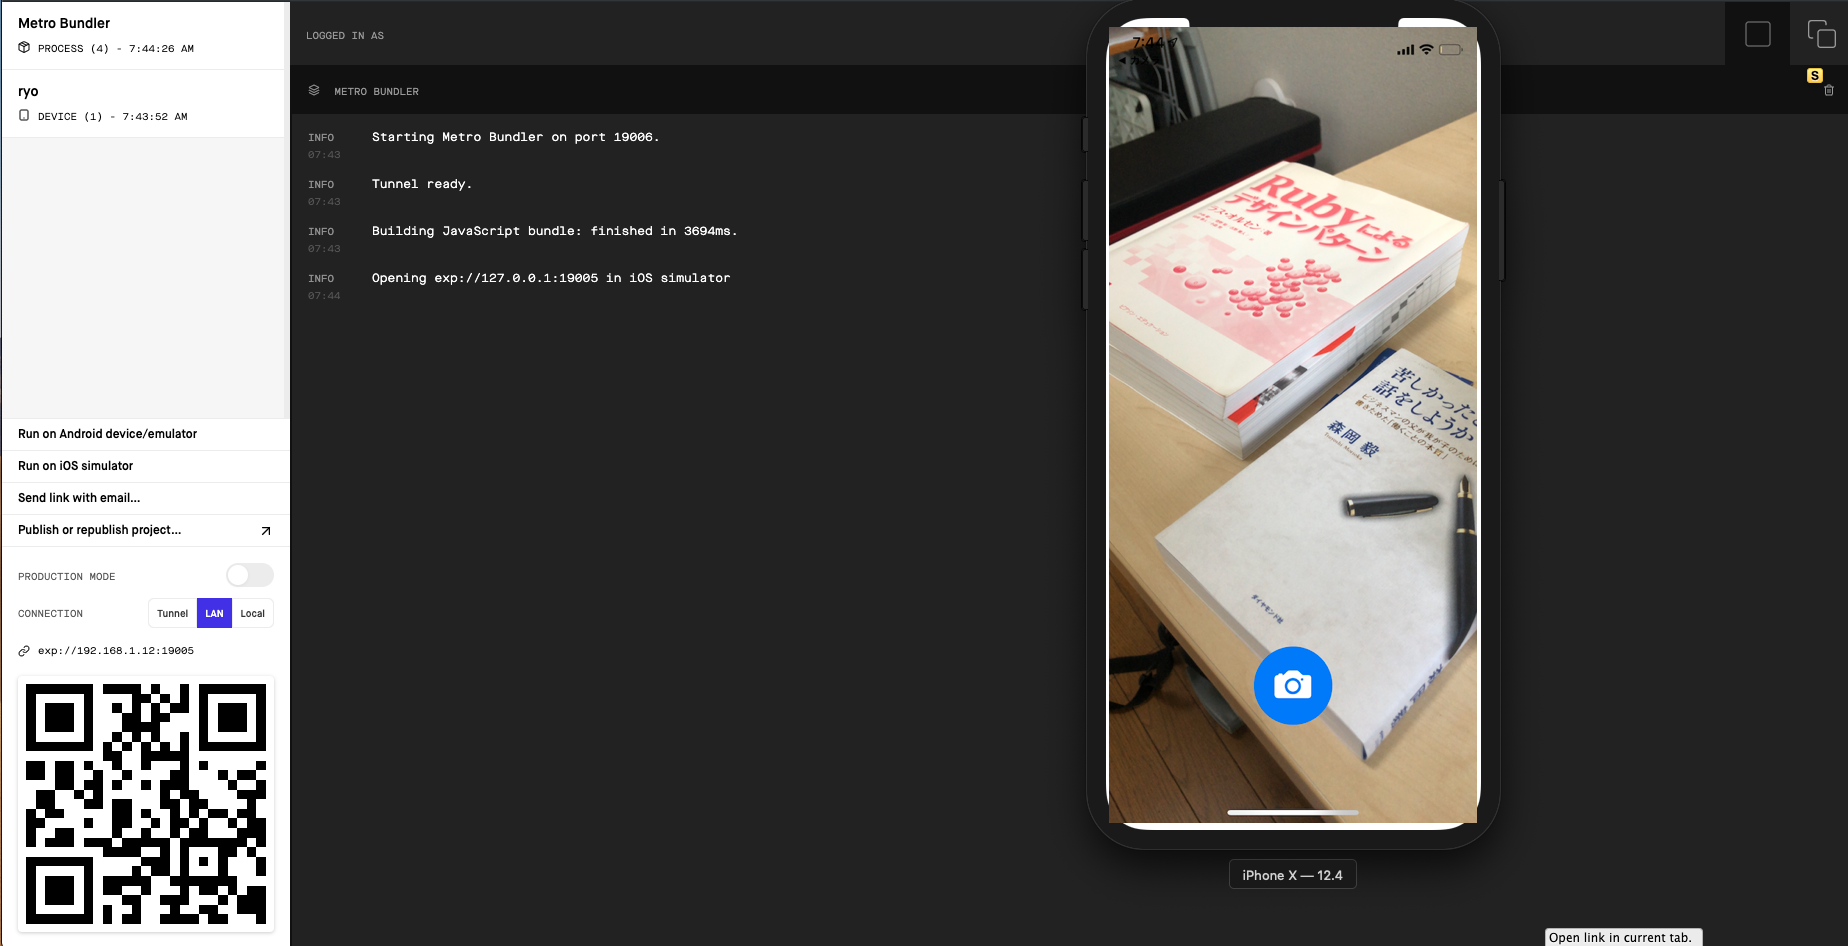
これで、Cameraは完成。
この状態で、yarn start でsimulatorを起動すると以下の画面がでるはず..!!
(シミュレーターだと、Camera使えないので実機で確認してください。以下画像はわかりやすいように、実機のスクショを埋め込んでいます)
ここでのポイントは、componentDidMount()で行っているカメラの使用確認です。
  async componentDidMount() {
    // カメラの使用確認
    const { status } = await Permissions.askAsync(Permissions.CAMERA);
    this.setState({ hasCameraPermission: status === "granted" });
  }
アプリからネイティブの各種機能を使うときには必要なので行いましょう。
初回起動時に確認モーダルが出るはず。
3. Cloud Visionとのつなぎ込み
続いて今回の本題、OCRを実現するためにCloud Visionの設定を行います。
Cloud VisionはGoogleが公開している開発者向けの画像認識サービスです。手軽にGoogleの学習モデルが使えます。
色々GCPの設定あるのですが、今回は割愛。Cloud Visionの有効化後、APIを取得した前提で進めます。
Cloud Visionの有効化と、APIの取得は以下記事にとても丁寧に解説されています。
Cloud Vision APIの使い方まとめ (サンプルコード付き)
手順どおり進めればOKです。
configファイルの作成
まず、API情報を記載するconfigファイルを作ります。
$ mkdir config
$ touch config/environments.ts
const Environment = {
  GOOGLE_CLOUD_VISION_API_KEY: "APIキーを記載"
};

export default Environment;
CameraComponentへの組み込み
次に、これをCamera Componentで読み込み、Cloud VisionのAPIを呼び出せるようにします。
MyModal.tsxのtakePicutureを修正、sendCloudVision`メソッドを追加します。
takePicture = async () => {
  if (this.cameraRef) {
    // 撮影
    let photo = await this.cameraRef.current.takePictureAsync({
      base64: true
    });
    // cloudVisionへデータを送信
    this.sendCloudVision(photo.base64);
  }
};

sendCloudVision = async (image: string) => {
  const body = JSON.stringify({
    requests: [
      {
        features: [{ type: "TEXT_DETECTION", maxResults: 1 }],
        image: {
          content: image
        }
      }
    ]
  });
  const response = await fetch(
    "https://vision.googleapis.com/v1/images:annotate?key=" +
      Environment["GOOGLE_CLOUD_VISION_API_KEY"],
    {
      headers: {
        Accept: "application/json",
        "Content-Type": "application/json"
      },
      method: "POST",
      body: body
    }
  );
  const resJson = await response.json();

  this.setState({
    ocrText: resJson.responses[0].textAnnotations[0].description as string,
  });
};
request body のfeatures で今回使用したい画像からのテキスト解析を指定しています。
features: [{ type: "TEXT_DETECTION", maxResults: 1 }],
今回は使わないですが他にも色々、解析出来る項目はあります。
Cloud VisionのAPI ドキュメントにとても分かりやすく記載しています。手軽にデモも出来るのでおすすめです。
Vision AI | ML から画像情報を引き出す | Cloud Vision API | Google Cloud
3. 結果をモーダルに表示する
最後に、取得結果をモーダルに表示します。ここで最初に追加したreact-native-modalを使います。
Modal componentの作成
まず、componentの作成。
$ touch ./src/components/MyModal.tsx
中身はこんな形で。
import React from "react";
import { View, Clipboard, ScrollView, StyleSheet } from "react-native";
import Modal from "react-native-modal";
import {
  Toast,
  Button,
  Card,
  CardItem,
  Spinner,
  Text,
  Icon
} from "native-base";

interface Props {
  isModalVisible: boolean;
  toggleModal: () => void;
  ocrText: string;
  loading: boolean;
}

const MyModal = (props: Props) => {
  const cardContent = () => {
    if (props.loading) {
      return (
        <CardItem style={styles.loadingIcon}>
          <Spinner color="blue" />
        </CardItem>
      );
    } else {
      return (
        <CardItem>
          <ScrollView style={styles.scrollView}>
            <Text selectable>{props.ocrText}</Text>
          </ScrollView>
        </CardItem>
      );
    }
  };

  const copyText = () => {
    Clipboard.setString(props.ocrText);
    props.toggleModal();
    Toast.show({
      text: "Copy Success",
      buttonText: "close",
      duration: 4000,
      type: "success",
      position: "bottom"
    });
  };

  return (
    <View style={{ flex: 1 }}>
      <Modal isVisible={props.isModalVisible}>
        <View style={styles.wrapperView}>
          <Card style={styles.card}>
            {cardContent()}
            <CardItem style={styles.buttonWrapper}>
              <Button onPress={copyText} block iconLeft>
                <Icon name="copy" />
                <Text>copy text</Text>
              </Button>
            </CardItem>
          </Card>
        </View>
      </Modal>
    </View>
  );
};

const styles = StyleSheet.create({
  wrapperView: {
    flex: 1,
    justifyContent: "center",
    alignItems: "center"
  },
  loadingIcon: {
    justifyContent: "center"
  },
  scrollView: {
    maxHeight: 300
  },
  buttonWrapper: {
    flexDirection: "column"
  },
  card: {
    zIndex: 1
  }
});

export default MyModal;
Camera コンポーネントへの組み込み
でこちらを、MyCameraに組み込みます。
差分が色々あるので、MyCameraのDIffを記載。
追加項目はModalのトグル表示と、OCR結果、loadingのつなぎ込などです。
import React, { createRef } from "react";
import { View, StyleSheet } from "react-native";
import { Button, Container, Icon, Text } from "native-base";
import { Camera } from "expo-camera";
import * as Permissions from "expo-permissions";
import Environment from "../../../config/environment";
+ import MyModal from "./MyModal";

interface Props {}

interface State {
  hasCameraPermission: boolean;
  ocrText: string;
+  isModalVisible: boolean;
+  loading: boolean;
}

export default class MyCamera extends React.Component<Props, State> {
  state = {
    hasCameraPermission: null,
    ocrText: "",
+   isModalVisible: false,
+   loading: false
  };

  async componentDidMount() {
    // カメラの使用確認
    const { status } = await Permissions.askAsync(Permissions.CAMERA);
    this.setState({ hasCameraPermission: status === "granted" });
  }

  private cameraRef = createRef<Camera>();

+ toggleModal = () => {
+   this.setState({ isModalVisible: !this.state.isModalVisible, ocrText: "" });
+ };

  takePicture = async () => {
    if (this.cameraRef) {
+     // modalの表示
+     this.toggleModal();
      // 撮影
      let photo = await this.cameraRef.current.takePictureAsync({
        base64: true
      });
      // cloudVisionへデータを送信
      this.sendCloudVision(photo.base64);
    }
  };

  sendCloudVision = async (image: string) => {
+   this.setState({ loading: true, isModalVisible: true });

    const body = JSON.stringify({
      requests: [
        {
          features: [{ type: "TEXT_DETECTION", maxResults: 1 }],
          image: {
            content: image
          }
        }
      ]
    });
    const response = await fetch(
      "https://vision.googleapis.com/v1/images:annotate?key=" +
        Environment["GOOGLE_CLOUD_VISION_API_KEY"],
      {
        headers: {
          Accept: "application/json",
          "Content-Type": "application/json"
        },
        method: "POST",
        body: body
      }
    );
    const resJson = await response.json();

    this.setState({
      ocrText: resJson.responses[0].textAnnotations[0].description as string,
+     loading: false
    });
  };

  render() {
    const { hasCameraPermission } = this.state;

    if (hasCameraPermission === null) {
      return <View />;
    } else if (hasCameraPermission === false) {
      return <Text>No access to camera</Text>;
    } else {
      return (
        <Container style={styles.flexOne}>
          <Camera style={styles.flexOne} ref={this.cameraRef}>
            <View style={styles.flexOne}>
              <Button
                rounded
                icon
                onPress={this.takePicture}
                style={styles.button}
              >
                <Icon name="camera" style={styles.icon} />
              </Button>
+             <MyModal
+               toggleModal={this.toggleModal}
+               isModalVisible={this.state.isModalVisible}
+               ocrText={this.state.ocrText}
+               loading={this.state.loading}
+             />
            </View>
          </Camera>
        </Container>
      );
    }
  }
}

const styles = StyleSheet.create({
  button: {
    position: "absolute",
    bottom: 100,
    zIndex: 1,
    alignSelf: "center",
    height: 80,
    width: 80,
    flex: 1,
    justifyContent: "center"
  },
  icon: {
    fontSize: 50
  },
  flexOne: {
    flex: 1
  }
});
これでおしまい!!!
実機で色々試し撮りしてみて下さい。
おわりに
ふと思い立って、ネイティブ開発何も分からんまま始めたものの、実質2日くらいでアプリが作れたのでReact Nativeまじで良いと思います。
あと、Cloud Visionはすごい。容量制限あるもののお手軽に使えるのまじでおすすめです。
今後は、React NativeとFirebase MLKitを使った何かを作りたいです。
参考
以下大変参考にさせて頂きました!良記事ありがとうございます。
ReactNativeでExpoのカメラを使ってみた。 - Qiita
Using Google Cloud Vision With Expo and React Native
Create a React Native Image Recognition App with Google Vision API | Jscrambler Blog
Cloud Vision APIの使い方まとめ (サンプルコード付き)