概要
Django REST FrameworkでBasic認証を行う方法を紹介します。
Basic認証とは?
ベーシック認証(Basic認証)とは、Webサイトの特定の領域、つまりページやファイルにアクセス制限をかけることができる認証方法の一つです。
ベーシック認証をかけると、認証をかけたWebサイトにアクセスしようとしたとき、認証ダイアログが立ち上がり、ユーザー名とパスワードの入力が求められます。
DRFのBasic認証のドキュメント
GitHubリンク
サンプルのソースをGitHubで公開しています。
環境
各種バージョン
- macOS Monterey 12.4
- Apple M1 Max
- Python v3.10.9
- Django v4.1.4
- djangorestframework v3.14.0
ディレクトリ構成
drf-authentication-demo/
 ├build/
 │ └Dockerfile
 ├projects/
 ├venv/
 ├docker-compose.yml
 └requirements.txt
環境構築
仮想環境構築
仮想環境を構築し、アクティベートします。
drf-authentication-demo % python -m venv venv
drf-authentication-demo % source venv/bin/activate
requirements.txtを作成し、必要なパッケージを記載します。
Django==4.1.4
djangorestframework==3.14.0
パッケージをインストールします。
(venv) drf-authentication-demo % pip install -r requirements.txt
Basic Authentication
Djangoプロジェクト作成
projectsディレクトリにbasic_authディレクトリを生成し、basic_authディレクトリ以下でDjango プロジェクトを作成します。
(venv) drf-authentication-demo % cd projects/basic_auth
(venv) basic_auth % django-admin startproject project .
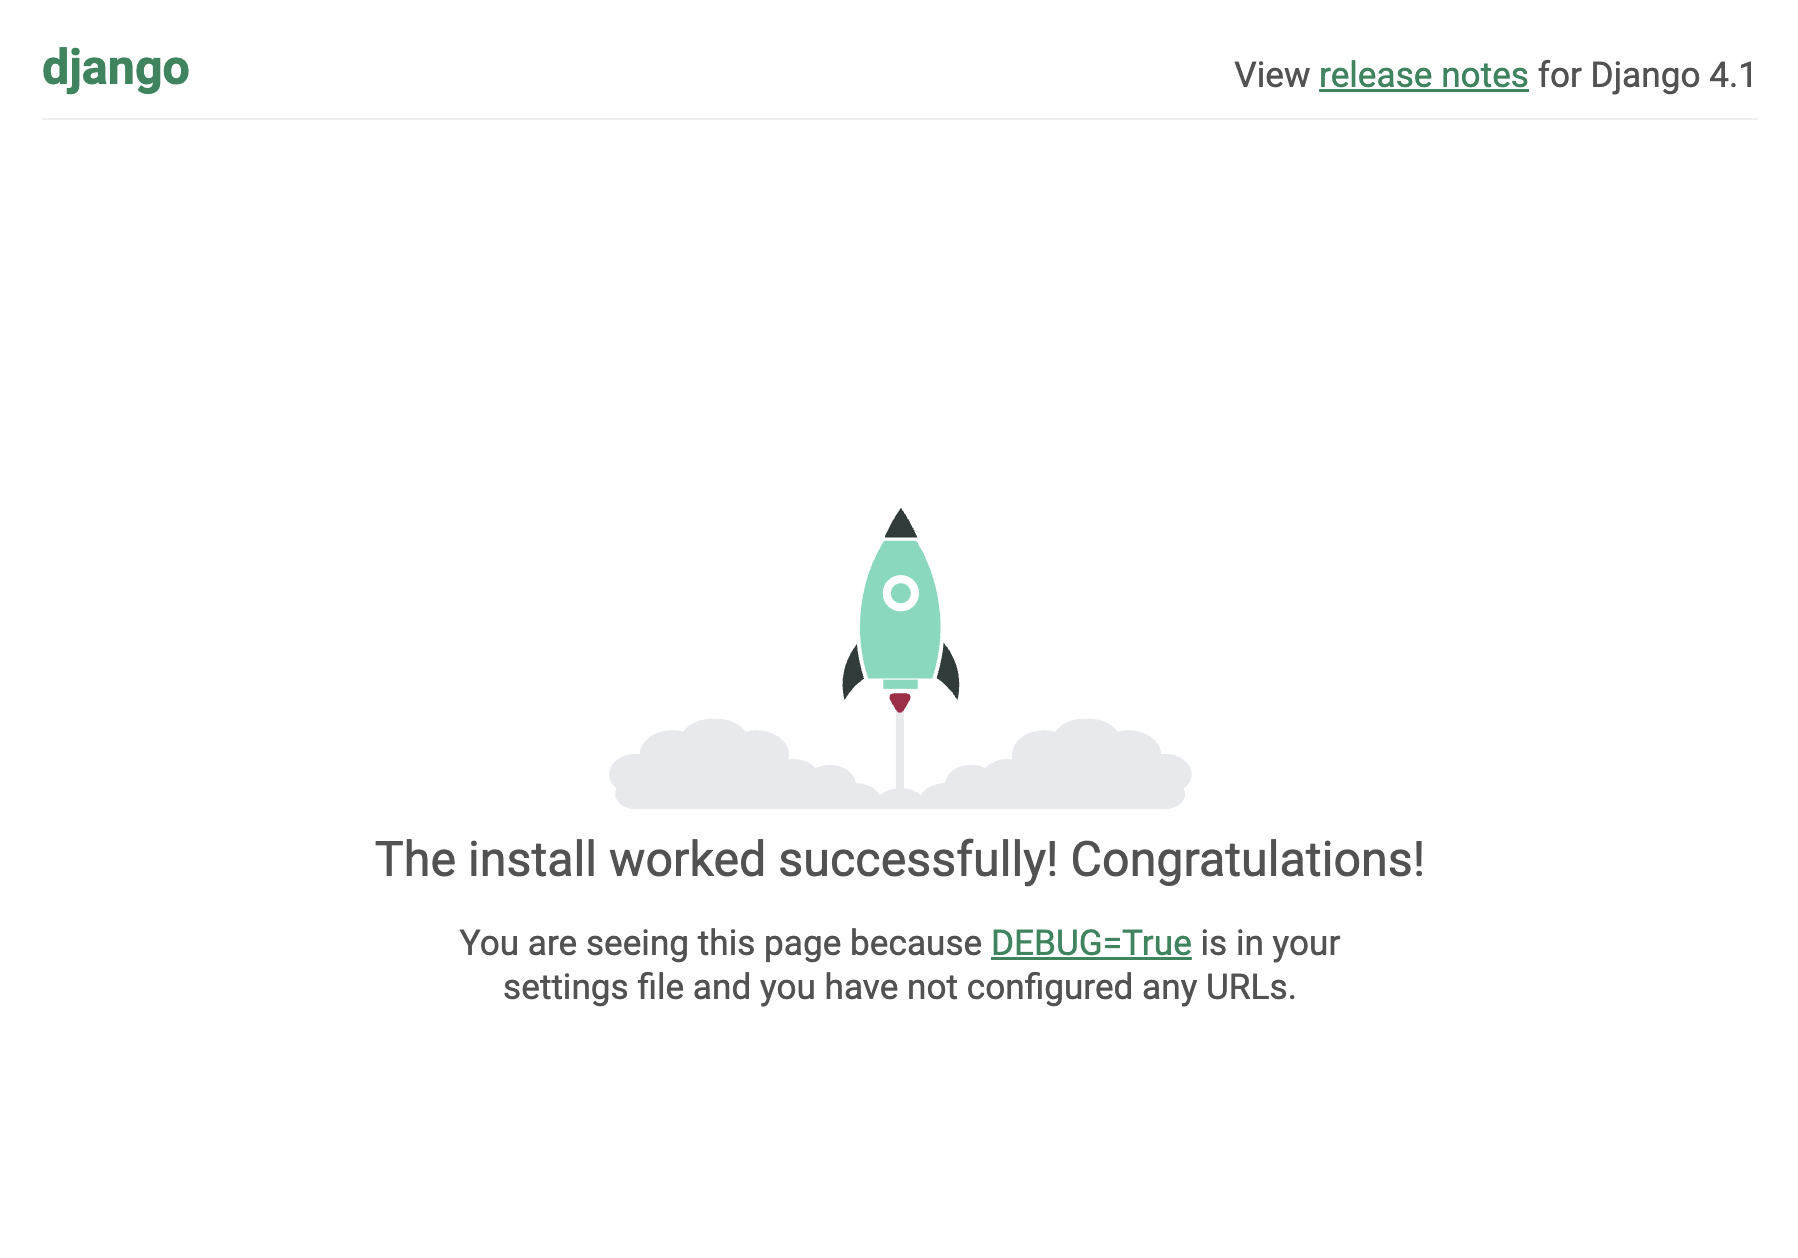
一度、開発サーバーを起動し、デフォルト画面が表示できるかを確認します。
(venv) basic_auth % python manage.py runserver
ブラウザでhttp://127.0.0.1:8000/にアクセスし、以下の画面が表示されればOKです。

アプリ作成
ユーザー情報を取得するアプリを作成します。
(venv) basic_auth % python manage.py startapp account
basic_auth/account/models.pyにカスタムユーザーを定義します。
from django.db import models
from django.contrib.auth.models import BaseUserManager, AbstractBaseUser
from django.utils.translation import gettext_lazy as _

class User(AbstractBaseUser):

    username = models.CharField(
        verbose_name=_("username"),
        unique=True,
        max_length=150
    )
    email = models.EmailField(
        verbose_name=_("Email Address"),
        unique=True
    )
    age = models.IntegerField(
        verbose_name=_("age"),

    )

    objects = BaseUserManager()

    def __str__(self):
        return self.username
basic_auth/project/settings.pyを一部編集します。
...

ALLOWED_HOSTS = ["*"] # ワイルドカードを追加

INSTALLED_APPS = [
    'django.contrib.admin',
    'django.contrib.auth',
    'django.contrib.contenttypes',
    'django.contrib.sessions',
    'django.contrib.messages',
    'django.contrib.staticfiles',
    'rest_framework', # djangorestframeworkを追加

    'account' # 作成したaccountアプリを追加
]

...

AUTH_USER_MODEL = "account.User" # accountアプリのUserモデルをデフォルトで使用する認証ユーザーモデルとして設定する
ここまで出来ましたら、マイグレートします。
(venv) basic_auth % python manage.py makemigrations
(venv) basic_auth % python manage.py migrate
ここでスーパーユーザーを作成し、管理画面にログインできるか確認します。
任意のユーザー情報で作成してください。
(venv) basic_auth % python manage.py createsuperuser
Username (leave blank to use 'testuser'): testuser
Email address: test@example.com
Password:
Password (again):
Superuser created successfully.
管理画面にログインできるか確認します。
開発サーバーを起動します。
(venv) basic_auth % python manage.py runserver
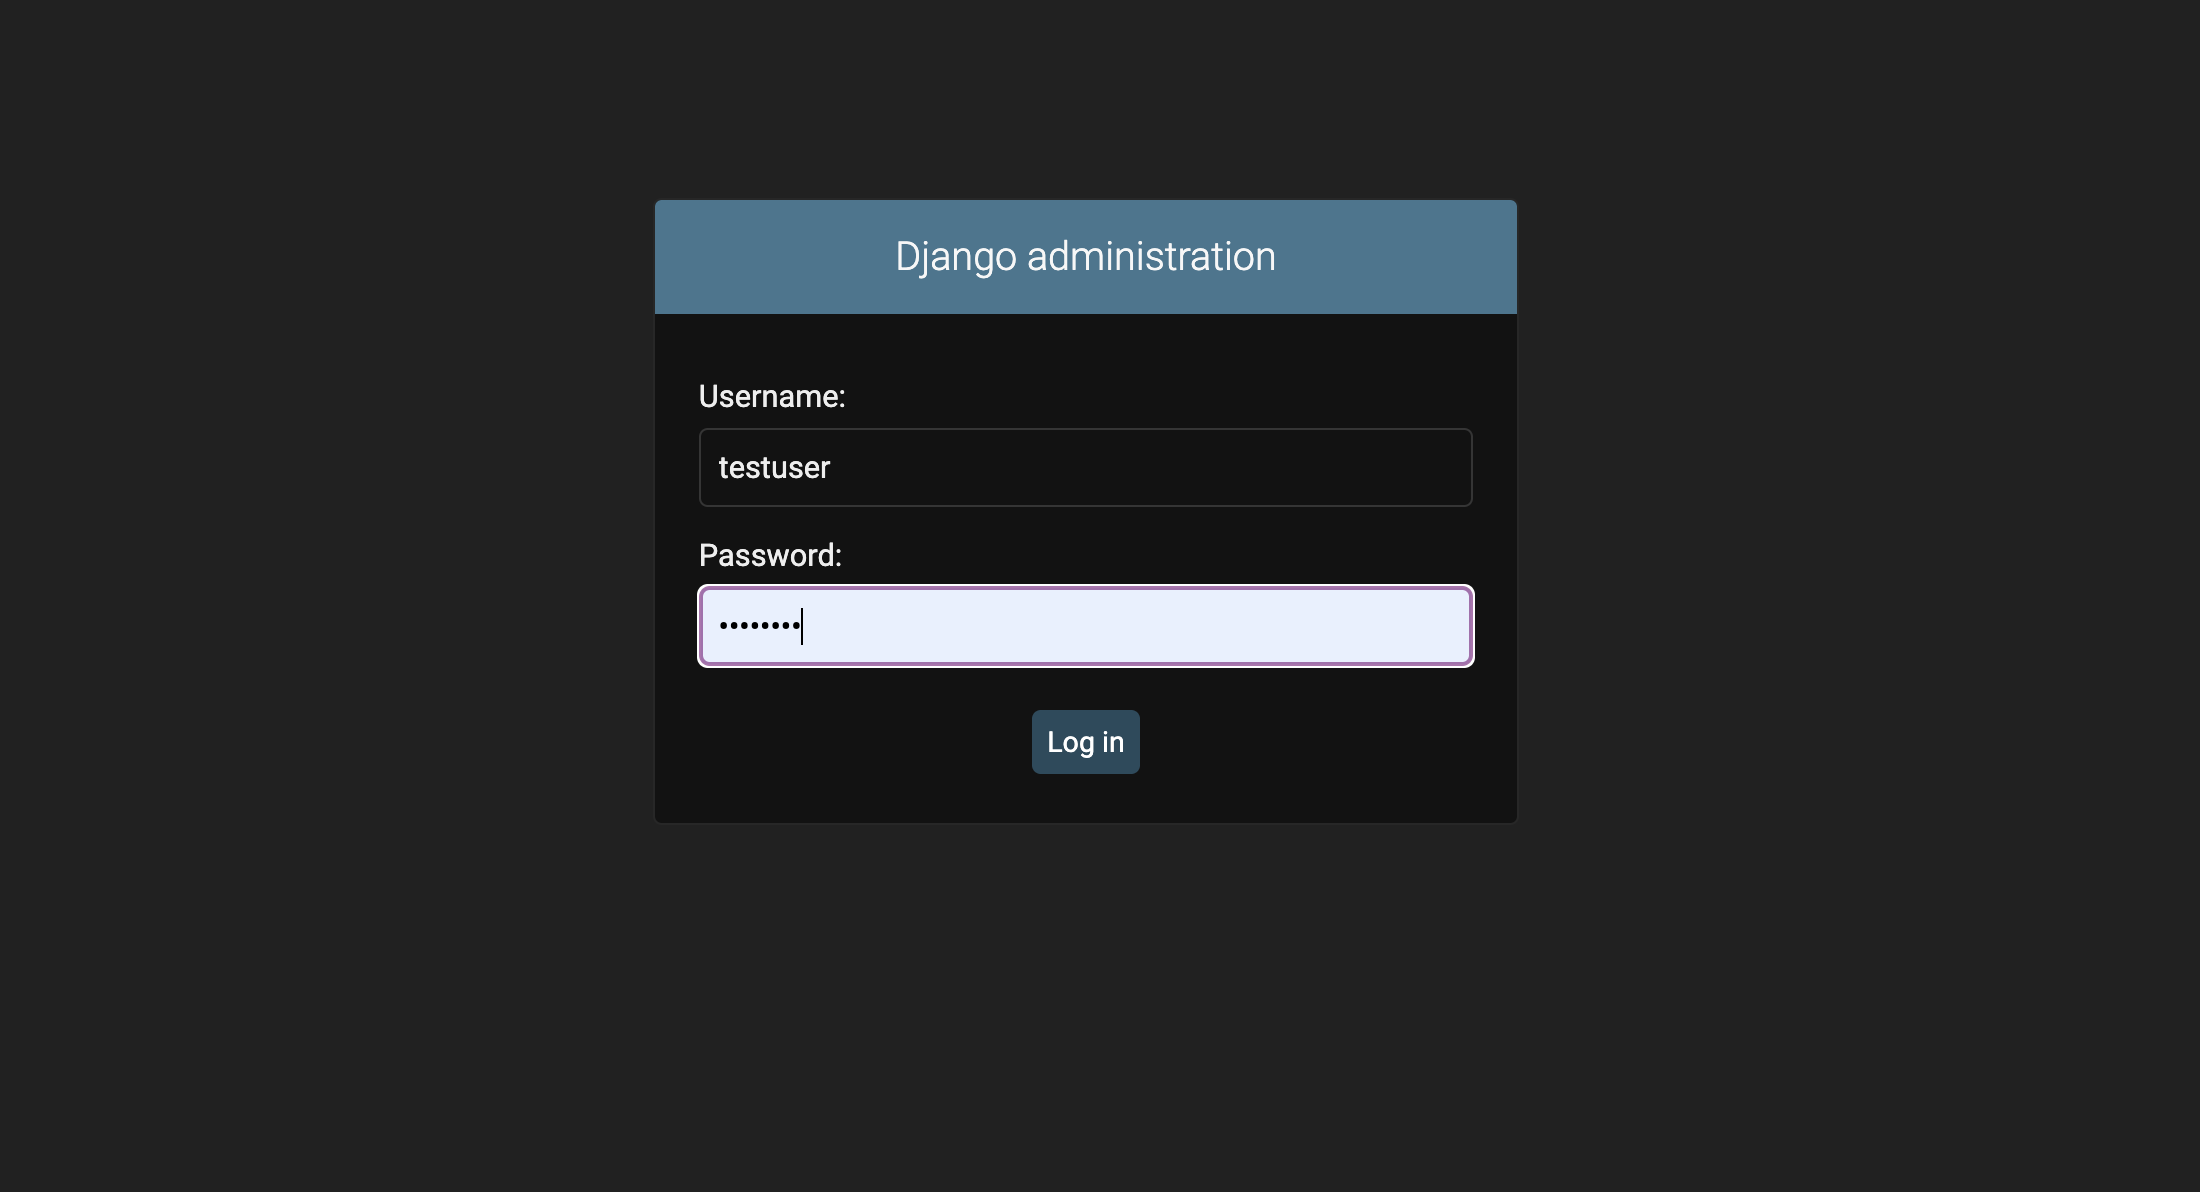
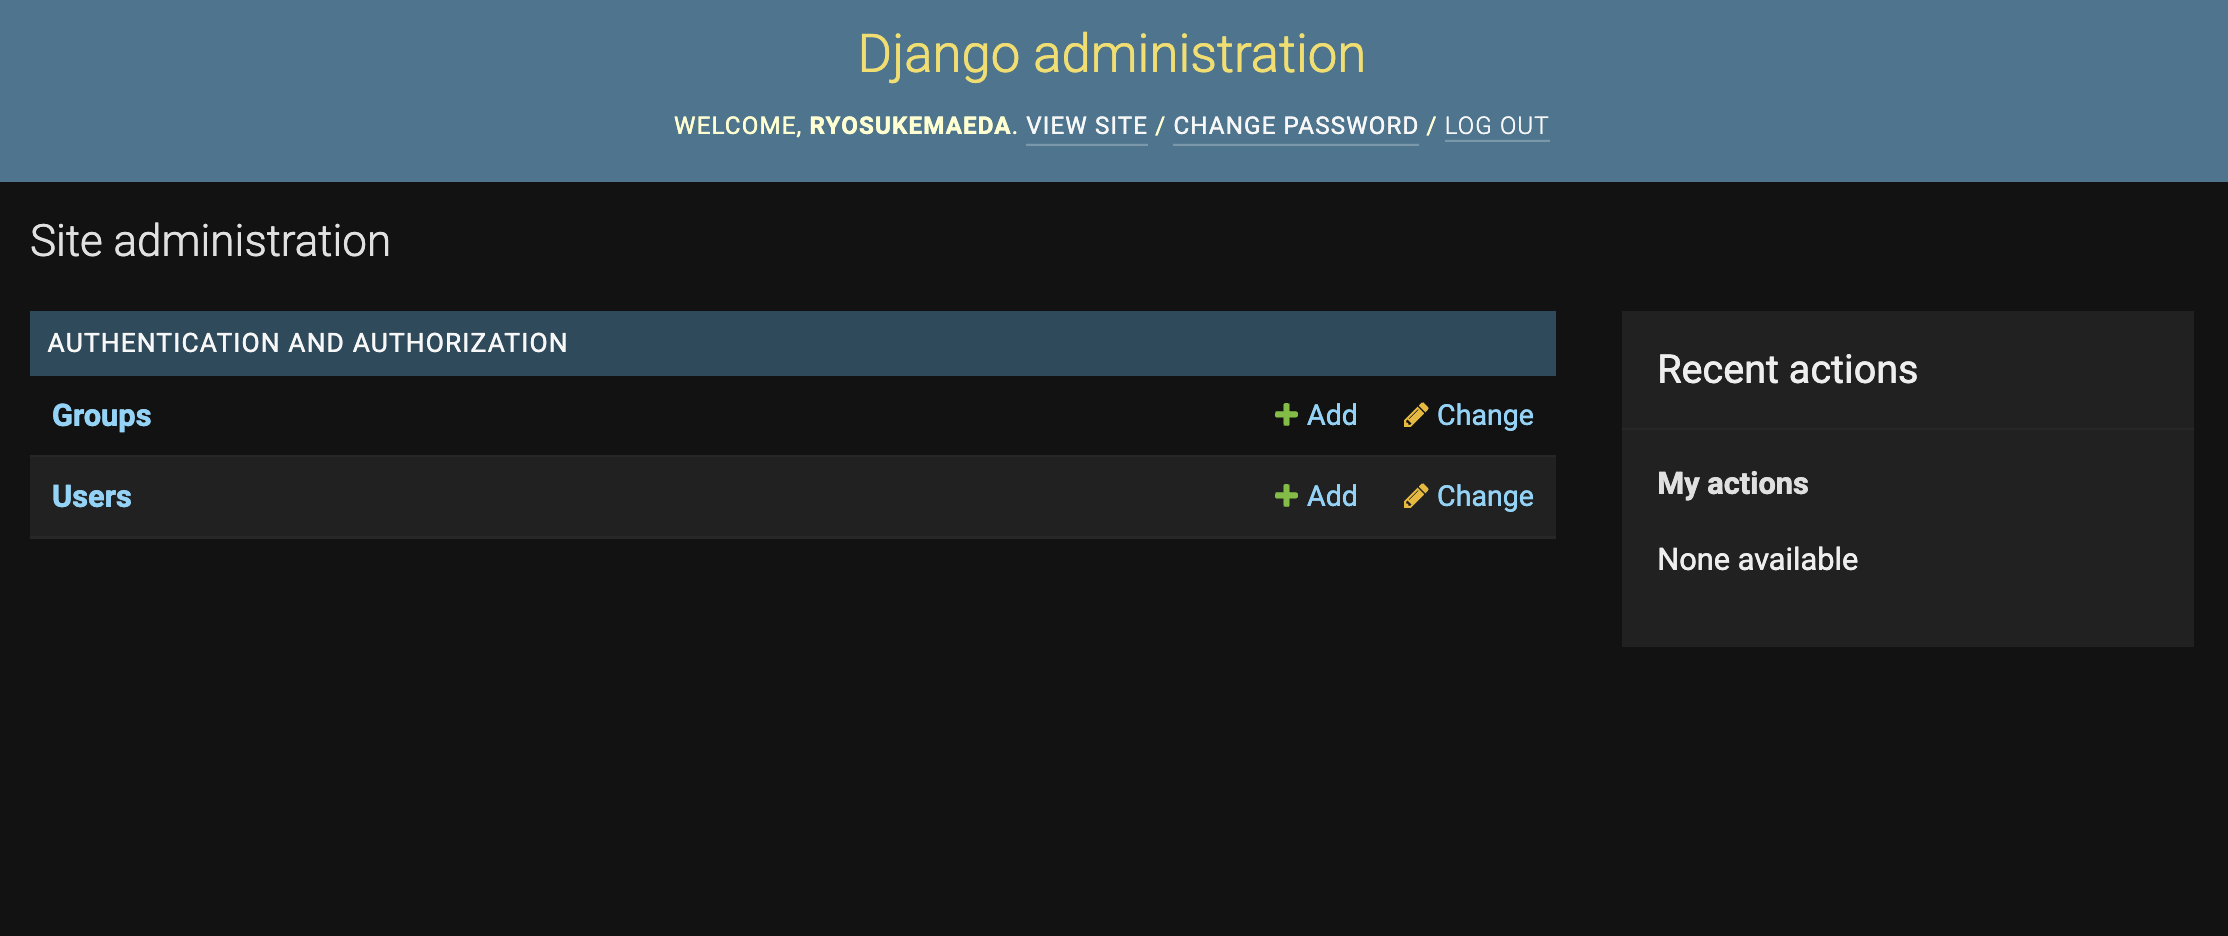
ブラウザでhttp://127.0.0.1:8000/admin/にアクセスし、ログインフォームから作成したスーパーユーザー情報を用いてログインできればOKです。
確認できましたら、ログアウトしておきます。
basic_auth/account/serializers.pyを作成します。
from rest_framework import serializers
from .models import User

class UserSerializer(serializers.ModelSerializer):

    class Meta:
        model = User
        fields = "__all__"
シリアライザーによって、クエリセットやモデルインスタンスなどの複雑なデータをネイティブの
Pythonデータ型に変換できます。
basic_auth/account/views.pyを編集します。
from rest_framework import viewsets
from rest_framework.authentication import BasicAuthentication
from rest_framework.permissions import IsAuthenticated

from .models import User
from .serializers import UserSerializer

class TaskViewSet(viewsets.ModelViewSet):
    queryset = User.objects.all()
    serializer_class = UserSerializer
    # authenticationとpermissonの以下の2つを設定するとBasic認証が設定できます。
    authentication_classes = (BasicAuthentication,)
    permission_classes = (IsAuthenticated,)
accountアプリをurls.pyを作成し、以下の内容を書きます。
basic_auth/account/urls.py
from django.urls import include, path
from rest_framework.routers import DefaultRouter
from .views import TaskViewSet

router = DefaultRouter()
router.register(r'account', TaskViewSet)

urlpatterns = [
    path('', include(router.urls))
]
basic_auth/project/urls.pyにaccountアプリのパスを追加します。
from django.contrib import admin
from django.urls import path, include

urlpatterns = [
    path('admin/', admin.site.urls),
    path('api/v1/', include('account.urls'))
]
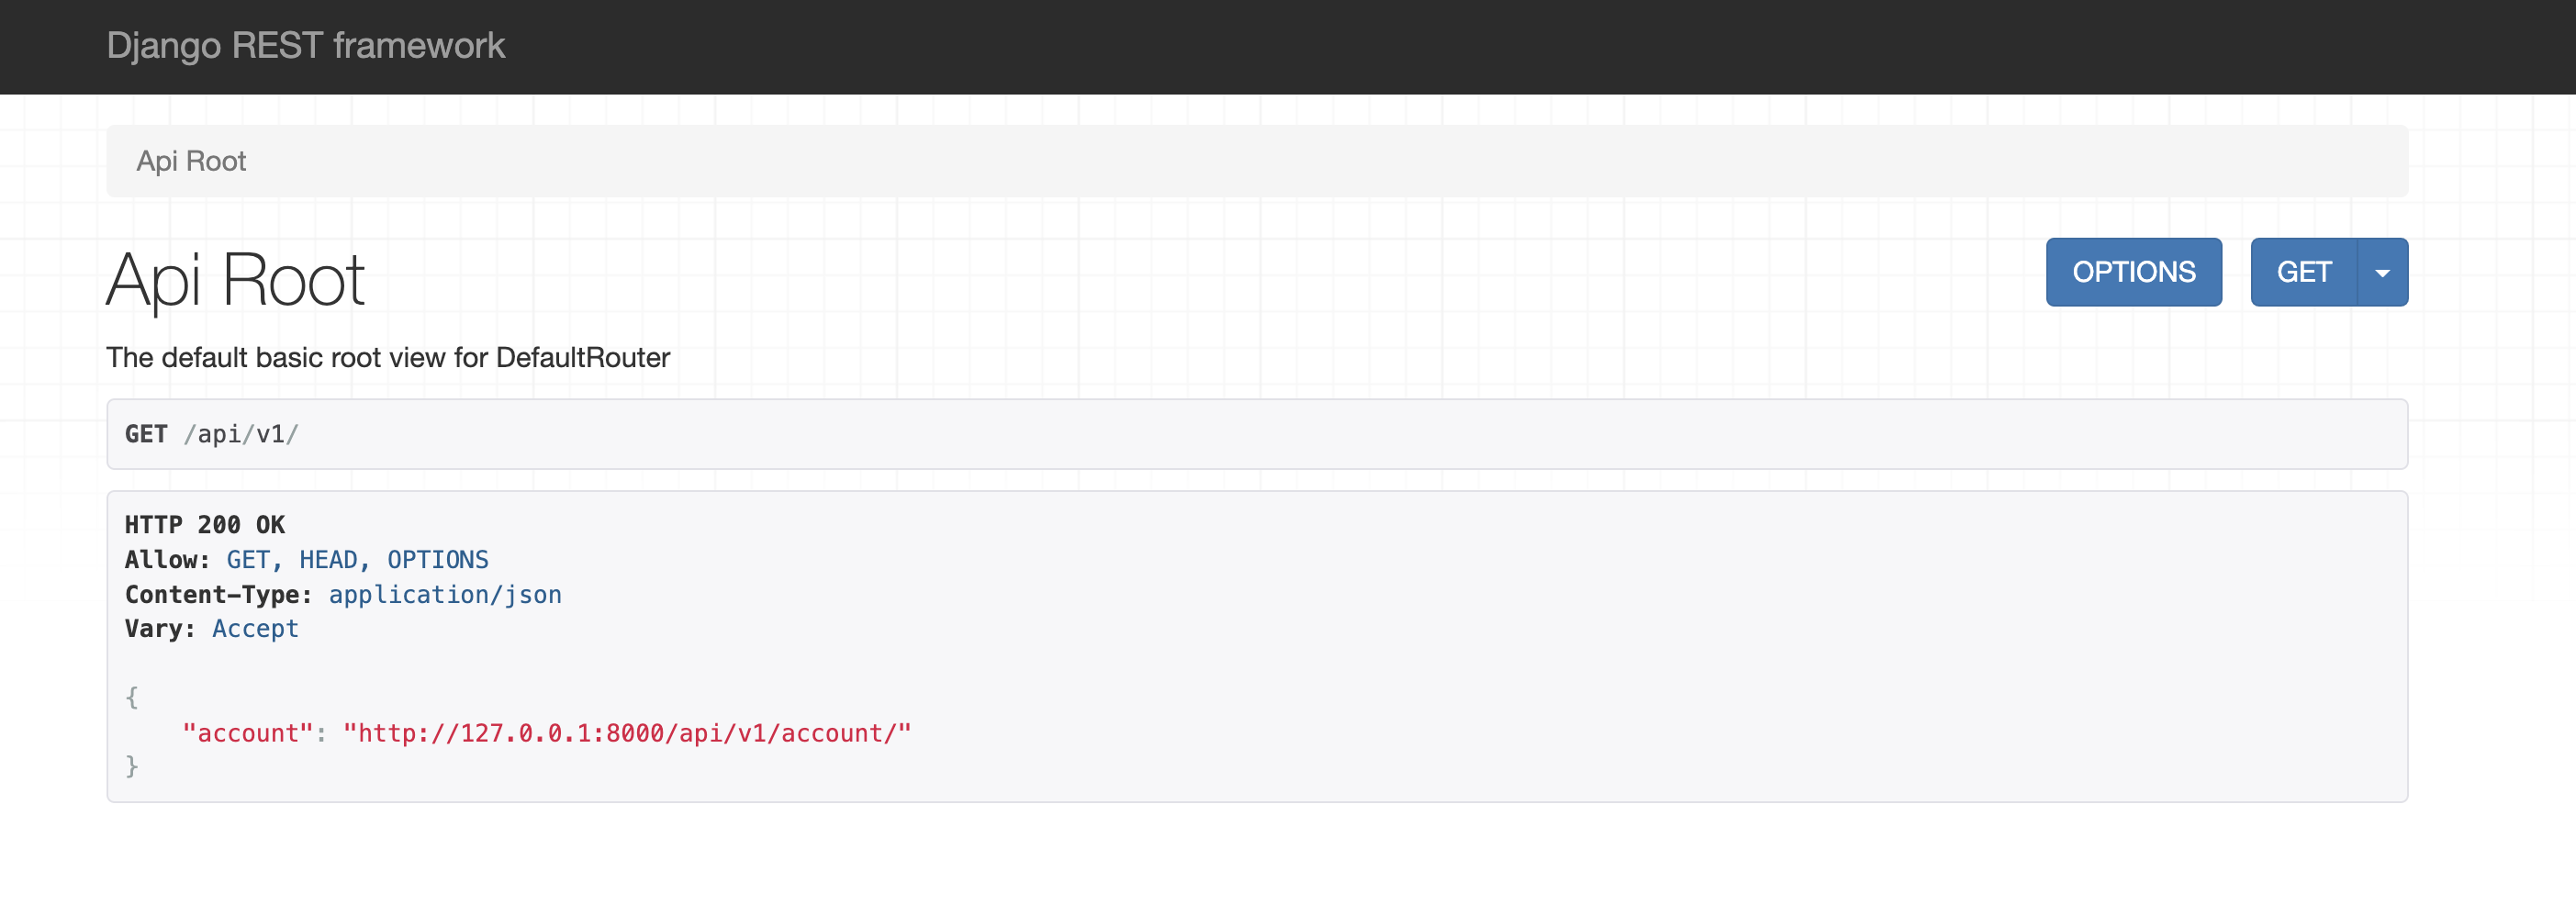
ここまでできましたら、ブラウザでhttp://127.0.0.1:8000/api/v1/にアクセスします。

http://127.0.0.1:8000/api/v1/account/を選択しますと、Basic認証が要求されることが確認できました。

ここで事前に作成した、スーパーユーザーのユーザー名とパスワードを入力するとサインインできます。
Dockerによる起動
この環境をdockerで起動するようにします。
build/Dockerfileを作成し、以下を記載します。
FROM python:3.10-buster

ENV PYTHONUNBUFFERED 1

WORKDIR /app
ADD requirements.txt /app/
RUN pip install --upgrade pip \
  && pip install -r requirements.txt

ADD ./projects /app/
docker-compose.ymlファイルを作成し、以下を記載します。
version: '3'

services:
  basic:
    container_name: basic-auth-app
    restart: always
    build:
      context: .
      dockerfile: ./build/Dockerfile
    command: python3 basic_auth/manage.py runserver 0.0.0.0:8000
    volumes:
      - ./projects:/app
    ports:
      - "8001:8000"
以下のコマンドを実行して、起動します。
drf-authentication-demo % docker-compose up --build
ブラウザで、http://127.0.0.1:8001/api/v1/にアクセスし、Dajngo REST Frameworkの画面が表示できましたら、OKです。

