ルータに穴を開けていなくてもインバウンドで接続できる怪しいソフトを、職場の近くで味噌ラーメン食べていた人に教わった。
どう考えてもバックドア仕掛けてNAT越えする以外に使い道が思いつかないので、とりあえず Dockerfile に書きとどめる。
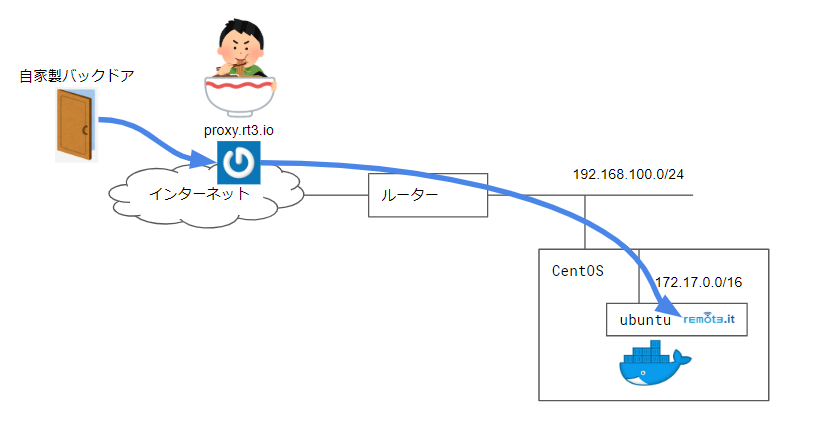
なんとなくのイメージ
※ルータには特に何も設定する必要はない。
自宅にバックドアを仕掛ける手順
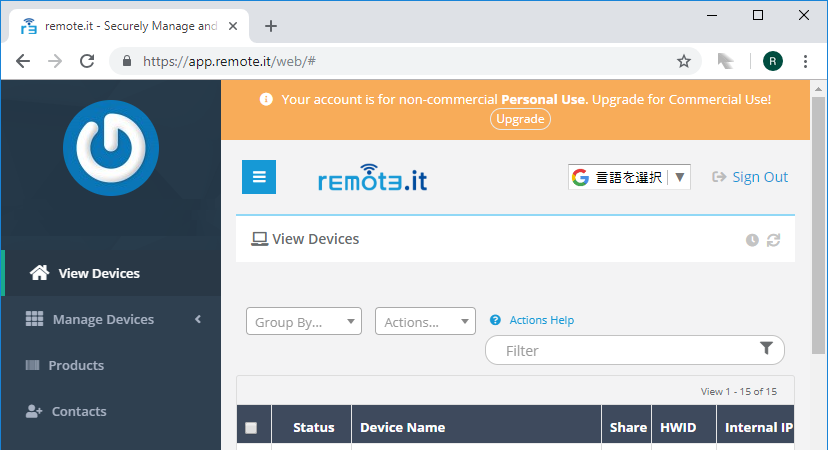
1. remote.itのアカウントを作成してWebポータルにサインイン
non-commercialのpersonal useでアカウント作成する
2. Docker ホストを用意する
ここではCentOS 7.5 1804を使用
3. Dockerfileを作ってコンテナ起動
$ sudo yum update -y
$ sudo yum install -y yum-utils device-mapper-persistent-data lvm2
$ sudo yum-config-manager --add-repo https://download.docker.com/linux/centos/docker-ce.repo
$ sudo yum install -y docker-ce
$ sudo systemctl enable docker; sudo systemctl start docker; systemctl status docker
$ mkdir -p ~/docker/ubuntu && cd $_
$ vi Dockerfile
$ vi startup.sh
$ sudo docker build -t 'my/ubuntu' .
$ sudo docker logs -f $(sudo docker run -d -it my/ubuntu)
docker run するときにも -p 12345:22 みたいな port forwarding は不要
FROM ubuntu:latest
RUN apt-get update
RUN export DEBIAN_FRONTEND=noninteractive
RUN apt-get install -y ssh curl psmisc iproute2 cron net-tools expect
RUN echo "PermitRootLogin yes" >> /etc/ssh/sshd_config
RUN mkdir -p /root/.ssh
RUN chmod 700 /root/.ssh
RUN touch /root/.ssh/authorized_keys
RUN chmod 600 /root/.ssh/authorized_keys
RUN echo "ssh-rsa AAAAB3N********c6rzZOpGQ== centos@lab.local" >> /root/.ssh/authorized_keys
RUN mkdir -p /var/run/sshd
RUN curl -sL https://github.com/weaved/installer/raw/master/Ubuntu_deb/weavedconnectd_1.3-07_x86/weavedconnectd_1.3-07k_x86.deb -o /root/weavedconnectd_1.3-07k_x86.deb
RUN dpkg -i /root/weavedconnectd_1.3-07k_x86.deb
ADD startup.sh /root
RUN chmod 700 /root/startup.sh
CMD ["/root/startup.sh"]
上記のSSH公開鍵は長ったらしかったので省略している。誰かが私のを登録してくれても特に嬉しくないですし。
# !/bin/bash

DATE=`date "+%Y%m%d-%H%M%S"`
TIMEOUT="30"
COMMAND="/usr/bin/weavedinstaller"
LOGIN_SELECTION="1"
LOGIN_MAIL="your@email.here"
LOGIN_PASS="yourpassword"
LOGIN_DEVICE="ubuntu-${DATE}"
MAIN_SELECTION="1"
PROTO_SELECTION="1"
PROTO_PORT_DEFAULT="y"
PROTO_APP_NAME="ubuntu-${DATE}-ssh"
EXIT_SELECTION="4"

/usr/sbin/sshd -D &
expect -c "
set timeout ${TIMEOUT}
spawn ${COMMAND}
expect \"Please select from the above options (1-4):\";                    send -- \"${LOGIN_SELECTION}\n\"
expect \"Please enter your remot3.it Username (e-mail address):\";         send -- \"${LOGIN_MAIL}\n\"
expect \"Please enter your remot3.it password:\";                          send -- \"${LOGIN_PASS}\n\"
expect \"Only letters, numbers, underscore, space and dash are allowed.\"; send -- \"${LOGIN_DEVICE}\n\"
expect \"Please select from the above options (1-4):\";                    send -- \"${MAIN_SELECTION}\n\"
expect \"Please select from the above options (1-5):\";                    send -- \"${PROTO_SELECTION}\n\"
expect \"Would you like to continue with the default port assignment?\";   send -- \"${PROTO_PORT_DEFAULT}\n\"
expect \"Only letters, numbers, underscore, space and dash are allowed.\"; send -- \"${PROTO_APP_NAME}\n\"
expect \"Please select from the above options (1-4):\";                    send -- \"${EXIT_SELECTION}\n\"
interact
"
tail -f /dev/null
上記のユーザ名とパスワードは、もちろん自分のに書き換えて下さい。
対話式インストーラって、どうやって Dockerfile に書けばいいのか分からんかったので人生で初めて expect とやらを使った。
4. Dockerコンテナのログを見てデバイスの登録完了を待つ
最後に sudo docker logs -f $(sudo docker run -d -it my/ubuntu) を実行しているのでコンテナのログが垂れ流される。
以下のように Main Menu に戻って 4) Exit を選択していたら登録完了なので CTRL+C で抜けていい。
SSH             22      sshd                    ubuntu-20181028-125059-ssh
------------------------------------------------------------
 Device Name: ubuntu-20181028-125059
============================================================

********************** Main Menu *************************

      1) Attach/reinstall remot3.it to a Service
      2) Remove remot3.it attachment from a Service
      3) Remove all remot3.it attachments, then exit
      4) Exit

**********************************************************

Please select from the above options (1-4):
4
weavedConnectd[521]: 59609> NAT type selected at 3 with natmap 2
weavedConnectd[521]: Server Connection changed to state 4
weavedConnectd[521]: Server Connection changed to state 5
weavedConnectd[521]: Connected to server is xxx.xxx.xxx.xxx:xxxx
weavedConnectd[521]: 59729> -Updating Internal IP address of 172.17.0.2:11648 to Weaved Service.
weavedConnectd[521]: 59729> Updating Internal IP address of 172.17.0.2:11648 to Weaved Service.
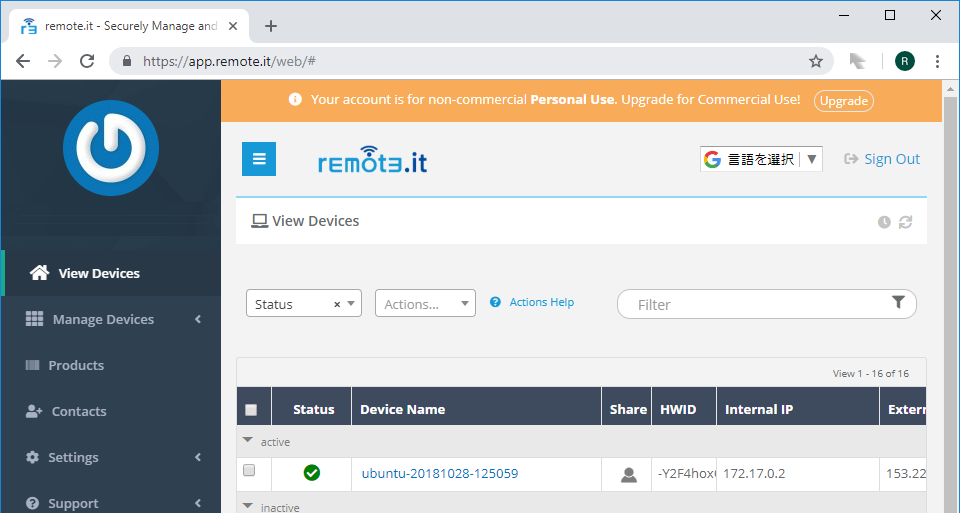
5. 外からコンテナにssh接続してみる
Webコンソールに戻ってデバイス一覧を更新してみると、今登録したデバイスが出てくるので選択する
デバイスをクリックするとデバイスと一緒に登録したSSHポートが出てくるので選択する
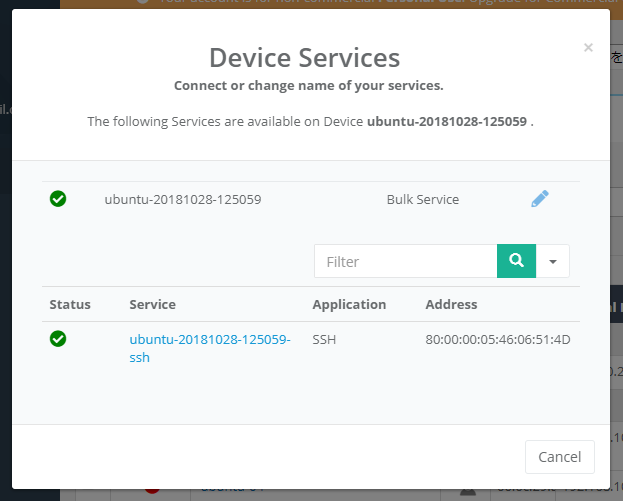
何秒か待つとバックドア もとい プロキシサーバのアドレスとポートが表示される
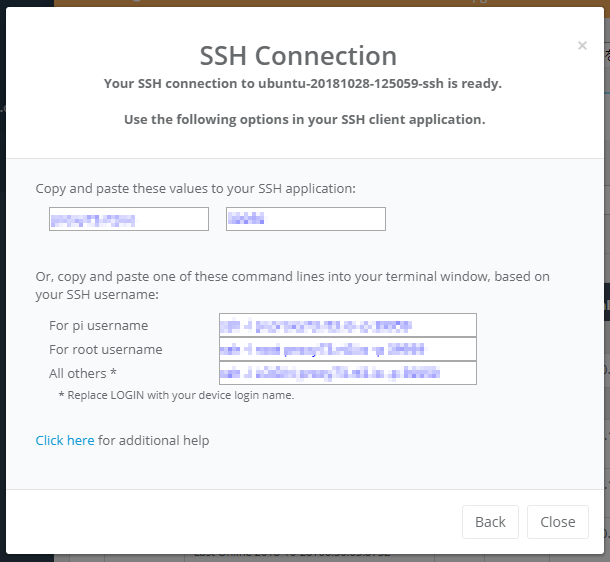
どこでもいいのでSSHクライアントを起動し、プロキシサーバとポートを入力して接続する
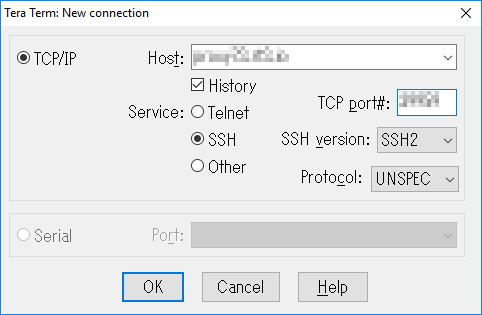
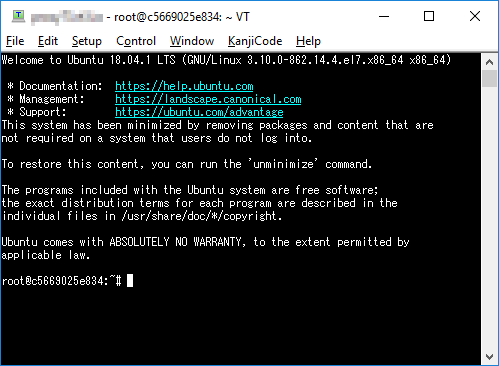
つながりました
6. おしまい
別にSSH以外にhttpでもRDPでも何でも自由にバックドアどこでもドアを仕込める。
Dockerコンテナに仕込んで何に使うんだというツッコミもあるかも知れない。
本当はラズパイとかIoT用途とかに使うものらしい。クジラ肉がダメならお菓子を食べればいいじゃない。