この記事を書いてから、LINEのMessage APIの送信上限が無料枠で200通であることに気づきました。毎月の更新は200を超えるため、常に最新情報を受信したい場合は、他の手段を検討するのが良いでしょう。
https://www.lycbiz.com/jp/service/line-official-account/plan/
または、プログラムを改修し、1通のメッセージに2件以上の更新情報を詰め込む方法でも上記制限回避できると思われます。
背景
日々のAWSアップデート情報を収集するため、もともとRSSフィード(英語版)を購読し、Outlookで確認していましたが、①英語を読むのが大変で、②読んでも内容を理解しづらく、気づけば数百件の未読最新情報が溜まってしまいました。この問題を解決するため、「日本語で、分かりやすく要約された情報」を入手できる方法を検討しました。
AWS公式から、生成 AI で AWS アップデートを効率的にキャッチアップ !というタイトルで、TeamsやSlackに要約を送信する仕組みが提供されていたため、これを利用しつつ、普段使っているスマホのLINEアプリで確認できるようにしました。
やりたいこと
基本的には既存のアーキテクチャを参考にし、必要な点のみ変更を加えました。

変更点①:RSSNewsCrawlerで、DynamoDBにnotifier_nameの値を書き込まない
元のコードでは、SlackとTeamsに対応するコードが提供されていますが、通知先をLINEに限定したため、この項目は不要と判断しました。
変更点②:NotifyNewEntryで、LINE SDKを利用する
本記事の中心的な部分です。LINEのチャネルアクセストークンとチャネルシークレットを取得し、Parameter StoreではなくLambdaの環境変数に設定しています(Parameter Storeの利用も可能です)。
変更点③:EventBridgeのスケジュール間隔
提供されているものは1時間間隔でRSSサイトをクロールしていますが、通勤中に確認できるよう、毎朝7時にクロールするように変更しました。
構築
Bedrockについて、本記事では東京リージョンのClaude 3.5 Sonnetを利用しています。最新のモデルを利用したい場合は、バージニア北部(us-east-1)やオレゴン(us-west-2)での構築をお勧めします。
LINE Developerでトークンとシークレットを発行する
LINE Developersログインし、プロバイダーを新規に作成します。

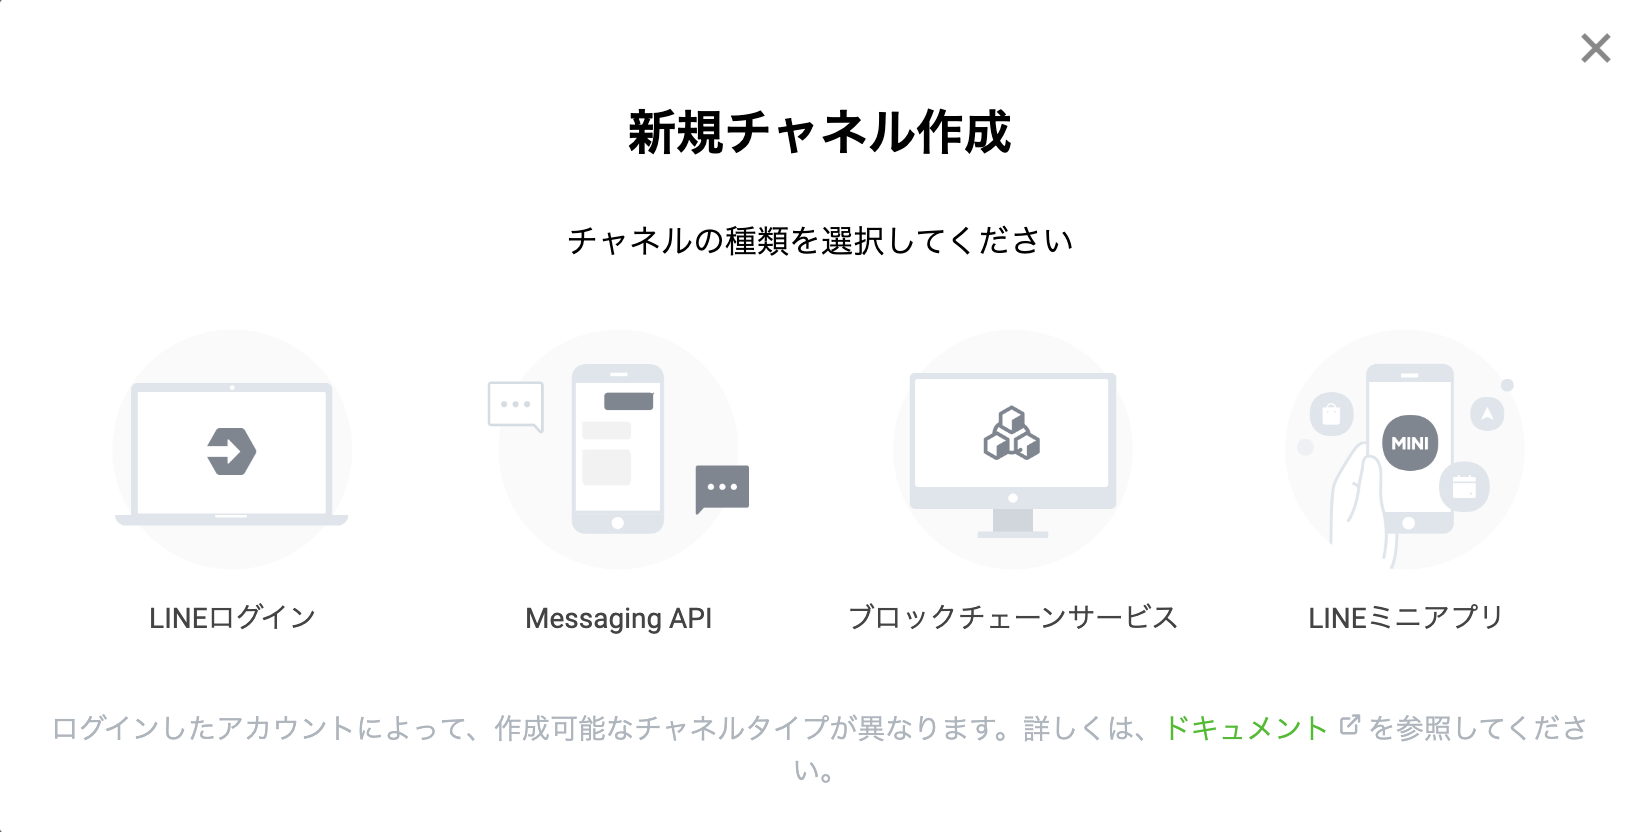
作成したプロバイダー上で「Messaging API」を選択し、新規チャネルを作成します。

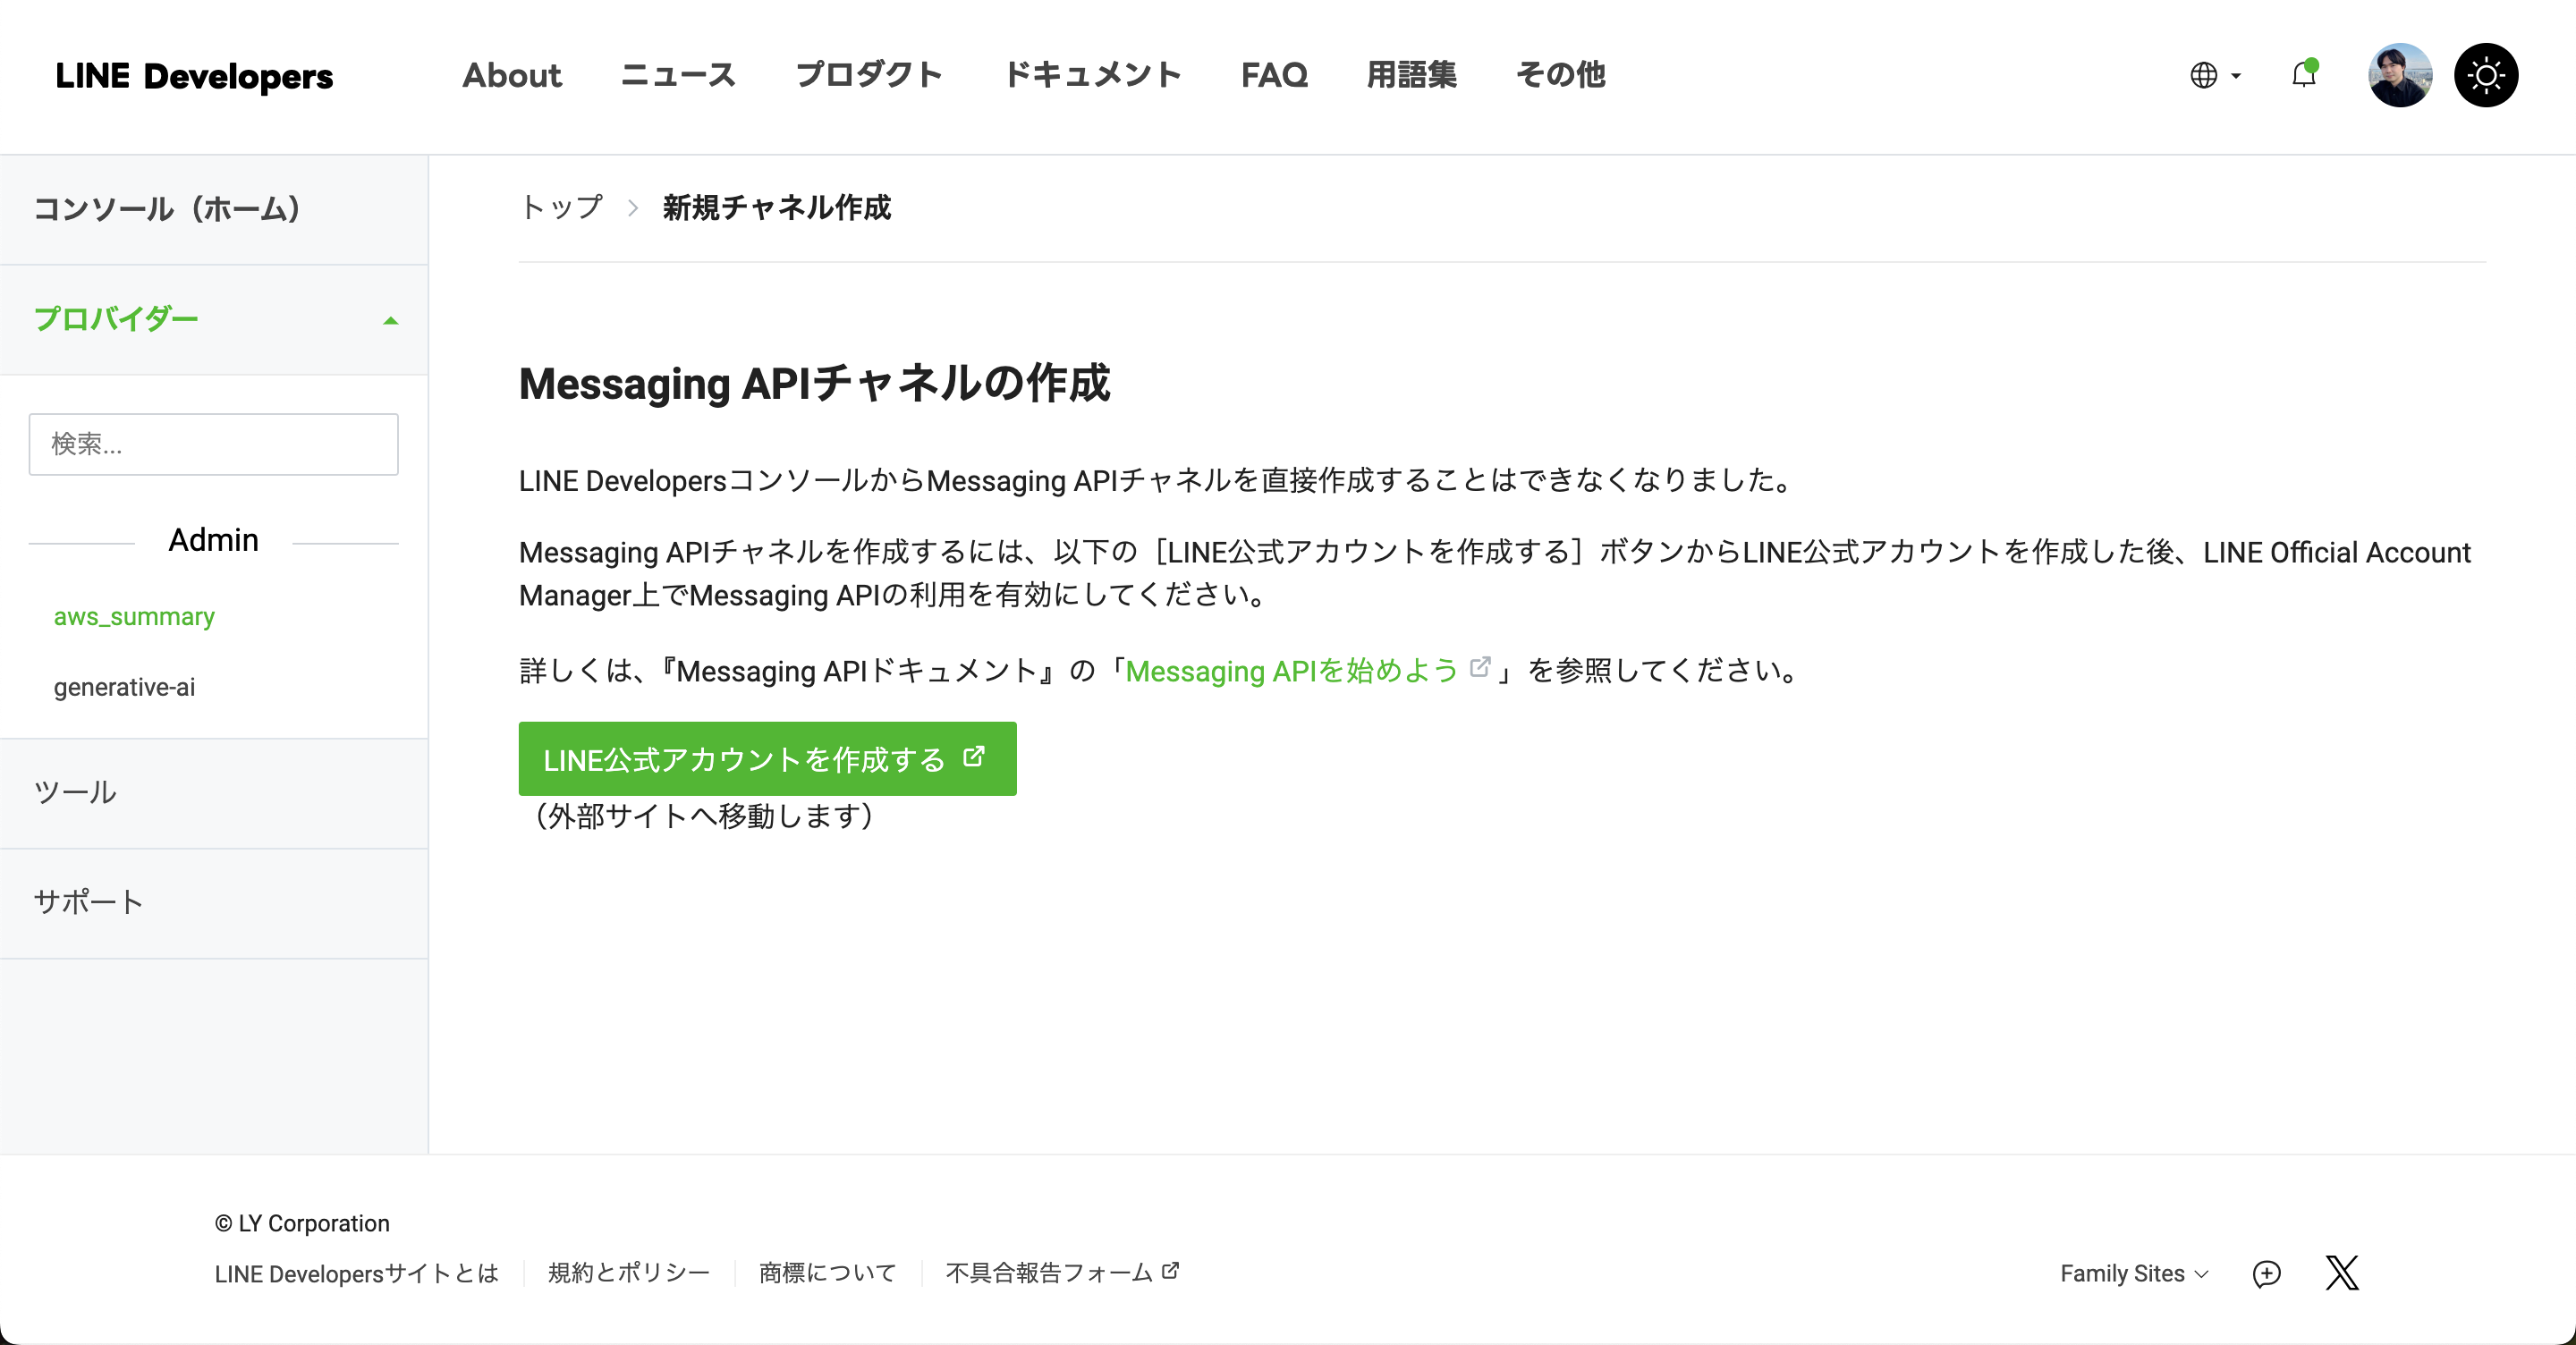
2024年9月4日以降、LINEのMessaging APIを利用するためにはLINE公式アカウントとLINE Businessアカウントが必要です。LINE Businessアカウント作成後、Messaging APIを始めように従って、Messaging APIを有効にします。

作成したチャネルを選択し、チャネル基本設定タブから「チャネルシークレット」を、Messaging APIタブから「チャネルアクセストークン」を発行し、メモしておきます。
また、ユーザーIDもこの後利用しますので控えておきます。

くれぐれも発行したチャネルシークレットやチャネルアクセストークンは第三者に公開しないように注意してください。
DynamoDBの作成
クロールした結果をDynamoDBに書き込みめるよう、DynamoDBを作成します。アップデート情報が記載されているURLリンクをパーティションキーに設定し、残りはcategory(記事のカテゴリ)、pubtime(記事の発表日時)、title(記事のタイトル)を書き込んでいます。categoryについては今のところ「Recent Announcements」しかないため、なくても良いかもしれません。
コンソール上からDynamoDBを選択し、テーブルの作成を押下します。
その後、任意のテーブル名を入力し、パーティションキーにはurl(文字列型)を入力します。urlの型は文字列でOKです。

その他はデフォルトのままで、テーブルの作成を押下します。
テーブル作成後、テーブルの「エクスポートおよびストリーム」タブからストリームを有効にします。表示タイプは「新しいイメージ」を選択し、有効化します。これにより、DynamoDBのテーブルに項目が追加された時のみ、後続のLambdaを呼び出す処理ができるようになります。

Bedrockのモデルアクセス有効
Bedrockのコンソールに移動し、モデルアクセスから利用したいモデルをリクエストします。

最近、モデルアクセスが「使用不可」だらけになっているケースがあるようです。この場合は下記記事を参照の上対処してください。
Lambda(RSSNewsCrawler)の作成
下記のようなLambda関数を作成します。
import json
import boto3
import feedparser
import os
import datetime
from dateutil import parser

# DynamoDBのテーブル名
TABLE_NAME = os.environ["DDB_TABLE_NAME"]
RSS_URL = os.environ["RSS_URL"]

# DynamoDBクライアントを作成
dynamodb = boto3.resource("dynamodb")
table = dynamodb.Table(TABLE_NAME)


def lambda_handler(event, context):
    # RSSフィードを解析
    feed = feedparser.parse(RSS_URL)

    # エントリを追加
    add_blog(feed.feed.title, feed.entries)

    return {"statusCode": 200, "body": json.dumps("RSS Feed processed successfully")}


def add_blog(rss_name, entries):
    """Add blog posts

    Args:
        rss_name (str): The category of the blog (RSS unit)
        entries (List): The list of blog posts
    """
    for entry in entries:
        if recently_published(entry.published):
            write_to_table(
                entry.link,
                entry.title,
                rss_name,
                str2datetime(entry.published).isoformat(),
            )
        else:
            print("Old blog entry. skip: " + entry.title)


def recently_published(pubdate):
    """Check if the publication date is recent

    Args:
        pubdate (str): The publication date and time
    """
    elapsed_time = datetime.datetime.now() - str2datetime(pubdate)
    print(elapsed_time)
    return elapsed_time.days <= 7


def write_to_table(link, title, category, pubtime):
    """Write a blog post to DynamoDB

    Args:
        link (str): The URL of the blog post
        title (str): The title of the blog post
        category (str): The category of the blog post
        pubtime (str): The publication date of the blog post
    """
    try:
        item = {
            "url": link,
            "title": title,
            "category": category,
            "pubtime": pubtime,
        }
        print(item)
        table.put_item(Item=item)
    except Exception as e:
        # Intentional error handling for duplicates to continue
        if e.response["Error"]["Code"] == "ConditionalCheckFailedException":
            print("Duplicate item put: " + title)
        else:
            print(e)


def str2datetime(time_str):
    """Convert the date format from the blog text to datetime

    Args:
        time_str (str): The date and time string, e.g., "Tue, 20 Sep 2022 16:05:47 +0000"
    """
    return parser.parse(time_str, ignoretz=True)
コード入力後、下記設定をする必要があります。
- 環境変数の設定:
DDB_TABLE_NAMEにDynamoDBのテーブル名、RSS_URLにAWS What's NewのRSSフィードURLを設定します - タイムアウト時間の調整: デフォルトの3秒から30秒に設定しました
- IAMロールの権限追加: Lambda関数にDynamoDBへのアクセス権限を付与します
- Lambdaレイヤーの追加: feedparserとpython-dateutilライブラリを使用できるようにするため、Lambdaレイヤーを作成し追加します
レイヤの作成方法については下記記事を参考にしてください。
Lambda(notifyToLine)の作成
DynamoDBにレコードが追加されたことをトリガーにLINEへメッセージを飛ばすためのLambda関数です。
import boto3
import json
import os
import time
import traceback

import urllib.request

from typing import Optional
from botocore.config import Config
from bs4 import BeautifulSoup
from botocore.exceptions import ClientError
import re

from linebot import LineBotApi
from linebot.models import TextSendMessage

# LINE Setup
LINE_CHANNEL_ACCESS_TOKEN = os.environ["LINE_CHANNEL_ACCESS_TOKEN"]
CHANNEL_SECRET = os.environ["LINE_CHANNEL_SECRET"]
LINE_BOT_API = LineBotApi(LINE_CHANNEL_ACCESS_TOKEN)
LINE_USER_ID = os.environ["USER_ID"]

# Bedrock Setup
MODEL_ID = os.environ["MODEL_ID"]
MODEL_REGION = os.environ["MODEL_REGION"]


def lambda_handler(event, context):
    try:
        new_data = get_new_entries(event["Records"])
        if 0 < len(new_data):
            push_notification(new_data)
    except Exception as e:
        print(traceback.print_exc())


def get_new_entries(blog_entries):
    res_list = []
    for entry in blog_entries:
        print(entry)
        if entry["eventName"] == "INSERT":
            new_data = {
                "rss_category": entry["dynamodb"]["NewImage"]["category"]["S"],
                "rss_time": entry["dynamodb"]["NewImage"]["pubtime"]["S"],
                "rss_title": entry["dynamodb"]["NewImage"]["title"]["S"],
                "rss_link": entry["dynamodb"]["NewImage"]["url"]["S"],
            }
            print(new_data)
            res_list.append(new_data)
        else:  # Do not notify for REMOVE or UPDATE events
            print("skip REMOVE or UPDATE event")
    return res_list


def push_notification(item_list):
    for item in item_list:
        item_url = item["rss_link"]
        item_title = item["rss_title"]

        # Get the blog context
        content = get_blog_content(item_url)

        # Summarize the blog
        summary, detail = summarize_blog(
            content,
            language="Japanese. Each sentence must be output in polite and formal desu/masu style",
            persona="solutions architect in AWS",
        )

        # Add the summary text to notified message
        item["summary"] = summary
        item["detail"] = detail
        msg = item

        text_message_content = f"Title: {item_title}\nSummary: {msg['summary']}\nDetail: {msg['detail']}\nLink: {item_url}"
        text_message = TextSendMessage(text=text_message_content)
        LINE_BOT_API.push_message(LINE_USER_ID, text_message)

        time.sleep(0.5)


def get_blog_content(url):
    """Retrieve the content of a blog post

    Args:
        url (str): The URL of the blog post

    Returns:
        str: The content of the blog post, or None if it cannot be retrieved.
    """

    try:
        if url.lower().startswith(("http://", "https://")):
            # Use the `with` statement to ensure the response is properly closed
            with urllib.request.urlopen(url) as response:
                html = response.read()
                if response.getcode() == 200:
                    soup = BeautifulSoup(html, "html.parser")
                    main = soup.find("main")

                    if main:
                        return main.text
                    else:
                        return None

        else:
            print(f"Error accessing {url}, status code {response.getcode()}")
            return None

    except urllib.error.URLError as e:
        print(f"Error accessing {url}: {e.reason}")
        return None


def summarize_blog(
    blog_body,
    language,
    persona,
):
    boto3_bedrock = get_bedrock_client(
        assumed_role=os.environ.get("BEDROCK_ASSUME_ROLE", None),
        region=MODEL_REGION,
    )
    beginning_word = "<output>"
    prompt_data = f"""
<input>{blog_body}</input>
<persona>You are a professional {persona}. </persona>
<instruction>Describe a new update in <input></input> tags in bullet points to describe "What is the new feature", "Who is this update good for". description shall be output in <thinking></thinking> tags and each thinking sentence must start with the bullet point "- " and end with "\n". Make final summary as per <summaryRule></summaryRule> tags. Try to shorten output for easy reading. You are not allowed to utilize any information except in the input. output format shall be in accordance with <outputFormat></outputFormat> tags.</instruction>
<outputLanguage>In {language}.</outputLanguage>
<summaryRule>The final summary must consists of 1 or 2 sentences. Output format is defined in <outputFormat></outputFormat> tags.</summaryRule>
<outputFormat><thinking>(bullet points of the input)</thinking><summary>(final summary)</summary></outputFormat>
Follow the instruction.
"""

    max_tokens = 4096

    user_message = {
        "role": "user",
        "content": [
            {
                "type": "text",
                "text": prompt_data,
            }
        ],
    }

    assistant_message = {
        "role": "assistant",
        "content": [{"type": "text", "text": f"{beginning_word}"}],
    }

    messages = [user_message, assistant_message]

    body = json.dumps(
        {
            "anthropic_version": "bedrock-2023-05-31",
            "max_tokens": max_tokens,
            "messages": messages,
            "temperature": 0.5,
            "top_p": 1,
            "top_k": 250,
        }
    )

    accept = "application/json"
    contentType = "application/json"
    outputText = "\n"

    try:
        response = boto3_bedrock.invoke_model(
            body=body, modelId=MODEL_ID, accept=accept, contentType=contentType
        )
        response_body = json.loads(response.get("body").read().decode())
        outputText = beginning_word + response_body.get("content")[0]["text"]
        print(outputText)
        # extract contant inside <summary> tag
        summary = re.findall(r"<summary>([\s\S]*?)</summary>", outputText)[0]
        detail = re.findall(r"<thinking>([\s\S]*?)</thinking>", outputText)[0]
    except ClientError as error:
        if error.response["Error"]["Code"] == "AccessDeniedException":
            print(
                f"\x1b[41m{error.response['Error']['Message']}\
            \nTo troubeshoot this issue please refer to the following resources.\nhttps://docs.aws.amazon.com/IAM/latest/UserGuide/troubleshoot_access-denied.html\nhttps://docs.aws.amazon.com/bedrock/latest/userguide/security-iam.html\x1b[0m\n"
            )
        else:
            raise error

    return summary, detail


def get_bedrock_client(
    assumed_role: Optional[str] = None,
    region: Optional[str] = None,
    runtime: Optional[bool] = True,
):
    """Create a boto3 client for Amazon Bedrock, with optional configuration overrides

    Args:
        assumed_role (Optional[str]): Optional ARN of an AWS IAM role to assume for calling the Bedrock service. If not
            specified, the current active credentials will be used.
        region (Optional[str]): Optional name of the AWS Region in which the service should be called (e.g. "us-east-1").
            If not specified, AWS_REGION or AWS_DEFAULT_REGION environment variable will be used.
        runtime (Optional[bool]): Optional choice of getting different client to perform operations with the Amazon Bedrock service.
    """

    if region is None:
        target_region = os.environ.get(
            "AWS_REGION", os.environ.get("AWS_DEFAULT_REGION")
        )
    else:
        target_region = region

    print(f"Create new client\n  Using region: {target_region}")
    session_kwargs = {"region_name": target_region}
    client_kwargs = {**session_kwargs}

    profile_name = os.environ.get("AWS_PROFILE")
    if profile_name:
        print(f"  Using profile: {profile_name}")
        session_kwargs["profile_name"] = profile_name

    retry_config = Config(
        region_name=target_region,
        retries={
            "max_attempts": 10,
            "mode": "standard",
        },
    )
    session = boto3.Session(**session_kwargs)

    if assumed_role:
        print(f"  Using role: {assumed_role}", end="")
        sts = session.client("sts")
        response = sts.assume_role(
            RoleArn=str(assumed_role), RoleSessionName="langchain-llm-1"
        )
        print(" ... successful!")
        client_kwargs["aws_access_key_id"] = response["Credentials"]["AccessKeyId"]
        client_kwargs["aws_secret_access_key"] = response["Credentials"][
            "SecretAccessKey"
        ]
        client_kwargs["aws_session_token"] = response["Credentials"]["SessionToken"]

    if runtime:
        service_name = "bedrock-runtime"
    else:
        service_name = "bedrock"

    bedrock_client = session.client(
        service_name=service_name, config=retry_config, **client_kwargs
    )

    return bedrock_client
先ほどのLambda関数と同様にコードを入力後、下記を実施する必要があります。
- 環境変数の設定
LINE_CHANNEL_ACCESS_TOKENにはLINEのチャネルアクセストークン、LINE_CHANNEL_SECRETにはLINEのチャネルシークレットを入力します。
USER_IDはLINE Developerで作成したチャネルのページ下部にあるユーザーIDを設定します。
MODEL_IDには利用するBedrockのモデルIDを入力してください。
モデルIDは下記ページなどを参照してください。
MODEL_REGIONは利用するBedrockのリージョン名(ap-northeast-1など)を入力します。
- タイムアウト時間の調整
こちらもデフォルトの3秒だと、時間内に処理が終わらない可能性がありますので、延長しておきましょう。私は30秒に設定しています。 - IAMロールの権限追加
本LambdaではDynamoDBからレコードの読み取り、Bedrockの呼び出しをしておりますのでLambda関数のロールに権限追加をします。AmazonDynamoDBFullAccessとAmazonBedrockFullAccessを付与しました。 - Lambdaレイヤーの追加
このままだと、beautifulsoup4とline-bot-sdkライブラリが使えないので、Lambdaレイヤーを作成します。下記ドキュメントや記事を参照し、本Lambda関数にbeautifulsoup4とline-bot-sdkが使えるようLambdaレイヤーを追加してください。 - トリガーの追加
DynamoDBのトリガーを設定し、テーブルにレコードが追加されたら本Lambda関数を呼び出せるようにします。

EventBridgeの作成
最後にRSSフィードをクロールする周期を設定します。
EventBridgeを開き、左のメニューから「スケジュール」を選択します。

スケジュールを作成からスケジュール名を入力し、クロールする周期をcron式で入力します。

ターゲットの選択ではクロールするLambda(RSSNewsCrawler)を選択します。

次の画面ではスケジュール完了後のアクションを「NONE」に、再試行はしないように設定しました。


これでスケジュールの設定は完了です。
動作確認
正しく設定ができていれればスケジュールで設定した時刻にLINEのトーク画面に最新情報のメッセージが流れます。下記画像はPC版のLINEですが、スマホのLINEからも問題なく確認可能です。
まとめ
今回はLINEを使ってAWSの最新情報を確認できるようにしてみました。RSSが提供されていればさまざまな情報を収集できるので色々応用が効く内容になっていると思います。
情報は取りに行くのではなく、情報がある状態にできていると嬉しいですね!

