▼記事を書いた経緯
1.ConoHA VPSを借りてブログを作りたい。
2.ConoHA VPSのSSHセキュリティ設定は完了した。
3.ブログ記事のデータ保存の為にMySQLをCentOSに設定したい。
3のCentOSにMySQLを設定する際に少し躓いたので、同じく悩んだ方がスムーズに進めるように残しました。
書いている私も至らない点が多いと思いますので、誤記がありましたらご指摘いただけると幸いです。
▼参考サイト
https://support.conoha.jp/v/setupmysql/
https://qiita.com/ritukiii/items/f4e2fbae5d6e7b1aa5f9
1.MySQLのインストール
CentOSには標準のMariaDBが入っていて、そのままSQLをインストールすると競合する
▼MariaDBとデータフォルダを削除しておく
$ sudo yum remove mariadb-libs
$ sudo rm -rf /var/lib/mysql
MySQLのダウンロードページを開いてOSのバージョンが同じものをダウンロード

▼CentOSのバージョンの確認は以下で
$ cat /etc/redhat-release
CentOS Linux release 7.6.1810 (Core)
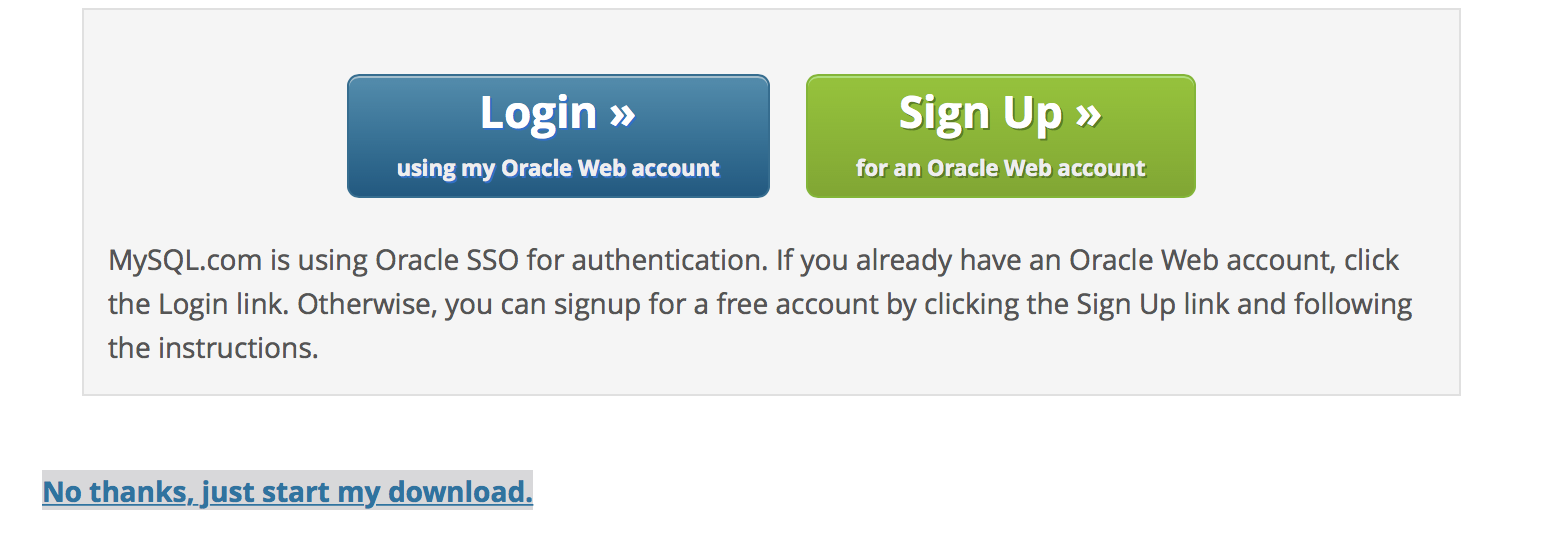
▼'No thanks,just start my download.'を右クリックしリンクをコピー選択

$ yum install https://dev.mysql.com/get/mysql80-community-release-el7-2.noarch.rpm
最後にComplete!と出ればMySQLインストール完了
MySQLの追加が完了するとmysql-community-serverというパッケージを追加することが出来る
$ yum -y install mysql-community-server
最後にComplete!と出ればパッケージの追加も完了
▼MySQLの自動起動
# OSの起動時にMySQLも起動することが出来ます
$ systemctl enable mysqld.service

# 今回限りMySQLをスタートさせる為に使います。(次回からは不要)
$ systemctl start mysqld.service
コンソール上は何も表示されませんがこれで自動起動設定完了です
まとめ
・CentOSには標準にMariaDBが付いているため、別のDBを入れる際は削除する(競合してしまうため)
・CentOS7からは起動処理の仕組みが違うためsystemctlを使う。