PlayCanvasのハンズオン言ってた際にUIをHTMLを利用してるのがあった際に、
VueJSとかで制御できたら色々便利だよねぇ・・・って思ってやってみたら動くまでできちゃった
今回つかうもの
PlayCanvasとは
VueJSとは
OnsenUIとは
を見てね!
PlayCanvasでの作業
ライブラリ用意
※PlayCanvasの仕様で直接URLからファイル追加できないので一度落としてからアップしないとだめ・・・やり方あったら教えて!
VueJS
OnsenUIのJS及びCSS
https://unpkg.com/onsenui/js/onsenui.min.js
https://unpkg.com/onsenui/css/onsenui.css
https://unpkg.com/onsenui/css/onsen-css-components.min.css
VueOnsenUI
をPlayCanvasのプロジェクトに追加
OnsenUI依存関係解決のために
https://cdnjs.cloudflare.com/ajax/libs/setImmediate/1.0.5/setImmediate.js
も必要
HTMLを表示させるための準備
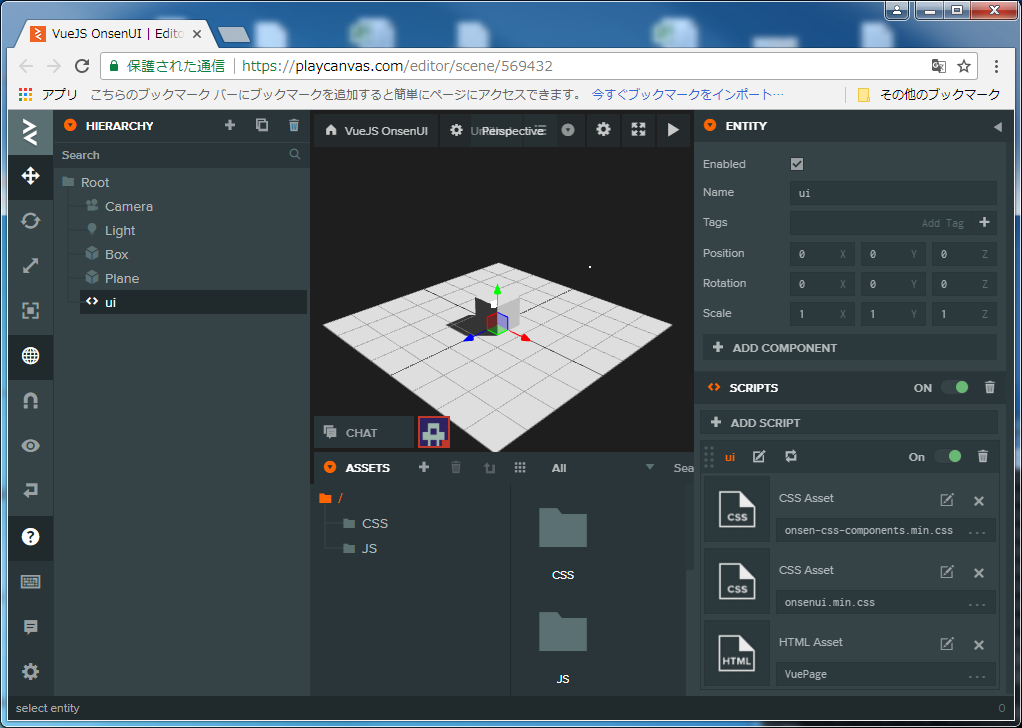
JavaScriptファイル用意&Entity登録&CSSファイルおよびHTMLファイル関連付け
HTML表示させるようのJavaScriptファイル用意(今回はui.js)
var Ui = pc.createScript('ui');

Ui.attributes.add('css1', {type: 'asset', assetType:'css', title: 'CSS Asset'});
Ui.attributes.add('css2', {type: 'asset', assetType:'css', title: 'CSS Asset'});
Ui.attributes.add('html', {type: 'asset', assetType:'html', title: 'HTML Asset'});

// initialize code called once per entity
Ui.prototype.initialize = function() {
    // create STYLE element
    var style1 = document.createElement('style');
    var style2 = document.createElement('style');

    // append to head
    document.head.appendChild(style1);
    style1.innerHTML = this.css1.resource || '';
    document.head.appendChild(style2);
    style2.innerHTML = this.css2.resource || '';

    // Add the HTML
    this.div = document.createElement('div');
    this.div.classList.add('container');
    this.div.innerHTML = this.html.resource || '';

    // append to body
    // can be appended somewhere else
    // it is recommended to have some container element
    // to prevent iOS problems of overfloating elements off the screen
    document.body.appendChild(this.div);

    new Vue({
        el: '#app',
        template: '#main',
        data: function() {
            return {
                title: 'My app'
            };
        }
    });
};

// update code called every frame
Ui.prototype.update = function(dt) {
};

// swap method called for script hot-reloading
// inherit your script state here
// Ui.prototype.swap = function(old) { };

// to learn more about script anatomy, please read:
// http://developer.playcanvas.com/en/user-manual/scripting/
HTML表示させるようのJavaScriptファイル用意(今回はui.js)
<template id="main">
  <v-ons-page style="width: 500px; height: 500px;">
    <v-ons-toolbar>
      <div class="center">{{ title }}</div>
      <div class="right">
        <v-ons-toolbar-button>
          <v-ons-icon icon="ion-navicon, material: md-menu"></v-ons-icon>
        </v-ons-toolbar-button>
      </div>
    </v-ons-toolbar>

    <p style="text-align: center">
      <v-ons-button @click="$ons.notification.alert('Hello World!')">
        Click me!
      </v-ons-button>
    </p>
  </v-ons-page>
</template>

<div id="app"></div>
ui.jsのアトリビュートにCSSおよびHTML(onsen-css-components.min.css、onsenui.min.css、VuePage.html)を関連付ける
Scripts読み込み順番

setImmediate.js
onsenui.js
vue.js
vue-onsenui.js
ui.js
の順にする
※ロード処理の関係でonsenui.jsで利用してるライブラリsetImmediateでエラー出るので単体でsetImmediate.jsを読み込むことで回避。だけど、実際はonsenui.jsコードの下の方でsetImmediate.js部分があるので編集で最初に持ってきたら動くかもしれない。
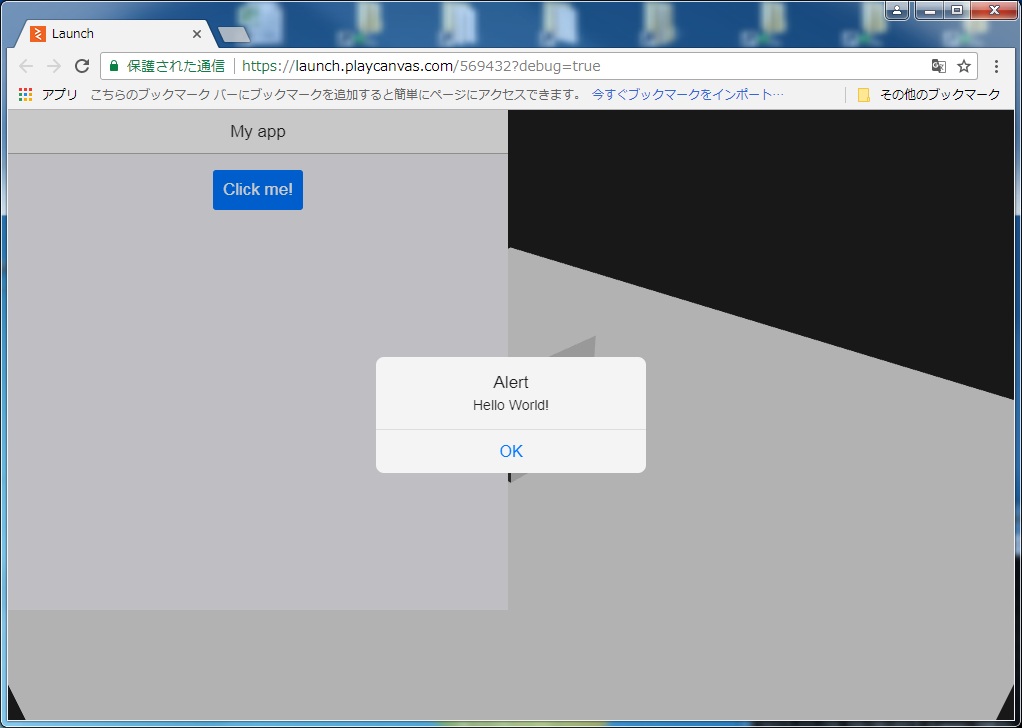
結果
今回作ったPlayCanvasプロジェクトの場所


