4
1

Delete article

Deleted articles cannot be recovered.

Draft of this article would be also deleted.

Are you sure you want to delete this article?

More than 3 years have passed since last update.

UbiregiAdvent Calendar 2019

Day 21

「2Dのカメラの追尾と映したい範囲を映す」やってみた

Last updated at Posted at 2019-12-21

概要

  • 2Dで自機をカメラで追尾したい。
  • 壁の向こうは映したくない。

Unity version

2019.2.16f1

必要なAsset

Cinemachine

やった事

自機をカメラで追尾する

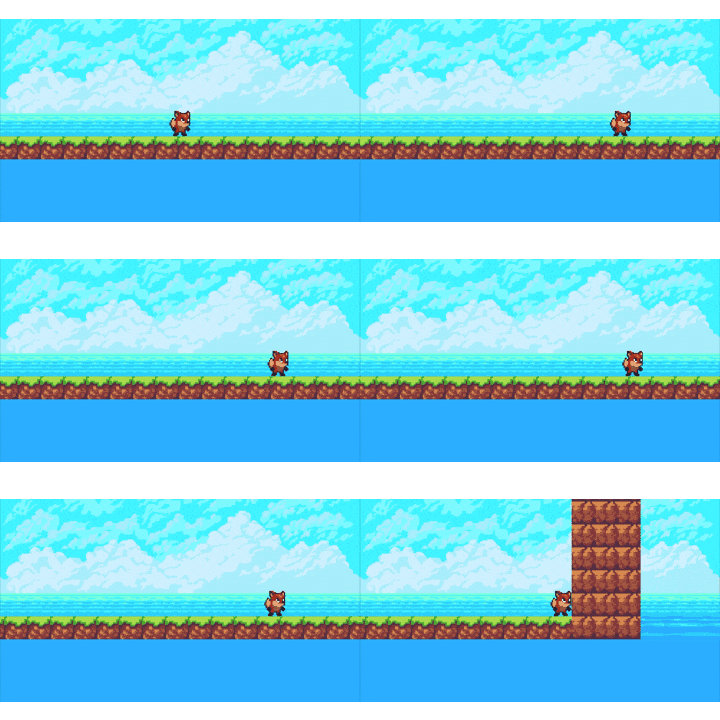
キャラクターが画面の外に消えてしまった。
追尾したい。

movie3.gif

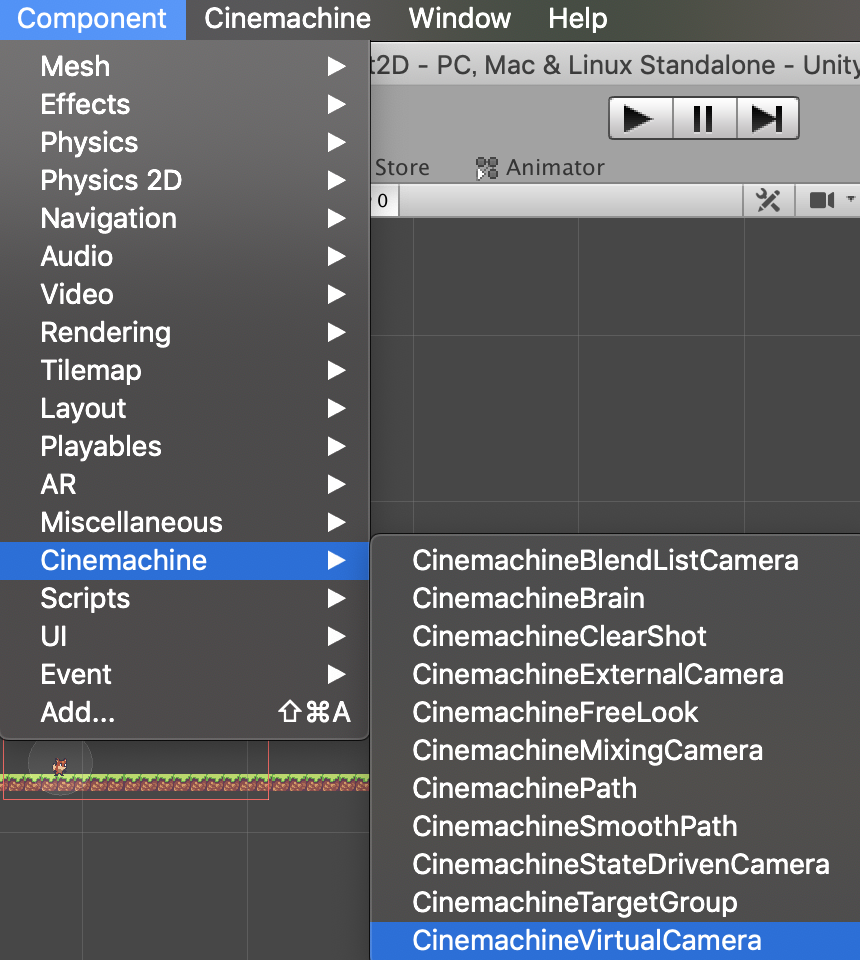
CinemachineのVirtual Cameraを使う。

AssetであるCinemachineをimportし、
CinemachineでVirtualCameraを作成する。
スクリーンショット 2019-12-21 20.46.47.png

VirtualCameraのFollowに追尾させるObjectをセットする。

スクリーンショット 2019-12-21 20.45.33.png

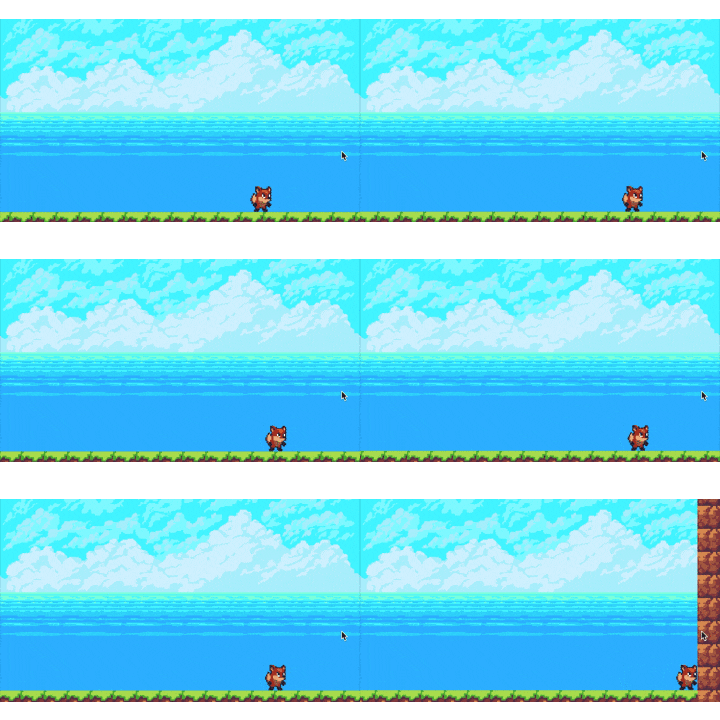
できた。

movie2.gif

壁の向こうは映したくない。

地面の下と壁の向こうを見えないようにしたい。
カメラの表示範囲を指定する事で壁の向こうが映さないようにする。

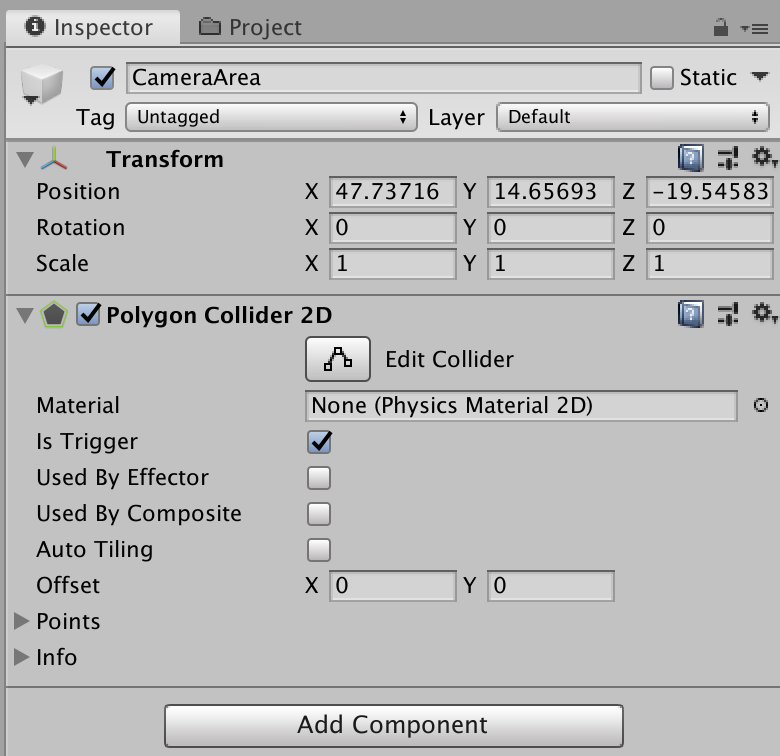
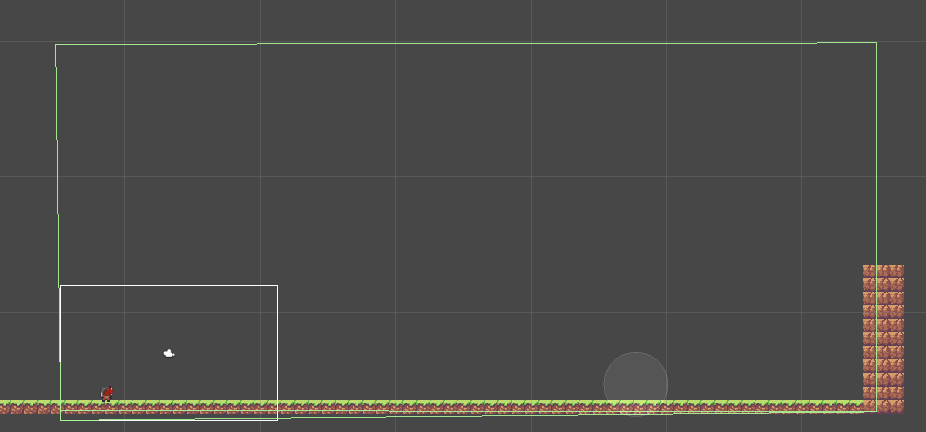
Empty Objectを作成してPolygon Collider 2Dをつける。
物理演算は不要なのでRigidbody 2Dはつけない。
スクリーンショット 2019-12-21 20.15.41.png

Polygon Collider 2Dの範囲を決める、この範囲がVirtual Cameraで表示したい範囲になる。
スクリーンショット 2019-12-21 20.20.23.png

Virtual CameraにCinemachine Confinerをつけて、先ほど作成しCameraAreaをBounding Shape 2Dにセットする。

スクリーンショット 2019-12-21 20.16.31.png

できた。
movie1.gif

感想

  • カメラの表示範囲に対しての物理演算は不要なのでRigidbody 2Dはつけなくても、範囲指定はできる。
  • MonoBehaviourのUpdate メソッドでカメラの追尾をさせる事より楽。
参考した記事

利用したAsset

4
1
0

Register as a new user and use Qiita more conveniently

  1. You get articles that match your needs
  2. You can efficiently read back useful information
  3. You can use dark theme
What you can do with signing up
4
1

Delete article

Deleted articles cannot be recovered.

Draft of this article would be also deleted.

Are you sure you want to delete this article?