Vue3にtailwind cssを導入する機会が増えてきたので、作業メモ。
vue createでプロジェクトを作成
とりあえずプロジェクトの作成。
基本的にVueのプロジェクトの作成はvue-cilを使うのが1番手っ取り早いからこれを利用。
$ vue create sample-app-add-tailwind
vue-cilをインストールしていない場合はインストールする。
$ npm i -g @vue/cli
$ vue create sample-appを実行すると最初の設定をいくつか聞かれるが、今回はDefaultの3系を選択。
? Please pick a preset:
  Default ([Vue 2] babel, eslint)
❯ Default (Vue 3 Preview) ([Vue 3] babel, eslint)
  Manually select features
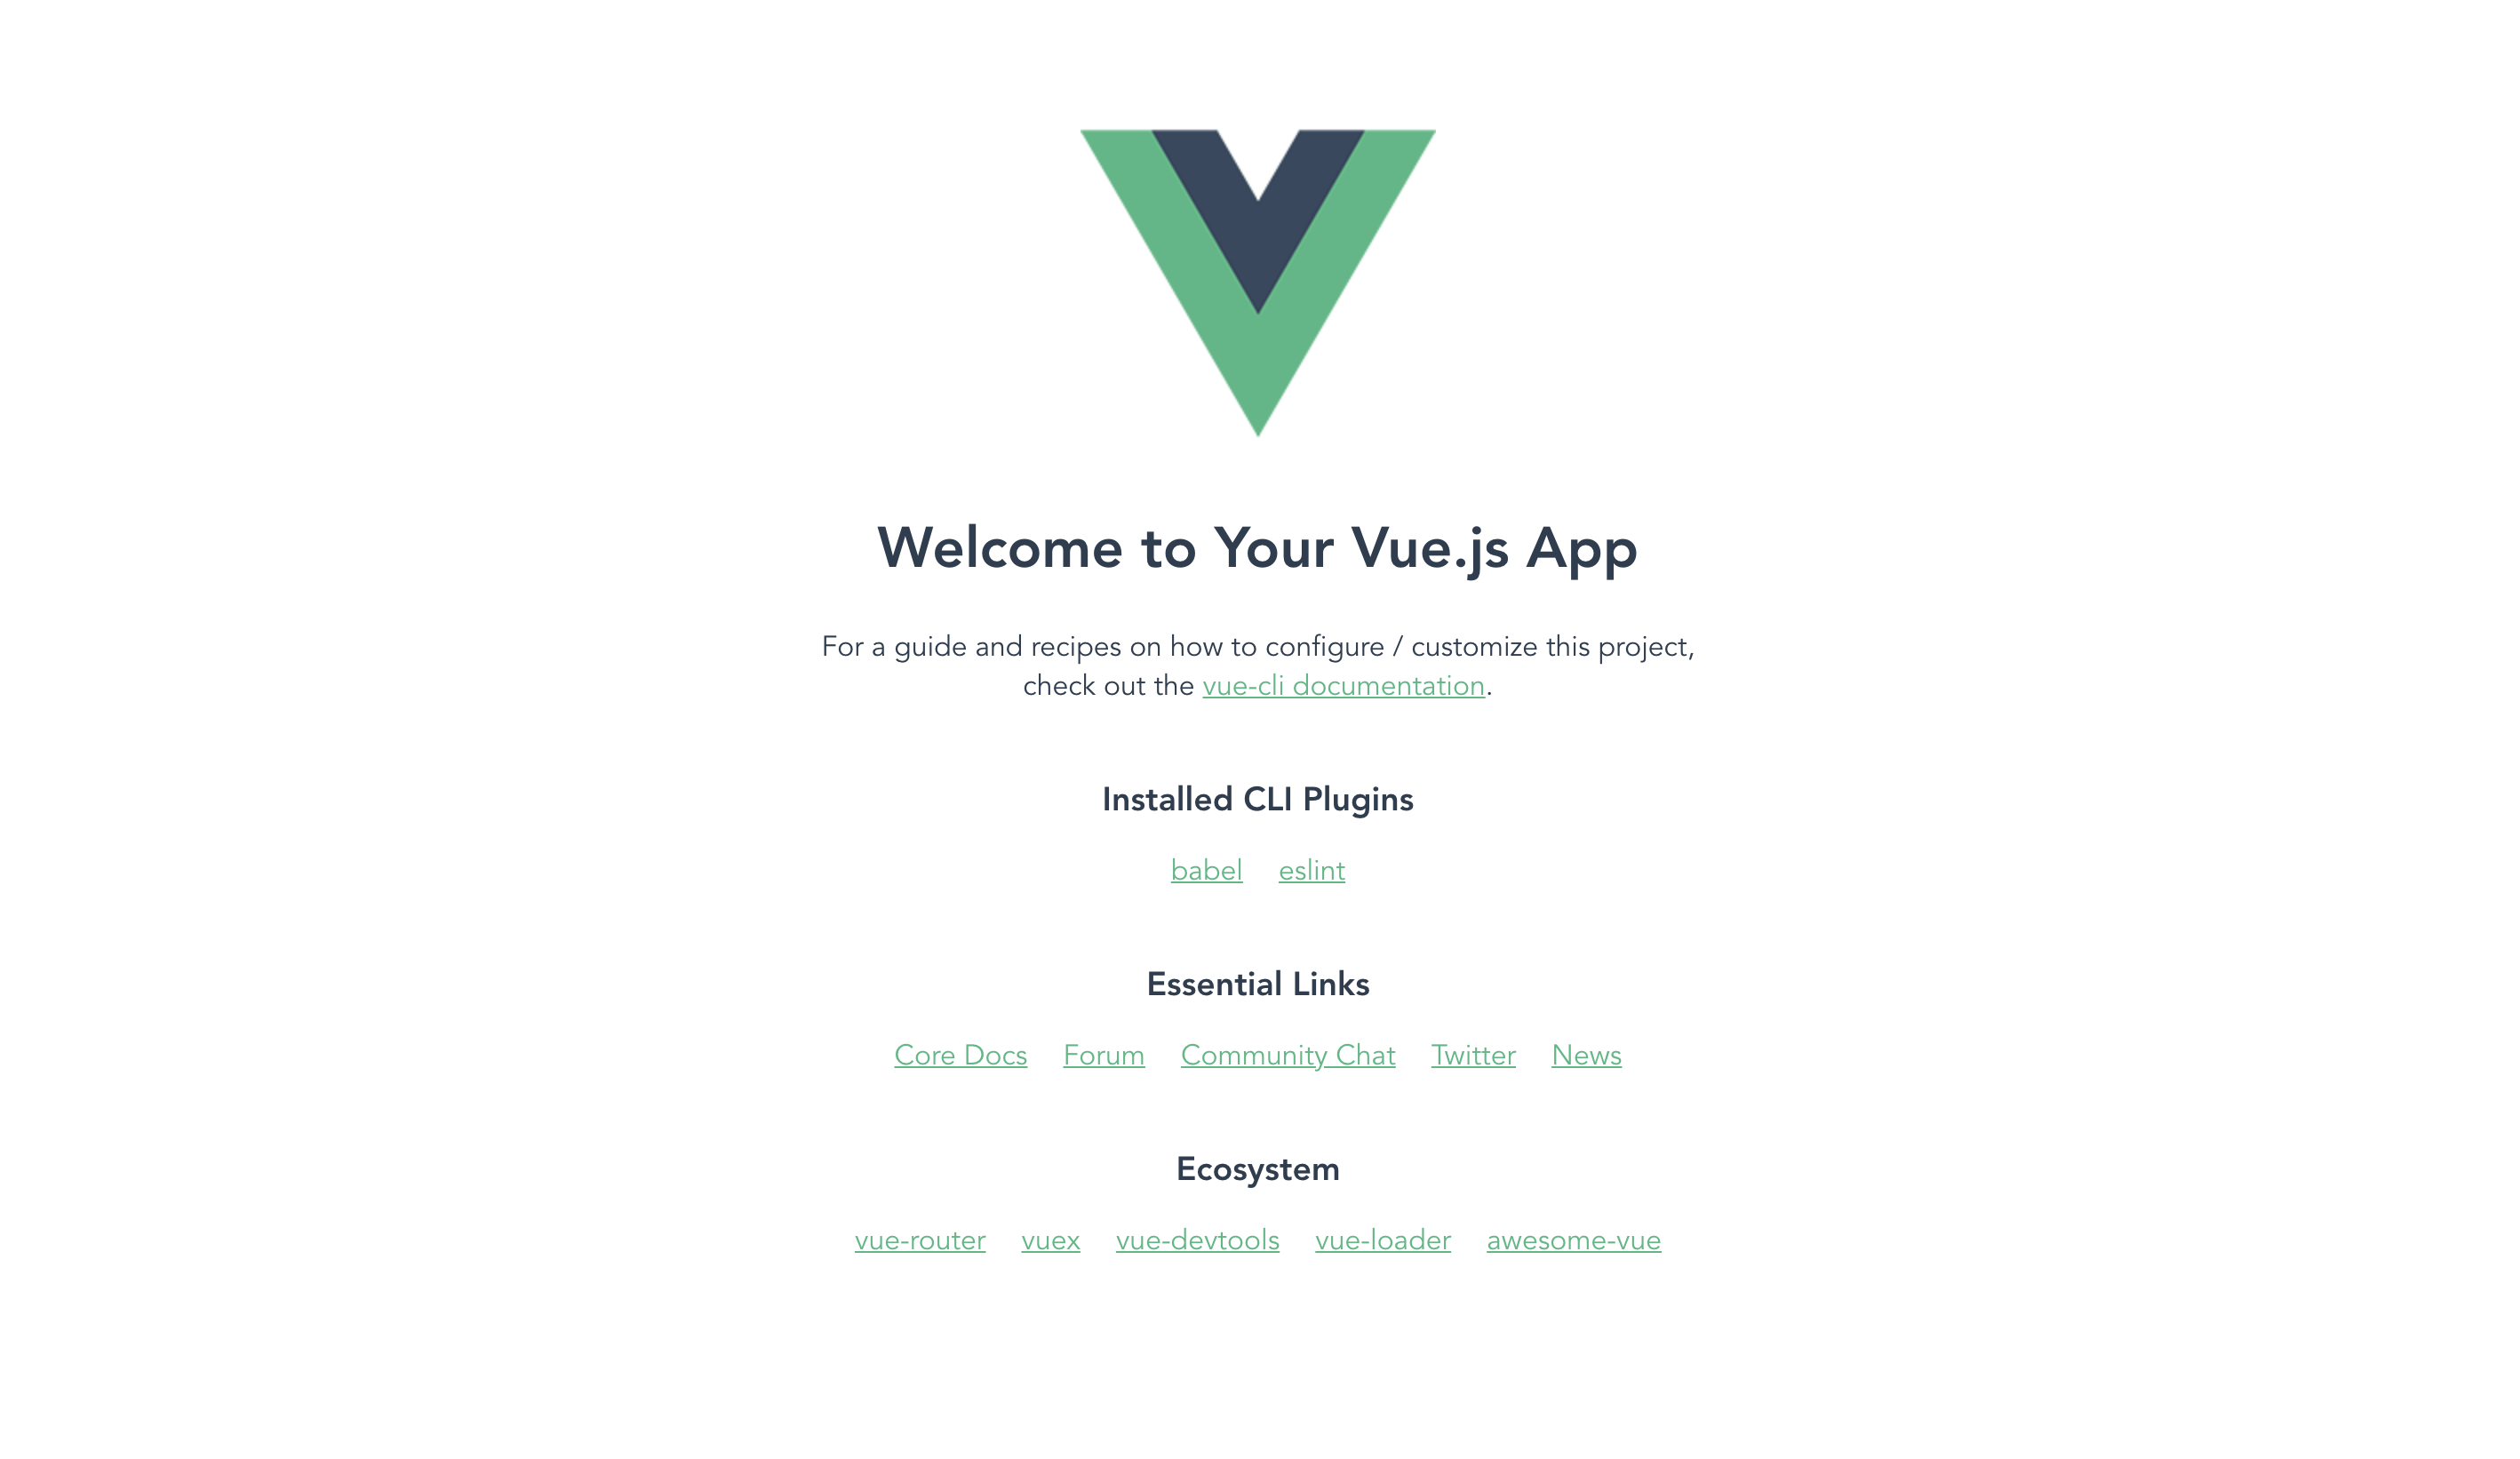
これで実行された通りにサーバーを起動するとVueのプロジェクトが立ち上がっていることがわかる。
$ cd sample-app-add-tailwind
$ npm run serve
tailwind cssを導入
ここから実際にtailwind cssを導入していく。
導入方法については、公式ドキュメントに忠実に実行していくだけ。
1. パッケージのインストール
$ npm install -D tailwindcss postcss autoprefixer
tailwindcssと依存関係にあるpostcssとautoprefixerも同時にインストール。
※ バージョンによってはpostcss8が対応していない場合があるので、その場合はpostcss7をインストール(参考)
Syntax Error: Error: PostCSS plugin tailwindcss requires PostCSS 8.
Migration guide for end-users:
https://github.com/postcss/postcss/wiki/PostCSS-8-for-end-users
2. configファイルを作成
1.を実行した状態で、
$ npx tailwindcss init -p
実行すると、最低限の設定を行ったtailwind.config.jsとpostcss.config.jsが作成される。
module.exports = {
  purge: [],
  darkMode: false, // or 'media' or 'class'
  theme: {
    extend: {},
  },
  variants: {
    extend: {},
  },
  plugins: [],
}
module.exports = {
  plugins: {
    tailwindcss: {},
    autoprefixer: {},
  },
}
3. すべてのファイルでtailwindcssを適用
すべてのファイルでtailwindcssが使用できるようにtailwind.config.jsを修正
module.exports = {
- purge: [],
+ purge: ['./index.html', './src/**/*.{vue,js,ts,jsx,tsx}'],
  darkMode: false, // or 'media' or 'class'
  theme: {
    extend: {},
  },
  variants: {
    extend: {},
  },
  plugins: [],
}
4. tailwindをプロジェクトのCSSに追加
./src/index.cssを追加して、ここにtaildwindのスタイルを追加する。
@tailwind base;
@tailwind components;
@tailwind utilities;
このファイル内容を./src/main.jsに代入する。
import { createApp } from 'vue'
import App from './App.vue'
import './index.css'

createApp(App).mount('#app')
これでtailwindの設定が完了。
実際に確認
<template>
  <img alt="Vue logo" src="./assets/logo.png">
  <HelloWorld msg="Welcome to Your Vue.js App"/>
+ <div class="text-5xl text-bold">tailwind css</div>
</template>

<script>
import HelloWorld from './components/HelloWorld.vue'

export default {
  name: 'App',
  components: {
    HelloWorld
  }
}
</script>

・・・
このようにCSSが適応される(imgタグも)。
参考

