概要
VuePressを利用して作成した静的サイトをGitHub Pagesで公開するまでの手順のまとめです。
ソースコードは[rubytomato/bio] (https://github.com/rubytomato/bio)にあります。
環境
- Windows 10 Professional
- Node.js 8.11.2
- VuePress 0.10.2
- yarn 1.7.0
- VSCode 1.24.1
参考
- [VuePress] (https://vuepress.vuejs.org/)
事前準備
プロジェクトディレクトリを作成
プロジェクト名およびディレクトリを”bio” (biographyの略)としました。
> mkdir bio
> cd bio
VuePressをインストール
VuePressを使用するにはNode.js 8.x以上が必要です。
> node --version
v8.11.2
> yarn add -D vuepress
バージョン確認
> yarn run -s vuepress --version
warning package.json: No license field
0.10.2
ディレクトリの確認
インストール直後の状態です。
/bio
  |
  +--- /node_modules
  |
  +--- package.json
  |
  +--- yarn.lock
{
  "devDependencies": {
    "vuepress": "^0.10.2"
  }
}
README.mdの作成
簡単に動作確認するために、プロジェクトルートにREADME.mdファイルを作成します。
README.mdというファイルはindex.htmlへ変換されます。
---
home: true
---
# Hello VuePress
実行
> yarn run vuepress dev

//...省略...

 DONE  [19:48:07] Build 78a280 finished in 11847 ms!

> VuePress dev server listening at http://localhost:8080/
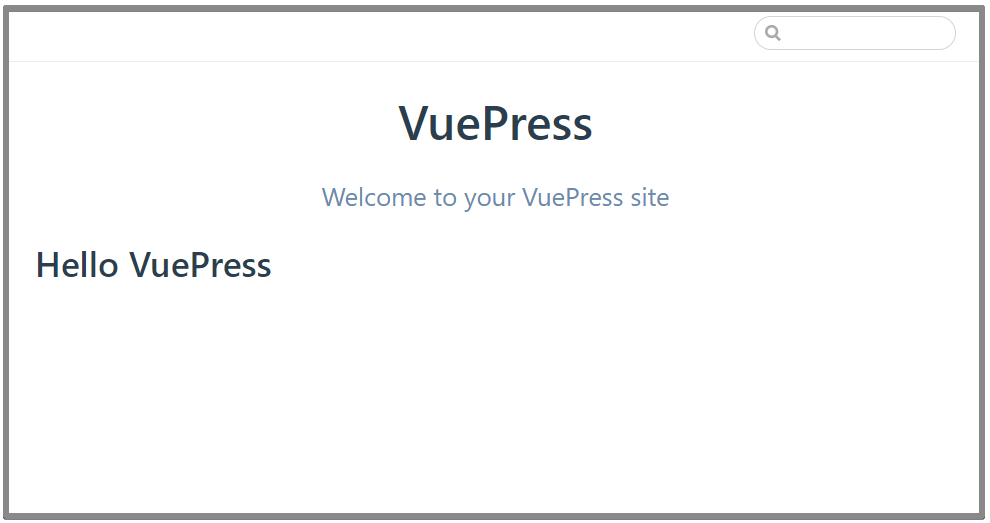
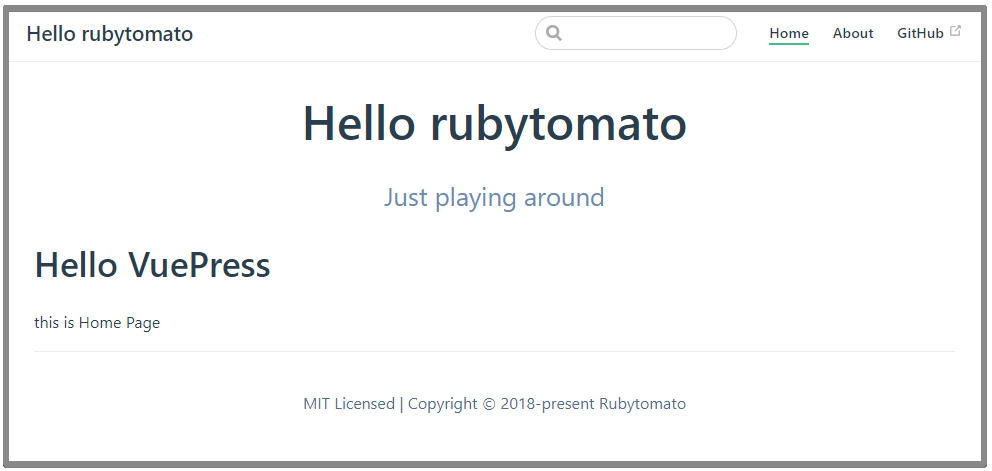
コンソールに出力されたURLlocalhost:8080にアクセスします。
ビルド
> yarn run vuepress build
ビルドが終了するとプロジェクトルート\.vuepress\distにビルドファイルが出力されます。
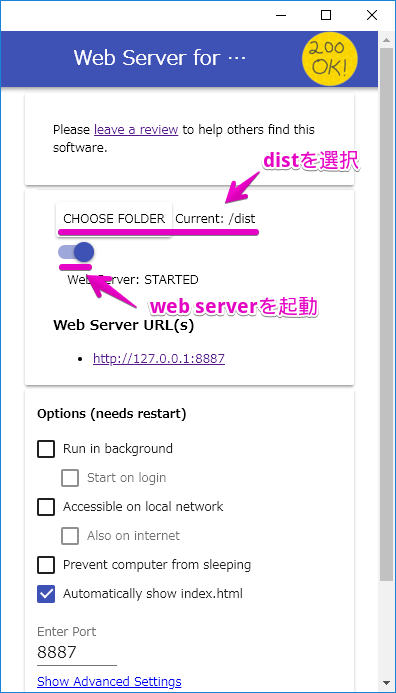
ビルドファイルで動作確認するにはWeb Server for Chromeという拡張機能を利用すると便利です。
package.jsonの編集
{
  "name": "bio",
  "version": "1.0.0",
  "description": "A VuePress project",
  "author": "rubytomato",
  "license" : "MIT",
  "private": true,
  "scripts": {
    "dev": "vuepress dev",
    "build": "vuepress build"
  },
  "devDependencies": {
    "vuepress": "^0.10.2"
  }
}
設定ファイル(.vuepress\config.js)の作成
- 参考: [Config Reference] (https://vuepress.vuejs.org/config/#config-reference)
プロジェクトルート\.vuepress\config.jsがVuePressの設定ファイルです。
module.exports = {
  title: 'Hello rubytomato',
  description: 'Just playing around',
  locales: {
    '/': {
      lang: 'ja'
    }
  },
  meta: [
    { charset: 'utf-8' },
    { name: 'viewport', content: 'width=device-width, initial-scale=1' }
  ]
}
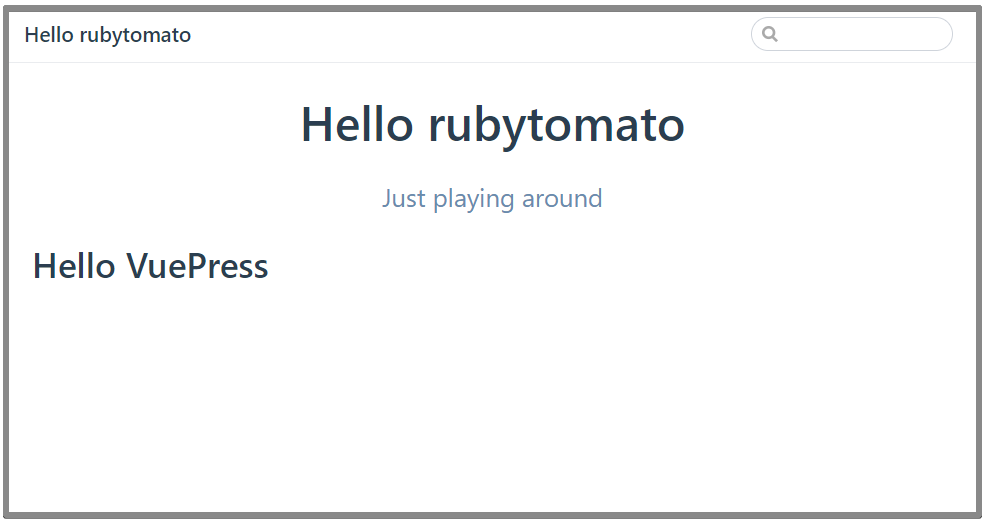
開発サーバーを立ち上げたまま作成すると、設定ファイルが即座に反映されます。
以上で事前準備は完了です。
カスタマイズ
Aboutページを追加する
プロジェクトルート直下にabout.mdというファイルを作成します。
/bio
  |
  +--- about.md
# About

this is About Me page
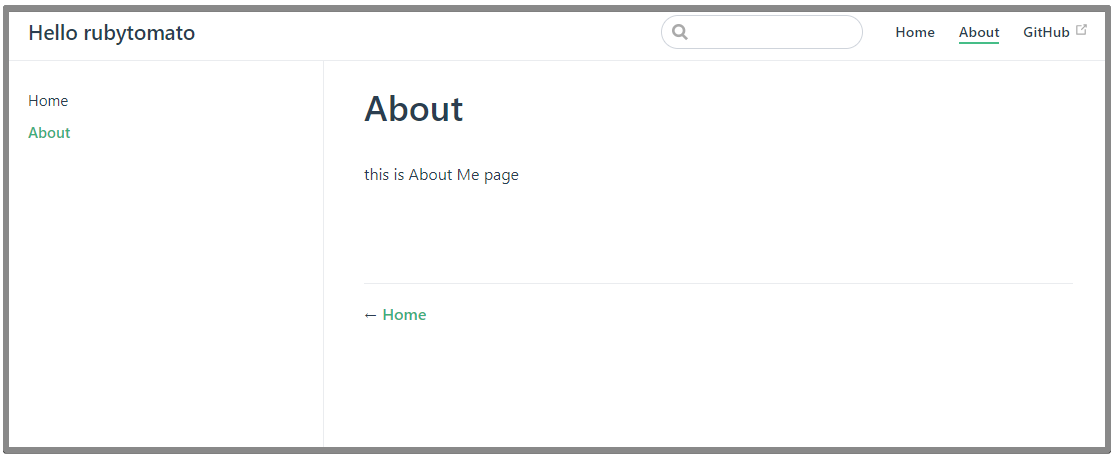
mdファイルは自動的にhtmlファイルへ変換されるので、localhost:8080/about.htmlでアクセスできます。
ナビゲーションとサイドバーを追加する
ナビゲーションを追加するには、config.jsにthemeConfigとnavを追加します。
さらにサイドバーを追加するには、themeConfigにsidebarを追加します。
module.exports = {

  //...省略...

  themeConfig: {
    nav: [
      { text: 'Home', link: '/' },
      { text: 'About', link: '/about.html' },
      { text: 'GitHub', link: 'https://github.com/rubytomato' }
    ],
    sidebar: {
      // fallback
      '/': [
        '',        /* / */
        'about'    /* /about.html */
      ]
    }
  }
}
ホームページのフッターにコピーライトを追加する
ファイルの先頭にある3つのハイフンで囲まれた部分は、[Jekyll] (https://jekyllrb.com/)というライブラリが処理するYAML front matter blockといい、この記法でページごとにメタデータを定義することができます。
---
home: true
footer: MIT Licensed | Copyright © 2018-present Rubytomato
---
# Hello VuePress

this is Home Page
- なにかしらのコンテンツがないとフッターが表示されなかったので、"this is Home Page"という文字を追加しています。
- フッターはhomeがtrueの場合に有効になります。
- YAML front matter blockを修正した場合はdevサーバーを再起動しないと反映されません。
faviconを設定する
画像等の静的ファイルは.vuepress/public下に配置します。
/bio
  |
  +--- /.vuepress
         |
         +--- /public
                |
                +--- /img
                       |
                       +--- favicon.png
module.exports = {

  //...省略...

  head: [
    ['link', { rel: 'icon', type: 'image/png', href: '/img/favicon.png' }]
  ]
スタイルをカスタマイズする
プロジェクトルート\.vuepress\override.stylを作成します。
VuePressのテーマカラーは下記の最初の4行でカスタマイズできます。それぞれ変数名からわかるように、アクセント、テキスト、ボーダー、コード背景のカラーを変更できます。
$accentColor = #707527
$textColor = #2c3e50
$borderColor = #eaecef
$codeBgColor = #282c34

header-bgcolor = #ff0000db
header-color = white
font-size = 16px
base-font = font-size "Lucida Grande", Arial

html
  overflow-y scroll

body
  font base-font, sans-serif

.navbar
  background-color header-bgcolor
  color header-color

.navbar .site-name
  color header-color

.nav-links a.router-link-active
  color header-color
  font-size 18px
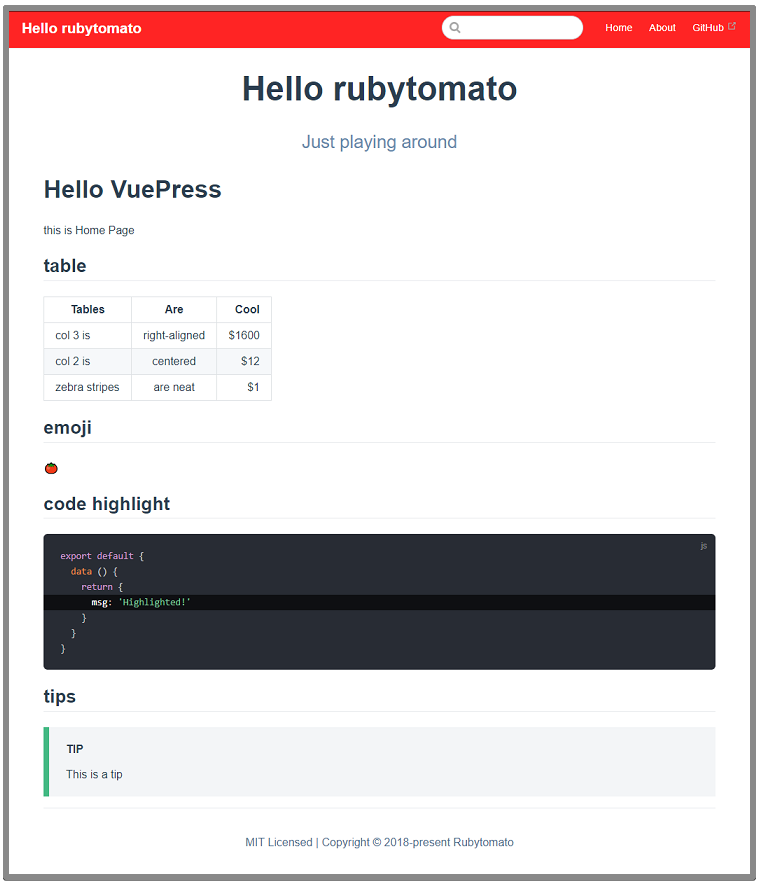
変更がわかりやすいようにREADME.mdに下記のサンプルを追記しました。
## table

| Tables        | Are           | Cool  |
| ------------- |:-------------:| -----:|
| col 3 is      | right-aligned | $1600 |
| col 2 is      | centered      |   $12 |
| zebra stripes | are neat      |    $1 |

## emoji

:tomato:

## code highlight

    ``` js(4)
    export default {
      data () {
        return {
          msg: 'Highlighted!'
        }
      }
    }
    ```

## tips

::: tip
This is a tip
:::
GitHub Pagesでホスティングする
ビルドした静的ファイルをGitHub Pagesでホスティングします。そのためにはリポジトリが必要になるのでプロジェクトと同じ名前で”bio”というリポジトリを作成します。
次にビルドファイルの出力先をプロジェクトルート\docsへ変更します。
また、GitHub Pagesではcontextパスにリポジトリ名が付くのでbaseで指定します。
module.exports = {
  //...省略...

  base: '/bio/',
  dest: 'docs'
}
ビルドすると以下のようにdocs下へ出力されます。
/bio
  |
  +--- /docs
         |
         +--- /assets
         +--- /img
         +--- 404.html
         +--- about.html
         +--- index.html
docsを公開する設定を行う
プロジェクトファイルをコミットしGitHubのリポジトリへpushします。
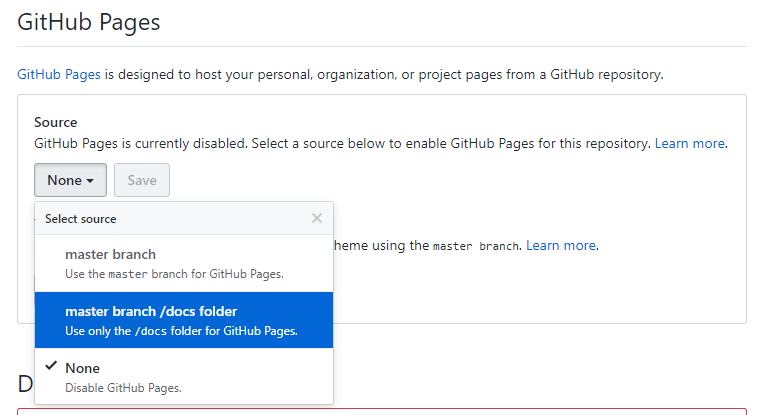
次にリポジトリのsettingsページでGitHub Pagesの設定を行います。
sourceを"None"から"master branch /docs folder"へ変更して保存します。
これでdocs下に出力されたビルドファイルがGitHub Pagesで公開されました。
このサイトは次のURLで確認できます。
