概要
Dialogコンポーネントの初歩的な使い方のまとめです。
環境
- Windows 10 Professional 1909
- Node.js 12.14.1
- Vue.js 2.6.11
- Vuetify.js 2.2.17 (記事作成時点は2.2.8)
参考
- [Quick start - Vuetify.js] (https://vuetifyjs.com/en/getting-started/quick-start)
- [Components] (https://vuetifyjs.com/en/components/api-explorer)
- [Styles - Colors] (https://vuetifyjs.com/en/styles/colors)
- [Material Design Icons] (https://cdn.materialdesignicons.com/4.5.95/)
[Dialogs] (https://vuetifyjs.com/en/components/dialogs)
v-dialogコンポーネントは、アクティベータースロットとダイアログコンテンツからなります。
基本的な構造は下記の通りですが、アクティベータースロットはv-dialogの外部に定義することも使わないこともできます。
<v-dialog v-model="dialog">
  <!-- アクティベータースロット -->
  <template v-slot:activator="{ on }">
    <v-btn v-on="on">
      Open
    </v-btn>
  </template>
  <!-- ダイアログコンテンツ -->
  <v-card>
    <v-card-actions>
      <v-btn @click="dialog = false">
        Close
      </v-btn>
    </v-card-actions>
  </v-card>
</v-dialog>
下記はv-slotの省略記法です。
<template #activator="{ on }">
また、イベントハンドラーの他にバインドされた値を受け取ることもできます。
<template #activator="{ on, value }">
Props
VDialog
- [VDialog] (https://github.com/vuetifyjs/vuetify/blob/v2.2.17/packages/vuetify/src/components/VDialog/VDialog.ts)
- [Activatable] (https://github.com/vuetifyjs/vuetify/blob/v2.2.17/packages/vuetify/src/mixins/activatable/index.ts)
- [Delayable] (https://github.com/vuetifyjs/vuetify/blob/v2.2.17/packages/vuetify/src/mixins/delayable/index.ts)
- [Toggleable] (https://github.com/vuetifyjs/vuetify/blob/v2.2.17/packages/vuetify/src/mixins/toggleable/index.ts)
- [Detachable] (https://github.com/vuetifyjs/vuetify/blob/v2.2.17/packages/vuetify/src/mixins/detachable/index.ts)
- [Bootable] (https://github.com/vuetifyjs/vuetify/blob/v2.2.17/packages/vuetify/src/mixins/bootable/index.ts)
- [Overlayable] (https://github.com/vuetifyjs/vuetify/blob/v2.2.17/packages/vuetify/src/mixins/overlayable/index.ts)
- [Returnable] (https://github.com/vuetifyjs/vuetify/blob/v2.2.17/packages/vuetify/src/mixins/returnable/index.ts)
- [Stackable] (https://github.com/vuetifyjs/vuetify/blob/v2.2.17/packages/vuetify/src/mixins/stackable/index.ts)
VDialog ---- Activatable ---- Delayable
        |                `--- Toggleable
        `--- Dependent
        `--- Detachable  ---- Bootable
        `--- Overlayable
        `--- Returnable
        `--- Stackable
        `--- Toggleable
| name | type | default | relation | src | |
|---|---|---|---|---|---|
| VDialog | dark | boolean | false | ||
| disabled | boolean | false | |||
| fullscreen | boolean | false | |||
| light | boolean | false | |||
| max-width | string or number | none | 'none' | ||
| no-click-animation | boolean | false | persistent | ||
| origin | string | 'center center' | 'center center' | ||
| persistent | boolean | false | |||
| retain-focus | boolean | true | true | ||
| scrollable | boolean | false | v-card, v-card-text | ||
| transition | string or boolean | dialog-transition | 'dialog-transition' | ||
| width | string or number | auto | 'auto' | ||
| Activatable | activator | any | undefined | ||
| disabled | boolean | - | |||
| internal-activator | boolean | false | |||
| open-on-hover | boolean | false | |||
| Delayable | open-delay | number or string | APIドキュメントに記載なし | 0 | |
| close-delay | number or string | APIドキュメントに記載なし | 0 | ||
| Toggleable | value | any | undefined | ||
| Detachable | attach | any | false | v-app | false |
| content-class | string | undefined | v-app | '' | |
| Bootable | eager | boolean | false | ||
| Overlayable | hide-overlay | boolean | false | ||
| overlay-color | string | undefined | |||
| overlay-opacity | number or string | undefined | |||
| Returnable | return-value | any | APIドキュメントに記載なし | null |
- value : コンポーネントを表示するか非表示にするかを制御します。
実装例
テーマ
dark
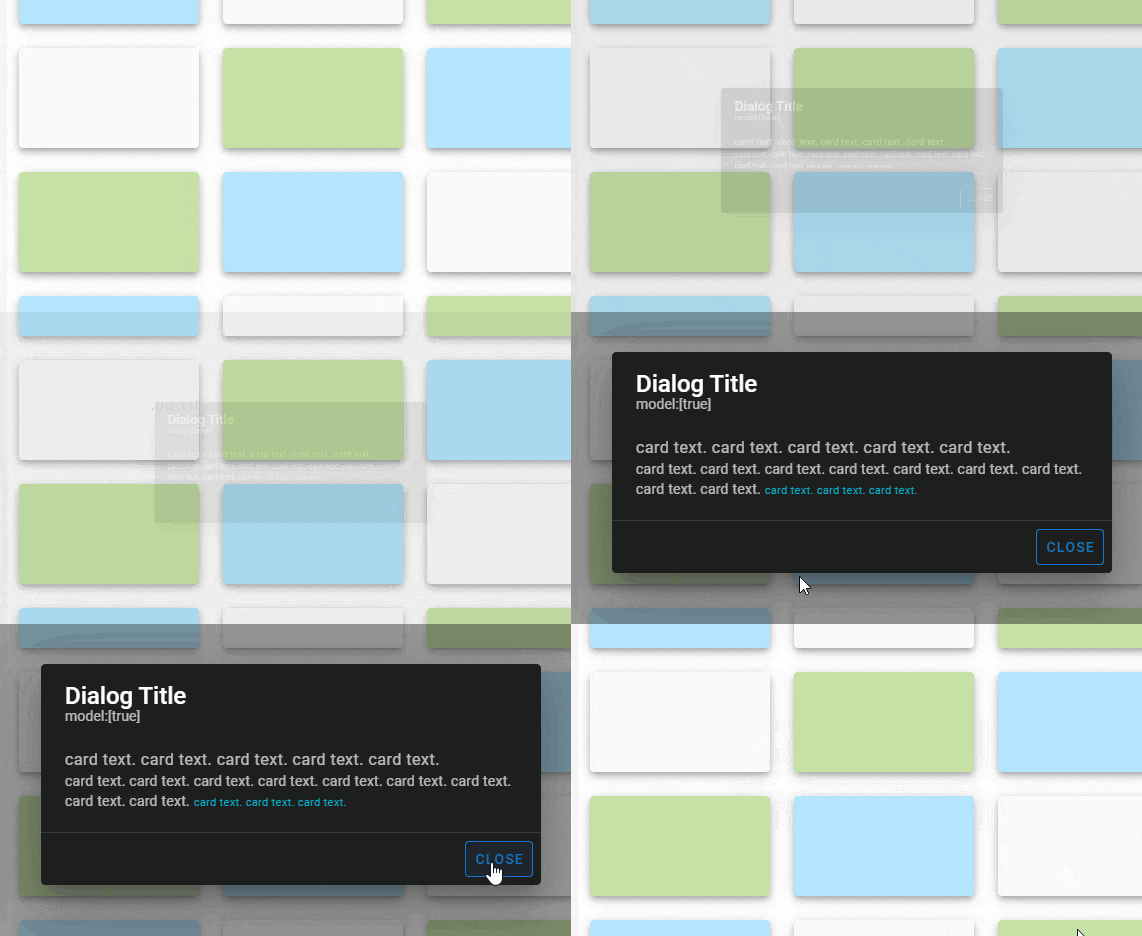
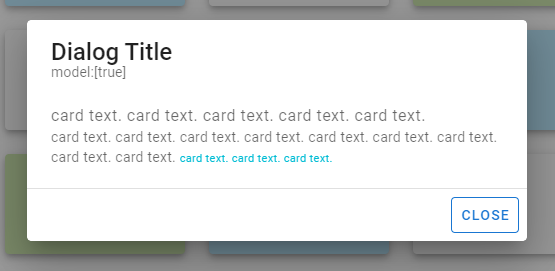
ダークテーマのダイアログです。ボタンをクリックするとダークテーマが適用されたv-cardコンポーネントのダイアログが表示されます。閉じるにはクローズボタンかダイアログの外側をクリック、またはESCを押下します。
<v-dialog dark v-model="dialog" max-width="500">
  <template #activator="{ on }">
    <v-btn v-on="on">dark theme</v-btn>
  </template>
  <v-card>
    <v-card-title class="headline">
      Dialog Title
    </v-card-title>
    <v-card-subtitle>model:[{{ dialog }}]</v-card-subtitle>
    <v-card-text>
      <div class="body-1">card text. card text. card text. card text. card text.</div>
      <div class="body-2">
        card text. card text. card text. card text. card text. card text. card text. card text. card text.
        <small class="cyan--text">card text. card text. card text.</small>
      </div>
    </v-card-text>
    <v-divider></v-divider>
    <v-card-actions>
      <v-spacer></v-spacer>
      <v-btn color="primary" outlined @click="dialog = false">
        Close
      </v-btn>
    </v-card-actions>
  </v-card>
</v-dialog>
light
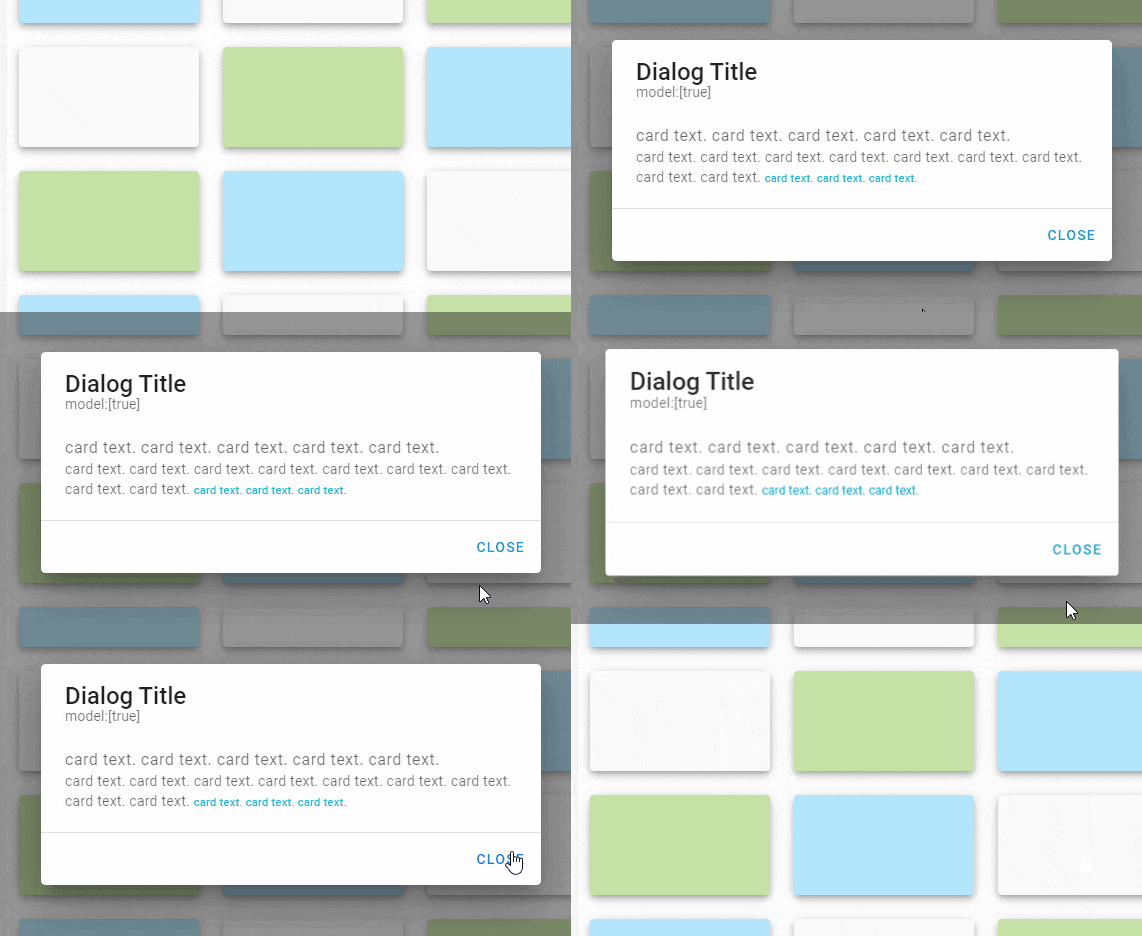
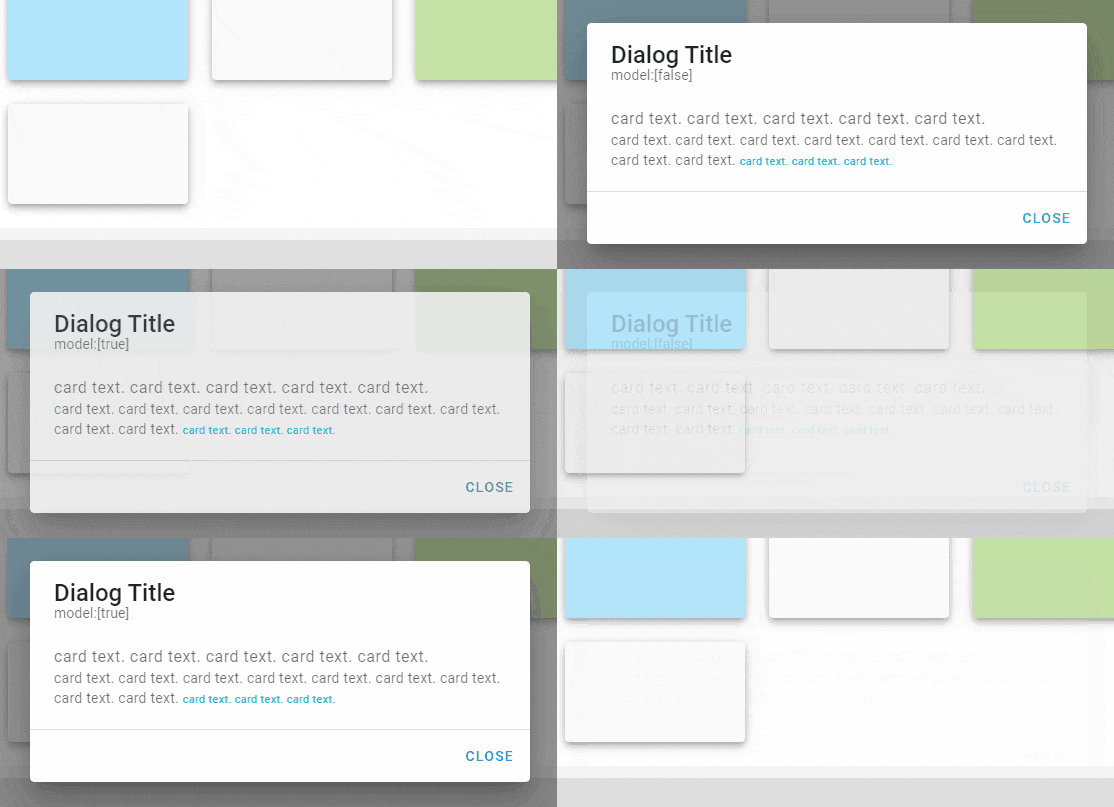
ライトテーマのダイアログです。lightプロパティ以外のソースコードはダークテーマと同一です。(動作は同じなのでスクリーンショットになります)
ダイアログの開閉
アクティベーター
基本的な記述
APIドキュメントでも用いられているようにアクティベータースロットにtemplate要素を使うのが基本的な記述のようです。
<v-dialog v-model="dialog">
  <!-- アクティベータースロット -->
  <template #activator="{ on }">
    <v-btn v-on="on">Open Dialog</v-btn>
  </template>

  <!-- ダイアログ ...省略... -->

</v-dialog>
カスタマイズ
任意の要素をアクティベータースロットとすることもでき、その場合はactivatorプロパティで指定します。文字列で指定する場合はquerySelectorで記述します。
<v-btn id="activator">Open Dialog</v-btn>

<v-dialog v-model="dialog" activator="#activator">
  <!-- ダイアログ ...省略... -->
</v-dialog>
アクティベータースロット無し
アクティベータースロットを使わない場合はモデルを介してダイアログをオープンすることができますが、この場合はイベントの伝播を手動で停止させる必要があります。(@click.stop)
<v-btn @click.stop="dialog= true">Open Dialog</v-btn>

<v-dialog v-model="dialog">
  <!-- ダイアログ ...省略... -->
</v-dialog>
ホバー
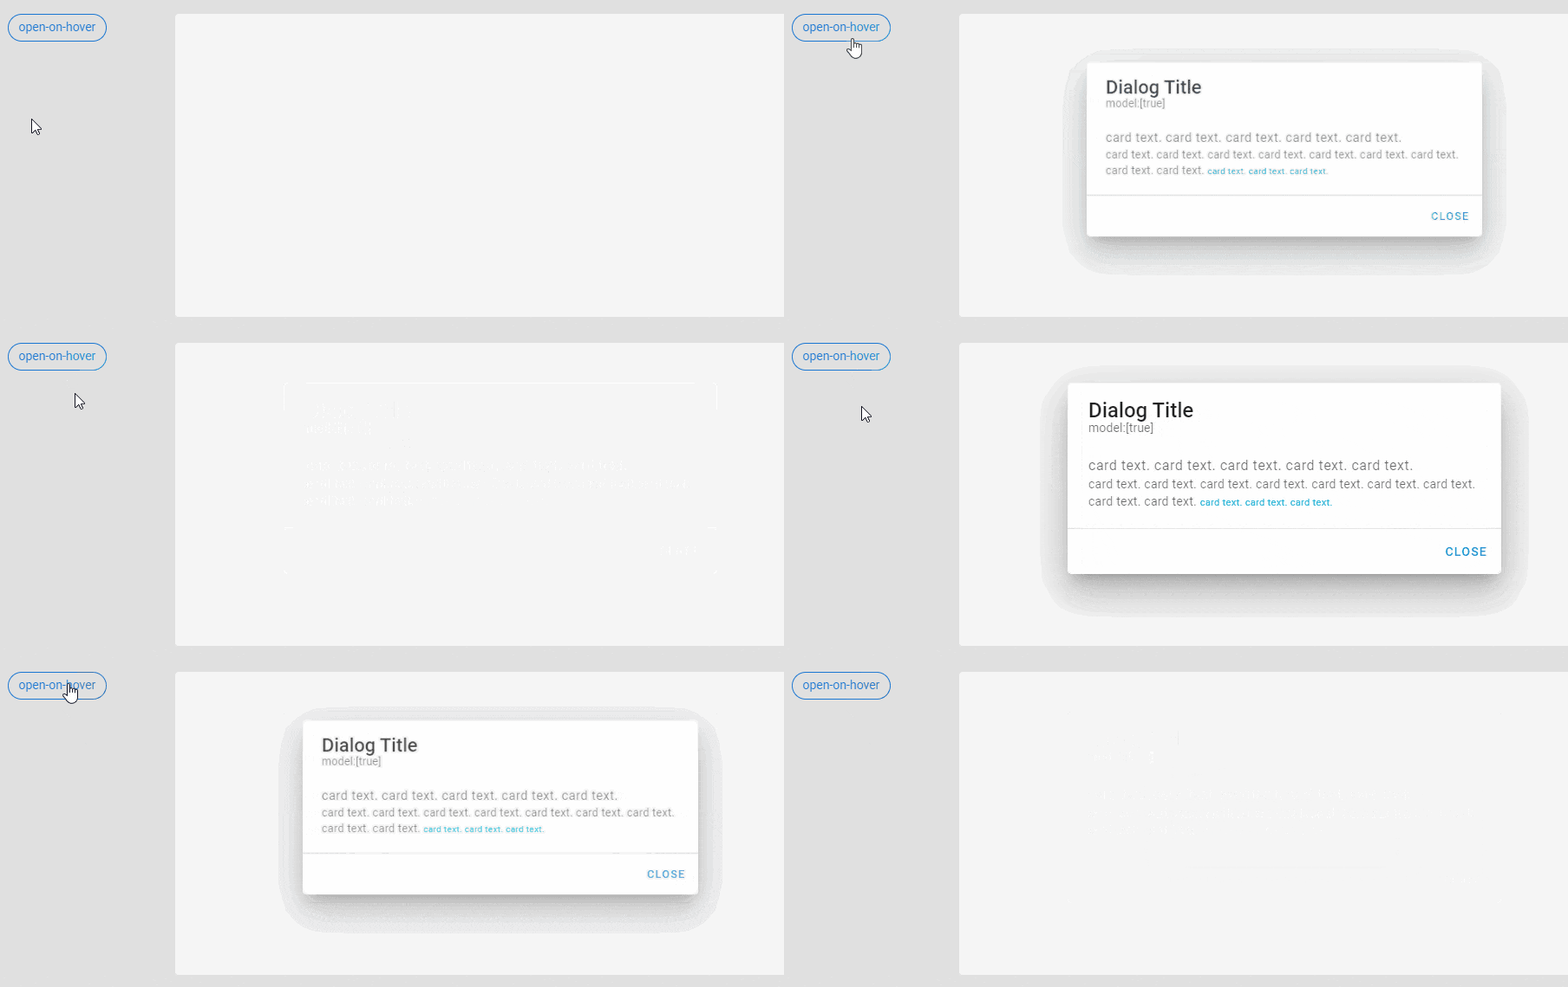
アクティベーターにマウスカーソルを合わせるだけでダイアログを表示させるにはopen-on-hoverプロパティとhide-overlayプロパティを指定します。なおhide-overlayを一緒に指定しないと正常に動作しませんでした。
<v-chip id="activator" link outlined color="primary">open-on-hover</v-chip>

<v-dialog v-model="dialog" max-width="500" hide-overlay open-on-hover activator="#activator">
  <!-- ダイアログ ...省略... -->
<v-dialog>
ダイアログ外をクリックしても閉じないようにする
デフォルトでは、ダイアログ外をクリックするかESCを押下するとダイアログを閉じます。
persistentプロパティを指定するとそれらの操作でダイアログを閉じなくなります。
さらにno-click-animationプロパティを指定するとダイアログを閉じようとした時のダイアログが振動するアニメーションを無効にします。
<v-dialog v-model="dialog" max-width="500" persistent no-click-animation>
  <!-- ダイアログ ...省略... -->
<v-dialog>
ダイアログのオープンを無効にする
disabledプロパティを指定するとダイアログを開く機能を無効にします。
<v-dialog v-model="dialog" max-width="500" disabled>
  <!-- ダイアログ ...省略... -->
</v-dialog>
オーバーレイ
デフォルトでは、ダイアログオープン時にダイアログ外を半透明のグレーで覆います。
オーバーレイのカラーと透明度
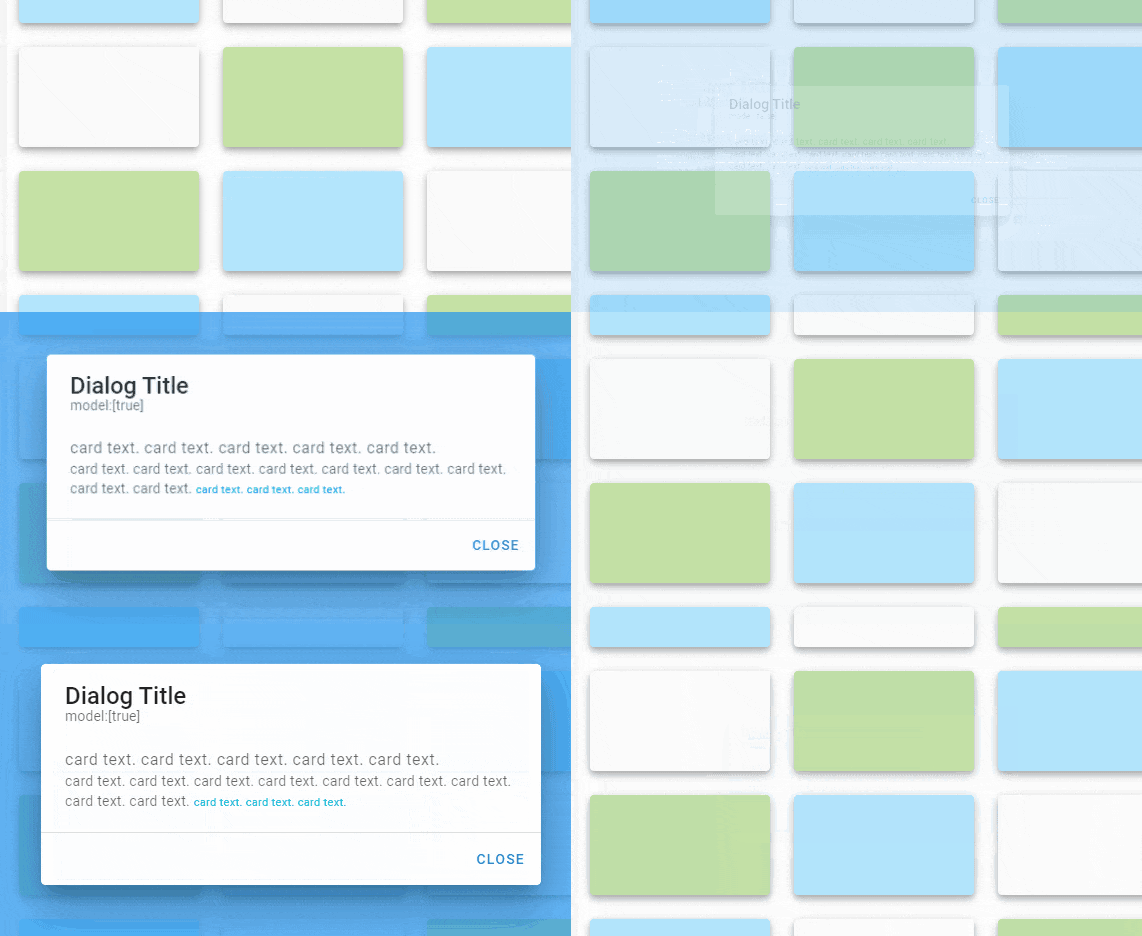
overlay-colorとoverlay-opacityプロパティでオーバーレイを調整できます。
<v-dialog v-model="dialog" max-width="500" overlay-color="blue" overlay-opacity="0.7">
  <!-- ダイアログ ...省略... -->
</v-dialog>
オーバーレイの無効化
hide-overlayプロパティでオーバーレイを行わないようにします。
<v-dialog v-model="dialog" max-width="500" hide-overlay>
  <!-- ダイアログ ...省略... -->
</v-dialog>
スクロール
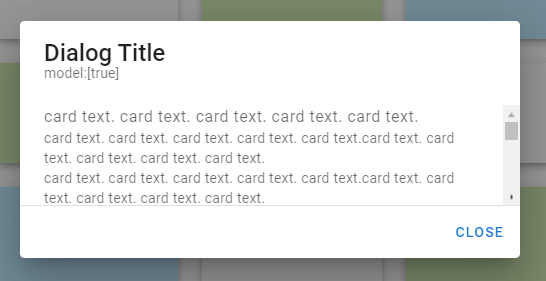
ダイアログコンテンツが表示領域に収まらない場合、scrollableプロパティを指定するとスクロールバーが表示されます。
<v-dialog v-model="dialog" max-width="500" scrollable>
  <template v-slot:activator="{ on }">
    <v-btn v-on="on">scrollable</v-btn>
  </template>
  <v-card>
    <v-card-title class="headline">
      Dialog Title
    </v-card-title>
    <v-card-subtitle>model:[{{ dialog }}]</v-card-subtitle>
    <v-card-text style="height: 100px;">
      <!-- ...省略... -->
    </v-card-text>
    <v-divider></v-divider>
    <v-card-actions>
      <v-spacer></v-spacer>
      <v-btn color="primary" text @click="dialog = false">
        Close
      </v-btn>
    </v-card-actions>
  </v-card>
</v-dialog>
フルスクリーン
fullscreenプロパティを指定するとダイアログがディスプレイ全体に表示されます。
<v-dialog v-model="dialog" max-width="500" fullscreen>
  <!-- ダイアログ ...省略... -->
</v-dialog>
特定のView Breakpointのときだけフルスクリーンにするということもできます。
<v-dialog :fullscreen="$vuetify.breakpoint.xsOnly">
  <!-- ダイアログ ...省略... -->
</v-dialog>
SEO対策
デフォルトでは、パフォーマンス向上のためダイアログをオープンするまでダイアログコンテンツをレンダリングしませんが、eagerプロパティを指定するとコンポーネントのマウント時にダイアログコンテンツをレンダリングするようになります。
<v-dialog v-model="dialog" max-width="500" eager>
  <!-- ダイアログ ...省略... -->
</v-dialog>
トランジション
transition
ダイアログの表示アニメーションを変えるにはtransitionプロパティでアニメーションの種類を指定します。
デフォルトのアニメーションはdialog-transition (scale-transition)が適用されています。ほかにfade-transition、slide-x-transition、slide-y-transition、scroll-x-transition、scroll-y-transitionなど(これで全部ではありません)が指定できます。
<v-dialog v-model="dialog" max-width="500" transition="slide-x-transition">
  <!-- ダイアログ ...省略... -->
</v-dialog>
origin
バージョン2.2.16でoriginプロパティが機能しないバグが修正されました。([[Bug Report] Origin property not working on Dialog] (https://github.com/vuetifyjs/vuetify/issues/7134))
originプロパティに"top left"のようにアニメーションの起点をx軸とy軸で指定します。デフォルト値は"center center"で、ダイアログを開くと中央からフェードインします。
<v-dialog v-model="dialog" max-width="500" origin="top left">
  <!-- ダイアログ ...省略... -->
</v-dialog>
| origin | 起点 |
|---|---|
| center center | 中央 |
| top center | 上 |
| top right | 右上 |
| top left | 左上 |
| bottom center | 下 |
| bottom right | 右下 |
| bottom left | 左下 |
retain-focus
Tab focus will return to the first child of the dialog by default. Disable this when using external tools that require focus such as TinyMCE or vue-clipboard.
------------------------------------------------------------------------------------------------
デフォルトでは、タブフォーカスはダイアログの最初の子に戻ります。 TinyMCEやvue-clipboardなどのフォーカスを必要とする外部ツールを使用する場合は、これを無効にします。
なんのためのプロパティなのかよくわかりませんでしたが、v-dialogコンポーネントでdocument.execCommand("copy")が正常に動作しない不具合の修正で追加されたようです。
バグレポートは[[Bug Report] Dialog returns focus to itself] (https://github.com/vuetifyjs/vuetify/issues/6892)で確認できます。
Slots
activator
アクティベータースロットは、上述したダイアログの開閉のアクティベーターで触れた通りです。
Events
click:outside
アクティブなダイアログの外側をクリックしたときに発生するイベント。メソッドの引数はマウスイベントオブジェクトです。
<v-dialog v-model="dialog" @click:outside="outside" max-width="500">
methods: {
  outside(e) {
    // MouseEvent
    console.log('outside:', e)
  }
}
input
更新されたバインドモデル。
<v-dialog :value="dialog" @input="dialog = $event" max-width="500">
上記の書き方は下記のv-modelと同等です。
<v-dialog v-model="dialog" max-width="500">
keydown
キーが押されたときに発生するイベント。 メソッドの引数はキーイベントオブジェクトです。
<v-dialog v-model="dialog" @keydown="keydown" max-width="500">
methods: {
  keydown(e) {
    // KeyboardEvent
    console.log('keydown:', e)
  }
}
