概要
Listコンポーネントの初歩的な使い方のまとめです。
環境
- Windows 10 Professional 1909
- Node.js 12.14.1
- Vue.js 2.6.11
- Vuetify.js 2.2.12
参考
- [Quick start - Vuetify.js] (https://vuetifyjs.com/en/getting-started/quick-start)
- [Components] (https://vuetifyjs.com/en/components/api-explorer)
- [Styles - Colors] (https://vuetifyjs.com/en/styles/colors)
- [Material Design Icons] (https://cdn.materialdesignicons.com/4.5.95/)
[Lists] (https://vuetifyjs.com/en/components/lists)
基本的な構造パターン
フラットなリストはv-listの下に1つ以上のv-list-itemを配置します。
v-list
   |
   `--- v-list-item
   `--- v-list-item
   `--- v-list-item
v-list-itemを使ったときのリストの構造は下記のようになりますが、必ずしもこれらのコンポーネントを全部使わなくてはならないということではありません。
またリストアイテムをv-list-item以外のコンポーネントで表すこともできます。
v-list-item
   |
   `--- v-list-item-avatar (or v-list-item-icon)
   |
   `--- v-list-content
   |       |
   |       `--- v-list-title
   |       `--- v-list-subtitle
   |
   `--- v-list-item-action
           |
           `--- v-list-item-action-text
ネストしたリストを表現するにはv-list-groupでv-list-itemをラップします。
さらにv-list-groupにv-list-groupをネストすることで多階層のリストを表現することもできます。
v-list
   |
   `--- v-list-item
   |
   `--- v-list-group
   |      |
   |      `--- v-list-item
   |      `--- v-list-item
   |
   `--- v-list-group
          |
          `--- v-list-group
          |      |
          |      `--- v-list-item
          |      `--- v-list-item
          |
          `--- v-list-group
                 |
                 `--- v-list-item
                 `--- v-list-item
Props
VList
- [VList] (https://github.com/vuetifyjs/vuetify/blob/v2.2.12/packages/vuetify/src/components/VList/VList.ts)
- [VSheet] (https://github.com/vuetifyjs/vuetify/blob/v2.2.12/packages/vuetify/src/components/VSheet/VSheet.ts)
VList  ---- VSheet ---- BindsAttrs
                   `--- Colorable
                   `--- Elevatable
                   `--- Measurable
                   `--- Themeable
| name | type | default | relation | src | |
|---|---|---|---|---|---|
| VList | dense | boolean | false | ||
| disabled | boolean | false | v-list-item | ||
| expand | boolean | false | |||
| flat | boolean | false | v-list-item | ||
| nav | boolean | false | v-list-item | ||
| rounded | boolean | false | v-list-item | ||
| shaped | boolean | false | v-list-item | ||
| subheader | boolean | false | |||
| three-line | boolean | false | |||
| tile | boolean | true | true | ||
| two-line | boolean | false | |||
| VSheet | tag | string | 'div' | 'div' | |
| tile | boolean | false | |||
| Colorable | color | string | undefined | ||
| Elevatable | elevation | number or string | undefined | ||
| Measurable | height | number or string | undefined | ||
| max-height | number or string | undefined | |||
| max-width | number or string | undefined | |||
| min-height | number or string | undefined | |||
| min-width | number or string | undefined | |||
| width | number or string | undefined | |||
| Themeable | dark | boolean | false | null | |
| light | boolean | false | null |
VListItem
- [VListItem] (https://github.com/vuetifyjs/vuetify/blob/v2.2.12/packages/vuetify/src/components/VList/VListItem.ts)
VListItem  ---- Colorable
           `--- Routable
           `--- Themeable
           `--- Groupable
           `--- Toggleable
| name | type | default | relation | src | |
|---|---|---|---|---|---|
| VListItem | active-class | string | input-value | ||
| dense | boolean | false | |||
| inactive | boolean | false | |||
| link | boolean | false | |||
| selectable | boolean | false | v-list-item | ||
| tag | string | 'div' | 'div' | ||
| three-line | boolean | false | |||
| two-line | boolean | false | |||
| value | any | undefined | |||
| Colorable | color | string | undefined | ||
| Routable | active-class | string | undefined | ||
| append | boolean | false | |||
| disabled | boolean | false | |||
| exact | boolean | false | undefined | ||
| exact-active-class | string | undefined | exact | ||
| link | boolean | - | v-list-item | ||
| href | string or object | undefined | target, link | ||
| to | string or object | undefined | link | ||
| nuxt | boolean | false | nuxt-link | ||
| replace | boolean | false | |||
| ripple | boolean or object | undefined | v-ripple | null | |
| tag | string | - | |||
| target | string | undefined | |||
| Themeable | dark | boolean | false | null | |
| light | boolean | false | null | ||
| Groupable | active-class | string | undefined | ||
| disabled | boolean | false | |||
| Toggleable | input-value | any | undefined |
- input-value
Controls the active state of the item. This is typically used to highlight the component
アイテムのアクティブ状態を制御します。 これは通常、コンポーネントを強調するために使用されます
- value
The value used when a child of a v-list-item-group.
v-list-item-groupの子の場合に使用される値。
VListGroup
- [VListGroup] (https://github.com/vuetifyjs/vuetify/blob/v2.2.12/packages/vuetify/src/components/VList/VListGroup.ts)
VListGroup  ---- BindsAttrs
            `--- Bootable
            `--- Colorable
            `--- Toggleable
| name | type | default | relation | src | |
|---|---|---|---|---|---|
| VListGroup | active-class | string | undefined | '' | |
| append-icon | string | '$expand' | '$expand' | ||
| color | string | 'primary' | 'primary' | ||
| disabled | boolean | false | v-list-item | ||
| group | string | undefined | |||
| no-action | boolean | false | |||
| prepend-icon | string | undefined | v-icon | ||
| ripple | boolean or object | true | v-ripple | true | |
| sub-group | boolean | false | |||
| Bootable | eager | boolean | false | ||
| Colorable | color | string | - | ||
| Toggleable | value | any | undefined |
- value
Expands / Collapse list group
リストグループを展開/折りたたみます
VListItemAvatar
- [VListItemAvatar] (https://github.com/vuetifyjs/vuetify/blob/v2.2.12/packages/vuetify/src/components/VList/VListItemAvatar.ts)
- [VAvatar] (https://github.com/vuetifyjs/vuetify/blob/v2.2.12/packages/vuetify/src/components/VAvatar/VAvatar.ts)
VListItemAvatar ---- VAvatar  ---- Colorable
                              `--- Measurable
| name | type | default | relation | src | |
|---|---|---|---|---|---|
| VListItemAvatar | horizontal | boolean | false | ||
| size | number or string | 40 | 40 | ||
| VAvatar | left | boolean | false | ||
| right | boolean | false | |||
| size | number or string | 48 | 48 | ||
| tile | boolean | false | |||
| Colorable | color | string | undefined | ||
| Measurable | height | number or string | undefined | ||
| max-height | number or string | undefined | |||
| max-width | number or string | undefined | |||
| min-height | number or string | undefined | |||
| min-width | number or string | undefined | |||
| width | number or string | undefined |
実装例
テーマ
dark
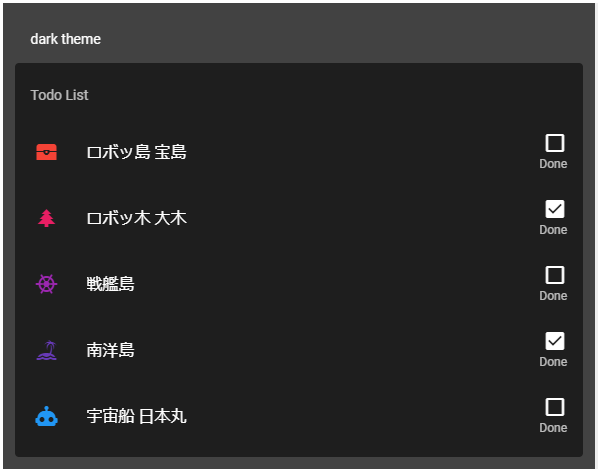
ダークテーマのリストです。1つのリストアイテムを3カラム(アバター、コンテンツ、アクション)で構成しました。
- アバター -> v-list-item-avatar
- コンテンツ -> v-list-item-content
- アクション -> v-list-item-action
<v-list dark>
  <v-subheader>Todo List</v-subheader>
  <v-list-item v-for="(item, index) in items" :key="index" link>
    <v-list-item-avatar>
      <v-icon left :color="item.iconColor">{{ item.icon }}</v-icon>
    </v-list-item-avatar>
    <v-list-item-content>
      <v-list-item-title>{{ item.title }}</v-list-item-title>
    </v-list-item-content>
    <v-list-item-action>
      <v-checkbox v-model="item.value"></v-checkbox>
      <v-list-item-action-text>Done</v-list-item-action-text>
    </v-list-item-action>
  </v-list-item>
</v-list>
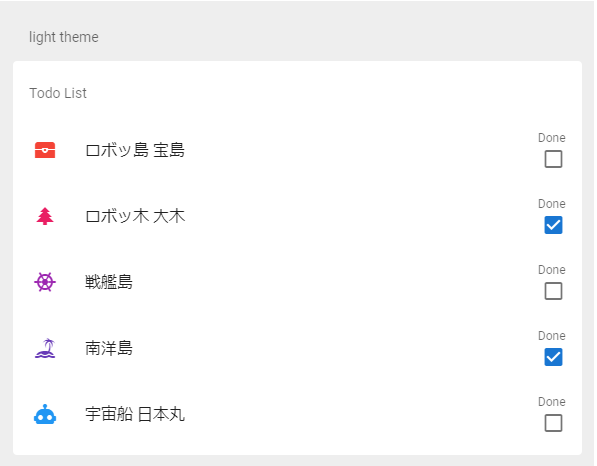
light
ライトテーマのリストです。lightプロパティ以外のソースコードはダークテーマとほぼ同一です。(v-list-item-actionの内部要素の順が違う)
行の高さ
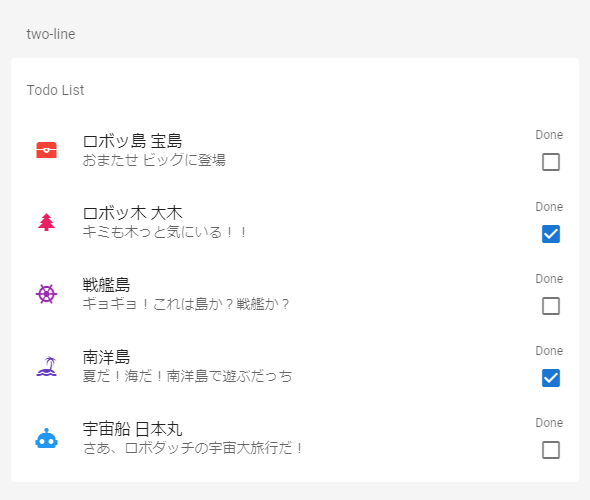
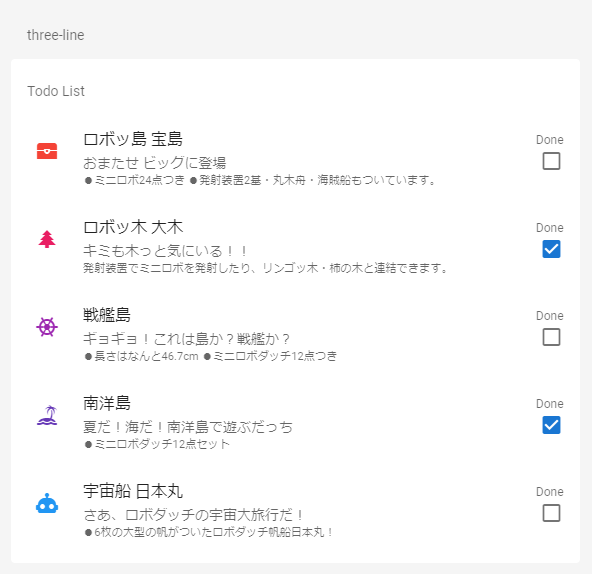
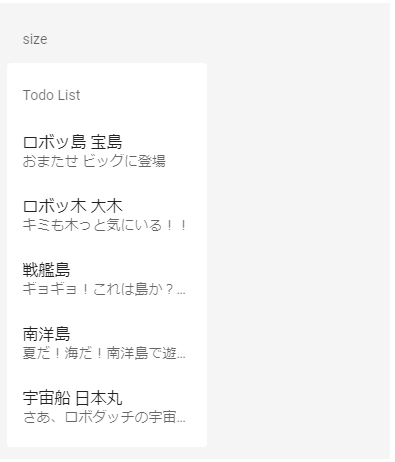
リストアイテムのコンテンツが複数行になる場合、two-line、three-lineプロパティで行の高さを変えることができます。
two-line
<v-list two-line>
  <v-subheader>Todo List</v-subheader>
  <v-list-item v-for="(item, index) in items" :key="index" link selectable>
    <v-list-item-avatar left>
      <v-icon :color="item.iconColor">{{ item.icon }}</v-icon>
    </v-list-item-avatar>
    <v-list-item-content>
      <v-list-item-title>{{ item.title }} </v-list-item-title>
      <v-list-item-subtitle>{{ item.subTitle }}</v-list-item-subtitle>
    </v-list-item-content>
    <v-list-item-action>
      <v-list-item-action-text>Done</v-list-item-action-text>
      <v-checkbox v-model="item.value"></v-checkbox>
    </v-list-item-action>
  </v-list-item>
</v-list>
three-line
<v-list three-line>
  <v-subheader>Todo List</v-subheader>
  <v-list-item v-for="(item, index) in items" :key="index" link>
    <v-list-item-avatar>
      <v-icon :color="item.iconColor">{{ item.icon }}</v-icon>
    </v-list-item-avatar>
    <v-list-item-content>
      <v-list-item-title>{{ item.title }}</v-list-item-title>
      <v-list-item-subtitle>
        {{ item.subTitle }}
        <div>
          <small>{{ item.description }}</small>
        </div>
      </v-list-item-subtitle>
    </v-list-item-content>
    <v-list-item-action>
      <v-list-item-action-text>Done</v-list-item-action-text>
      <v-checkbox v-model="item.value"></v-checkbox>
    </v-list-item-action>
  </v-list-item>
</v-list>
カラー
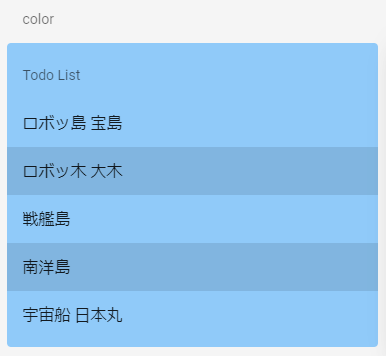
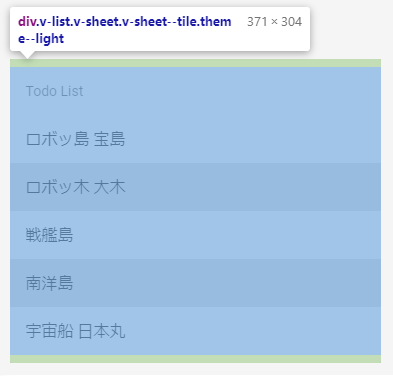
colorプロパティでリストの背景色を指定します。
下図は"blue lighten-3"を指定したものです。
<v-list color="blue lighten-3">
エレベーション
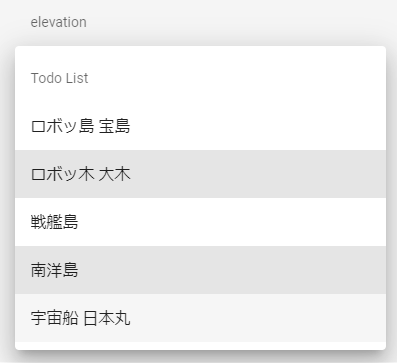
elevationプロパティでリストが浮き上がってみえるように表示できます。
下図はelevationに15を指定したものです。指定できる数値は0~24になります。
<v-list elevation="15">
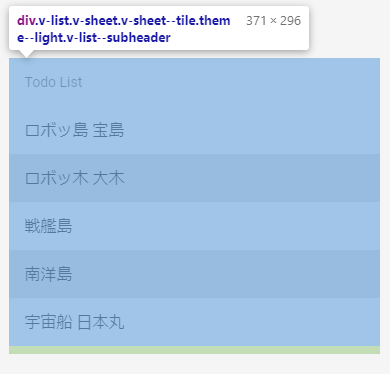
サブヘッダー
subheaderプロパティを指定すると上部のパディングが除去されます。v-listコンポーネントを複数繋げて表示する場合に2つ目以降のv-listに指定するという使い方をするようです。
<v-list subheader>
形状
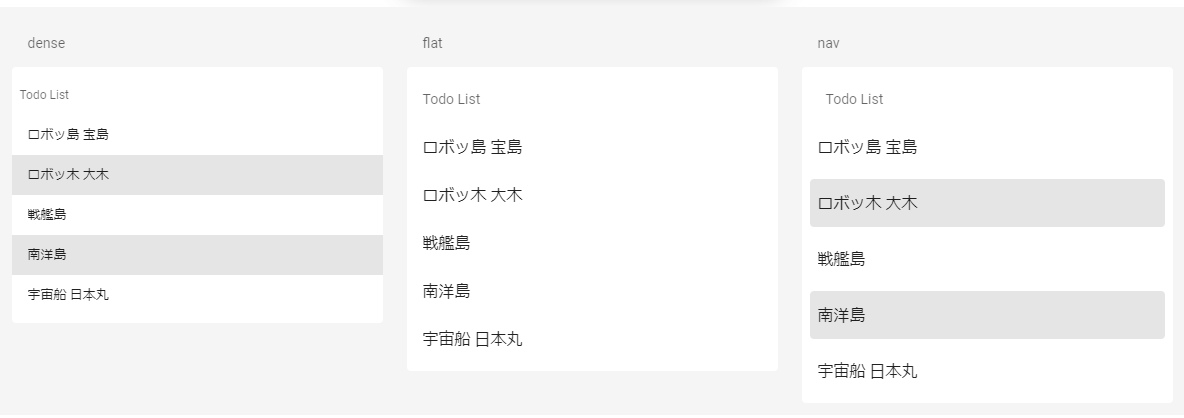
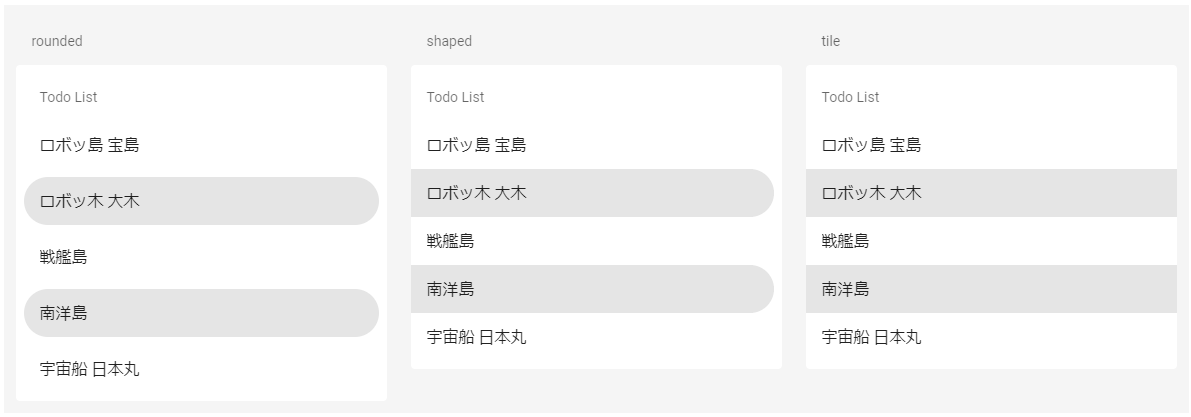
dense、flat、nav、rounded、shaped、tileプロパティでアクティブ時のリストアイテムの形状を変えることができます。
なおflatはアクティブ時の形状は変わりません。
左からrounded、shaped、tileを指定したものです。
無効
disabledプロパティを指定するとリストアイテム全体がクリックできなくなります。
<v-list disabled>
強調表示
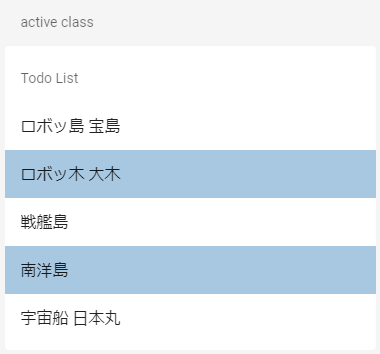
v-list-itemのactive-classプロパティで、リストアイテムがアクティブな時のCSSクラスを指定できます。
アクティブなときというのは、v-list-itemのinput-valueプロパティがtrueのとき、または
<v-list-item active-class="blue lighten-4">
下図はactive-classプロパティに"blue lighten-4"を指定、2行目と4行目のアイテムのinput-valueプロパティをtrueにしたときのものです。
リンク
疑似的なリンク
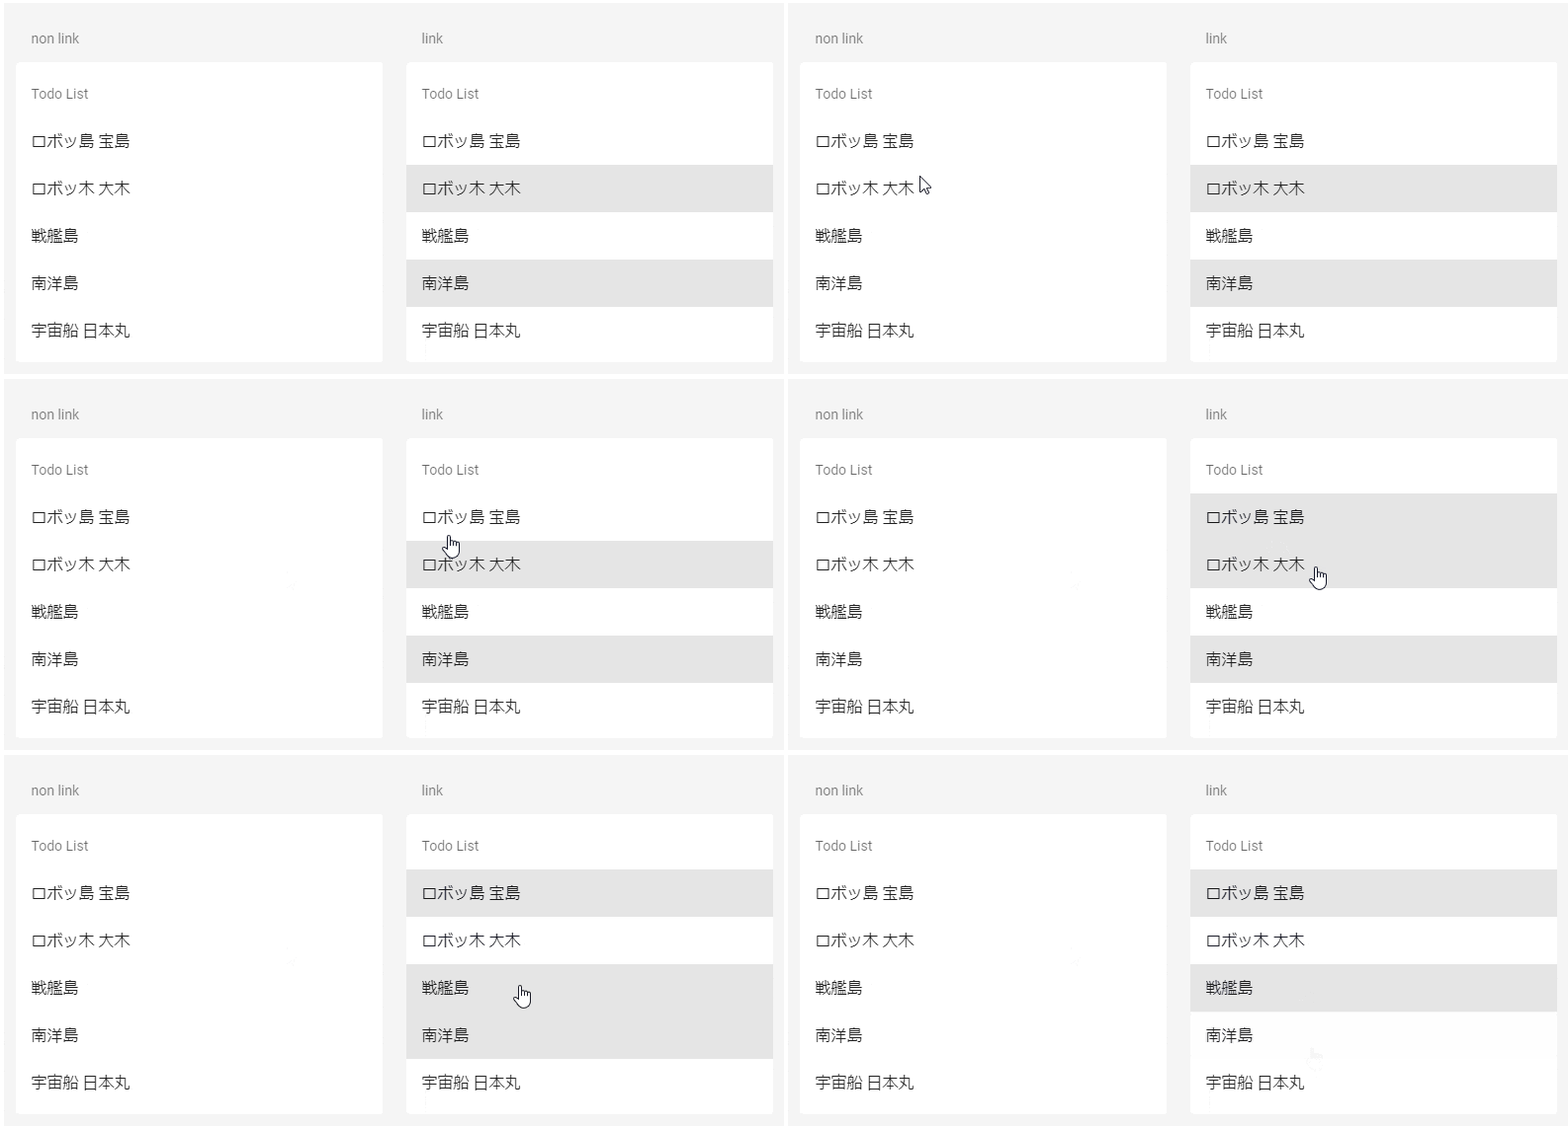
v-list-itemにlinkプロパティを指定(若しくは@clickイベントを設定)すると、リストアイテムは疑似的なリンクとして扱われます。
マウスカーソルを合わせるとカーソルがポインターに変わり、クリックするとリップルのエフェクトが発生します。
<v-list-item link>
<v-list>
  <v-subheader>Todo List</v-subheader>
  <v-list-item
    v-for="(item, index) in items"
    :key="index"
    :input-value="item.value"
    @click="item.value = !item.value"
  >
    <v-list-item-content>
      <v-list-item-title>{{ item.title }}</v-list-item-title>
    </v-list-item-content>
  </v-list-item>
</v-list>
下のgifの左側はlinkプロパティを指定していないもの、右側は@clickイベントを指定したものです。
linkプロパティを指定していない方はカーソルがポインターにもならず、クリックしてもリップルは発生しません。
リンク
href、to、nuxtプロパティを指定するとリストアイテムはリンクとして扱われ、クリックすると画面遷移(またはアンカーへのジャンプ)が行われます。
リンクの無効化
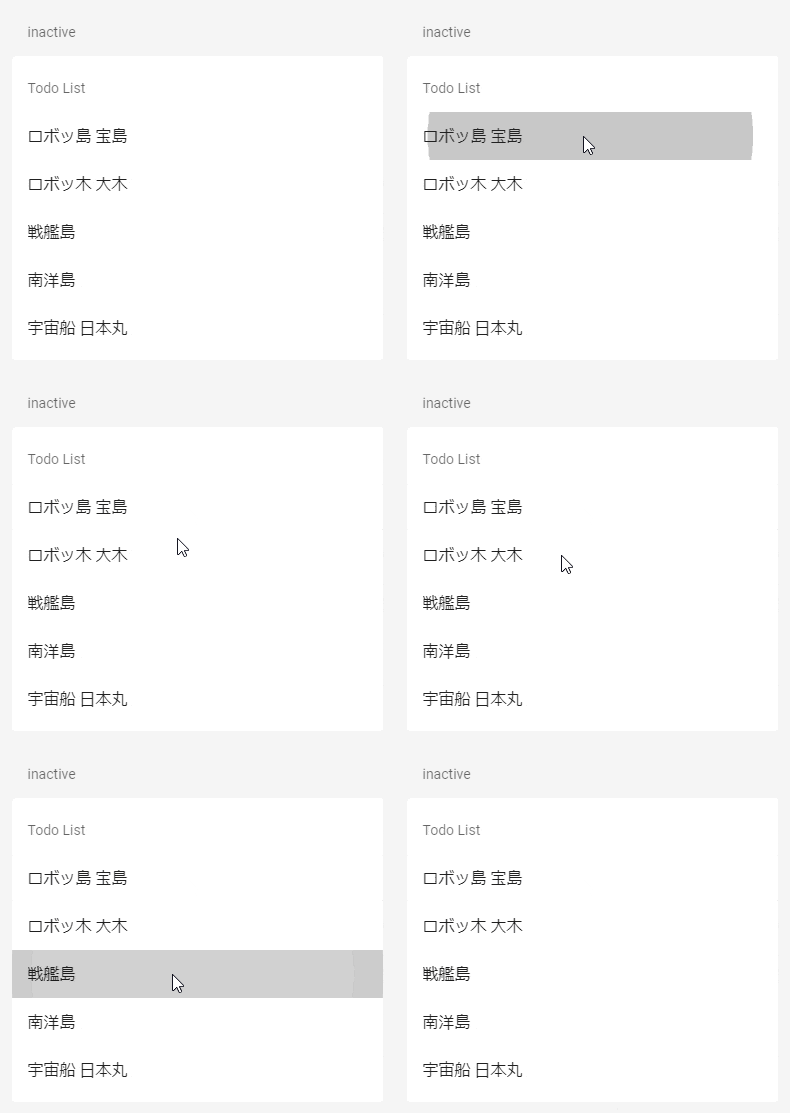
リンクとして扱われているリストアイテムにinactiveを指定すると、リンクとしての挙動は無効化されます。
<v-list>
  <v-subheader>Todo List</v-subheader>
  <v-list-item
    v-for="(item, index) in items"
    :key="index"
    :input-value="item.value"
    :href="item.url"
    target="_blank"
    inactive
  >
    <v-list-item-content>
      <v-list-item-title>{{ item.title }}</v-list-item-title>
    </v-list-item-content>
  </v-list-item>
</v-list>
inactiveを指定するとカーソルは変わりませんがリップルは発生します。またリンク先への画面遷移も行われません。
サイズ
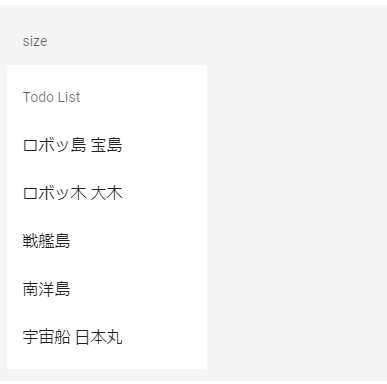
width、min-width、max-widthプロパティでリストの横幅を指定できます。リストアイテムが表示領域に収まらない場合はリストアイテムのコンテンツは省略表示されます。
なおheight、min-height、max-heightプロパティもあり縦幅を指定できますがリストアイテムが表示領域に収まらない場合ははみ出てしまいます。
<v-list width="200">
アイコン
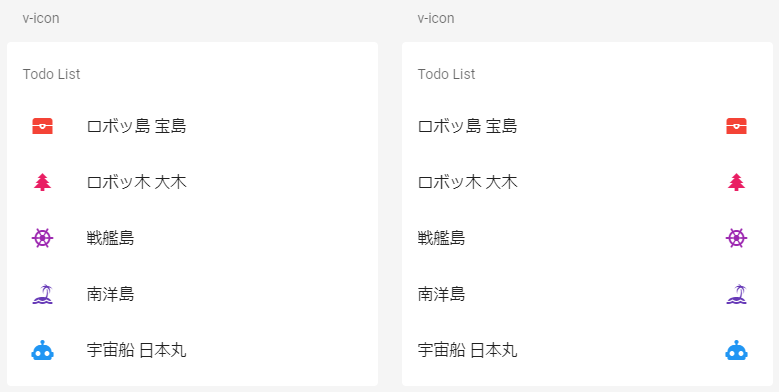
v-list-item-iconとv-iconコンポーネントでアイテムの前後に任意のアイコンを配置できます。
下記のコードの通りアイコンの位置はv-list-item-iconとv-list-item-contentの定義で決まります。
<v-list-item v-for="(item, index) in items" :key="index" link>
  <v-list-item-icon>
    <v-icon right :color="item.iconColor">{{ item.icon }}</v-icon>
  </v-list-item-icon>
  <v-list-item-content>
    <v-list-item-title>{{ item.title }}</v-list-item-title>
  </v-list-item-content>
</v-list-item>
<v-list-item v-for="(item, index) in items" :key="index" link>
  <v-list-item-content>
    <v-list-item-title>{{ item.title }}</v-list-item-title>
  </v-list-item-content>
  <v-list-item-icon>
    <v-icon right :color="item.iconColor">{{ item.icon }}</v-icon>
  </v-list-item-icon>
</v-list-item>
アバター
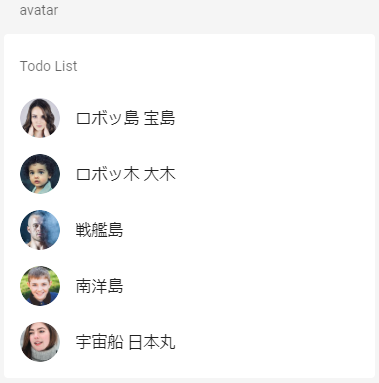
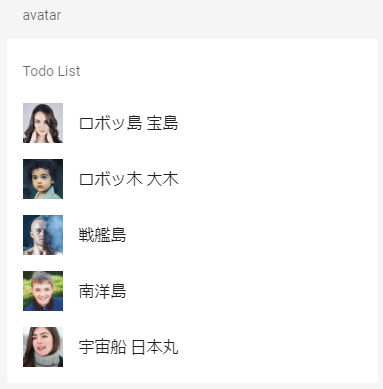
v-list-item-avatarコンポーネントでアバターを表示させることができます。
デフォルトではアバターは丸く表示されます。
※(アバターの表示には[Pravatar CC0 Avatar placeholders] (https://pravatar.cc/)を利用させて頂きました)
<v-list>
  <v-subheader>Todo List</v-subheader>
  <v-list-item v-for="(item, index) in items" :key="index">
    <v-list-item-avatar>
      <v-img :src="`https://i.pravatar.cc/180?img=${index + 1}`" size="40"></v-img>
    </v-list-item-avatar>
    <v-list-item-content>
      <v-list-item-title>{{ item.title }}</v-list-item-title>
    </v-list-item-content>
  </v-list-item>
</v-list>
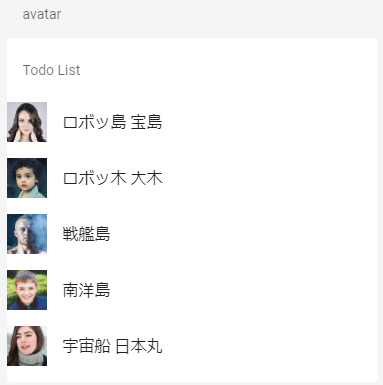
tileプロパティを指定すると四角く表示されます。
<v-list-item-avatar tile>
horizontalプロパティを指定すると左寄せになります。
<v-list-item-avatar horizontal>
組み合わせ
他のコンポーネントと組み合わせた実装例です。
v-card
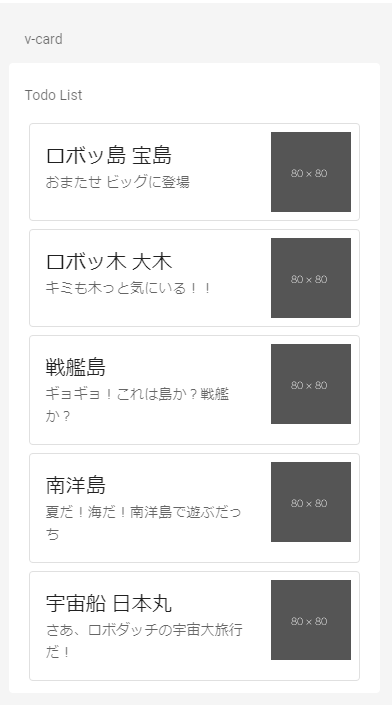
リストアイテムにv-cardコンポーネントを使った例です。
<v-list>
  <v-subheader>Todo List</v-subheader>
  <v-list-item v-for="(item, index) in items" :key="index">
    <v-card class="ma-1" outlined flat hover style="overflow-x: auto; width: 600px">
      <div class="d-flex flex-no-wrap justify-space-between">
        <div>
          <v-card-title v-text="item.title"></v-card-title>
          <v-card-subtitle v-text="item.subTitle"></v-card-subtitle>
        </div>
        <v-avatar class="ma-2" size="80" tile>
          <v-img src="https://dummyimage.com/80x80/555555/fff.png"></v-img>
        </v-avatar>
      </div>
    </v-card>
  </v-list-item>
</v-list>
v-divider
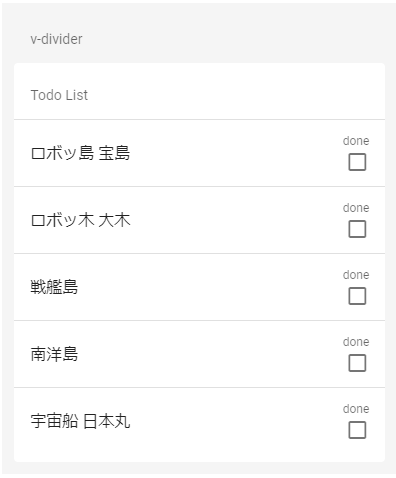
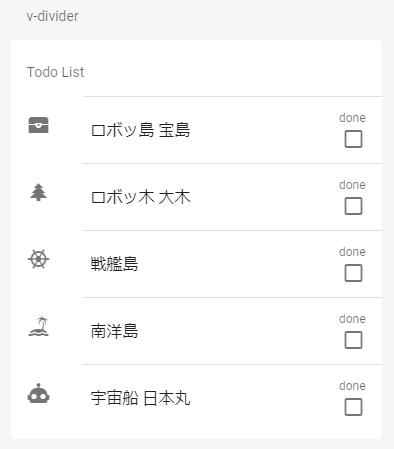
v-list-item間にv-dividerコンポーネントを追加することで境界線を表示することができます。
<v-list>
  <v-subheader>Todo List</v-subheader>
  <template v-for="(item, index) in items">
    <v-divider :key="`div-${index}`"></v-divider>
    <v-list-item :key="`list-${index}`" link>

      <!-- 省略 -->

    </v-list-item>
  </template>
</v-list>
リストアイテムの前にアイコン(アバター)を表示する場合で、コンテンツの下だけに境界線を表示したいときはv-dividerコンポーネントにinsetプロパティを指定します。
<v-divider inset :key="`div-${index}`"></v-divider>
v-rating
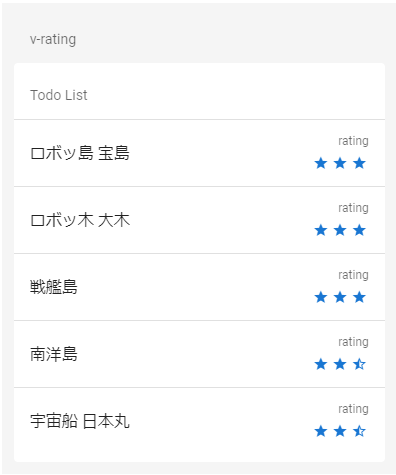
リストのアクションにv-ratingコンポーネントを使ってレーティングを表示することができます。
<v-list>
  <v-subheader>Todo List</v-subheader>
  <template v-for="(item, index) in items">
    <v-divider :key="`div-${index}`"></v-divider>
    <v-list-item :key="`list-${index}`" link>

      <!-- 省略 -->

      <v-list-item-action>
        <v-list-item-action-text>rating</v-list-item-action-text>
        <v-rating small dense :value="item.rating" half-increments length="3"></v-rating>
      </v-list-item-action>
    </v-list-item>
  </template>
</v-list>
実装例 (ネストしたメニュー)
メニューのインデント
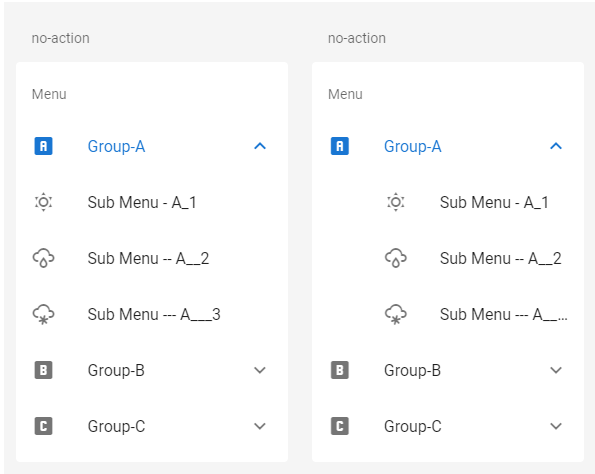
ネストしたメニューをインデントする場合は、no-actionプロパティを指定します。
<v-list>
  <v-subheader>Menu</v-subheader>
  <v-list-group v-for="menu in menus" :key="menu.name" :prepend-icon="menu.icon" no-action>
    <template v-slot:activator>
      <v-list-item-content>
        <v-list-item-title>{{ menu.name }}</v-list-item-title>
      </v-list-item-content>
    </template>
    <v-list-item v-for="sub in menu.subMenus" :key="sub.name" link>
      <v-list-item-icon>
        <v-icon>{{ sub.icon }}</v-icon>
      </v-list-item-icon>
      <v-list-item-content>
        <v-list-item-title>{{ sub.name }}</v-list-item-title>
      </v-list-item-content>
    </v-list-item>
  </v-list-group>
</v-list>
下図の左側がno-actionプロパティ無し、右側がプロパティ有りです。
メニューの開閉
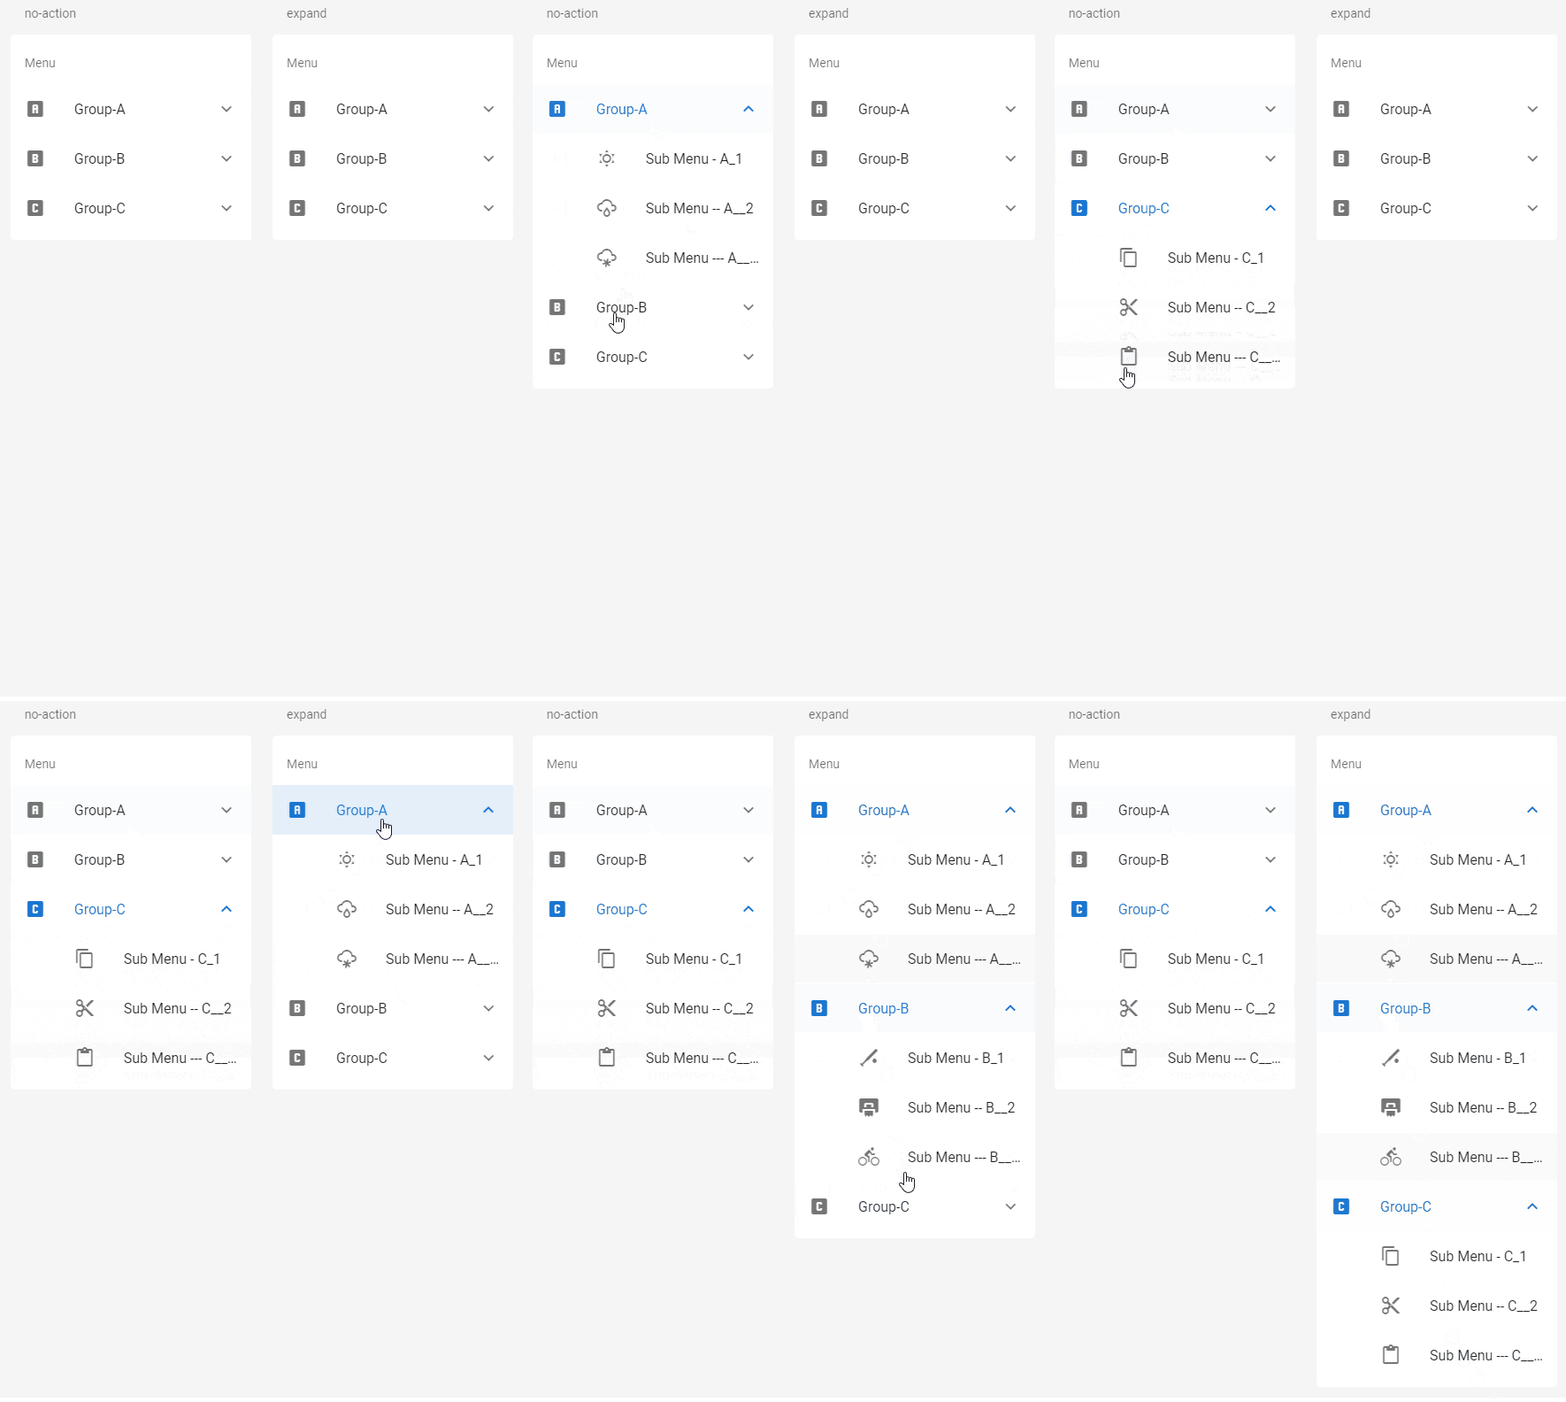
リストに複数のネストしたメニューがある場合、デフォルトではネストしたメニューが開けるのはどれか1つだけですが、expandプロパティを指定すると全て開いた状態にできます。
<v-list expand>
下のgifの左側がexpandプロパティ無し、右側がプロパティ有りです。
グループ
リストをページのナビゲーションメニューとして使用する場合などで、開いたページに対応するメニューを自動的に開いた状態にするには、groupプロパティでURLをグルーピングします。
たとえば(コードはだいぶ省略していますが)下記のような3つのメニュー(Group-A, Group-B, Group-C)と、それぞれにページ遷移するメニューがあった場合、開いたページのURLが/group/b/1だった場合、Group-Bのメニューが開いた状態になります。
<v-list>
  <v-subheader>Menu</v-subheader>
  <!-- Group Aのメニュー -->
  <v-list-group group="/group/a">
    <v-list-item to="/group/a/1">
      <v-list-item-title>to A1 page</v-list-item-title>
    </v-list-item>
    <v-list-item to="/group/a/2">
      <v-list-item-title>to A2 page</v-list-item-title>
    </v-list-item>
  </v-list-group>

  <!-- Group Bのメニュー -->
  <v-list-group group="/group/b">
    <v-list-item to="/group/b/1">
      <v-list-item-title>to B1 page</v-list-item-title>
    </v-list-item>
    <v-list-item to="/group/b/2">
      <v-list-item-title>to B2 page</v-list-item-title>
    </v-list-item>
  </v-list-group>

  <!-- Group Cのメニュー -->
  <v-list-group group="/group/c">
    <v-list-item to="/group/c/1">
      <v-list-item-title>to C1 page</v-list-item-title>
    </v-list-item>
    <v-list-item to="/group/c/2">
      <v-list-item-title>to C2 page</v-list-item-title>
    </v-list-item>
  </v-list-group>
</v-list>
開閉状態のバインド
リストの開閉状態をモデルにバインドすることで状態を永続化できます。
状態はvalueプロパティに指定し、trueであれば開いた状態、falseであれば閉じた状態になります。
<v-list>
  <v-subheader>Menu</v-subheader>
  <v-list-group
    v-for="menu in menus"
    :key="menu.name"
    :prepend-icon="menu.icon"
    :value="menu.open"
    no-action
    >

    <!-- 省略 -->

  </v-list-group>
</v-list>
開閉アイコン
リストの開閉状態を示すアイコンはappend-iconプロパティで指定できます。指定したアイコンは開閉に合わせて上下反転します。
<v-list-group append-icon="mdi-details">
多階層のリスト
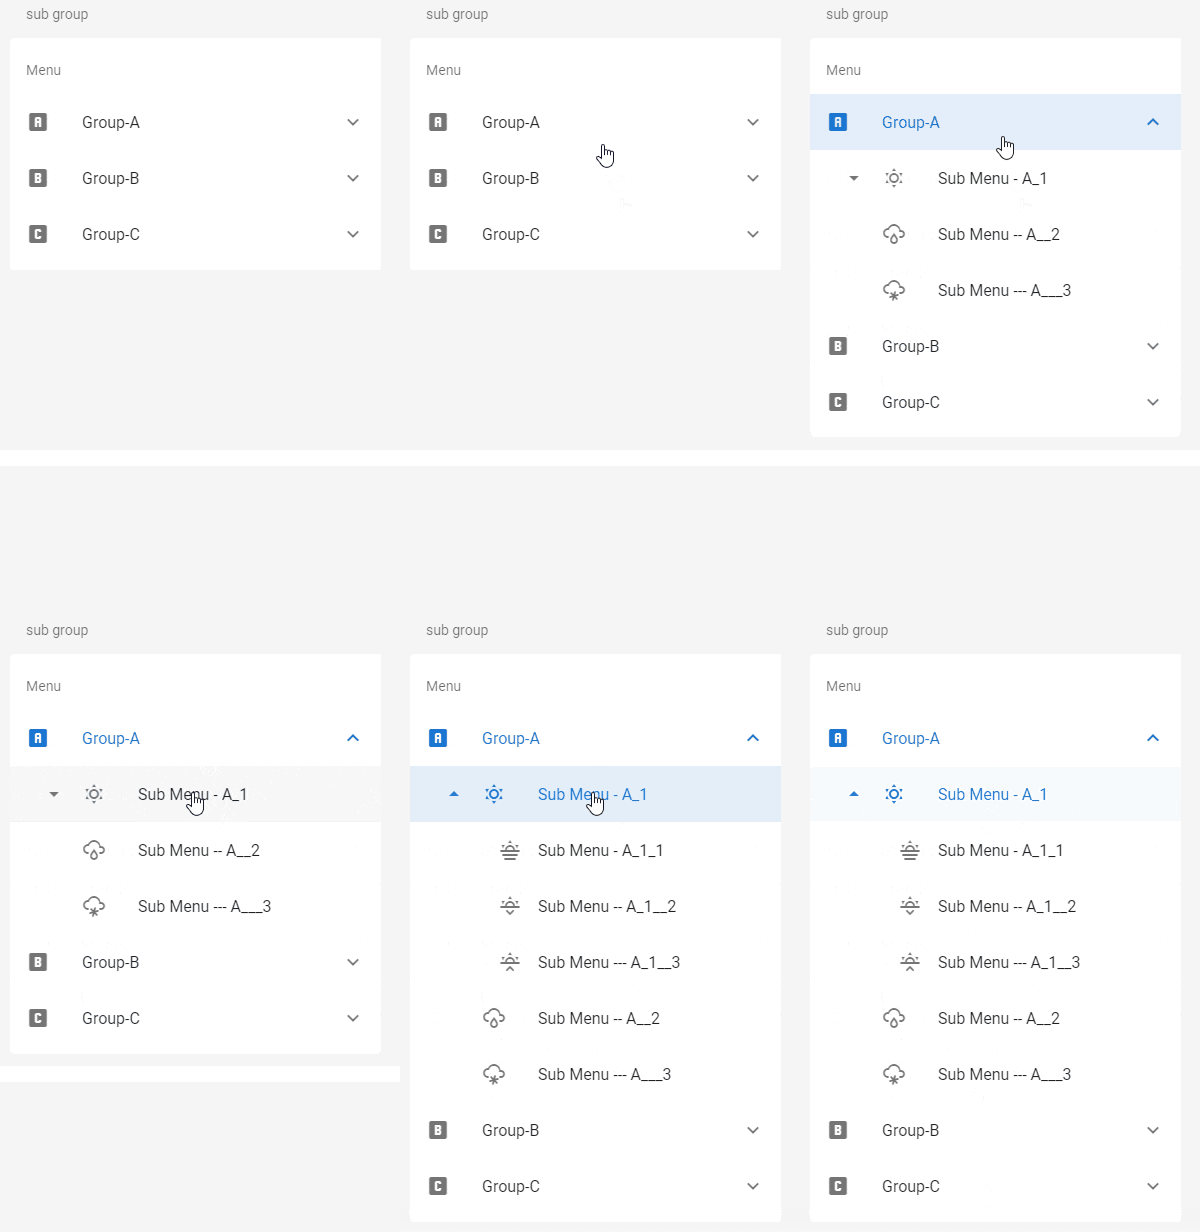
リストが多階層ネストする場合、ネストした側のv-list-groupにsub-groupプロパティを指定する必要があります。
<v-list>
  <v-subheader>Menu</v-subheader>
  <!-- 1層目のリストグループ -->
  <v-list-group v-for="menu in menus" :key="menu.name" :prepend-icon="menu.icon" no-action>
    <template v-slot:activator>
      <v-list-item-content>
        <v-list-item-title>{{ menu.name }}</v-list-item-title>
      </v-list-item-content>
    </template>
    <template v-for="sub in menu.subMenus">
      <!-- 2層目がリストグループの場合 -->
      <v-list-group v-if="sub.subMenus" :key="sub.name" no-action sub-group>
        <template v-slot:activator>
          <v-list-item-icon class="mr-8">
            <v-icon>{{ sub.icon }}</v-icon>
          </v-list-item-icon>
          <v-list-item-content>
            <v-list-item-title>{{ sub.name }}</v-list-item-title>
          </v-list-item-content>
        </template>
        <!-- 3層目のリスト -->
        <v-list-item v-for="sub2 in sub.subMenus" :key="sub2.name" :to="sub2.url">

          <!-- 省略 -->

        </v-list-item>
      </v-list-group>

      <!-- 2層目が通常のリストの場合 -->
      <v-list-item v-else :key="sub.name" :to="sub.url">

        <!-- 省略 -->

      </v-list-item>
    </template>
  </v-list-group>
</v-list>
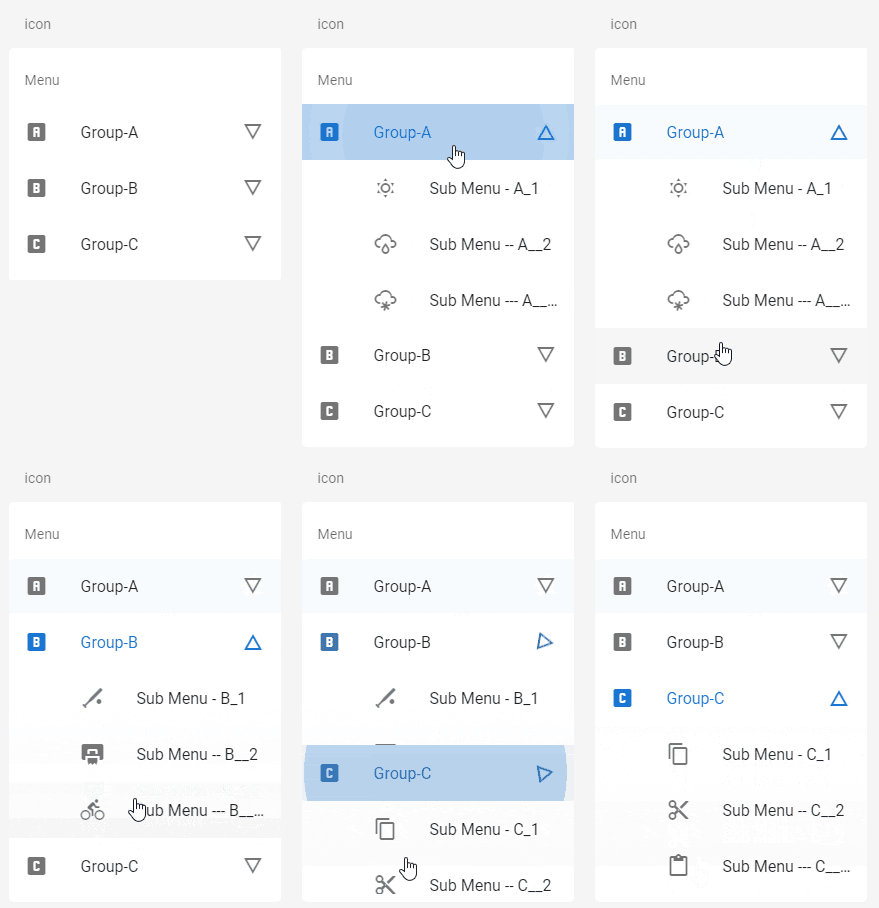
下のgifでは『Group-A』→『Sub Menu - A_1』と開いています。3層目のメニューのネストが少し浅いので2層目と見分けにくいので、アイコンを右側に表示するなどしたほうがいいかもしれません。
[List item groups] (https://vuetifyjs.com/en/components/list-item-groups)
リストアイテムにモデルをバインドしてチェックリストのような使い方をすることが簡単にできます。
基本的な構造パターン
v-list-item-groupでグループ化するv-list-itemをラップするのが基本的な構造になります。
v-list
   |
   `--- v-list-item-group
          |
          `--- v-list-item
          `--- v-list-item
          `--- v-list-item
Props
VListItemGroup
- [VListItemGroup] (https://github.com/vuetifyjs/vuetify/blob/v2.2.12/packages/vuetify/src/components/VList/VListItemGroup.ts)
- [VItemGroup] (https://github.com/vuetifyjs/vuetify/blob/v2.2.12/packages/vuetify/src/components/VItemGroup/VItemGroup.ts)
VListItemGroup ---- VItemGroup ---- Proxyable
               |               `--- Themeable
               |
               `--- Colorable
| name | type | default | relation | src | |
|---|---|---|---|---|---|
| VListItemGroup | |||||
| VItemGroup | active-class | string | 'v-item--active' | 'v-item--active' | |
| mandatory | boolean | false | |||
| max | number or string | undefined | null | ||
| multiple | boolean | false | |||
| Proxyable | value | any | undefined | ||
| Themeable | dark | boolean | false | null | |
| light | boolean | false | null | ||
| Colorable | color | string | undefined |
実装例
単一選択
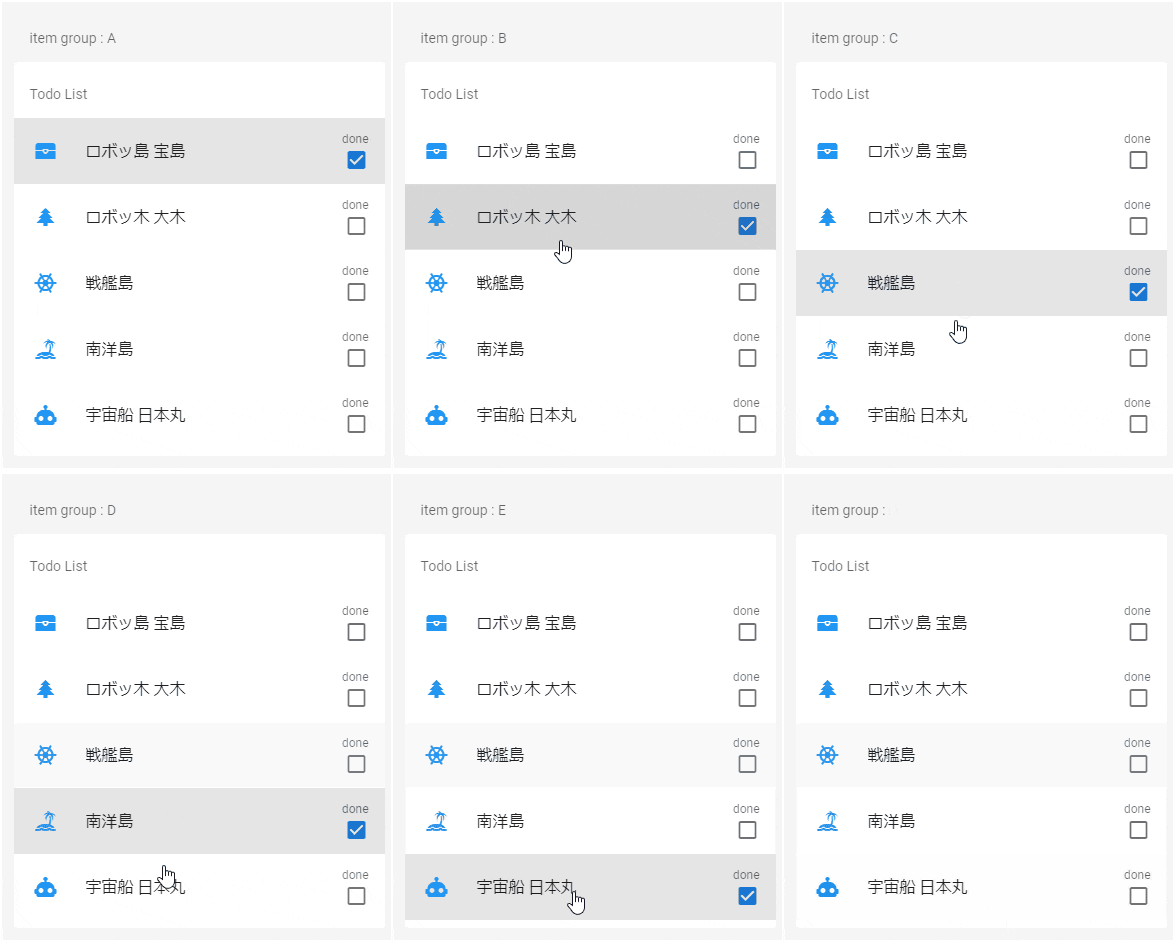
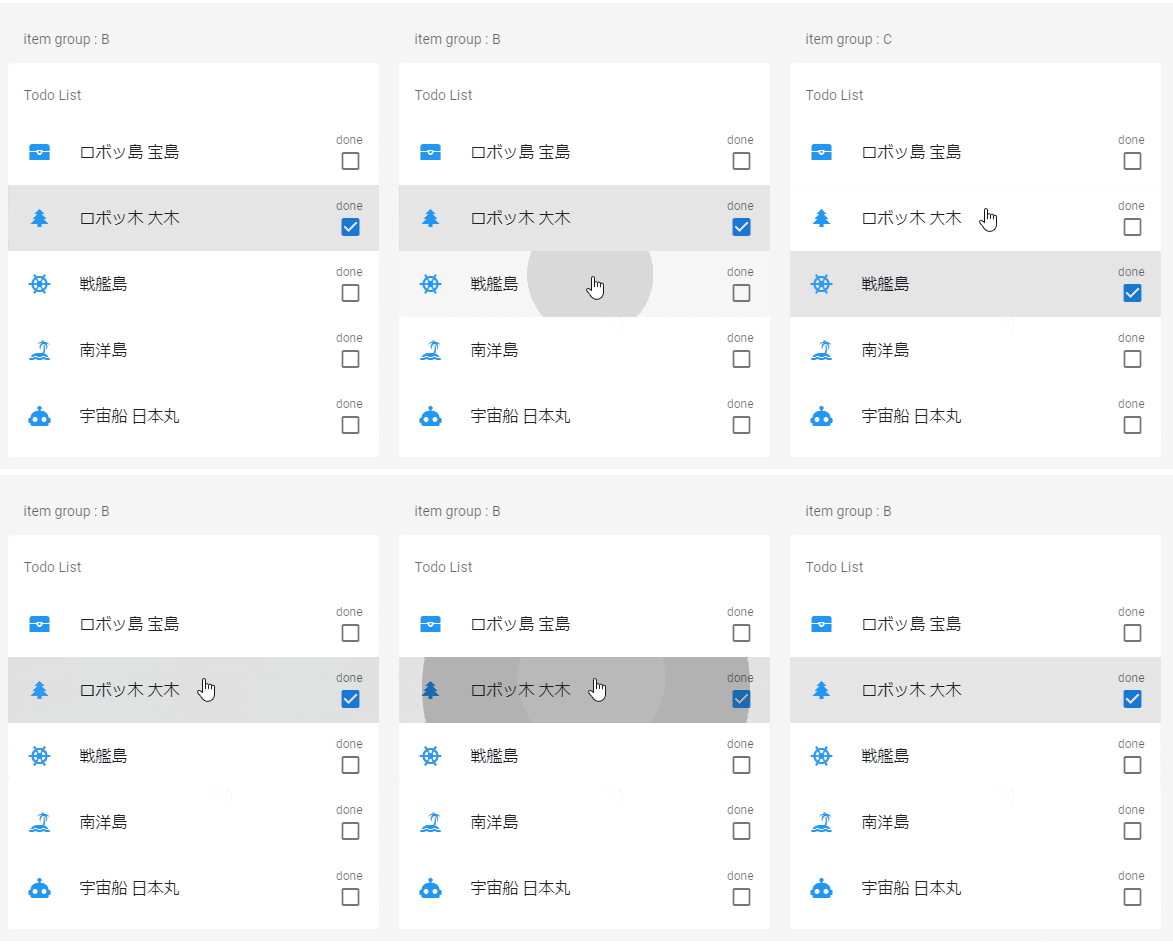
デフォルトではリストアイテムグループは単一値のモデルにバインドします。つまりラジオボタングループのように振るいまいます。
ただしラジオボタンと違って選択しないこともできるので、選択済みをもう一度クリックすると選択状態が外れます。
<v-list>
  <v-subheader>Todo List</v-subheader>
  <v-list-item-group v-model="model1">
    <v-list-item v-for="(item, index) in items" :key="index" link :value="item.value">
      <template v-slot:default="{ active, toggle }">
        <v-list-item-avatar>
          <v-icon left color="blue">{{ item.icon }}</v-icon>
        </v-list-item-avatar>
        <v-list-item-content>
          <v-list-item-title>{{ item.title }}</v-list-item-title>
        </v-list-item-content>
        <v-list-item-action>
          <v-list-item-action-text>done</v-list-item-action-text>
          <v-checkbox :input-value="active" @click="toggle"></v-checkbox>
        </v-list-item-action>
      </template>
    </v-list-item>
  </v-list-item-group>
</v-list>
<script>
export default {
  data() {
    return {
      model1: 'A',
      model2: 'B',
      model3: ['C'],
      model4: ['D'],
      items: [
        // 省略
      ]
  }
}
</script>
単一の必須選択
mandatoryプロパティを指定して必ずどれか選択されている状態にすることができます。(選択済みのリストアイテムをクリックしても選択状態が解除されない)
<v-list-item-group v-model="model2" mandatory>
複数選択
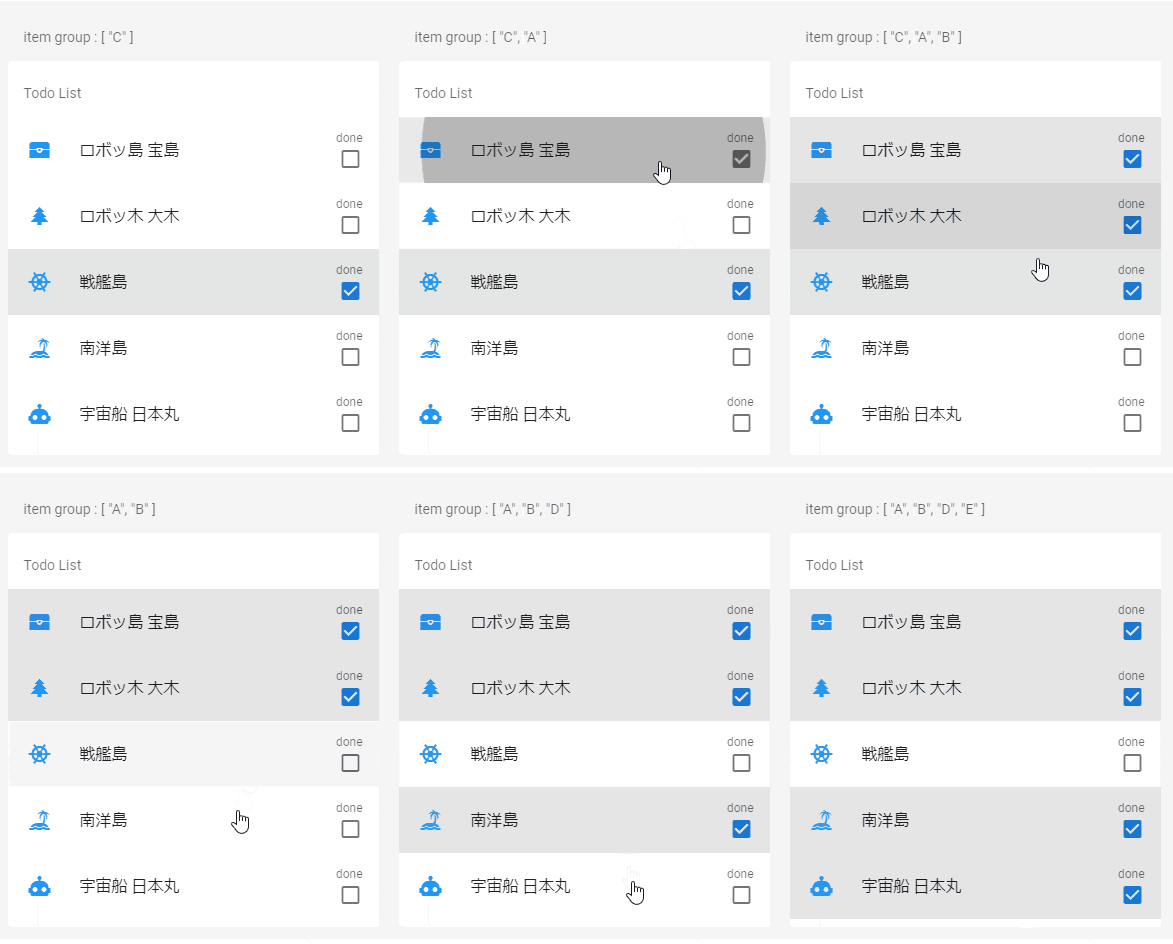
multipleプロパティを指定すると複数選択することができます。この場合バインドするモデルは配列である必要があります。
<v-list-item-group v-model="model3" multiple>
複数選択(上限付き)
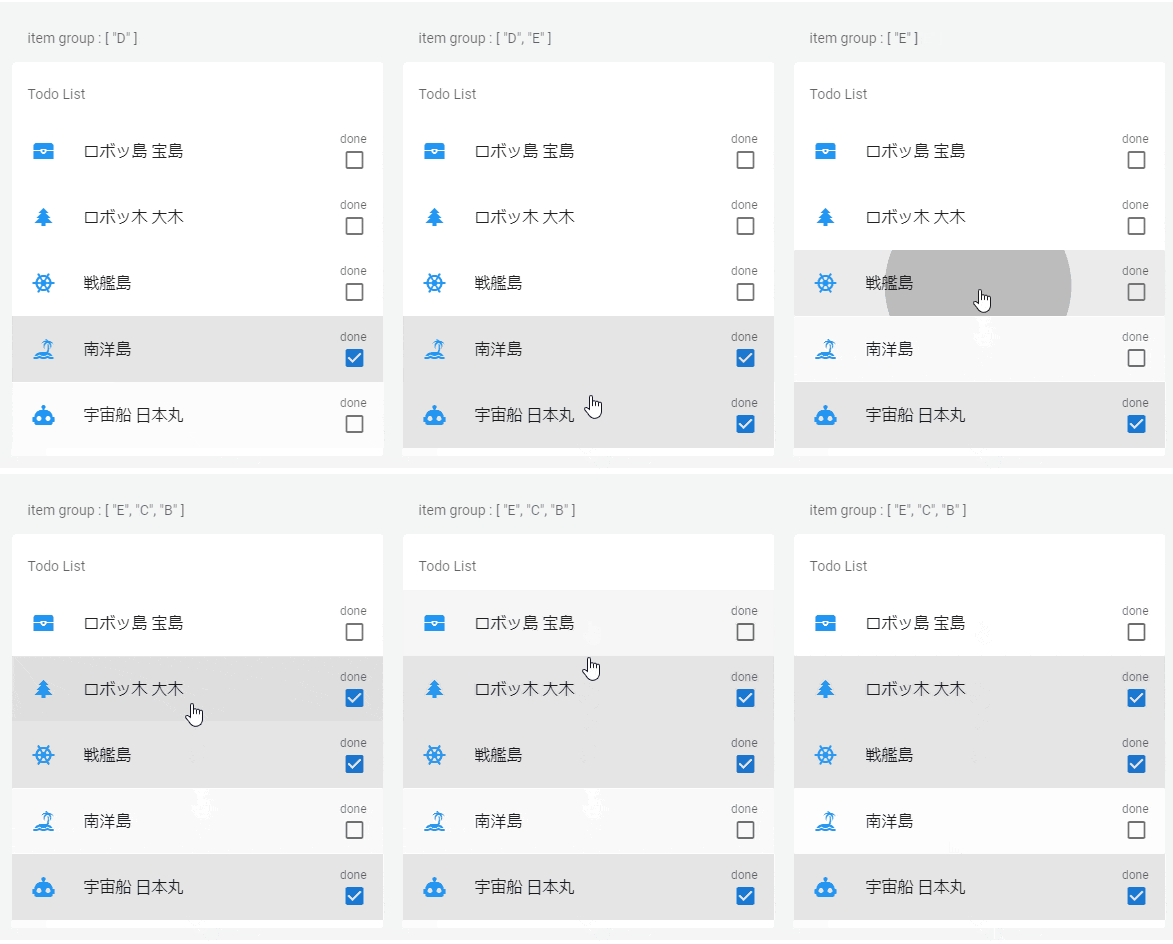
multipleに加えmaxプロパティで選択できる上限を指定できます。上限に達している場合未選択のリストをクリックしても選択状態になりません。
<v-list-item-group v-model="model4" multiple max="3">
