概要
「Cloud Source Repositories」は、GCPが提供するプライベートGitレポジトリサービスです。
この記事は、まだgitで管理していないプロジェクトをCloud Source Repositories上に作成したレポジトリで管理するまでの手順のメモになります。
プロジェクトディレクトリは「demo-slack-post」、レポジトリ名は同じ「demo-slack-post」にします。
環境
- Windows 10 Professional
- Git for Windows 2.17.0
参考
[Google Cloud Source Repositories のドキュメント] (https://cloud.google.com/source-repositories/docs/)
認証について
Cloud Source Repositoriesにpushしたりcloneするには認証が必要です。認証方法にはGoogle Cloud SDKを使う方法(推奨)と、手動で生成する静的な資格情報を使う方法があります。
この記事では、Google Cloud SDKは使用せず、静的な資格情報を使う方法を使用しました。
ちなみに、静的な資格情報を使う一般的な状況というのは下記に引用したように、Google Cloud SDKが利用できない環境でレポジトリにアクセスする場合になります。
Cloud SDK にアクセスできない場合があります。たとえば、これらのツールにアクセスできないビルドサーバー上で作業している場合です。このような状況では、静的な認証情報を手動で生成できます。
静的な資格情報を生成する
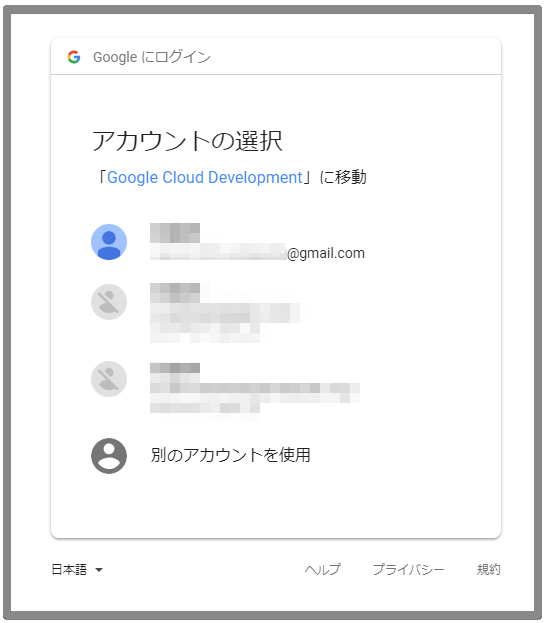
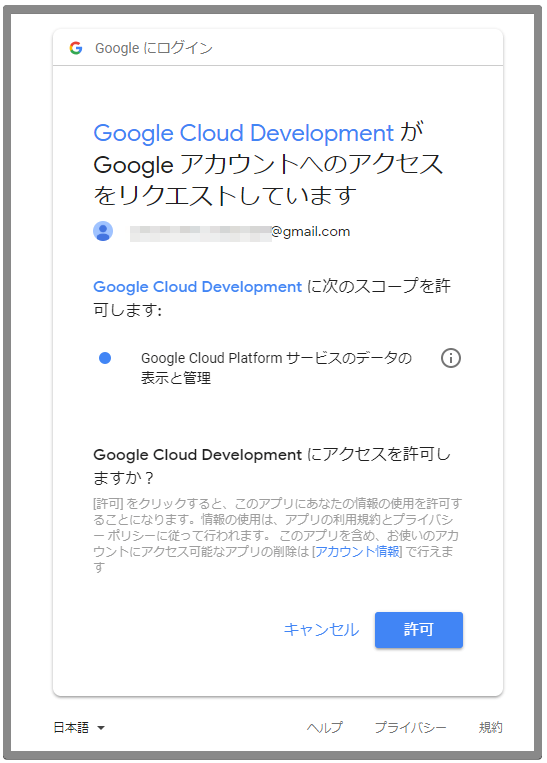
下記のURLにアクセスし、認証するアカウントでログイン(選択)します。
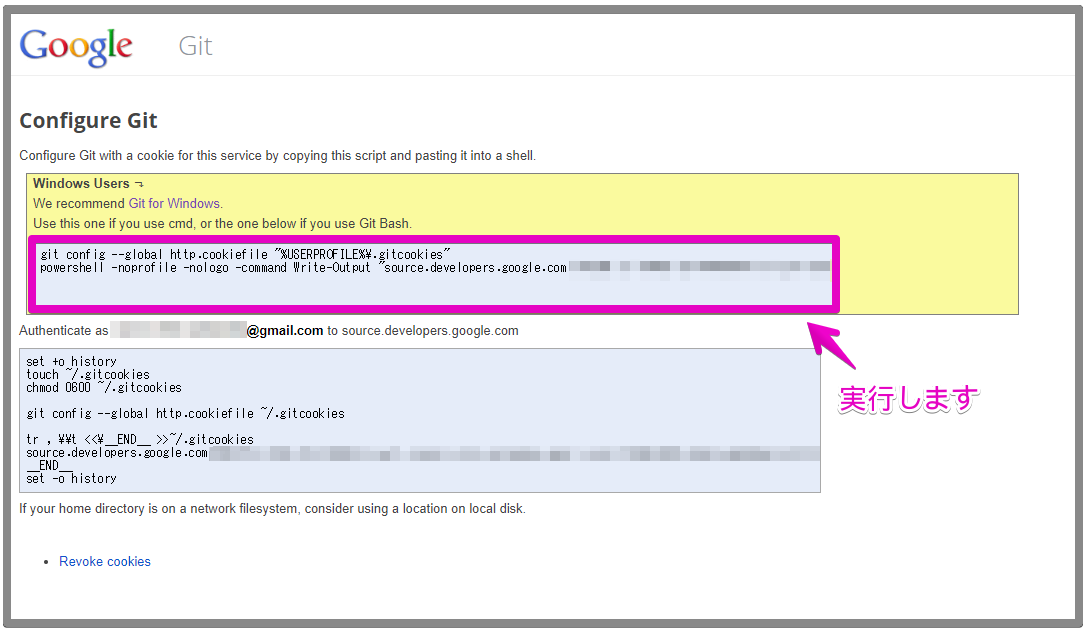
資格情報を生成するコマンドが表示されます。Windows環境の場合はピンクの枠線で囲ったコマンドを実行します。
Cloud Source Repositoriesにレポジトリを作成する
レポジトリを作成する手段はGCP ConsoleとSDKのgcloudコマンドラインツールがありますが、この記事ではGCP Consoleから作成します。
GCP Consoleのログインして、左側メニューの”Source Repositories” → ”レポジトリ”を選択します。
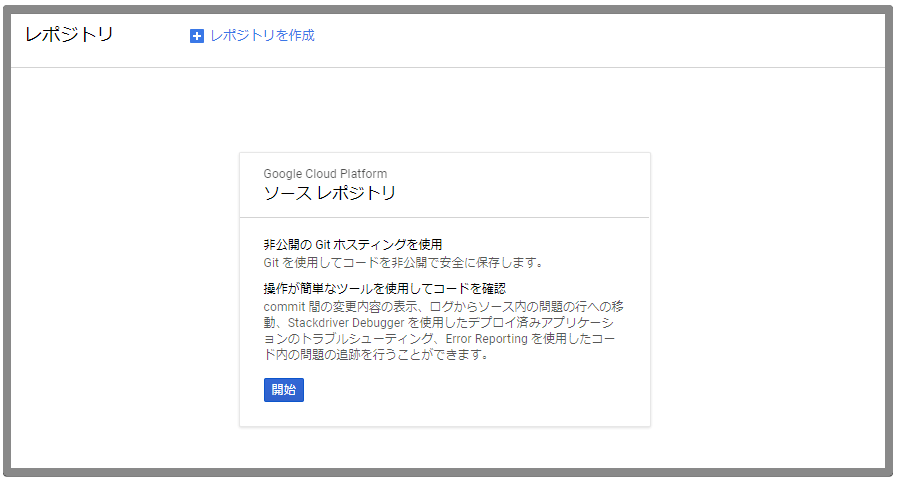
レポジトリ名に”demo-slack-post”と入力して作成をクリックします。
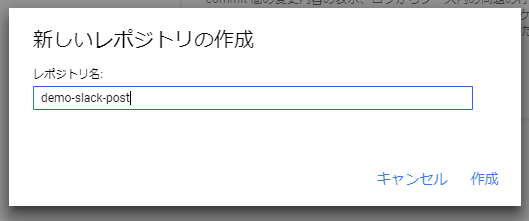
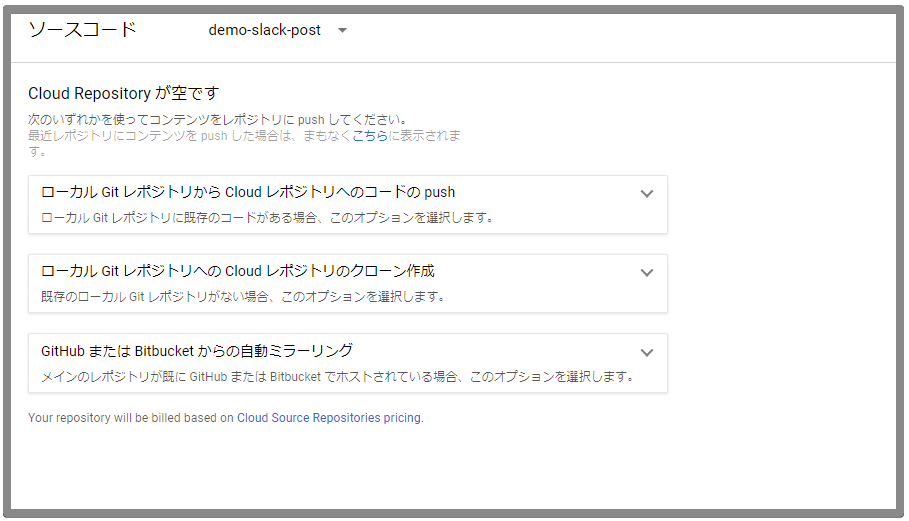
これで空の"demo-slack-post"レポジトリが作成されました。
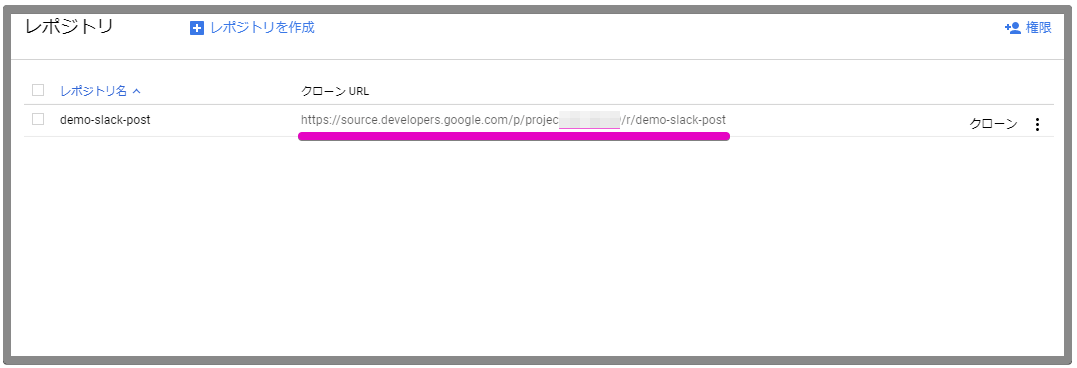
レポジトリページに戻り、クローンURLを確認します。
クローンURLはhttps://source.developers.google.com/p/<PROJECT-ID>/r/<REPOSITORY_NAME>というフォーマットです。
ローカルのプロジェクトディレクトリをgit管理する
カレントディレクトリをプロジェクトディレクトリに移します。
> cd demo-slack-post
以降の作業はGit for Windowsのgitで行います。
> git init
> git add .
> git commit -m "first commit"
リモートレポジトリを追加します。
> git remote add origin https://source.developers.google.com/p/<PROJECT-ID>/r/demo-slack-post
リモートレポジトリへpushします。
> git push -u origin master
Counting objects: 9, done.
Delta compression using up to 8 threads.
Compressing objects: 100% (9/9), done.
Writing objects: 100% (9/9), 3.47 KiB | 507.00 KiB/s, done.
Total 9 (delta 0), reused 0 (delta 0)
To https://source.developers.google.com/p/<PROJECT-ID>/r/demo-slack-post
 * [new branch]      master -> master
Branch 'master' set up to track remote branch 'master' from 'origin'.
GCP Consoleでソースコードがpushされていることを確認します。
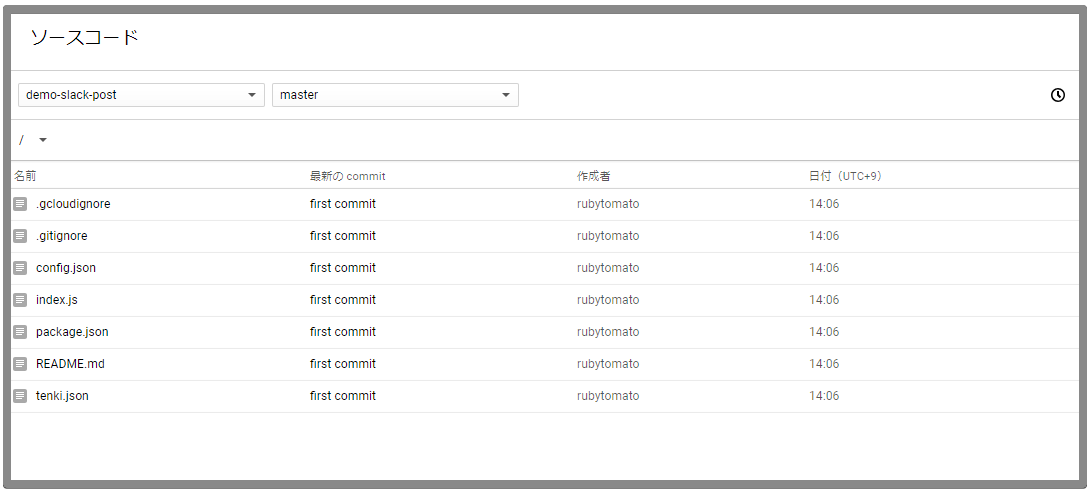
これでプロジェクトをCloud Source Repositoriesのレポジトリで管理できるようになりました。
リモートレポジトリをcloneする
念のためリモートレポジトリがcloneできるか確認してみます。
ローカルにあるプロジェクトディレクトリを削除し、下記のコマンドでcloneします。
> git clone https://source.developers.google.com/p/<PROJECT-ID>/r/demo-slack-post
Cloning into 'demo-slack-post'...
remote: Total 12 (delta 1), reused 12 (delta 1)
Unpacking objects: 100% (12/12), done.
なにかファイルを修正してcommitし、pushしてみます。
> cd demo-slack-post
この例ではREADME.mdファイルを編集しました。
> git status
On branch master
Your branch is up to date with 'origin/master'.

Changes not staged for commit:
  (use "git add <file>..." to update what will be committed)
  (use "git checkout -- <file>..." to discard changes in working directory)

        modified:   README.md

no changes added to commit (use "git add" and/or "git commit -a")
> git add README.md
> git commit -m "polish"
[master 0cf512c] polish
 1 file changed, 6 insertions(+)
> git push origin master
Counting objects: 3, done.
Delta compression using up to 8 threads.
Compressing objects: 100% (3/3), done.
Writing objects: 100% (3/3), 354 bytes | 177.00 KiB/s, done.
Total 3 (delta 2), reused 0 (delta 0)
remote: Resolving deltas: 100% (2/2)
To https://source.developers.google.com/p/<PROJECT-ID>/r/demo-slack-post
   f78decb..0cf512c  master -> master
補足
gcloud source repos
SDKのgcloudコマンドラインツールでレポジトリを操作する
SYNOPSIS
    gcloud source repos COMMAND [GCLOUD_WIDE_FLAG ...]
COMMAND
- clone
- Clone a cloud source repository.
- create
- Create a cloud source repository.
- delete
- Delete a cloud source repository.
- describe
- Describe a cloud source repository.
- get-iam-policy
- Get the IAM policy for the named cloud source repository.
- list
- List the repositories the currently active project.
- set-iam-policy
- Set the IAM policy for the named repository.
list
> gcloud source repos list
REPO_NAME        PROJECT_ID        URL
demo-slack-post  <PROJECT-ID>      https://source.developers.google.com/p/<PROJECT-ID>/r/demo-slack-post
create
> gcloud source repos create hello-csr
Created [hello-csr].
WARNING: You may be billed for this repository. See https://cloud.google.com/source-repositories/docs/pricing for details.
clone
> gcloud source repos clone hello-csr
Cloning into 'D:\dev\firebase-workspace\hello-csr'...
warning: You appear to have cloned an empty repository.
Project [<PROJECT-ID>] repository [hello-csr] was cloned to [D:\dev\firebase-workspace\hello-csr].
describe
> gcloud source repos describe hello-csr
name: projects/<PROJECT-ID>/repos/hello-csr
size: '1806'
url: https://source.developers.google.com/p/<PROJECT-ID>/r/hello-csr