概要
Windows 10環境にRubyとRailsをインストールしたときのメモです。MSYS2のインストール時に少し手間取ったので、記録の意味で記事にしました。
環境
- Windows 10 Professional
- Ruby 2.6.5 with Devkit
- Rails 6.0.2.1
事前にインストールの必要なプログラム
Railsでプロジェクトを作成し起動するのに、事前にインストールしておく必要のあるプログラムです。
バージョンの確認はそれぞれコマンドプロンプトから行いました。
Git
WindowsなのでGit for Windowsをインストールします。(インストール方法は省略します。)
> git --version
git version 2.25.1.windows.1
Node.js
Node.jsも必要です。私の場合はnodistでインストールしました。(インストール方法は省略します。)
> node -v
v12.16.1
yarn
Railsではyarnが必要とのことなので[yarn] (https://classic.yarnpkg.com/en/)よりWindows版のインストーラーをダウンロードしてインストールしました。
ダウンロードしたファイルはyarn-1.22.0.msiです。
> yarn -v
1.22.0
Rubyのインストール
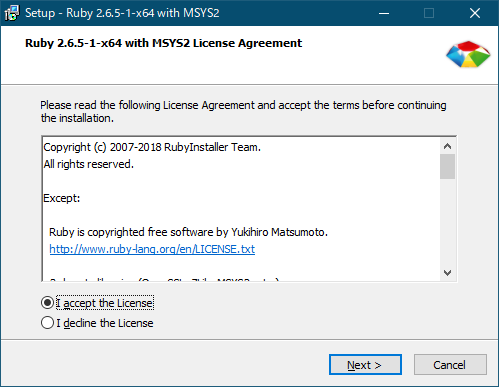
[RubyInstaller for Windows] (https://rubyinstaller.org/)より、devkit付きのインストーラーをダウンロードしてインストールしました。
ダウンロードしたファイルはrubyinstaller-devkit-2.6.5-1-x64.exeです。
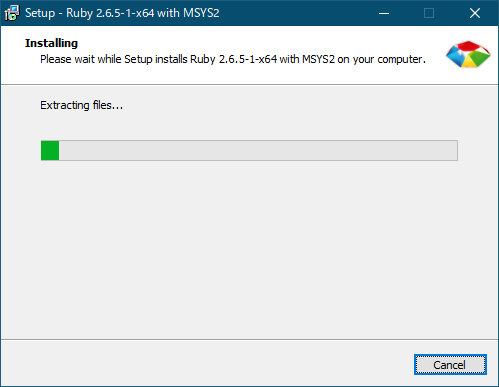
インストール
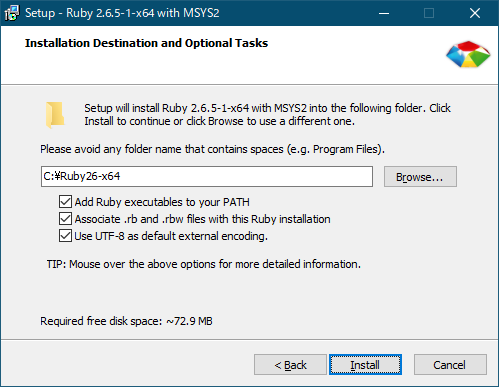
インストール先はデフォルト(C:\Ruby26-x64)のままにして、3つ目のチェックボックス(Use UTF-8 as default external encoding.)にチェックを入れます。
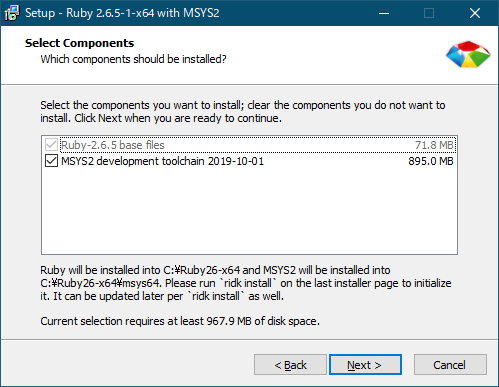
MSYS2も必要なのでMSYS2 development toolchain 2019-10-01にチェックを入れたままにします。
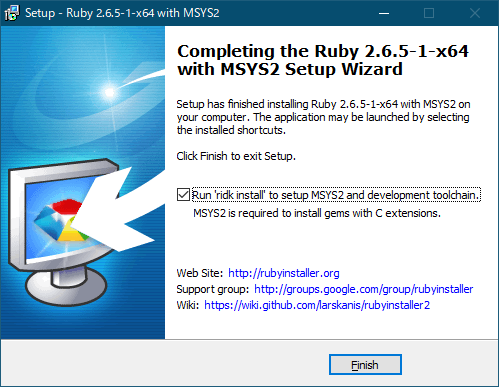
Run 'ridk install' to setup MSYS2 and development toolchain.にチェックを入れたままFinishボタンをクリックします。
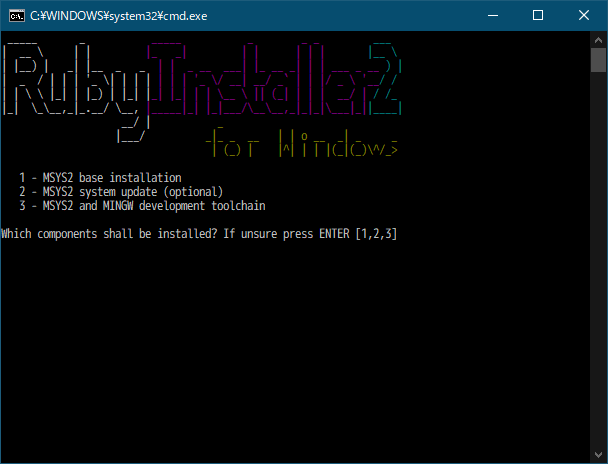
この画面が表示されたらENTERを押してインストールを進めます。
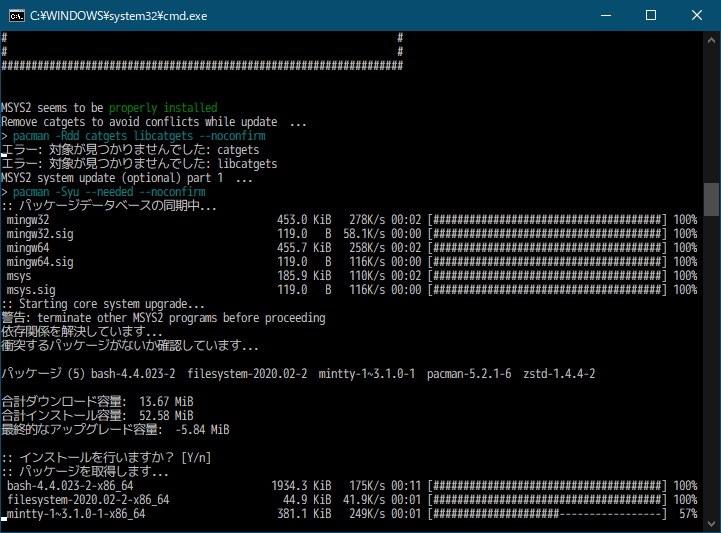
MSYS2のインストールで少し手間取ったので、その時の状況を記します。
- 参考: [GNUPG: Not function setup using msys2-x86_64-20190524.exe: could not update due to not running deamons #1662] (https://github.com/msys2/MSYS2-packages/issues/1662)
このインストール作業を行っているPCではセキュリティソフト(ウィルスバスター)がインストールされているのですが、セキュリティが機能している状態だとMSYS2のインストールが正常に終わりませんでした。
下図がエラーが起きたときの画面です。
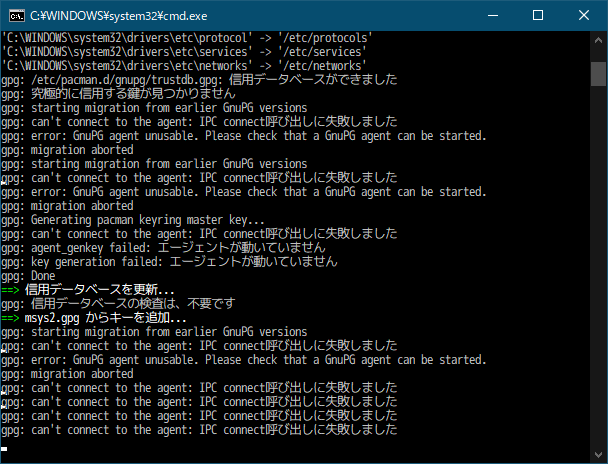
インストールを正常に行うには、セキュリティソフトの例外設定を行いインストール先のディレクトリ(C:\Ruby26-x64)を監視の対象から外します。
また、念のためインストールしたRubyをアンインストールし、且つC:\Ruby26-x64ディレクトリをエクスプローラーから削除します。PCの再起動後もう一度インストールを行います。
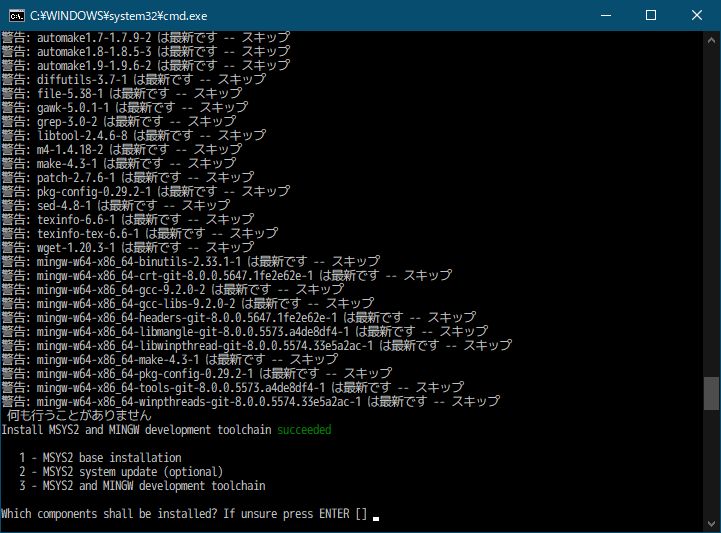
正常終了したときの状態です。もう一度ENTERを押して終了します。
インストールしたRubyのバージョン
インストールが完了したらスタートメニューに登録されているStart Command Prompt with Rubyでプロンプトを立ち上げ、rubyとgemのバージョンを確認します。
> ruby -v
ruby 2.6.5p114 (2019-10-01 revision 67812) [x64-mingw32]
> gem -v
3.0.3
Railsのインストール
インストールはそれぞれgemで行います。
bundler
bundlerはすでにインストールされていましたが、新しいバージョンが出ているのでインストールし直します。
> gem list bundler

*** LOCAL GEMS ***

bundler (default: 1.17.2)

> bundler -v
Bundler version 1.17.2
新しいバージョンをインストールします。
> gem install bundler
Fetching bundler-2.1.4.gem
Successfully installed bundler-2.1.4
Parsing documentation for bundler-2.1.4
Installing ri documentation for bundler-2.1.4
Done installing documentation for bundler after 8 seconds
1 gem installed

> bundler -v
Bundler version 2.1.4
SQLite3
SQLite3が必要なのでインストールします。
> gem install sqlite3
Temporarily enhancing PATH for MSYS/MINGW...
Installing required msys2 packages: mingw-w64-x86_64-sqlite3
Building native extensions. This could take a while...
Successfully installed sqlite3-1.4.2
Parsing documentation for sqlite3-1.4.2
Installing ri documentation for sqlite3-1.4.2
Done installing documentation for sqlite3 after 1 seconds
1 gem installed

> gem list sqlite3

*** LOCAL GEMS ***

sqlite3 (1.4.2)
SQLite3については[SQLite Home Page] (https://www.sqlite.org/index.html)よりバイナリ(.exe、.dll)をダウンロードしてパスを通す必要があるという記事を見かけましたが、私の場合は特に行わず上記のgemでインストールするだけで済みました。
Rails
最後に2020年2月時点で最新のrailsをインストールします。
> gem install rails -v 6.0.2.1

> rails -v
Rails 6.0.2.1
Railsのデモアプリケーション
[Getting Started with Rails] (https://guides.rubyonrails.org/getting_started.html)を参考に、デモアプリケーションを作成し、実行まで行います。
デモアプリケーションの作成
適当なディレクトリ上でコマンドプロンプトを開きrails new blogと入力して実行します。
> rails new blog

// ...省略...

Done in 12.39s.
Webpacker successfully installed 🎉 🍰
デモアプリケーションの作成後の状態
> cd blog
blogディレクトリの状態です。プロジェクトの作成が失敗しているとこれらのディレクトリ・ファイルが完全に作成されません。
/blog
  |
  `--- /.git
  `--- /app
  `--- /bin
  `--- /config
  `--- /db
  `--- /lib
  `--- /log
  `--- /node_modules
  `--- /public
  `--- /storage
  `--- /test
  `--- /tmp
  `--- /vendor
  `--- .browserslistrc
  `--- .gitignore
  `--- .ruby-version
  `--- babel.config.js
  `--- config.ru
  `--- Gemfile
  `--- Gemfile.lock
  `--- package.json
  `--- postcss.config.js
  `--- Rakefile
  `--- README.md
  `--- yarn.lock
デモアプリケーションの実行
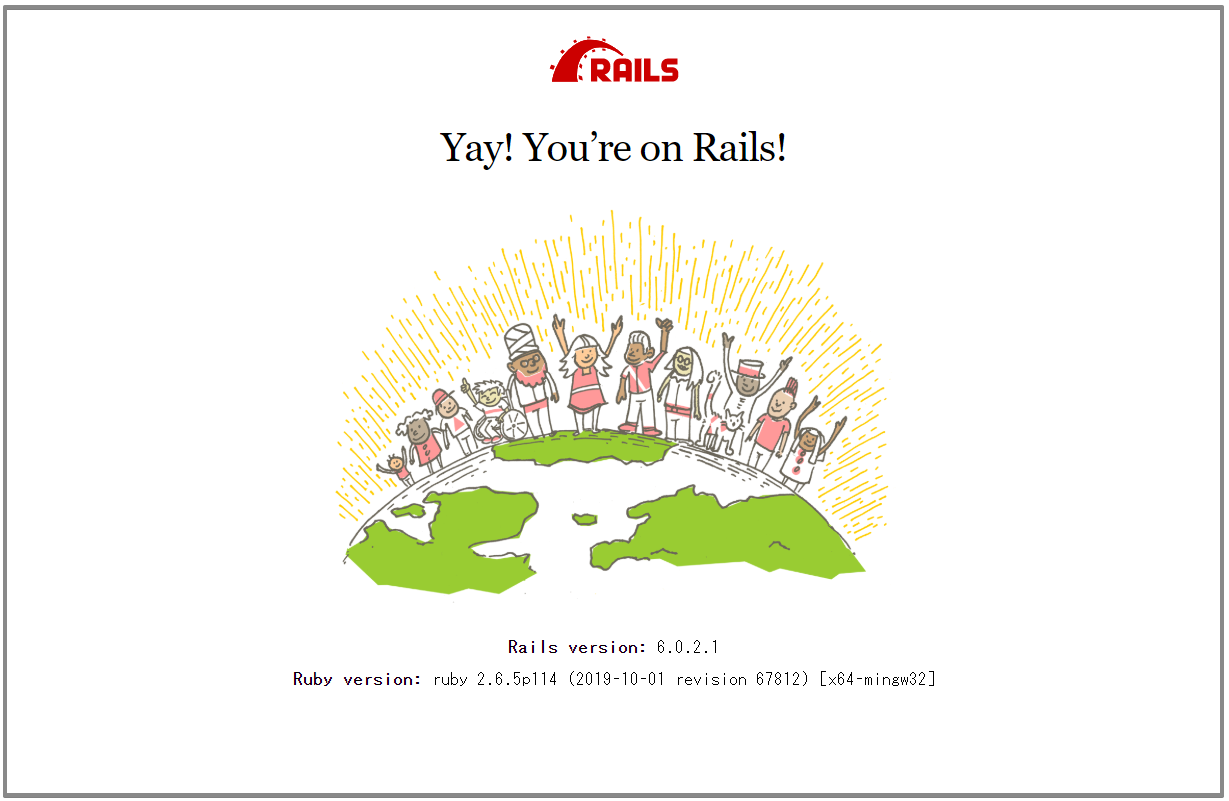
コマンドプロンプトからrails serverと実行します。画面に出力されている通りhttp://localhost:3000でアプリケーションが起動しているので、ブラウザでアクセスします。
アプリケーションの停止はCtrl + Cを押下します。
> rails server
=> Booting Puma
=> Rails 6.0.2.1 application starting in development
=> Run `rails server --help` for more startup options
*** SIGUSR2 not implemented, signal based restart unavailable!
*** SIGUSR1 not implemented, signal based restart unavailable!
*** SIGHUP not implemented, signal based logs reopening unavailable!
Puma starting in single mode...
* Version 4.3.1 (ruby 2.6.5-p114), codename: Mysterious Traveller
* Min threads: 5, max threads: 5
* Environment: development
* Listening on tcp://[::1]:3000
* Listening on tcp://127.0.0.1:3000
Use Ctrl-C to stop
