概要
これからSpring Securityについて調べようとしている方向けに、認証・認可の動作確認ができるサイトを、なるべくコードや設定を書かずに最小限の機能だけを実装したデモアプリケーションです。
ユーザー情報はデータベースから取得するようにしていますが、すぐに動作確認ができるようにデータベースにインメモリモードのH2を使用しています。
ソースコードは[rubytomato / demo-spring-security-simple] (https://github.com/rubytomato/demo-spring-security-simple)にあります。
環境
- Windows 10 Professional 1909
- OpenJDK 13.0.2
- Spring Boot 2.2.4
- Spring Security 5.2.1
- H2
- Gradle
参考
- [Spring Security Reference Doc] (https://docs.spring.io/spring-security/site/docs/5.2.1.RELEASE/reference/htmlsingle/)
- [Spring Security API Doc] (https://docs.spring.io/spring-security/site/docs/5.2.1.RELEASE/api/)
- [Spring Security Architecture] (https://spring.io/guides/topicals/spring-security-architecture)
作成するデモサイトの機能
- アカウントの登録
- 登録情報はname, email, password
- ログイン
- Spring Securityが用意するページを利用
- メールアドレス・パスワードでログイン(メールアドレスは全ユーザーで一意)
- ログアウト
- Spring Securityが用意するページを利用
- ロールによるアクセス制御
- USERおよびADMINロール
認証・認可情報の管理
- 認証はメールアドレスとパスワードを使用します。
- 認可はロールでアクセス制御を行います。
- 認証・認可情報はデータベースのuserテーブルに保存します。
ロール
一部のページはユーザーに付与するロールでアクセス制御を行います。
用意するロールは下記の2種類です。1ユーザーに2つ設定することも全く設定しないこともできます。
| ロール | 想定する用途 |
|---|---|
| ロール無し、ロールが無くても認証は可能 | |
| ROLE_USER | 一般ユーザー向けのロール |
| ROLE_ADMIN | 特権ユーザー向けのロール |
エンドポイント一覧
| エンドポイント | method | 認証 | ロール | 備考 |
|---|---|---|---|---|
| / | GET | no | トップページ | |
| /signup | POST | no | アカウント登録処理の実行、登録後は/へリダイレクト | |
| /login | POST | no | ログイン処理、Spring Securityが用意するエンドポイント、サインイン後は/へリダイレクト | |
| /logout | POST | yes | - | ログアウト処理、Spring Securityが用意するエンドポイント、サインアウト後は/へリダイレクト |
| /members | GET | yes | USER, ADMIN | USER or ADMIN Role コンテンツページ |
| /members/user | GET | yes | USER | USER Role コンテンツページ |
| /members/admin | GET | yes | ADMIN | ADMIN Role コンテンツページ |
※コンテンツページはアクセス制御の確認用なので内容はありません。
用語補足
| keyword | main strategy interface | ||
|---|---|---|---|
| Authentication | 認証 (不可算名詞) | who are you? (あなたは誰ですか?) | AuthenticationManager |
| Authorization | 認可 (不可算名詞 | what are you allowed to do? (何を許可されていますか?) | AccessDecisionManager |
| Principal | 本人 (可算名詞 【法律, 法学】) | ||
| Authority | 権限 (不可算名詞) | ||
| Role | 役割 (可算名詞) |
実装
データベースアクセス
データベースにはH2をインメモリモードで使用、ORMはSpring Data JPA (Hibernate)を使用します。
なお、データベースアクセス周りではSpring Securityと関連する特別な実装はありません。
エンティティ
認証・認可情報をデータベースのuserテーブルで管理します。このテーブルに対応するuserエンティティクラスの実装は以下のとおりです。
ログインにはメールアドレスとパスワードを利用するので、メールアドレスは全ユーザーで一意となるようにユニークキーを設定します。
パスワードはSpring Securityのパスワードエンコーダを使って暗号化した状態で保存します。
ロールはデモサイトに対するロールをカンマ区切りの文字列で保存します。
import lombok.AllArgsConstructor;
import lombok.Data;
import lombok.NoArgsConstructor;
import lombok.ToString;

import javax.persistence.Column;
import javax.persistence.Entity;
import javax.persistence.GeneratedValue;
import javax.persistence.GenerationType;
import javax.persistence.Id;
import javax.persistence.Table;

@Table(name = "user")
@Entity
@Data
@NoArgsConstructor
@AllArgsConstructor
@ToString(exclude = { "email", "password" })
public class User {
  @Id
  @GeneratedValue(strategy = GenerationType.IDENTITY)
  private Long id;
  @Column(name = "name", length = 60, nullable = false)
  private String name;
  @Column(name = "email", length = 120, nullable = false, unique = true)
  private String email;
  @Column(name = "password", length = 120, nullable = false)
  private String password;
  @Column(name = "roles", length = 120)
  private String roles;
  @Column(name = "enable_flag", nullable = false)
  private Boolean enable;
}
DDL
userエンティティをDDL文で表現すると下記のようになりますが、このデモアプリケーションでは使用せず、アプリケーション起動時にテーブルが作成されていなければuserエンティティの定義からテーブルを自動作成します。
DROP TABLE IF EXISTS login_user;
CREATE TABLE login_user (
  id            BIGINT AUTO_INCREMENT           COMMENT 'ユーザーID',
  name          VARCHAR(60) NOT NULL            COMMENT 'ユーザー名',
  email         VARCHAR(120) NOT NULL           COMMENT 'メールアドレス',
  password      VARCHAR(120) NOT NULL           COMMENT 'パスワード',
  roles         VARCHAR(120)                    COMMENT 'ロール',
  enable_flag   TINYINT(1) NOT NULL DEFAULT 1   COMMENT '1:有効 0:無効',
  PRIMARY KEY (id),
  UNIQUE KEY (email)
);
リポジトリ
メールアドレスで検索するメソッドを追加します。
import com.example.demo.entity.User;
import org.springframework.data.jpa.repository.JpaRepository;

import java.util.Optional;

public interface UserRepository extends JpaRepository<User, Long> {
  Optional<User> findByEmail(String email);
}
セキュリティ
コンフィグレーション
セキュリティコンフィグレーションはWebSecurityConfigurerAdapter抽象クラスを継承して作成します。
必要なコンフィグレーションはWebSecurityとHttpSecurityです。
import org.springframework.context.annotation.Bean;
import org.springframework.security.config.annotation.web.builders.HttpSecurity;
import org.springframework.security.config.annotation.web.builders.WebSecurity;
import org.springframework.security.config.annotation.web.configuration.EnableWebSecurity;
import org.springframework.security.config.annotation.web.configuration.WebSecurityConfigurerAdapter;
import org.springframework.security.crypto.factory.PasswordEncoderFactories;
import org.springframework.security.crypto.password.PasswordEncoder;

@EnableWebSecurity
public class WebSecurityConfig extends WebSecurityConfigurerAdapter {

  // アカウント登録時のパスワードエンコードで利用するためDI管理する。
  @Bean
  PasswordEncoder passwordEncoder() {
    return PasswordEncoderFactories.createDelegatingPasswordEncoder();
  }

  @Override
  public void configure(WebSecurity web) throws Exception {
    // @formatter:off
    web
      .debug(false)
      .ignoring()
      .antMatchers("/images/**", "/js/**", "/css/**")
    ;
    // @formatter:on
  }

  @Override
  protected void configure(HttpSecurity http) throws Exception {
    // @formatter:off
    http
      .authorizeRequests()
        .mvcMatchers("/", "/signup").permitAll()
        .mvcMatchers("/members/user/**").hasRole("USER")
        .mvcMatchers("/members/admin/**").hasRole("ADMIN")
        .anyRequest().authenticated()
      .and()
      .formLogin()
        .defaultSuccessUrl("/")
      .and()
      .logout()
        .invalidateHttpSession(true)
        .deleteCookies("JSESSIONID")
        .logoutSuccessUrl("/")
    ;
    // @formatter:on
  }
}
WebSecurity
静的リソース(/images/**、/js/**、/css/**)に認証が行われないように除外する設定です。
@Override
public void configure(WebSecurity web) throws Exception {
  web
    .debug(false)
    .ignoring()
    .antMatchers("/images/**", "/js/**", "/css/**")
  ;
}
HttpSecurity
-
authorizeRequests()でアクセス制御を行います。内容は下記コードのコメントに記載しています。 -
formLogin()でログインフォームが使えるようにします。ログイン成功後のリダイレクト先を/(トップページ)に設定します。 -
logout()でログアウトが使えるようにします。ログアウト成功後のリダイレクト先を/(トップページ)に設定します。- また、セッションの破棄と
JSESSIONIDというクッキーを削除するようにします。
- また、セッションの破棄と
@Override
protected void configure(HttpSecurity http) throws Exception {
  http
    .authorizeRequests()
      // トップページとアカウント登録処理はだれでもアクセスできる
      .mvcMatchers("/", "/signup").permitAll()
      // /members/user/**ページは、USERロールを持つ認証ユーザーがアクセスできる
      .mvcMatchers("/members/user/**").hasRole("USER")
      // /members/admin/**ページは、ADMINロールを持つ認証ユーザーがアクセスできる
      .mvcMatchers("/members/admin/**").hasRole("ADMIN")
      // 上記以外のページは、認証ユーザーがアクセスできる
      .anyRequest().authenticated()
    .and()
    .formLogin()
      .defaultSuccessUrl("/")
    .and()
    .logout()
      .invalidateHttpSession(true)
      .deleteCookies("JSESSIONID")
      .logoutSuccessUrl("/")
  ;
}
認証・認可に使用するユーザー情報
この例では、Spring Securityが認証・認可に使用するユーザー情報を、リファレンス実装であるorg.springframework.security.core.userdetails.Userを継承して作成しました。
コンストラクタはデータベースから検索したUserエンティティのインスタンスを受け取り、そのインスタンスのメールアドレス、パスワード、ロール、有効フラグを使ってスーパークラス(org.springframework.security.core.userdetails.User)のコンストラクタを呼び出します。
なお、org.springframework.security.core.userdetails.Userにはコンストラクタが2つありますが、ユーザーの有効フラグ(enabled)をセットしたいので、2番目のコンストラクタを使っています。
public User(String username, String password, Collection<? extends GrantedAuthority> authorities)
public User(String username, String password, boolean enabled,
    boolean accountNonExpired, boolean credentialsNonExpired, boolean accountNonLocked,
    Collection<? extends GrantedAuthority> authorities)
import com.example.demo.entity.User;
import lombok.extern.slf4j.Slf4j;
import org.springframework.security.core.GrantedAuthority;
import org.springframework.security.core.authority.SimpleGrantedAuthority;

import java.util.Collections;
import java.util.Set;
import java.util.stream.Collectors;
import java.util.stream.Stream;

@Slf4j
public class SimpleLoginUser extends org.springframework.security.core.userdetails.User {
  // DBより検索したUserエンティティ
  // アプリケーションから利用されるのでフィールドに定義
  private User user;

  /**
   * データベースより検索したuserエンティティよりSpring Securityで使用するユーザー認証情報の
   * インスタンスを生成する
   *
   * @param user userエンティティ
   */
  public SimpleLoginUser(User user) {
    super(user.getEmail(), user.getPassword(), user.getEnable(), true, true,
        true, convertGrantedAuthorities(user.getRoles()));
    this.user = user;
  }

  public User getUser() {
    return user;
  }

  /**
   * カンマ区切りのロールをSimpleGrantedAuthorityのコレクションへ変換する
   *
   * @param roles カンマ区切りのロール
   * @return SimpleGrantedAuthorityのコレクション
   */
  static Set<GrantedAuthority> convertGrantedAuthorities(String roles) {
    if (roles == null || roles.isEmpty()) {
      return Collections.emptySet();
    }
    Set<GrantedAuthority> authorities = Stream.of(roles.split(","))
        .map(SimpleGrantedAuthority::new)
        .collect(Collectors.toSet());
    return authorities;
  }

}
ユーザー情報の取得
データベースのuserテーブルから、Spring Securityが認証・認可に使用するユーザー情報(SimpleLoginUser)を取得(生成)するには、UserDetailsServiceインターフェースを実装したサービスクラスを作成します。
このインターフェースでオーバーライドしなければならないメソッドはloadUserByUsername()の1つだけです。メソッド名にByUsernameと付いていますが、このデモサイトではメールアドレスがユーザーを一意に識別する情報なので、メールアドレスからUserエンティティを検索し、Userエンティティを基にユーザー情報(SimpleLoginUser)を生成します。
import com.example.demo.repository.UserRepository;
import lombok.extern.slf4j.Slf4j;
import org.springframework.security.core.userdetails.UserDetails;
import org.springframework.security.core.userdetails.UserDetailsService;
import org.springframework.security.core.userdetails.UsernameNotFoundException;
import org.springframework.stereotype.Service;
import org.springframework.transaction.annotation.Transactional;

@Service
@Slf4j
public class SimpleUserDetailsService implements UserDetailsService {
  private final UserRepository userRepository;

  public SimpleUserDetailsService(UserRepository userRepository) {
    this.userRepository = userRepository;
  }

  /**
   * メールアドレスで検索したユーザーのuserエンティティをSimpleLoginUserクラスのインスタンスへ変換する
   *
   * @param email 検索するユーザーのメールアドレス
   * @return メールアドレスで検索できたユーザーのユーザー情報
   * @throws UsernameNotFoundException メールアドレスでユーザーが検索できなかった場合にスローする。
   */
  @Transactional(readOnly = true)
  @Override
  public UserDetails loadUserByUsername(String email) throws UsernameNotFoundException {
    assert(email != null);
    log.debug("loadUserByUsername(email):[{}]", email);
    return userRepository.findByEmail(email)
        .map(SimpleLoginUser::new)
        .orElseThrow(() -> new UsernameNotFoundException("User not found by email:[" + email + "]"));
  }
}
コントローラ (Webページ)
トップページ
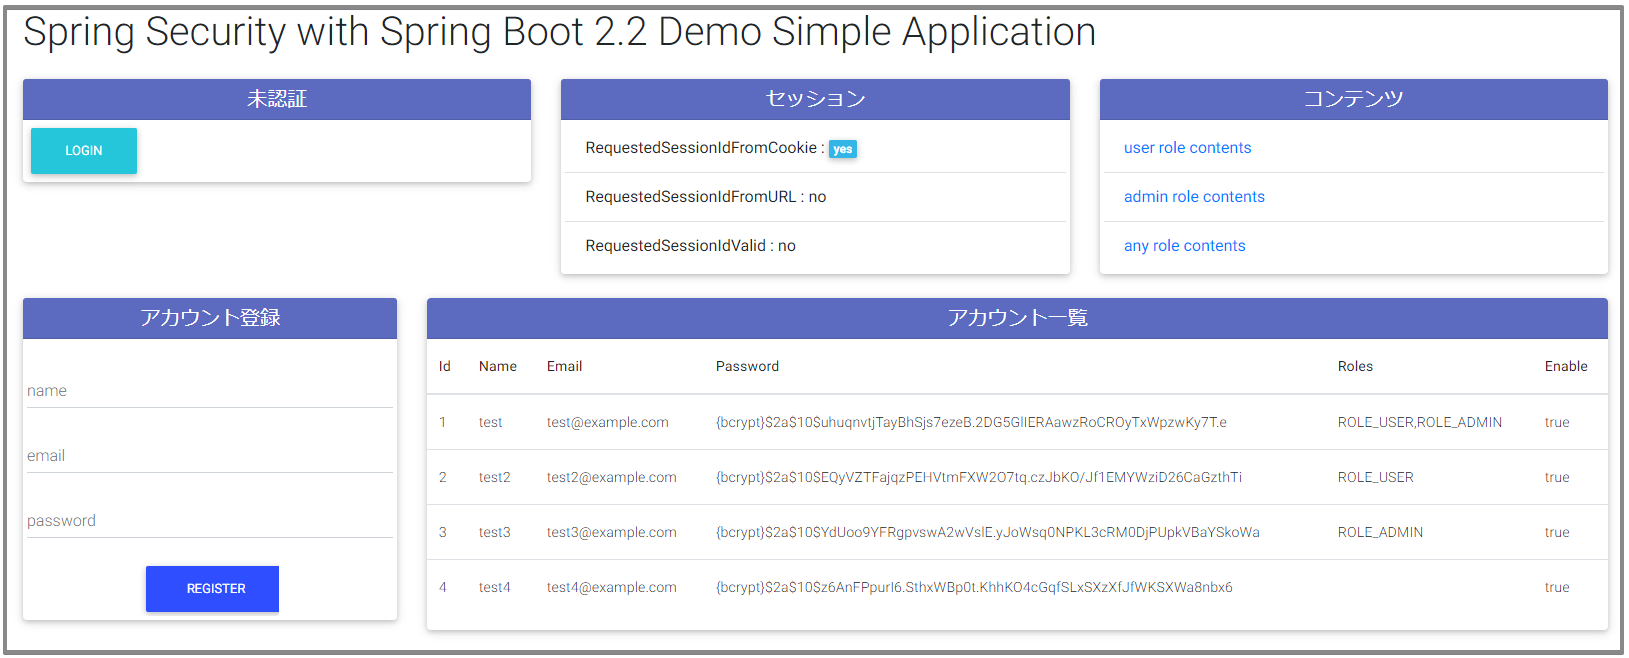
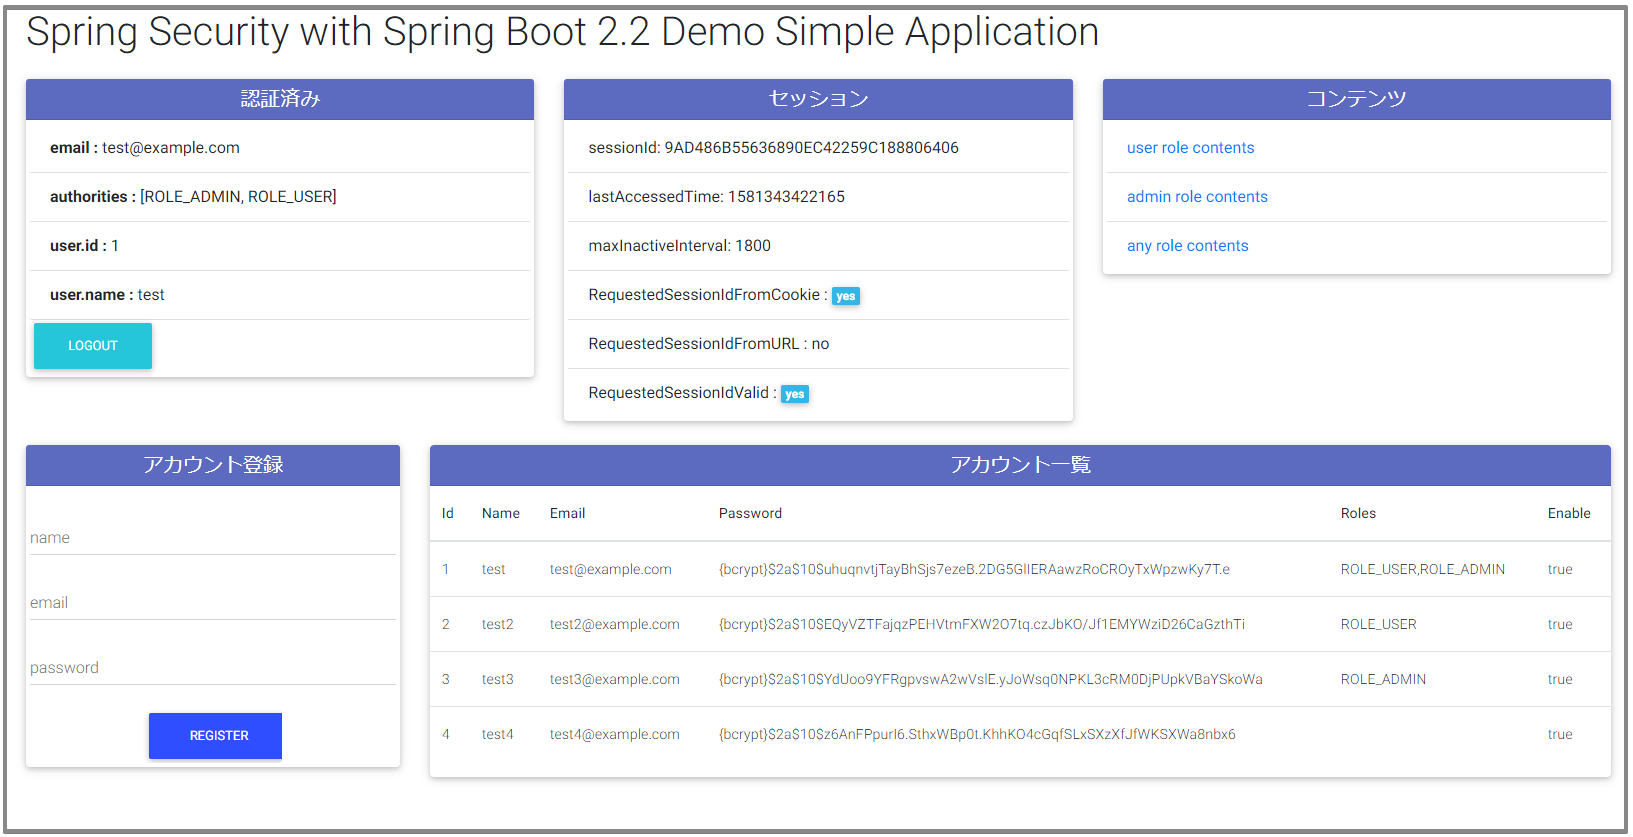
トップページは認証に関係なくだれでもアクセスできるページですが、左上の欄は認証済みかどうかで情報の出し分けを行っています。(ログインしていればそのユーザーのIdとNameを表示)
import com.example.demo.entity.User;
import com.example.demo.service.AccountService;
import lombok.extern.slf4j.Slf4j;
import org.springframework.stereotype.Controller;
import org.springframework.ui.Model;
import org.springframework.web.bind.annotation.GetMapping;
import org.springframework.web.bind.annotation.ModelAttribute;
import org.springframework.web.bind.annotation.PostMapping;
import org.springframework.web.servlet.mvc.support.RedirectAttributes;

import java.util.List;

@Controller
@Slf4j
public class IndexController {
  private final AccountService accountService;

  public IndexController(AccountService accountService) {
    this.accountService = accountService;
  }

  /**
   * トップページ
   *
   * @param signupForm サインアップフォームデータ
   * @param model モデル(ユーザーリスト)
   * @return index
   */
  @GetMapping(value = "/")
  public String index(@ModelAttribute("signup") SignupForm signupForm, Model model) {
    List<User> userList = accountService.findAll();
    model.addAttribute("users", userList);
    return "index";
  }

  /**
   * アカウント登録処理
   *
   * @param signupForm サインアップフォームデータ
   * @param redirectAttributes リダイレクト先へメッセージを送るため
   * @return index (redirect)
   */
  @PostMapping(value = "signup")
  public String signup(@ModelAttribute("signup") SignupForm signupForm, RedirectAttributes redirectAttributes) {
    // TODO 暫定的に2つのロールを付与する
    String[] roles = {"ROLE_USER", "ROLE_ADMIN"};
    accountService.register(signupForm.getName(), signupForm.getEmail(), signupForm.getPassword(), roles);
    redirectAttributes.addFlashAttribute("successMessage", "アカウントの登録が完了しました");
    return "redirect:/";
  }
}
http://localhost:8080/
左上の認証情報の出し分け
thymeleafのthymeleaf-extras-springsecurity5を使うことでテンプレートファイル内から認証情報にアクセスすることができます。
<html lang="ja"
      xmlns:th="http://www.thymeleaf.org"
      xmlns:sec="http://www.thymeleaf.org/extras/spring-security">
未認証/認証済み状態の判別
<strong sec:authorize="isAuthenticated()">認証済み</strong>
<strong sec:authorize="!isAuthenticated()">未認証</strong>
authentication.nameでログイン時のユーザー名(この例ではメールアドレスになります)にアクセスできます。
<span th:text="${#authentication.name}">email</span>
authentication.principalでユーザー情報のSimpleLoginUserにアクセスできます。
<span th:text="${#authentication.principal.username}">username</span>
<span th:text="${#authentication.principal.password}">pasword</span>
<span th:text="${#authentication.principal.authorities}">authorities</span>
この例では、SimpleLoginUserはフィールドにuserエンティティを持っているのでauthentication.principal.userでuserエンティティにアクセスできます。
<span th:text="${#authentication.principal.user.id}">user.id</span>
<span th:text="${#authentication.principal.user.name}">user.name</span>
アカウントの登録
トップページ左下のアカウント登録欄から新しいアカウントを登録できます。
バリデーションはかけていないので未入力でなければどんな文字列でも受け付けます。
なお、アカウント登録と共に認証済みとして処理する方が便利ですがコードが増えるため省略しています。
便宜上トップページのIndexControllerにアカウント登録のハンドラを実装しています。
ハンドラでAccountService#registerを呼んでユーザー情報を永続化していますが、入力されたパスワードはSpring SecurityのPasswordEncoderでハッシュ化しています。
import com.example.demo.entity.User;
import com.example.demo.repository.UserRepository;
import com.example.demo.service.AccountService;
import lombok.extern.slf4j.Slf4j;
import org.springframework.security.crypto.password.PasswordEncoder;
import org.springframework.stereotype.Service;
import org.springframework.transaction.annotation.Transactional;

import java.util.List;
import java.util.stream.Collectors;
import java.util.stream.Stream;

@Service
@Slf4j
public class AccountServiceImpl implements AccountService {
  private final UserRepository userRepository;
  private final PasswordEncoder passwordEncoder;

  public AccountServiceImpl(UserRepository userRepository, PasswordEncoder passwordEncoder) {
    this.userRepository = userRepository;
    this.passwordEncoder = passwordEncoder;
  }

  @Transactional(readOnly = true)
  @Override
  public List<User> findAll() {
    return userRepository.findAll();
  }

  @Transactional
  @Override
  public void register(String name, String email, String password, String[] roles) {
    if (userRepository.findByEmail(email).isPresent()) {
      throw new RuntimeException("invalid name or email");
    }
    String encodedPassword = passwordEncode(password);
    String joinedRoles = joinRoles(roles);
    log.debug("name:{}, email:{}, roles:{}", name, email, joinedRoles);
    User user = new User(null, name, email, encodedPassword, joinedRoles, Boolean.TRUE);
    userRepository.saveAndFlush(user);
  }

  /**
   *
   * @param rawPassword 平文のパスワード
   * @return 暗号化されたパスワード
   */
  private String passwordEncode(String rawPassword) {
    return passwordEncoder.encode(rawPassword);
  }

  /**
   *
   * @param roles ロール文字列の配列
   * @return カンマ区切りのロール文字列
   */
  private String joinRoles(String[] roles) {
    if (roles == null || roles.length == 0) {
      return "";
    }
    return Stream.of(roles)
        .map(String::trim)
        .map(String::toUpperCase)
        .collect(Collectors.joining(","));
  }
}
なお、登録した情報はH2データベースに保存しますが、インメモリモードなのでアプリケーションを起動するたびにクリアされます。
このため、アプリケーション起動時にテストデータを読み込んで下記のテストユーザーを作成しています。
| name | password | |
|---|---|---|
| test | test@example.com | test |
| test2 | test2@example.com | test2 |
| test3 | test3@example.com | test3 |
| test4 | test4@example.com | test4 |
| test5 | test5@example.com | test5 |
ログイン
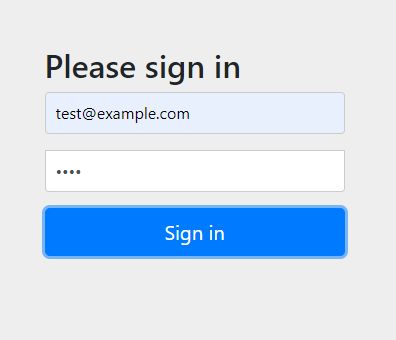
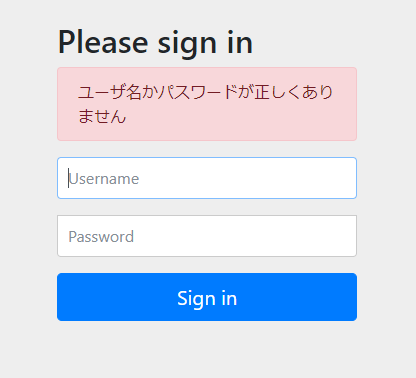
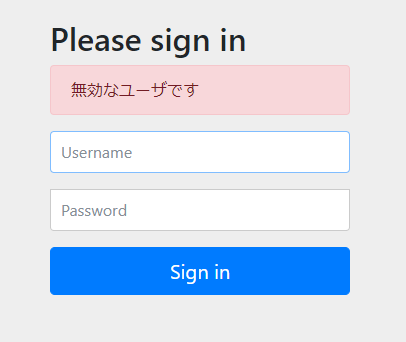
このログインページは、Spring Securityが提供するページです。セキュリティコンフィグレーションでフォーム認証を有効にしていると使用できるようになります。(もちろん独自のログインページを実装することも可能です。)
http://localhost:8080/login
ログアウト
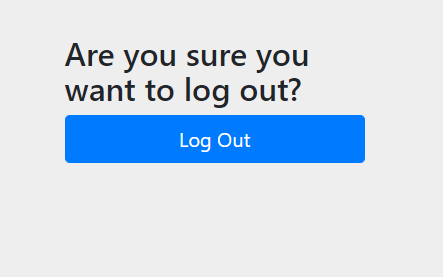
このログアウトページは、Spring Securityが提供するページです。セキュリティコンフィグレーションでログアウトを有効にしていると使用できるようになります。
http://localhost:8080/logout
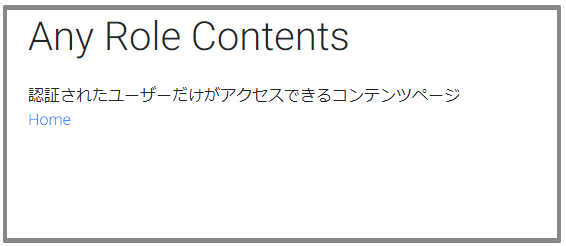
コンテンツページ
ロールによるアクセス制御を確認するためのダミーのコンテンツページです。アクセス制御は上述したセキュリティコンフィグレーションで行っています。
@AuthenticationPrincipalアノテーションを付けたパラメータで、認証しているユーザーのユーザー情報を受け取ることができます。
下記は2つのパターンでユーザー情報を受け取るサンプルコードです。
import com.example.demo.auth.SimpleLoginUser;
import com.example.demo.entity.User;
import com.example.demo.service.ContentsService;
import lombok.extern.slf4j.Slf4j;
import org.springframework.security.core.Authentication;
import org.springframework.security.core.annotation.AuthenticationPrincipal;
import org.springframework.stereotype.Controller;
import org.springframework.web.bind.annotation.GetMapping;
import org.springframework.web.bind.annotation.RequestMapping;

import java.security.Principal;

@Controller
@RequestMapping(value = "members")
@Slf4j
public class ContentsController {
  private final ContentsService contentsService;

  public ContentsController(ContentsService contentsService) {
    this.contentsService = contentsService;
  }

  @GetMapping(value = "/")
  public String any(Principal principal) {
    Authentication authentication = (Authentication) principal;
    SimpleLoginUser loginUser = (SimpleLoginUser) authentication.getPrincipal();
    log.info("id:{}, name:{}", loginUser.getUser().getId(), loginUser.getUser().getName());
    contentsService.doService();
    return "members/index";
  }

  @GetMapping(value = "user")
  public String user(@AuthenticationPrincipal SimpleLoginUser loginUser) {
    log.info("id:{}, name:{}", loginUser.getUser().getId(), loginUser.getUser().getName());
    return "members/user/index";
  }

  @GetMapping(value = "admin")
  public String admin(@AuthenticationPrincipal(expression = "user") User user) {
    log.info("id:{}, name:{}", user.getId(), user.getName());
    return "members/admin/index";
  }

}
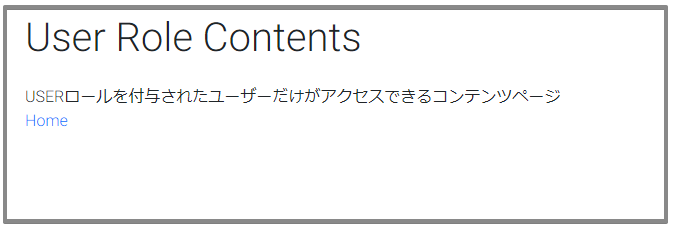
USERロールを持つユーザーがアクセスできるページ
ROLE_USERを付与されているユーザーだけがアクセスできます。
http://localhost:8080/members/user
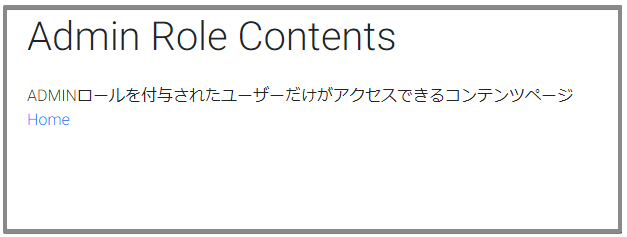
ADMINロールを持つユーザーがアクセスできるページ
ROLE_ADMINを付与されているユーザーだけがアクセスできます。
http://localhost:8080/members/admin
認証済みであればアクセスできるページ
ロールの付与に関係なく認証済みであればアクセスできるページです。
http://localhost:8080/members/any
エラーページ
エラーページはSpring Securityの機能は使わず、Springの機能だけで実装しています。
下記のようにHTTPステータスコードと同じ名前のテンプレートファイルを配置しています。
/resources
   |
   `--- /templates
           |
           `--- /error
                   |
                   `--- 403.html
                   `--- 404.html
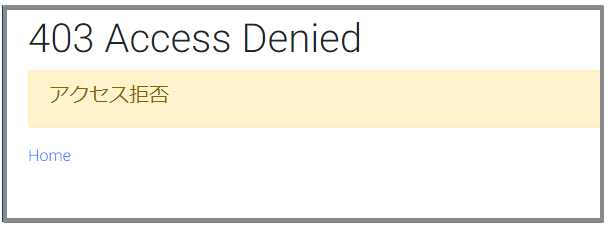
403
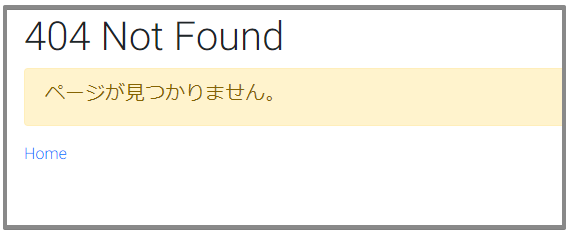
404
スレッドにバインドされたユーザー情報
Spring Securityでは、認証されたユーザーのユーザー情報はスレッドにバインドされていて、SecurityContextHolderとSecurityContextでユーザー情報を取得することができます。
@Service
@Slf4j
public class ContentsServiceImpl implements ContentsService {
  @Override
  public void doService() {
    SecurityContext context = SecurityContextHolder.getContext();
    Authentication authentication = context.getAuthentication();
    SimpleLoginUser loginUser = (SimpleLoginUser) authentication.getPrincipal();
    log.info("#doService id:{}, name:{}", loginUser.getUser().getId(), loginUser.getUser().getName());
  }
}
プロジェクトについて
build.gradle
plugins {
    id 'org.springframework.boot' version '2.2.4.RELEASE'
    id 'io.spring.dependency-management' version '1.0.9.RELEASE'
    id 'java'
}

group = 'com.example'
version = '0.0.1-SNAPSHOT'
sourceCompatibility = '13'

configurations {
    developmentOnly
    runtimeClasspath {
        extendsFrom developmentOnly
    }
    compileOnly {
        extendsFrom annotationProcessor
    }
}

repositories {
    mavenCentral()
}

dependencies {
    implementation 'org.springframework.boot:spring-boot-starter-web'
    implementation 'org.springframework.boot:spring-boot-starter-thymeleaf'
    implementation 'org.springframework.boot:spring-boot-starter-security'
    implementation 'org.thymeleaf.extras:thymeleaf-extras-springsecurity5'
    implementation 'org.springframework.boot:spring-boot-starter-data-jpa'
    runtimeOnly 'com.h2database:h2'
    compileOnly 'org.projectlombok:lombok'
    developmentOnly 'org.springframework.boot:spring-boot-devtools'
    annotationProcessor 'org.springframework.boot:spring-boot-configuration-processor'
    annotationProcessor 'org.projectlombok:lombok'
    testImplementation('org.springframework.boot:spring-boot-starter-test') {
        exclude group: 'org.junit.vintage', module: 'junit-vintage-engine'
    }
    testImplementation 'org.springframework.security:spring-security-test'
}

bootJar {
    archiveName "demo.jar"
    launchScript()
}

test {
    useJUnitPlatform()
}
コマンドラインからの操作
ビルド
> gradlew clean build
アプリケーションの起動
> gradlew bootRun
application.properties
spring.application.name = Spring Security with Spring Boot 2.2
spring.datasource.url = jdbc:h2:mem:testdb;DB_CLOSE_ON_EXIT=FALSE;
spring.datasource.username = sa
spring.datasource.password =
spring.datasource.hikari.connection-test-query = select 1
spring.datasource.hikari.connection-timeout = 10000
spring.datasource.initialization-mode = embedded
spring.jpa.database-platform = org.hibernate.dialect.H2Dialect
spring.jpa.open-in-view = true
spring.jpa.show-sql = true
spring.jpa.generate-ddl = false
spring.jpa.hibernate.ddl-auto = create
spring.jpa.properties.hibernate.format_sql = true

spring.h2.console.enabled = true
spring.h2.console.path = /h2-console

logging.file.name = ./logs/demo.log
logging.file.max-size = 50MB
logging.file.max-history = 10
logging.level.root = info
logging.level.org.springframework.web = info
logging.level.org.springframework.security = debug
logging.level.org.hibernate = info
logging.level.org.hibernate.SQL = debug
logging.level.org.hibernate.type.descriptor.sql.BasicBinder = trace
logging.level.com.example.demo = debug
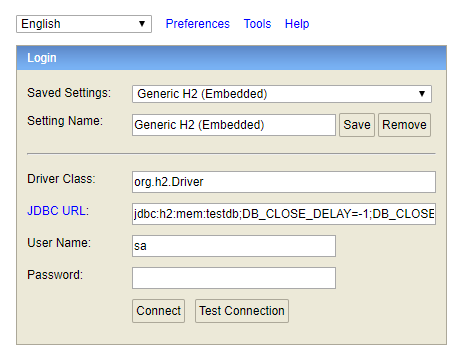
プロパティの設定でH2のコンソールを有効にしていますが、Spring Securityの機能によりアクセスできない状態です。
H2 コンソールを使えるようにするにはセキュリティコンフィグレーションに変更を加える必要があります。
@Override
protected void configure(HttpSecurity http) throws Exception {
  // @formatter:off
  http
    //...省略...
  ;
  // 下記2行追加
  http.csrf().disable();
  http.headers().frameOptions().disable();
  // @formatter:on
}
http://localhost:8080/h2-console
