React + Reduxで作成するメモアプリ
React + Reduxでメモをアプリを作ってみました。
#はじめに
この記事では、React+Reduxを使用してカウントアプリを作ってみたいと思います。
下記が完了している前提で話を進めていくので、インストールされてない方は実施してください。
- Node.jsのインストール
- パッケージマネージャー yarnのインストール
- creat-react-appのインストール
参考:https://qiita.com/rspmharada7645/items/25c496aee87973bcc7a5
#1. プロジェクトを作成する
まず、任意のディレクトリに移動し、create-react-appコマンドでプロジェクトを作成します。
$ create-react-app memo
実行後、下記のようなメッセージが表示されていればOKです。
Initialized a git repository.

Success! Created countApp at /Users/******/countApp
作成したプロジェクト配下に移動し、下記のstartコマンドを実行します。
$cd countApp
$yarn start
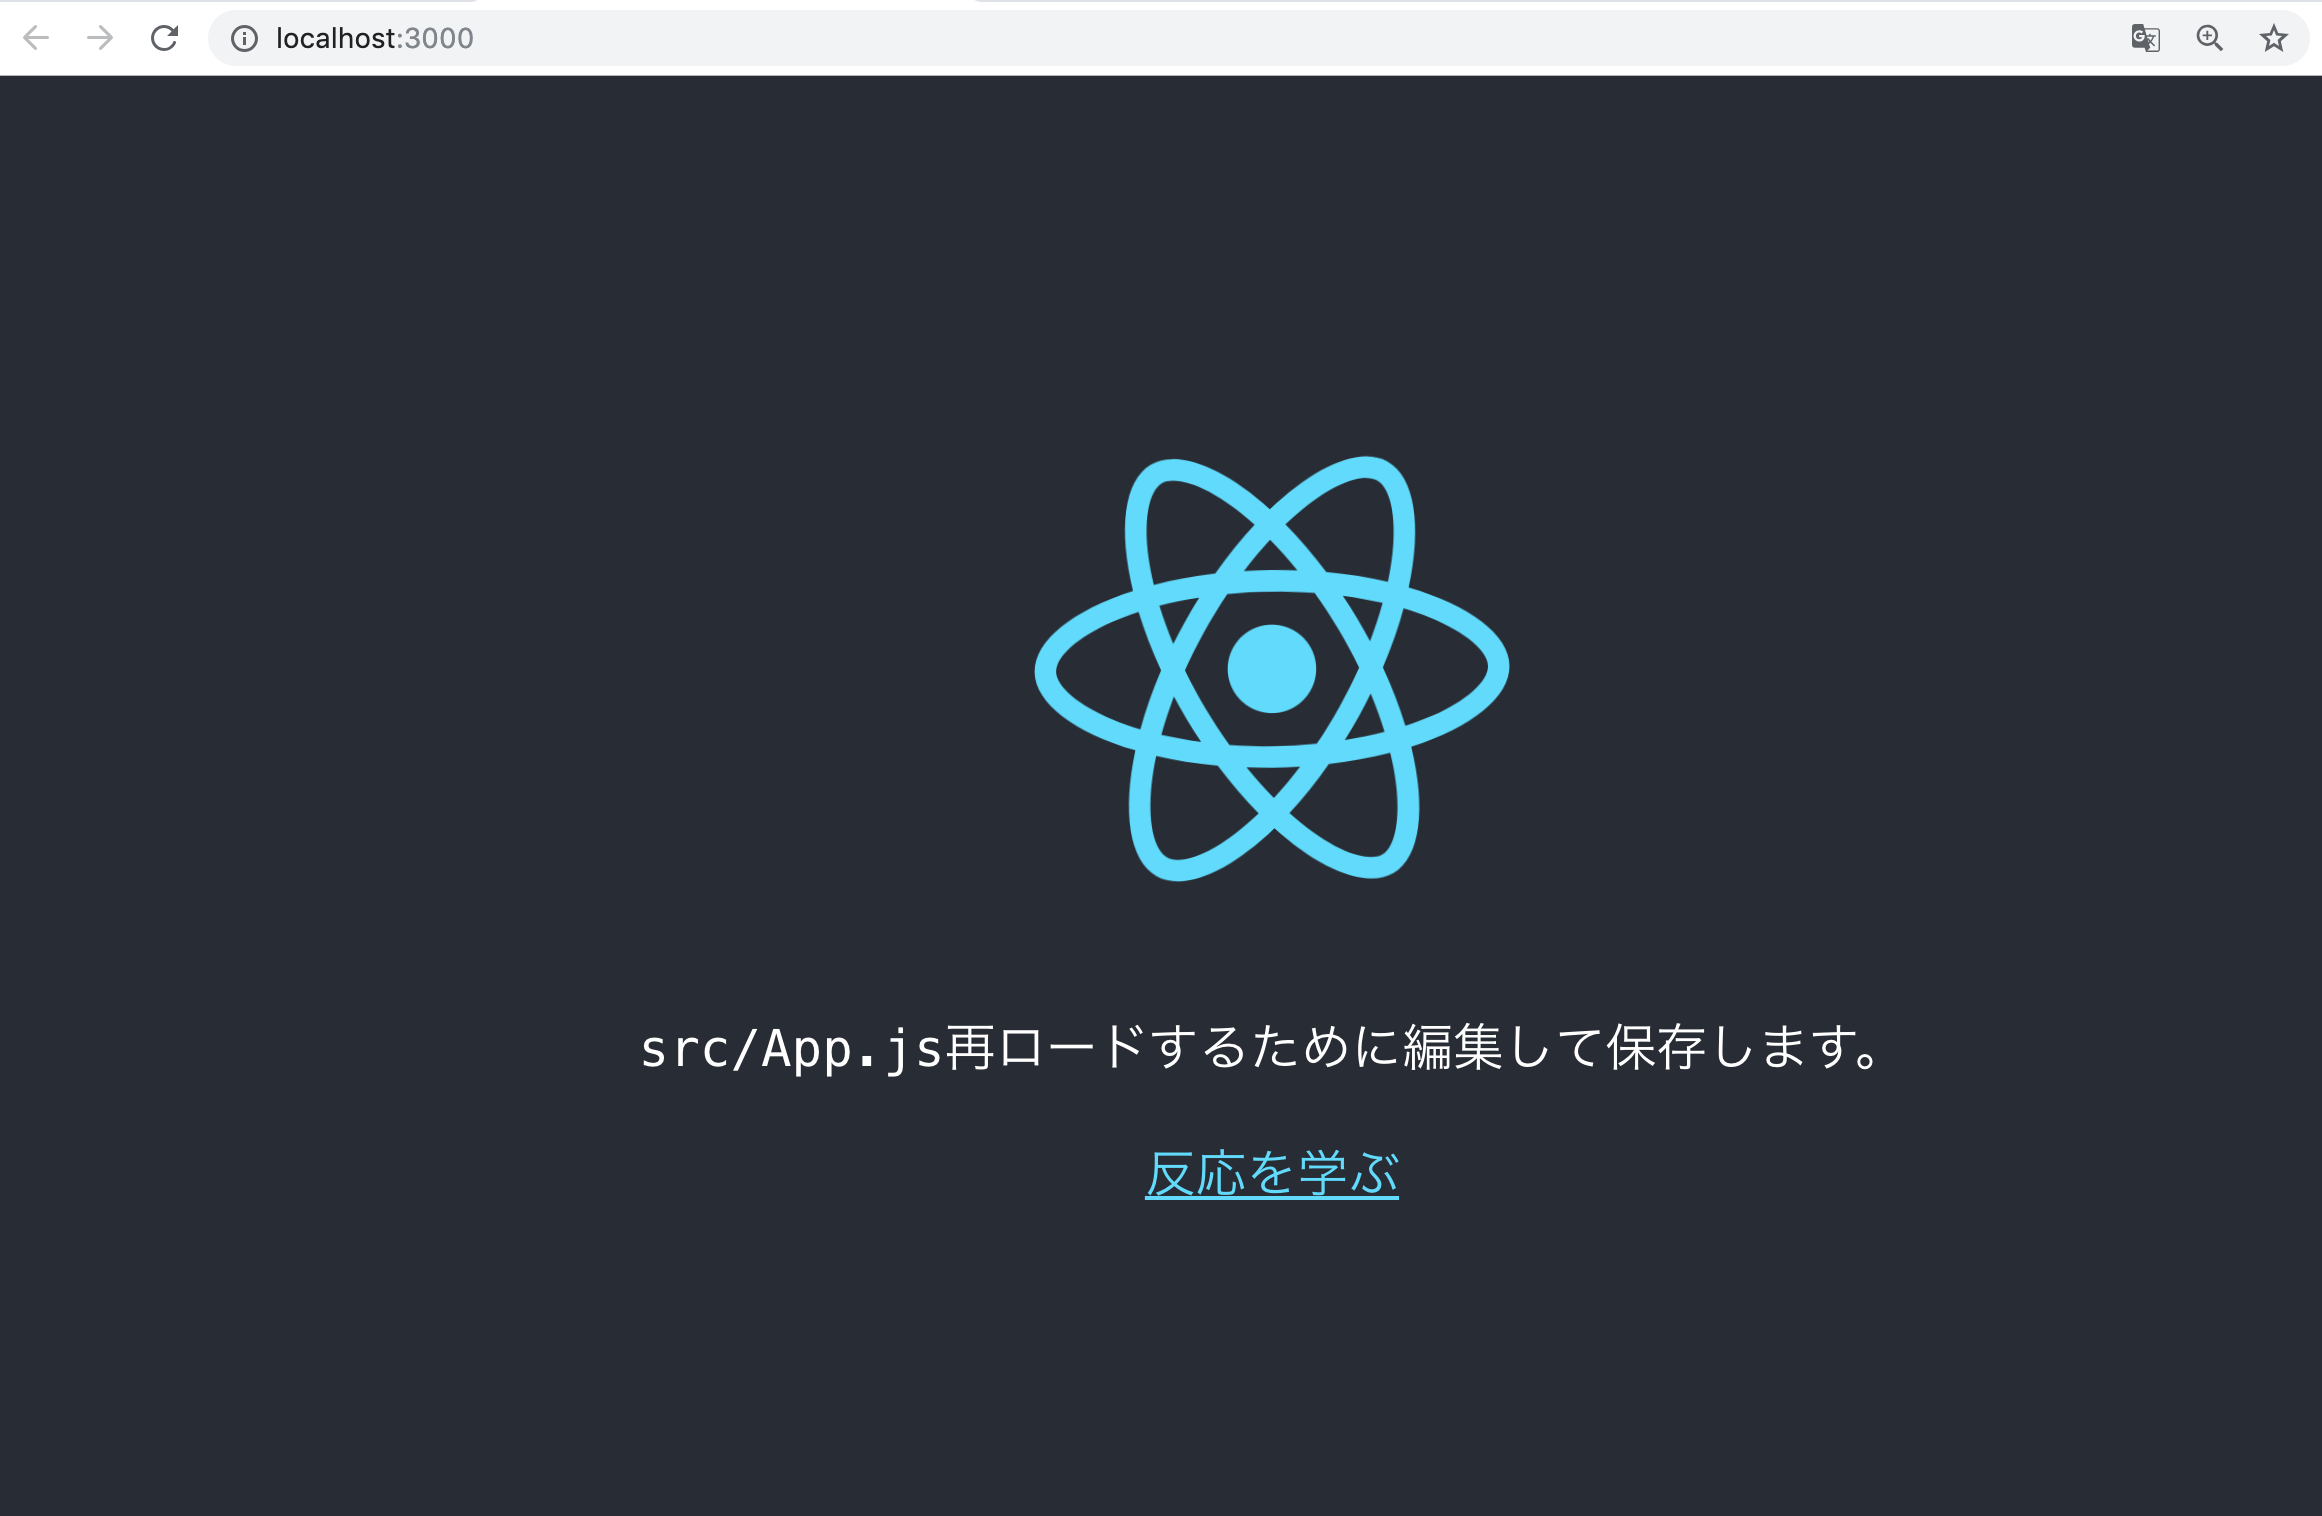
実行後、ブラウザが起動し、以下の画面が表示されていればOKです。
#2. 必要なパッケージをインストールする
作成したプロジェクト配下に移動します。
今回はlodash、 redux、react-redux、redux-form、react-router-domの5つのパッケージを使用するので、yarnを使ってインストールします。
$yarn add lodash react-redux react-router-dom redux redux-form
#3. 今回作成するメモアプリのフォルダー構成
フォルダーの構成は以下の通りです。
.
 ├──  node_modules
 ├──  public
 ├──  src
      ├── actions
          └── index.js
      ├── components
          └── memoIndex.js
          └── memoNew.js
          └── memoShow.js
      ├── reducers
          ├── index.js
          └── memo.js
 ├── index.js
 ├── serviceWorker.js
 ├── yarn.lock
 ├── package.json
 └── README.md
#4. メモアプリ実装
まず、アクションの作成します。
actions/index.js
//アクション定義
export const READ_MEMOS = "READ_MEMOS";
export const READ_MEMO = "READ_MEMO";
export const ADD_MEMO = "ADD_MEMO";
export const UPDATE_MEMO = "UPDATE_MEMO";
export const DELETE_MEMO = 'DELETE_MEMO';

//メモ一覧を取得する
export const getMemos = () => ({
    type : READ_MEMOS,
});

//idで指定したメモを取得する
export const getMemo = (id) => ({
    type : READ_MEMO,
    params : id,
});

//メモを追加する
export const addMemo = (values) => ({
    type : ADD_MEMO,
    params : values,
});

//idで指定したメモを更新する
export const updateMemo = (id, values) => ({
    type : UPDATE_MEMO,
    id : id,
    params : values,
});

//idで指定したメモを削除する
export const deleteMemo = (id) => ({
    type : DELETE_MEMO,
    id : id,
});
続いて、reducerを作成してきます。
reducers/index.js
import { combineReducers } from 'redux';
import { reducer as form } from 'redux-form';
import memos from './memo';

//アプリケーション内に存在するreducerを統括する
export default combineReducers({ memos, form });
reducers/memo.js
import {
  READ_MEMOS,
  READ_MEMO,
  ADD_MEMO,
  UPDATE_MEMO,
  DELETE_MEMO,
} from '../actions';

//ユニークIDを生成する(ここは今回適当)
const getUniqueStr = () => {
  return new Date().getTime().toString(16);
}

//アクションに応じてStateの状態を決定する
export default (memos = {}, action) => {
  switch(action.type){
      case READ_MEMOS:
        return memos;
      case READ_MEMO:
        return memos;
      case ADD_MEMO:
        const insertData = {
          id : getUniqueStr(),
          title : action.params.title,
          memo : action.params.memo,
        }
        return { ...memos,[getUniqueStr()] : insertData};
      case UPDATE_MEMO:
        const updateData = {
          id : action.id,
          title : action.params.title,
          memo : action.params.memo,
        }
        return { ...memos,[updateData.id] : updateData};
      case DELETE_MEMO:
        delete memos[action.id];
        return {...memos};
      default:
        return memos;
    }
}
続いて、index.js
index.js
import React from 'react';
import ReactDOM from 'react-dom';
import { Provider } from 'react-redux';
import { createStore } from 'redux';
import {Switch, BrowserRouter, Route } from 'react-router-dom';

//Local Import
import MemoIndex from './components/memoIndex';
import MemoNew from './components/memoNew';
import MemoShow from './components/memoShow';
import reducer from './reducers';
import * as serviceWorker from './serviceWorker';

const store = createStore(reducer);

ReactDOM.render(
  <Provider store={store}>
    <BrowserRouter>
      <Switch>
        <Route path="/new" component={MemoNew} />
        <Route path="/show/:id" component={MemoShow} />
        <Route exact path="/" component={MemoIndex} />
        <Route exact path="/index" component={MemoIndex} />
      </Switch>
    </BrowserRouter>
  </Provider>,
  document.getElementById('root')
);

// If you want your app to work offline and load faster, you can change
// unregister() to register() below. Note this comes with some pitfalls.
// Learn more about service workers: https://bit.ly/CRA-PWA
serviceWorker.unregister();
続いて、コンポーネント
components/memoIndex.js
import React, {Component} from 'react';
import { connect } from 'react-redux';
import { Link } from 'react-router-dom';

//Local Import
import { getMemos } from '../actions';
import _ from 'lodash';

//メモ一覧画面
class MemoIndex extends Component{
  componentDidMount(){
    this.props.getMemos();
  }

  //メモ一覧をレンダリングする
  renderMemos = () =>{
    const memos = this.props.memos;
    return _.map(memos, memo =>(
      <tr key={memo.id}>
        <td>
          <Link to={`/show/${memo.id}`}>
            {memo.title}
          </Link>
        </td>
        <td>{memo.memo}</td>
      </tr>
    ));
  }

  render(){
    return (
      <React.Fragment>
        <table>
          <thead>
            <tr>
              <th>タイトル</th>
              <th>メモ</th>
            </tr>
          </thead>
          <tbody>
            {this.renderMemos()}
          </tbody>
        </table>
        <Link to='/new'>追加</Link>
      </React.Fragment>
    )
  }
}

//Stateの情報をPropsで使用できるようする
const mapStateToProps = state => ({ memos : state.memos });

//Dispatch(アクションクリエイター)をPropsで使用できるようにする
const mamDispatchToProps = ({ getMemos })

//コンポーネントをRedux Storeに接続する
export default connect( mapStateToProps, mamDispatchToProps )(MemoIndex);
components/memoShow.js
import React, { Component } from 'react';
import { connect } from 'react-redux';
import { Field, reduxForm } from 'redux-form';
import { Link } from 'react-router-dom';

//Local Import
import { getMemo, deleteMemo, updateMemo } from '../actions';

//メモ編集画面
class memoShow extends Component {
  //ComponentがDOMツリーに追加された状態でコールされる
  componentDidMount() {
    const { id } = this.props.match.params;
    if( id ) this.props.getMemo(id);
  }

  renderField = (field) => {
    const { input, label, type, meta : { touched, error} } = field;
    return (
      <div>
        <input {...input} placeholder={label} type={type} />
        {touched && error && <span>{error}</span>}
      </div>
    );
  }

  onDeleteClick = () => {
    const { id } = this.props.match.params;
    this.props.deleteMemo(id);
    this.props.history.push('/');
  }

  onSubmit = (values) => {
    const { id } = this.props.match.params;
    this.props.updateMemo(id, values)
    this.props.history.push('/')
  }

  render(){
    const { handleSubmit, pristine, submitting, invalid} = this.props;
    console.log(submitting)
    return (
      <form onSubmit={handleSubmit(this.onSubmit)}>
        <div><Field label="タイトル" name="title" type="text" component={this.renderField} /></div>
        <div><Field label="メモ" name="memo" type="text" component={this.renderField} /></div>
        <div>
          <input type="submit" value="更新" disabled={pristine || submitting || invalid} />
          <Link to="/" >キャンセル</Link>
          <Link to="/" onClick={this.onDeleteClick}>削除</Link>
        </div>
      </form>
    );
  }
}

const validate = values => {
    const errors= {};
    console.log(values);
    if(!values.title) errors.title = "タイトルを入力してください";
    if(!values.memo)  errors.memo = "メモを入力してください";

    return errors;
}

//Stateの情報をPropsで使用できるようする
const mapStateToProps = (state, ownProps) => {
  const memo = state.memos[ownProps.match.params.id];
  //編集画面などで初期化した状態でフォーム画面表示したい場合には、reduxFormのパラメータとしてinitialValuesの名称で初期値を指定する。
  return { initialValues : memo }
};

//Dispatch(アクションクリエイター)をPropsで使用できるようにする
const mapDispatchToProps = ({ deleteMemo, getMemo, updateMemo});

//コンポーネントをRedux Storeに接続する
export default connect(mapStateToProps, mapDispatchToProps)(
    reduxForm({validate, form: 'memoShowForm', enableReinitialize: true})(memoShow)
);
components/memoNew.js
import React, {Component} from 'react';
import { connect } from 'react-redux';
import { Field, reduxForm } from 'redux-form';
import { Link } from 'react-router-dom';

//Local Import
import { addMemo } from '../actions';

//メモ新規作成
class memoNew extends Component{
  renderField = (field) => {
    const {input, label, type, meta:{touched, error} } = field;
    return (
      <div>
        <input {...input} placeholder={label} type={type} />
        {touched && error && <span>{error}</span>}
      </div>
    );
  }

  onSubmit = (values) => {
    this.props.addMemo(values);
    this.props.history.push('/')
  }

  render(){
    //redux-formではformのonSubmitにhandleSubmitを渡すことでformの送信の制御を行なっている
    //handleSubmitに関数を渡すと送信時に呼ばれるため、ここではonSubmitを指定している。
    const { handleSubmit, pristine, submitting, invalid} = this.props;
    return (
      <form onSubmit={handleSubmit(this.onSubmit)}>
        <div>
          <Field label='タイトル' name='title' type='text' component={this.renderField}/>
        </div>
        <div>
          <Field label='メモ' name='memo' type='text' component={this.renderField}/>
        </div>
        <div>
          <input type="submit" value="追加" disabled={pristine || submitting || invalid} />
          <Link to="/" >キャンセル</Link>
        </div>
      </form>
    )
  }
}

const validate = values => {
    const errors= {};
    if(!values.title) errors.title = "タイトルを入力してください";
    if(!values.memo)  errors.memo = "メモを入力してください";
    return errors;
}

const mapDispatchToProps = ({ addMemo });

export default connect(null, mapDispatchToProps)(
reduxForm({validate, form: 'memoNewForm'})(memoNew)
);
5 動かしてみる
完成したのがこちら、、、
新規作成、削除、編集できるようになってます