ACFのv5.11から「Show in REST API」という機能が有効になりました。
これまではWP REST APIでACFのレスポンスを出力したい場合、
- プラグイン「ACF to REST API」などを利用する
- 独自のエンドポイントを作成
などで対応していましたが、
この機能を使うとデフォルトの機能だけで対応可能になります。
使い方
カスタムフィールドを作成する際に、以下をオンにする。
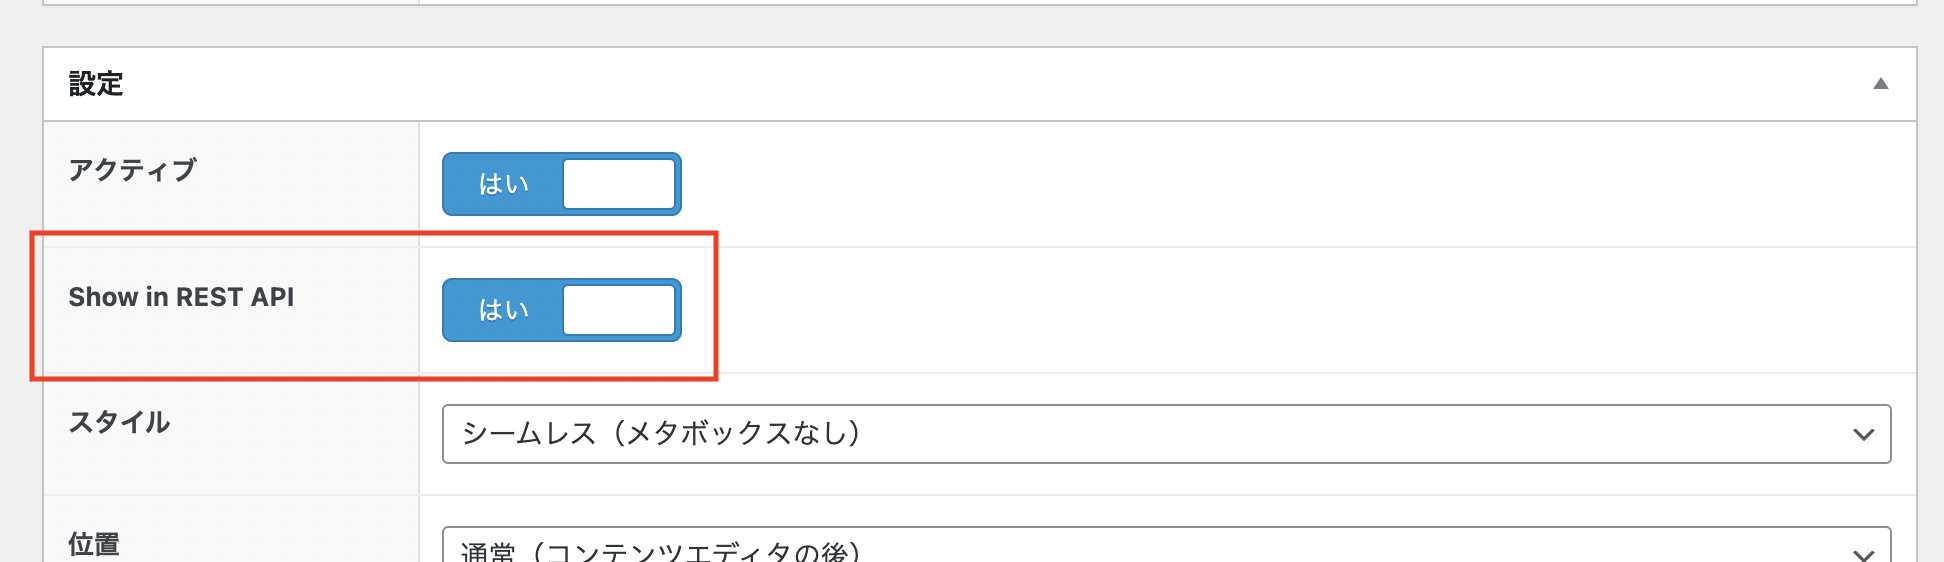
あとは、以下のようにAPIにアクセス。
投稿なら:http://localhost/wp-json/wp/v2/posts/記事ID
固定ページなら:http://localhost/wp-json/wp/v2/pages/?slug=固定ページスラッグ
注意点
「Show in REST API」機能では、レスポンスを軽くするためなのか、
?acf_format=light というパラメータがデフォルトで有効になっています。
これの影響で、
例えば画像のレスポンスを「URL」、
テキストエリアのレスポンスを「自動的に段落に変換」で選択していても、
レスポンスが以下のようになってしまいます。
デフォルト
"acf": {
 "thubmanail": 8,
 "text": "テキスト"
}
本来はこうなってほしい
"acf": {
 "thumbnail": {
    "ID": 8,
    "id": 8,
    "title": "",
    "filename": "",
    "filesize": ,
    "url": "",
    "link": "",
    "alt": "",
    "author": "1",
    "description": "",
    "caption": "",
    "name": "",
    "status": "inherit",
    "uploaded_to": 5,
    "date": "",
    "modified": "",
    "menu_order": 0,
    "mime_type": "image/png",
    "type": "image",
    "subtype": "png",
    "icon": "",
    "width": "",
    "height": "",
    "sizes": {
      "thumbnail": "",
      "thumbnail-width": "",
      "thumbnail-height": ""
    }
  },
 "text": "<p>テキスト</p>"
}
以下のどちらかの方法で
画像URLやテキストのpタグなどを出力できます。
リクエストURLに?acf_format=standard を加える
こんな感じ
http://localhost/wp-json/wp/v2/posts/記事ID/?acf_format=standard
functions.phpでデフォルトの設定をオーバーライド
add_filter( 'acf/settings/rest_api_format', function () {
  return 'standard';
} );
この場合acf_formatパラメータは不要
functions.phpを変更後、記事を再度更新しないとレスポンスに反映されないです。
参考