開発で使える魔改造便利ツール
普段隣で作業している人が使ってる便利なツールを以外と知らないと思い、
2年間ほぼ毎日使っている設定まとめます。
注意:魔改造が散見されますのでご注意ください。
iTerm Lv.★☆☆☆☆
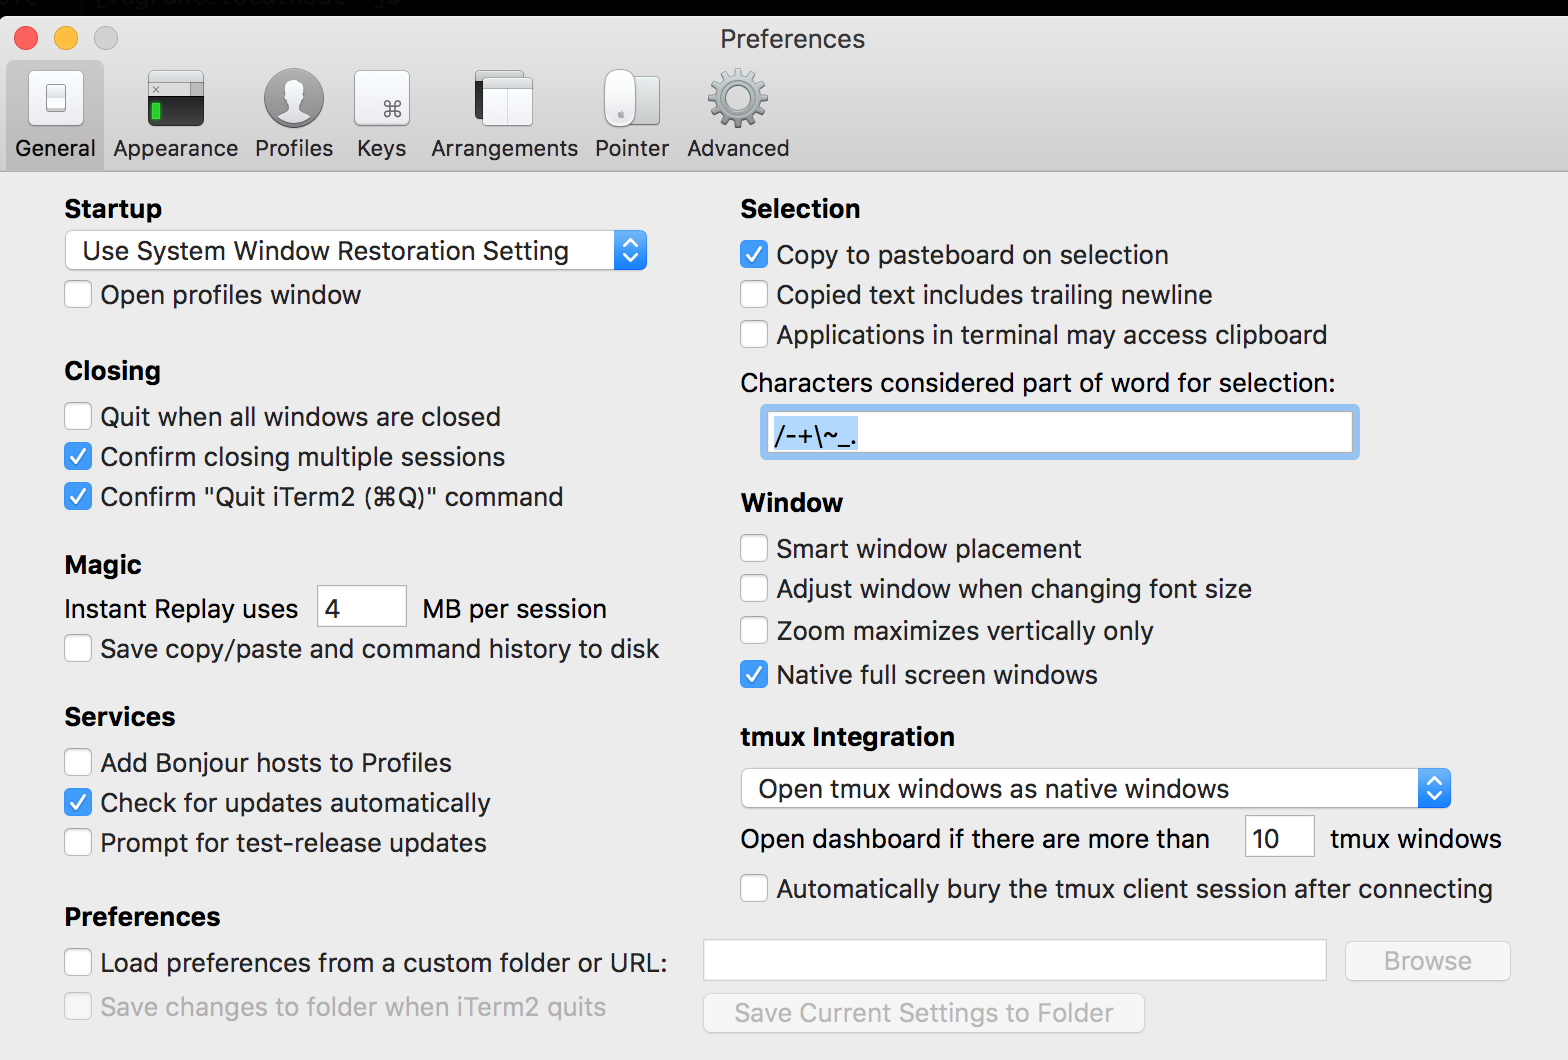
画面分割できて便利で有名![]()
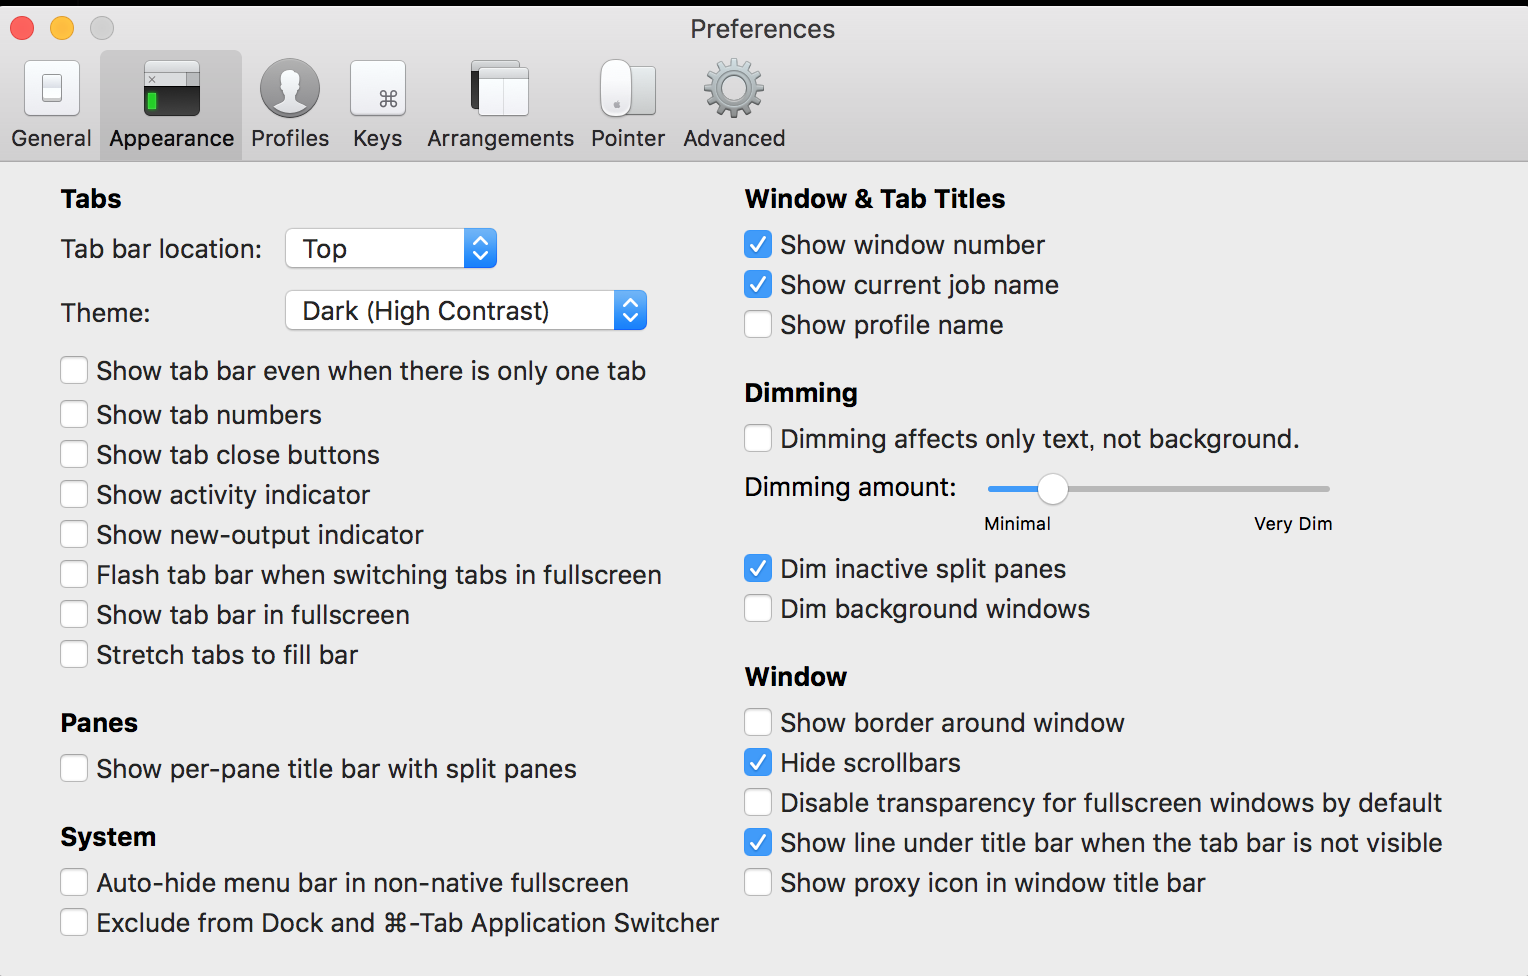
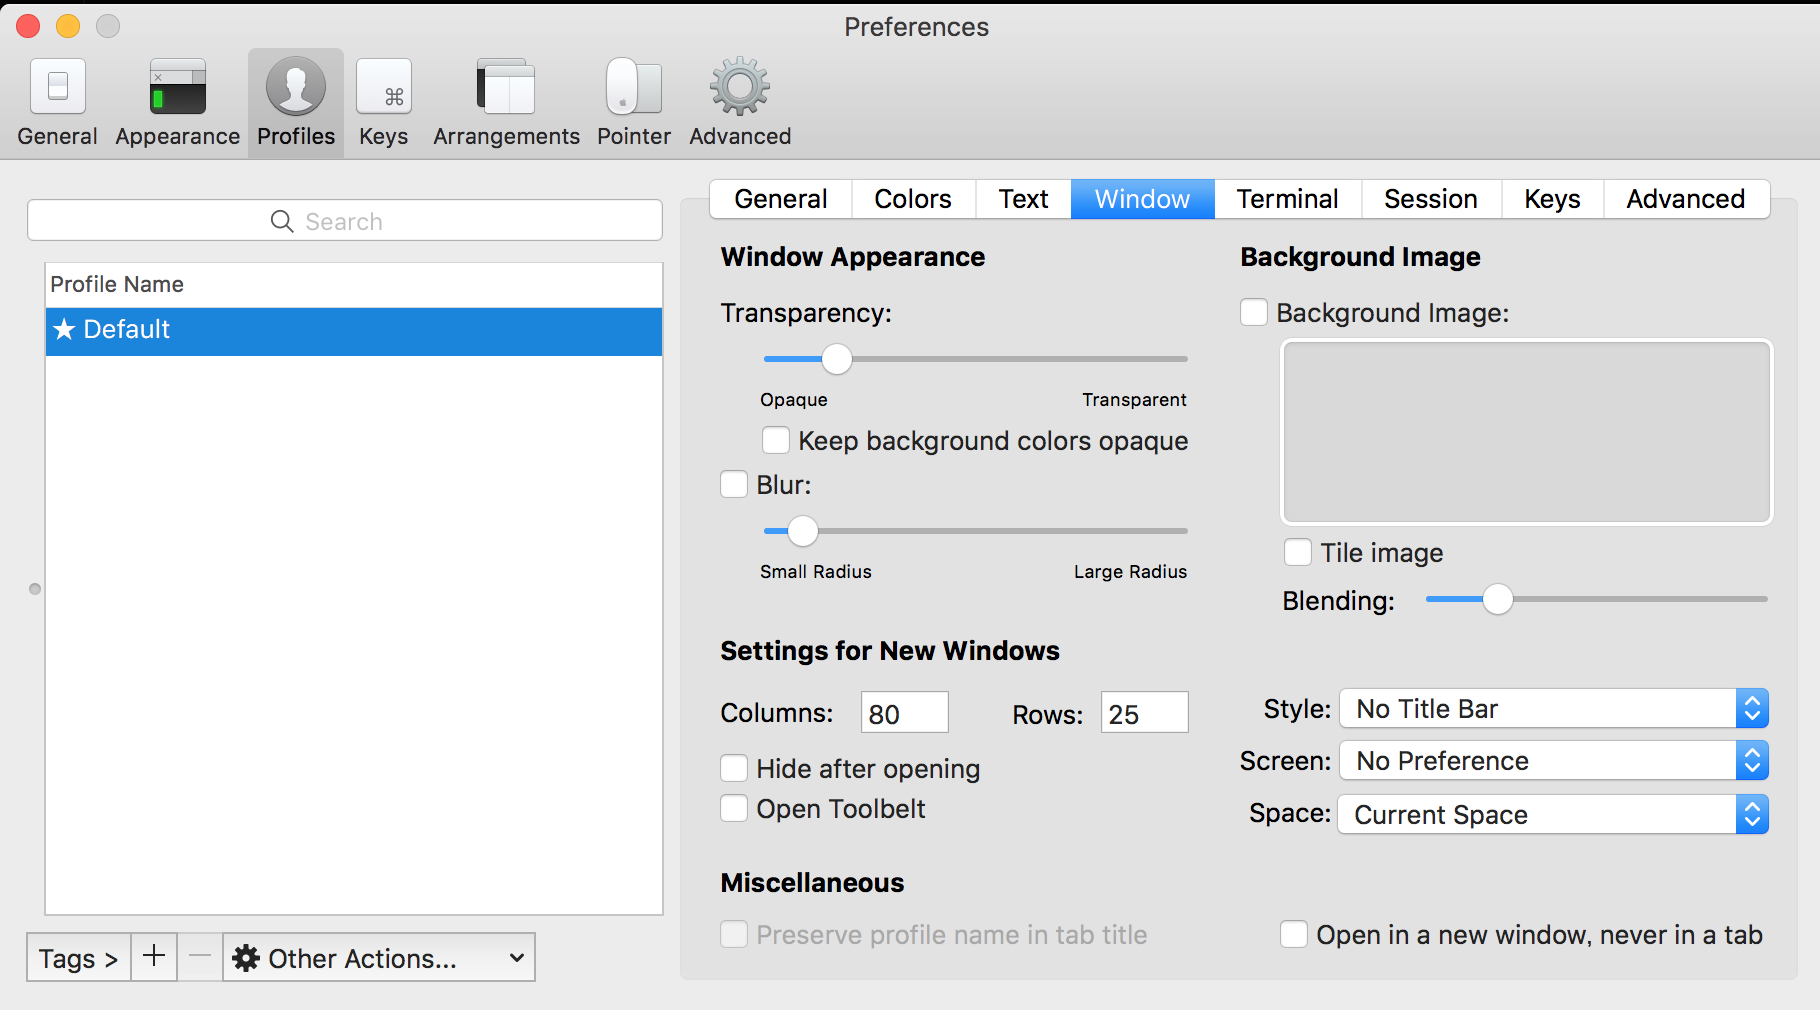
背面透過とベゼルレスで使っています。
![]() 設定はこの記事の一番下に貼ったのでそれ見てぽちぽち設定書き換えてください。
設定はこの記事の一番下に貼ったのでそれ見てぽちぽち設定書き換えてください。
ウィンドウを2つ用意してサービス毎に立て割と横割りして使うのがブームです。
- 縦分割:サービスA
- 横分割:サービスB

BetterTouchTool Lv.★★★★☆
これがないと生きていけないくらいの所存であります。
起動中のアプリごとにショートカットの設定が可能です。
開発中のアプリ切り替え 
iTerm起動: Command + .
Atom起動:Command + /
ミスショートカット補完 
Atom上でブラウザ更新しようとして Command + R => Chromeをアクティブ状態に変更
Chrome上で保存しようとして Command + S => Atomをアクティブ状態に変更
開発中で使うアプリケーションにミスショートカット補完がついているので他人が私のPCを触ると面白い挙動をします。
ウィンドウのリサイズ
全画面表示 option + ↑
右半分表示 option + →
左半分表示 option + ←
設定例

AtomエディタLv.★★☆☆☆
エディタです、拡張機能が豊富だがエラーがよく出るのでそこだけ不満。
HTMLとCSSで作られてるのでカスタマイズが楽しい。
環境設定のテーマにあるこちらから変更可能

左のツリービューの背景と選択状態変更 
.tree-view {
    background-color: transparent!important;
    background-image: url("https://lh5.googleusercontent.com/proxy/D6fDIKbeAGi2S4qrEkYGLv4tJA9yqZ4ofeCHu1Y0u5f0AJ7dfzlcWu3yfbwS961fFVOCv0VG8X-1G4ZZxmsBbpBI0vMmOW1kjL8=s0-d");
    background-color: rgba(40,44,52,0.9)!important;

    .selected:before {
        background-color: transparent!important;
        border-bottom: solid 1px red;
        background-color: rgba(128,48,48,0.6)!important;
    }
}
コード記述部の背景と選択状態変更 
atom-text-editor {
    .cursor-line {
        background-color: rgba(0,0,0,0)!important;
        border-bottom: solid 1px #6ac71d;
    }
    .results-view{ background-color: red!important; }
    .custom-decorations { background-color: #22242b!important; }
    .line-numbers {
        background-color: #22242b!important;
        .cursor-line{ color: red; }
    }

    .scroll-view {
        background-color: transparent!important;
        background-image: url("http://www.v3wall.com/wallpaper/1920_1200/1203/1920_1200_20120330012946258968.jpg");
        background-position: center center;
        background-attachment: fixed;
      background-size: auto 100%;
    }
    .lines {
        background-color: rgba(40,44,52,0.6)!important;
    }

    .gutter-container {
        .gutter{ display: none; }
        .line-numbers {
            display: block;
            background-color: #22242b!important;
            .cursor-line { color: #70ff59; }
        }
        .cursor-line {
            border-bottom: none;
        }
    }
}

//謎の縦線削除
.wrap-guide { display: none!important; }

コピペで動くようにウェブ上の画像urlを参照していますがローカルに落とすことをお勧めします。
Tig Lv.☆☆☆☆☆
Shell Script達 Lv.★★★★★
基礎:ShellScriptメソッドの作り方
function hello(){
    echo "引数は,$1 and $2みたいにして取れるよ!自動!!"
}
便利:trash-cliでミスって rm しても復活できるようにする
$ svn checkout http://trash-cli.googlecode.com/svn/trunk/ trash-cli
$ easy_install trash-cli
if which trash-put &>/dev/null; then
    alias rm=trash-put
  alias rm-list=trash-list
  alias rm-restore=trash-restore
  alias rm-clear=trash-empty
fi
/Users/user/Desktop/test% ls
a  b  c  d  e  hoge

/Users/user/Desktop/test% rm a
/Users/user/Desktop/test% rm b
/Users/user/Desktop/test% rm c

/Users/user/Desktop/test% rm-list
2017-12-04 18:00:32 /Users/user/Desktop/test/a
2017-12-04 18:00:33 /Users/user/Desktop/test/b
2017-12-04 18:00:34 /Users/user/Desktop/test/c

/Users/user/Desktop/test% rm-restore
   0 2017-12-04 18:00:32 /Users/user/Desktop/test/a
   1 2017-12-04 18:00:33 /Users/user/Desktop/test/b
   2 2017-12-04 18:00:34 /Users/user/Desktop/test/c
What file to restore [0..2]: 1

/Users/user/Desktop/test% ls
b  d  e  hoge
サーバIP覚えられないのでaliasに登録している。
alias ssh-service-stg="ssh userName@52.197.51.82"
alias ssh-service-preview="ssh userName@52.197.51.82"
alias ssh-service-pro-52.197.51.82="ssh userName@52.197.51.82"
よくやりますよね
ShellからGoogle検索とQiita検索できる様にする
g() {
    local str opt
    if [ $# != 0 ]; then
        for i in $*; do
            str="$str${str:++}$i"
        done
        opt='search?num=100'
        opt="${opt}&q=${str}"
    fi
    open -a Google\ Chrome http://www.google.co.jp/$opt
}

q() {
    local str opt
    if [ $# != 0 ]; then
        for i in $*; do
            str="$str${str:++}$i"
        done
        opt='search?num=100'
        opt="${opt}&q=${str}"
    fi
    open -a Google\ Chrome http://qiita.com/$opt
}
正直あまり使わない
git系統(閲覧注意)
alias c="open /Applications/Google\ Chrome.app"
alias m="open /Applications/Mail.app"
alias la="ls -la"
alias op="open"
alias ls='gls --color=auto'
alias hosts="sudo vi /etc/hosts"

# 隠しファイルの表示、非表示切り替え
alias dot_visible='defaults write com.apple.finder AppleShowAllFiles -boolean true'
alias dot_invisible='defaults write com.apple.finder AppleShowAllFiles -boolean false'

# ------git--------
# お気に入りのpushコマンド
alias push="git push -f origin `git rev-parse --abbrev-ref HEAD`"
alias fetch='git fetch upstream release'
alias rebase='git rebase upstream/release'
alias add='git add .'
alias commit='git commit -m'
alias co='git checkout'
alias cob='git checkout -b '
alias branch='git branch'
alias continue='git rebase --continue'
alias bra='git branch'
alias sta='git status'
alias pull='git pull upstream release'
alias difile="git diff --name-only origin/`git symbolic-ref --short HEAD`"

# commitしてないゴミ全部消して復元もできない様にする
function git_delete(){
    git stash -u
    git stash drop
}

# 直前のcommitに変更点全て反映
function before_commit(){
    add
    git commit --amend --no-edit
}


# GitHub ページへ簡単にとぶための関数
function gh() {
  # .git ディレクトリがなかったら終了
  git rev-parse --git-dir >/dev/null 2>&1
  if [[ $? -ne 0 ]]; then; echo ".git not found.\n"; return 0; fi

  # 引数があればそれを remote name とする。無い場合は upstream とする。
  [[ -z $1 ]] && name=upstream || name=$1

  # remote url は以下の2パターンが存在するため分岐処理
  # 1) git@github.com:user/project.git
  # 2) https://github.com/user/project.git
  tmp_url=`git config --get remote.$name.url`
  if [[ $tmp_url =~ git@github.com: ]]; then
    url=`echo $tmp_url | sed -e 's|git@github.com:|https://github.com/|'`
  else
    url=$tmp_url
  fi
  open $url
}


